
Transforming your RV interior doesn’t have to drain your bank account or require professional contractors. With smart planning and creative approaches, you can achieve a luxurious, high-end look while staying within your budget.
The key to successful budget-friendly RV remodeling lies in focusing on high-impact changes that deliver maximum visual transformation.
Simple updates like fresh paint, updated hardware, and strategic design choices can dramatically elevate your space without the hefty price tag. Whether you’re a full-time RVer looking to personalize your mobile home or a weekend warrior wanting to upgrade your travel experience, these budget-conscious remodeling ideas will help you create a stylish, comfortable retreat on wheels.
From DIY projects that take just a weekend to complete to affordable product swaps that make a big difference, you’ll discover that luxury living in your RV is more attainable than you ever imagined.
1. Paint Your Cabinets for an Instant Kitchen Upgrade
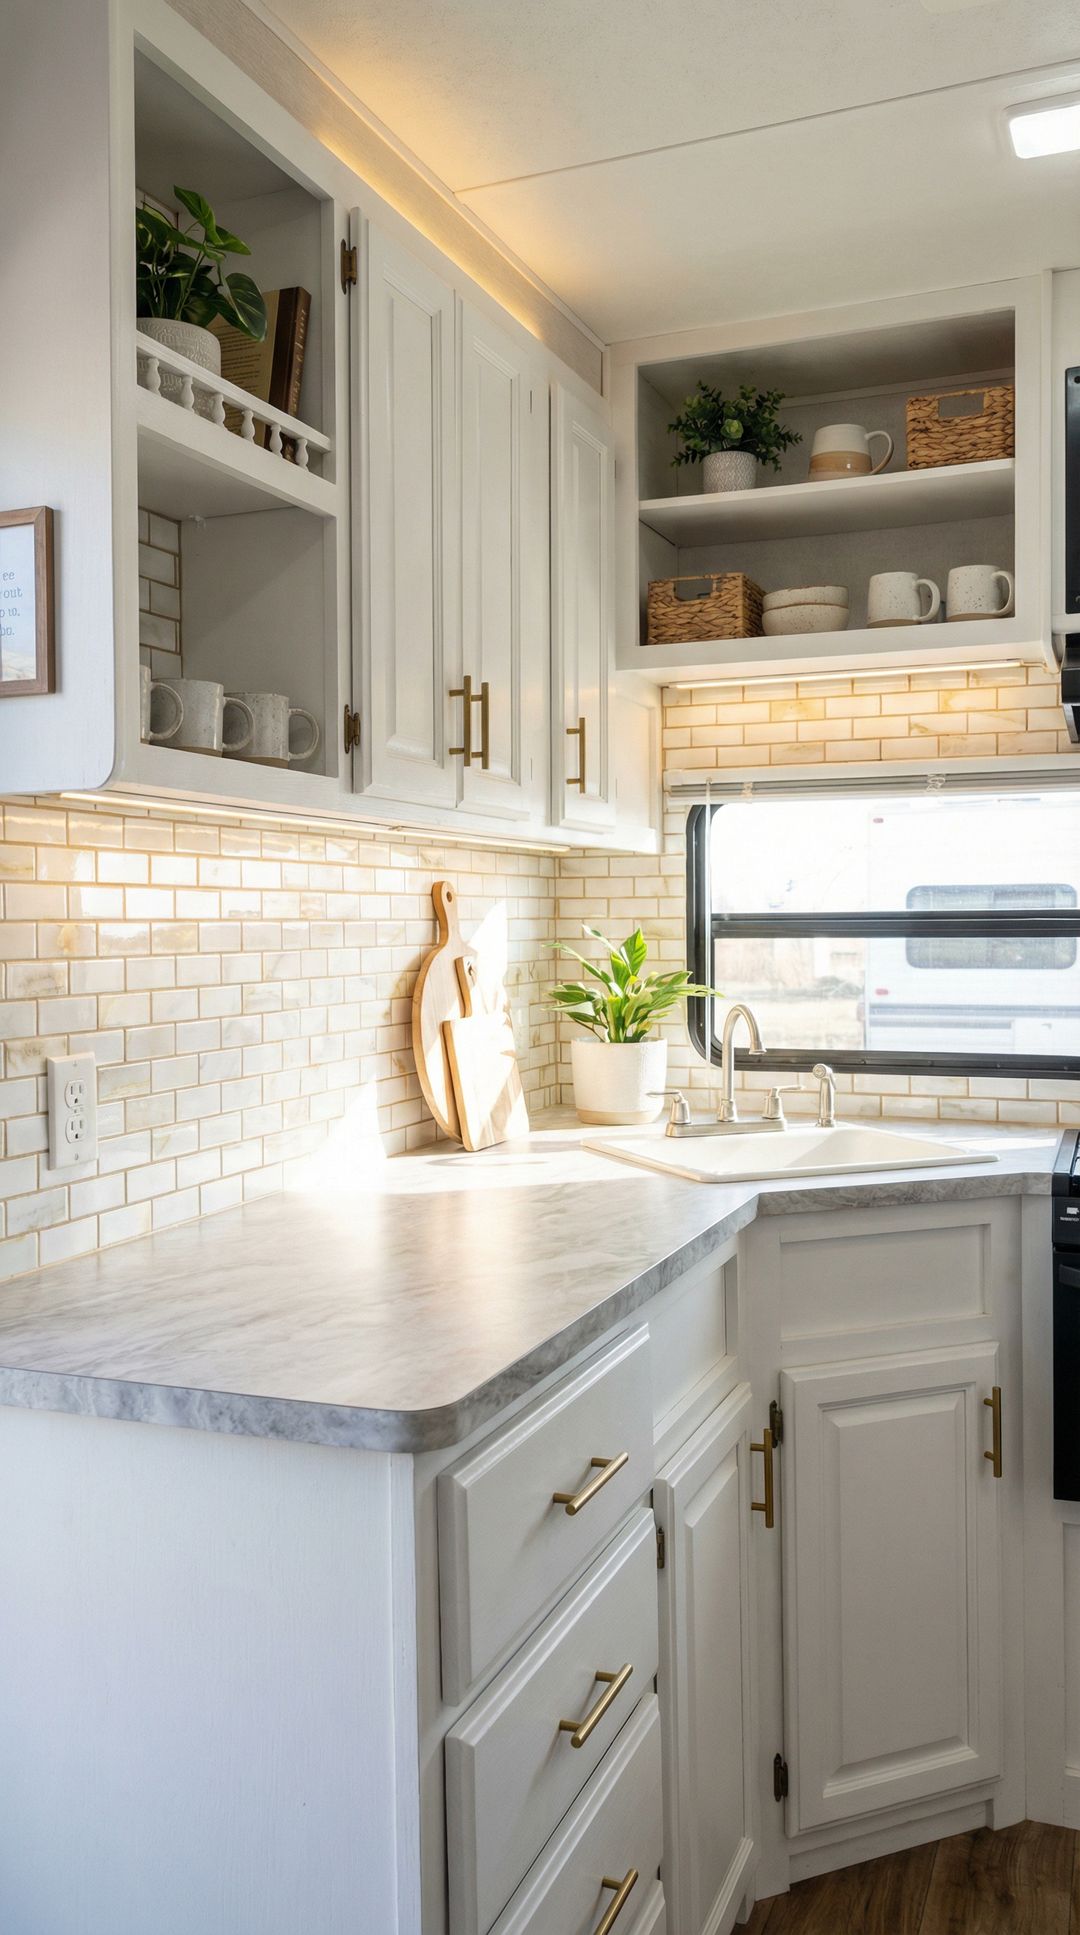
One of the most transformative and budget-friendly updates you can make to your RV is painting the kitchen cabinets. Dark, dated wood cabinets can make your space feel cramped and outdated, but a fresh coat of paint in white, soft gray, or even a trendy navy blue can completely revolutionize the look. The process is straightforward: clean and lightly sand the surfaces, apply a bonding primer designed for laminate or wood, and finish with a durable paint in your chosen color. For added luxury appeal, consider updating the hardware with modern brushed nickel, matte black, or elegant brass pulls and knobs.
This project typically costs under $100 for paint and supplies, yet delivers results that rival expensive cabinet replacements. The bright, fresh finish opens up your kitchen space, reflects more light, and provides a clean backdrop for your décor. Choose a paint specifically formulated for cabinets to ensure durability and easy cleaning—essential features for the mobile lifestyle where surfaces endure more wear and tear than traditional homes.
PRO TIP: Use a foam roller for smooth, brush-mark-free application on flat cabinet surfaces, and a high-quality angled brush for detailed areas. Apply thin, multiple coats rather than one thick coat to avoid drips and ensure even coverage. Allow proper drying time between coats, and consider adding a clear protective topcoat for extra durability in your RV kitchen’s high-traffic environment.
2. Add Removable Wallpaper for a Designer Accent Wall
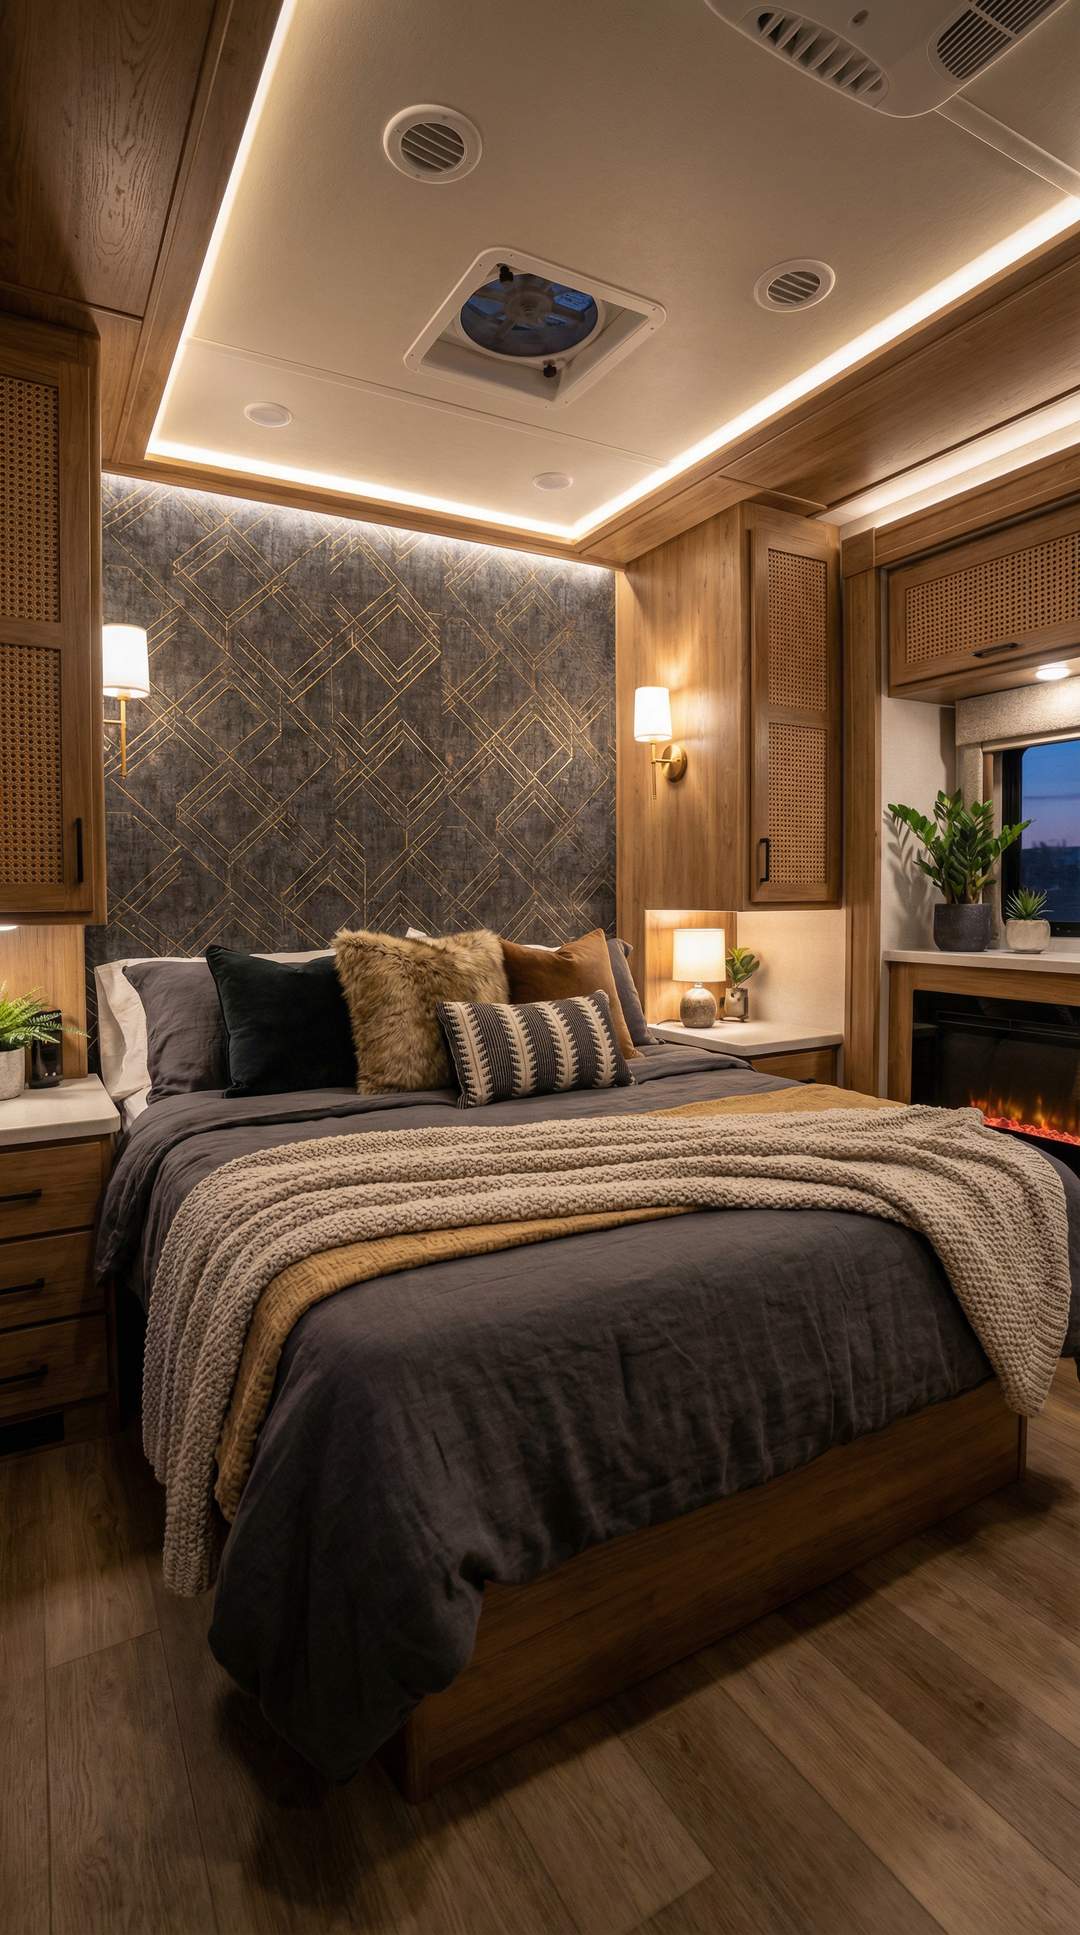
Removable wallpaper has revolutionized RV decorating by offering an easy, renter-friendly way to add personality and style without permanent commitment. Create a stunning focal point in your bedroom, living area, or even a small bathroom wall with peel-and-stick wallpaper in patterns ranging from subtle textures to bold geometric designs. This temporary solution adheres smoothly to RV walls and can be removed cleanly when you’re ready for a change or need to restore the space before selling.
The beauty of removable wallpaper lies in its versatility and the dramatic impact it creates with minimal effort. Choose designs that complement your existing décor—consider soft neutrals with texture for a sophisticated look, botanical prints for a fresh feel, or geometric patterns for contemporary style. Installation is simple enough for beginners: measure your wall, cut the wallpaper to size, peel off the backing, and smooth it onto the wall using a squeegee or credit card to remove air bubbles.
PRO TIP: Before applying wallpaper to your entire wall, test a small piece in an inconspicuous area to ensure it adheres properly and removes cleanly from your specific RV wall material. Clean walls thoroughly with a mild detergent before installation, and work in moderate temperatures (not too hot or cold) for the best adhesion and easiest application process.
3. Upgrade to Luxury Vinyl Plank Flooring
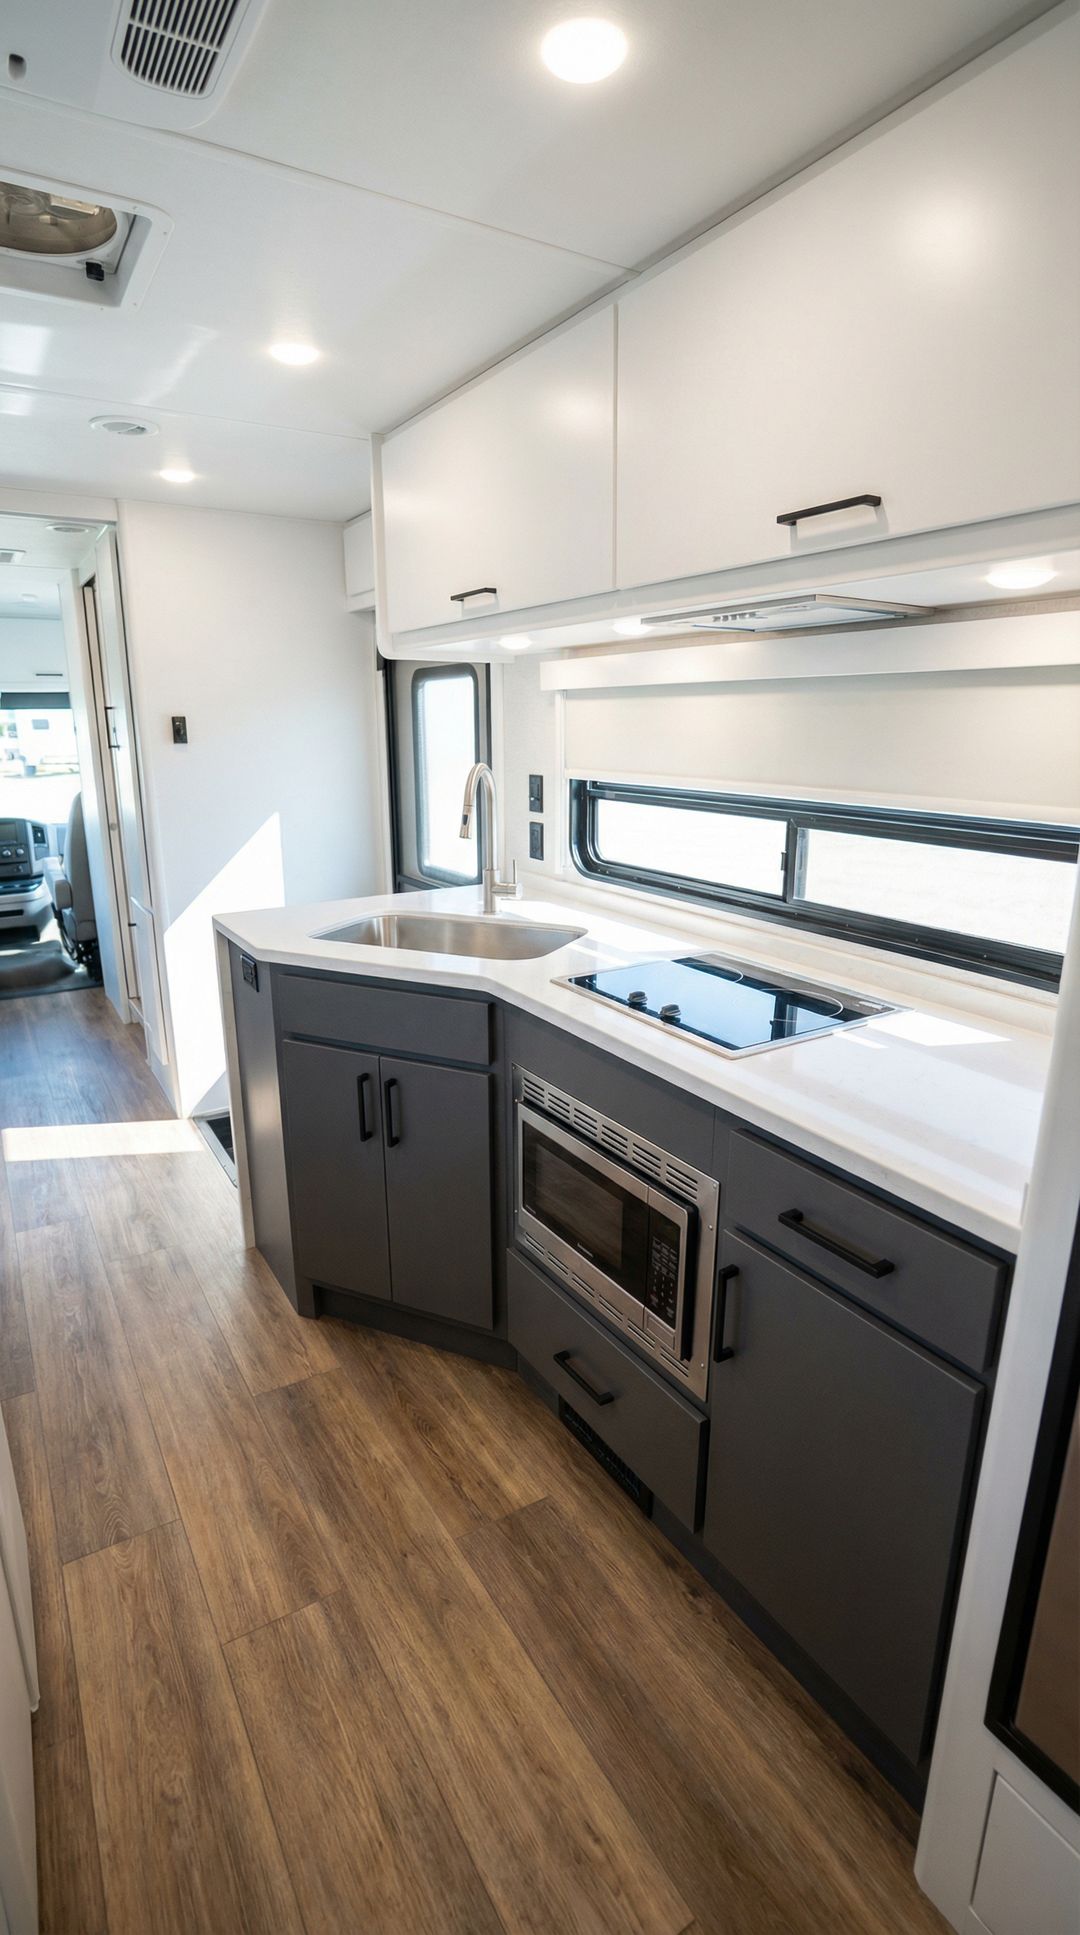
Replacing worn, dated flooring with modern luxury vinyl plank (LVP) flooring instantly elevates your RV’s entire aesthetic. LVP offers the beautiful appearance of real hardwood at a fraction of the cost and weight—crucial considerations for RV living. These planks are specifically designed to be durable, water-resistant, and easy to clean, making them ideal for the mobile lifestyle. Many LVP options feature click-lock installation that doesn’t require glue or nails, making this a manageable DIY project even for beginners.
The transformation from old carpet or linoleum to sleek, wood-look flooring creates an immediate sense of luxury and modernity. LVP is available in numerous wood tones, from light oak to rich walnut, allowing you to customize the look to your style preferences. The planks are thin and lightweight, minimizing concerns about adding excess weight to your RV, while the water-resistance makes them practical for spills, muddy shoes, and the occasional leak that comes with mobile living.
PRO TIP: When installing LVP in your RV, allow the planks to acclimate to your space’s temperature for at least 48 hours before installation. Use a quality underlayment designed for RVs to provide cushioning and reduce road noise. Start installation from the most visible area and work toward less visible spots, ensuring you leave small expansion gaps around the perimeter to accommodate the floor’s natural movement as you travel.