
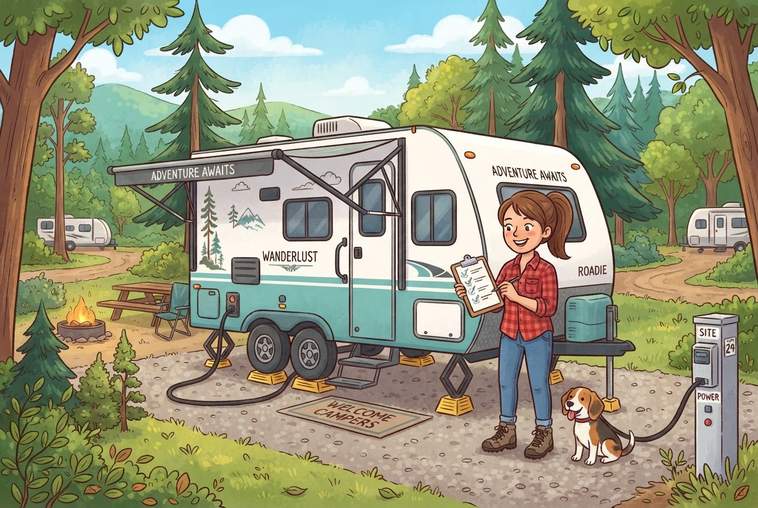
You’re rolling into your campsite after hours on the road. The weekend feels like it’s finally here, and you can almost taste that cold drink by the fire. But hold on.

The truth is, your weekend doesn’t really begin when you crack open that beverage and sink into your camp chair. It starts the second your tires hit that campsite gravel.

Those first 10 minutes? They can make or break your entire camping experience. Rush through them, skip a step, or do things out of order, and you’ll spend the rest of your trip dealing with annoying problems that could’ve been avoided.

So before you unpack the marshmallows, let’s walk through the essential steps that’ll set you up for RV camping success.

Would you like to save this article?

We'll email this post to you, so you can come back to it later to read!

1. Check In at the Campground Office and Grab That Map

Before you even think about finding your spot, swing by the campground office.

This isn’t just about getting a hang tag for your windshield. You need to confirm your site has the amenities you booked—full hookups, 50-amp service, or whatever you requested.

Nothing’s worse than pulling into a spot only to discover there’s no sewer connection when you thought you paid for one.

Grab a campground map, too. It’ll show you where the dump station, bathrooms, trails, and other points of interest are located. And don’t forget to ask for the campground rules.

You’ll want to know about quiet hours, speed limits, pet policies, and campfire regulations before you accidentally break a rule.

If you’re feeling nervous about backing in, here’s your chance to ask for help. Many gate attendants or campground hosts are happy to spot you or even escort you to your site. They’ve seen it all, and they’re not judging—they’re there to help.

According to the RV Industry Association, over 11 million households own an RV in the United States, and many of them started as nervous newbies who learned to ask for help at check-in.

2. Remove Anti-Sway Bars BEFORE You Back In

Here’s a rookie mistake that can damage your equipment: backing into your site with the anti-sway bars still attached.

Tight turns can bind the bars and cause serious issues. So before you attempt that tricky backing maneuver, disconnect those bars.

It takes 30 seconds and could save you from an expensive repair bill.

If you’ve never done this before, practice at home in your driveway. You’ll thank yourself later when you’re not fumbling with unfamiliar equipment while other campers watch.

Look, nobody enjoys being the center of attention while trying to park a 30-foot trailer. But guess what? Everyone watching has been exactly where you are.

They’re not judging—they’re probably remembering their own first-time parking disasters. So take your time, remove those anti-sway bars first, and don’t stress about the audience.

3. Walk the Site and Look for Hazards

Once you’ve positioned your rig (but before you unhook anything), take a lap around your campsite on foot.

You’re checking for:

  • Glass or sharp debris that could puncture tires
  • Low-hanging branches that might scrape your roof or awning
  • Obstacles that could interfere with slide-outs
  • Ground conditions (muddy spots, uneven terrain, ant hills)

This 60-second walk can prevent scratches, dents, and slideout damage. It’s also the time to verify that you can actually reach the water and electrical connections from where you’ve parked.

A study from the Outdoor Recreation Roundtable found that 60% of camping trips involve some form of equipment issue—and many of those issues stem from avoidable site hazards.

Let’s be honest: if you skip this step and your slideout crashes into a tree stump, you’re going to feel pretty silly.

Plus, explaining to your insurance company that you didn’t bother to look around before extending a several-thousand-dollar slideout? That’s a conversation you don’t want to have.

4. Set the Parking Brake (Yes, Really)

This one seems obvious, but it’s shocking how many people forget.

Before you step out to start unhooking, set that parking brake. If you’re driving a motorhome, engage the emergency brake. If you’re towing, make sure your truck is secure.

Campers can roll. It happens. And “I forgot to set the brake” is not a story you want to tell around the campfire.

According to RV safety experts, one of the most common preventable accidents at campsites involves vehicles rolling because brakes weren’t properly engaged.

Here’s the thing: your rig isn’t going to wait for you to finish unhooking before it decides to take an unplanned joyride.

Setting the brake takes two seconds. Not setting it could cost you your entire vacation—and possibly someone else’s RV.

5. Check for Level (Side to Side First)

Grab your level and check if your RV is level from side to side.

Why does this matter? An unlevel RV can:

  • Prevent your refrigerator from working properly
  • Cause doors to swing open or not close
  • Lead to plumbing leaks in the bathroom or shower
  • Make sleeping uncomfortable

If you’re not level, now’s the time to pull forward and use leveling blocks under your wheels. Don’t wait until you’re all set up and realize you’re sleeping on a slant.

Place a magnetic torpedo level on your back bumper or storage compartment ledge. If the bubble isn’t centered, adjust with leveling blocks before proceeding.

Leveling Matters For:What Happens If You Skip It
Refrigerator operationFridge doesn’t cool properly
Interior doorsWon’t stay closed or open
PlumbingPotential leaks in drains
Sleep comfortYou roll to one side all night

You might think a little tilt won’t hurt anybody. But when you wake up at 3 a.m. because you’ve rolled off your pillow for the fifth time, or your fridge stops working in the middle of summer, you’ll realize that “close enough” doesn’t cut it.

Level means level—not “kinda sorta mostly flat.”

6. Chock Those Wheels

Once you’re positioned and level, chock your wheels immediately.

Use wheel chocks on both sides—one in front of a wheel on one side and behind a wheel on the other side. This prevents any movement when you disconnect from your tow vehicle or when you’re walking around inside the RV.

Never unhook without chocking first. This is one of those “order matters” steps. Mess this up and your camper could shift or roll when you least expect it.

According to the National Highway Traffic Safety Administration, proper wheel chocking is essential for preventing runaway vehicles at campsites.

Picture this: you unhook your trailer, it’s not chocked, and it starts rolling backward into the campsite behind you—where a family is setting up their tent.

Congratulations, you’ve just become the campground villain. Chock your wheels. It’s not optional.

7. Disconnect Chains, Breakaway Cable, and 7-Pin Plug

Now you can start the unhooking process.

Follow this order:

  1. Disconnect the safety chains
  2. Remove the breakaway cable
  3. Unplug the 7-pin connector from your tow vehicle

Pro tip: Unplug the 7-pin before you connect shore power. You don’t want both plugged in at the same time, as it can cause electrical issues.

Next, remove the safety pin from your jack, unlatch it, and raise the jack off the trailer hitch. Your camper might make a loud noise or shift slightly—that’s normal and exactly why you chocked those wheels.

The Recreation Vehicle Safety & Education Foundation recommends unplugging the 7-pin connector before shore power connection to prevent potential electrical system damage.

Think of the 7-pin plug like double-dipping at a party. Sure, maybe nothing bad will happen.

But do you really want to risk frying your RV’s electrical system because you couldn’t be bothered to unplug one cord before plugging in another? Spoiler: you don’t.

8. Connect to Shore Power (Breaker OFF First)

Before you plug anything in, make sure the breaker on the electrical box is turned OFF.

This is a safety measure that protects both you and your RV’s electrical system. Once the breaker is off, connect your power cord from the pedestal to your RV. Then flip the breaker on and head inside to confirm you’ve got electricity.

Check your surge protector (you do have one, right?) to make sure you’re getting clean power. Bad power at campgrounds is more common than you’d think, and a surge protector can save your expensive electronics.

According to Progressive Insurance, power surges at RV parks cause thousands of dollars in damage annually—most of which could be prevented with a quality surge protector.

Shore Power SetupWhy It Matters
Turn breaker OFF firstPrevents electrical arcing
Use surge protectorProtects RV electronics
Check voltage at pedestalAvoids low-voltage damage
Confirm power inside RVEnsures proper connection

Let’s get real: if you fry your RV’s electrical system because you were too impatient to flip a breaker off first, you’re looking at a repair bill that’ll make you wish you’d just booked a hotel.

Slow down. Flip the breaker. Save yourself hundreds (or thousands) of dollars.

9. Connect Your Water Line (But Check That Valve First)

Time to hook up your fresh water.

Before connecting the hose to the city water inlet, make sure the water valve inside your RV is turned OFF. Otherwise, you might accidentally fill your gray tank if a faucet is running inside.

Connect your drinking water hose (not the sewer hose—please use separate hoses) from the city water connection on your RV to the faucet on the pedestal. Turn on the water at the pedestal, then head inside to confirm you’ve got water pressure.

Consider using a water pressure regulator to prevent damage to your RV’s plumbing system. Campground water pressure can be inconsistent, and too much pressure can burst pipes or fittings.

The RV Repair Club reports that water pressure damage is one of the top 10 most common RV insurance claims, with average repair costs exceeding $1,500.

Using your sewer hose for drinking water might be the single most horrifying thing you could do at a campsite. And yes, people have done it.

Don’t be that person. Keep your hoses clearly labeled and separate. Your stomach will thank you.

10. Lower Stabilizer Jacks and Turn On Essential Systems

You’re almost done! Now it’s time to:

Lower your stabilizer jacks to minimize rocking and movement inside your RV. Use a drill adapter to speed up the process—your back will thank you. Remember, these jacks stabilize, they don’t support the weight of your RV.

Turn on your propane if you’ll be using the gas stove or gas water heater.

Turn on your refrigerator so it can start cooling down. (There’s debate about whether to travel with the fridge on, but once you’re parked, definitely turn it on.)

Turn on your water heater. You don’t want to realize at bedtime that you forgot this step and now you’re facing a cold shower after a long day.

These steps take less than five minutes total but make a huge difference in your comfort for the rest of the trip.

According to the RV Technical Institute, properly stabilized RVs experience less wear and tear on interior fixtures, appliances, and structural components.

Imagine this: you’ve done everything right, you’re finally ready to relax, and then you realize you forgot to turn on the water heater.

Now you’re stuck waiting another 30 minutes while it heats up, or worse, you’ve already started your evening routine and you’re facing an ice-cold shower. All because you skipped one switch during setup. Don’t let that be you.


Sources:

https://www.lippert.com/blog/rv-setup-checklist

https://www.keepyourdaydream.com/setup/

https://www.myrepurposedlife.com/travel-trailer-arrival-checklist/

https://www.youtube.com/watch?v=r9f_LXi4TDg

https://www.youtube.com/watch?v=KSw6_gCiWKw

https://tiffinmotorhomes.com/blog/how-to-set-up-your-rv-at-a-campsite-for-beginners/

https://www.winnebago.com/lifestyle/winnebagolife/life/newbie-checklist-for-setting-up-an-rv-campsite