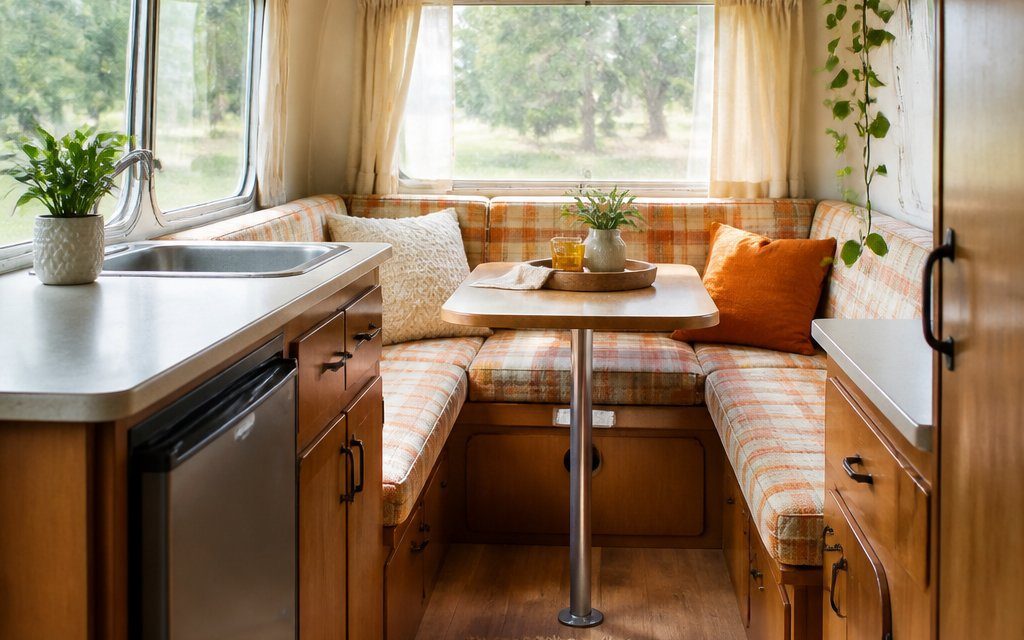
Small campers can feel cramped when every item competes for space. With smart layout changes, you can make room for sleeping, cooking, dining, and gear without losing comfort.
You can maximize your camper’s square footage by choosing furniture and storage that serve more than one purpose. Explore practical ways to open up the interior, use overlooked areas, and keep daily essentials within reach.
1) Install a Convertible Dinette Bed
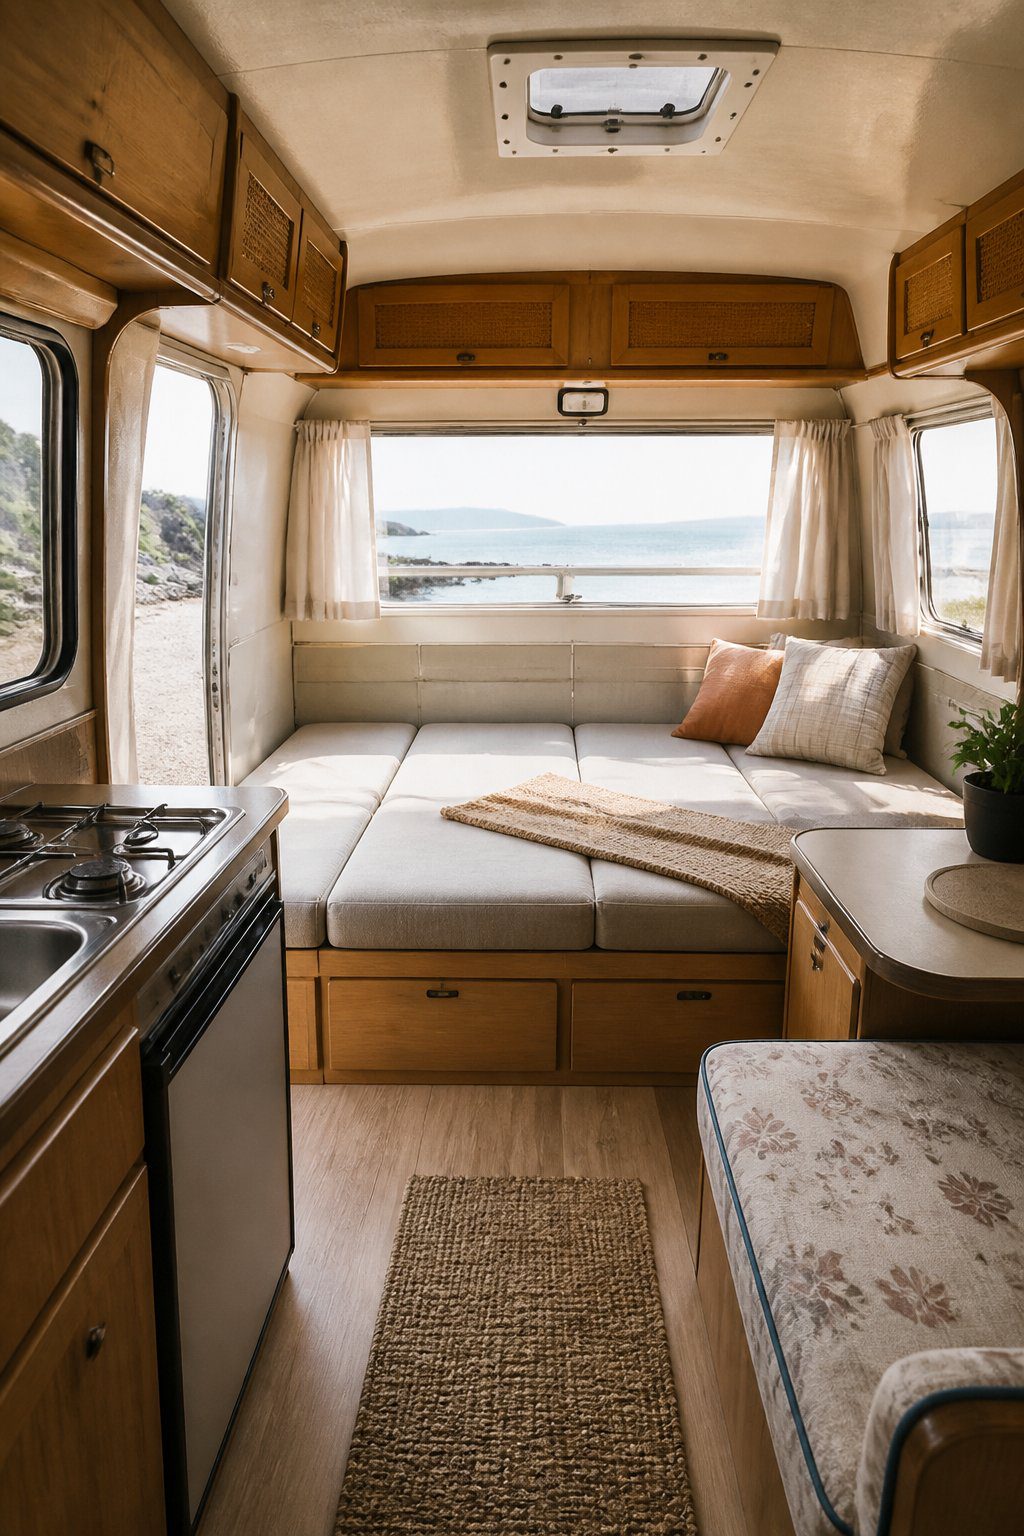
A convertible dinette gives you two useful spaces in one compact area. You can use the seats and table for meals, work, or games during the day, then lower the table to create a bed at night.
Measure the available space before you build or buy anything. Check the width, length, and height so the bed fits without blocking cabinets, doors, or walkways. Use lightweight materials to avoid adding unnecessary weight to your camper.
PRO TIP
Choose cushions that match the bed’s full surface. Uneven gaps can make sleeping uncomfortable, while firm, supportive foam helps the area serve both purposes. Add storage beneath the benches for bedding, clothing, or cooking supplies.
2) Replace Bulky Cabinets with Open Shelving
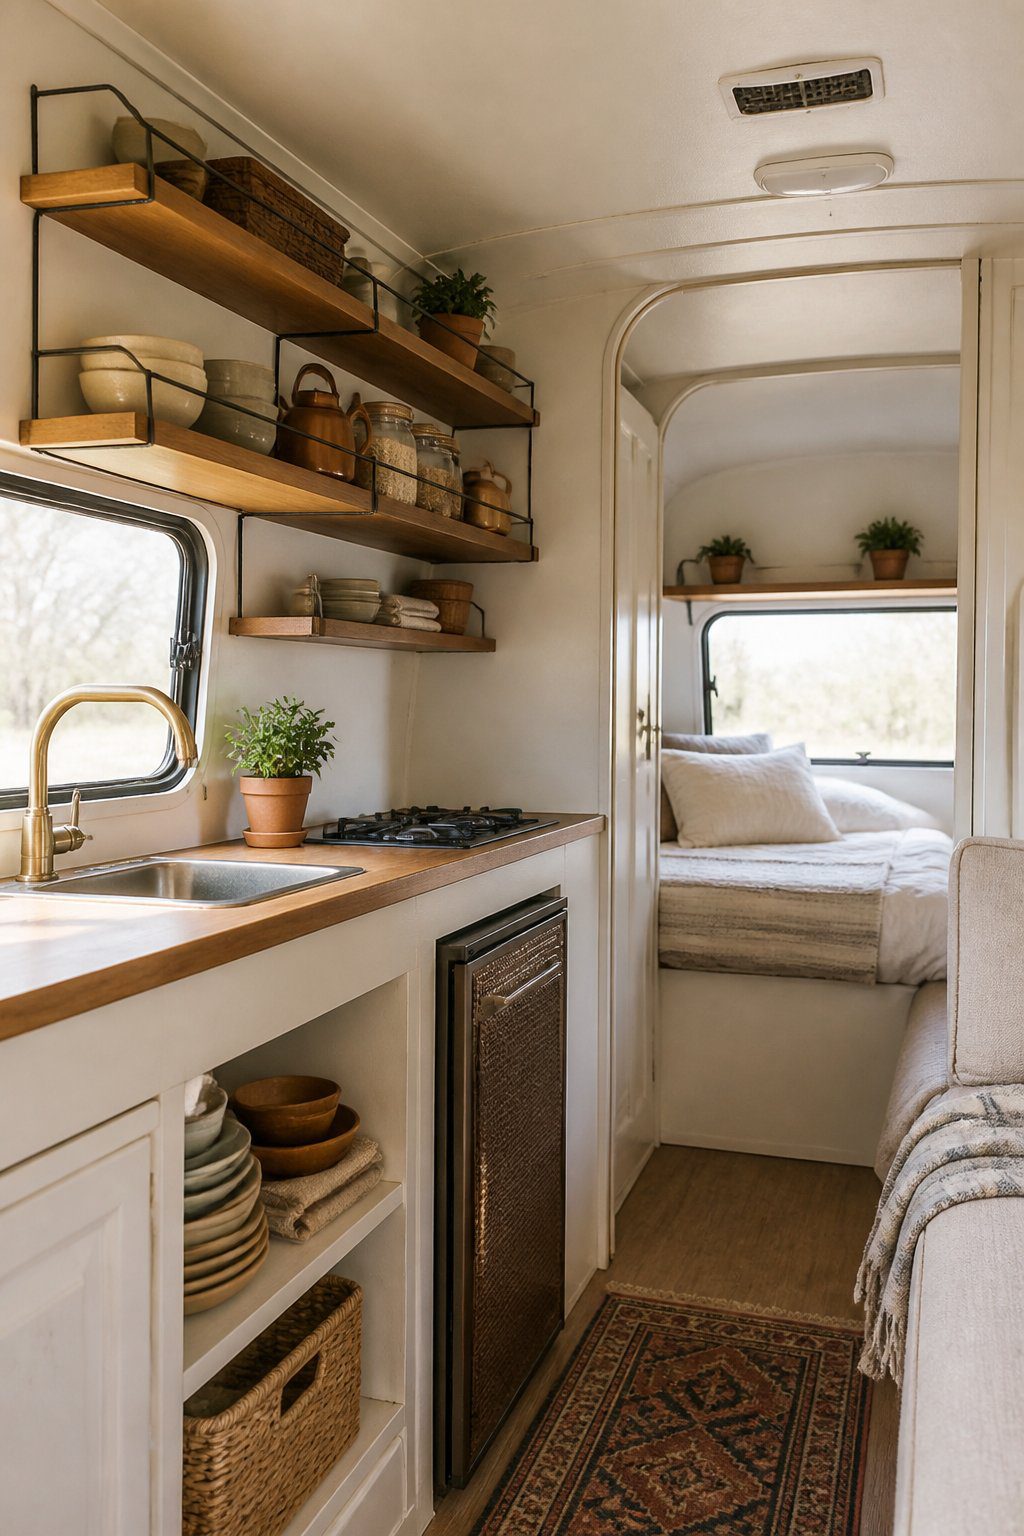
Removing deep cabinets can make your vintage camper feel more open and easier to move through. Install shallow shelves along unused wall space to keep dishes, mugs, spices, and small supplies within reach.
Choose sturdy wood or metal shelves that match your camper’s style. Add a small front rail or lip to help keep items in place while you travel. Store heavier items on lower shelves, and reserve upper shelves for light containers.
PRO TIP
Use matching baskets or bins to group loose items. You can slide them off the shelves when you need supplies, then secure them before driving. Leave some wall space open so the camper does not feel crowded.
3) Build a Storage Bench Along the Bed
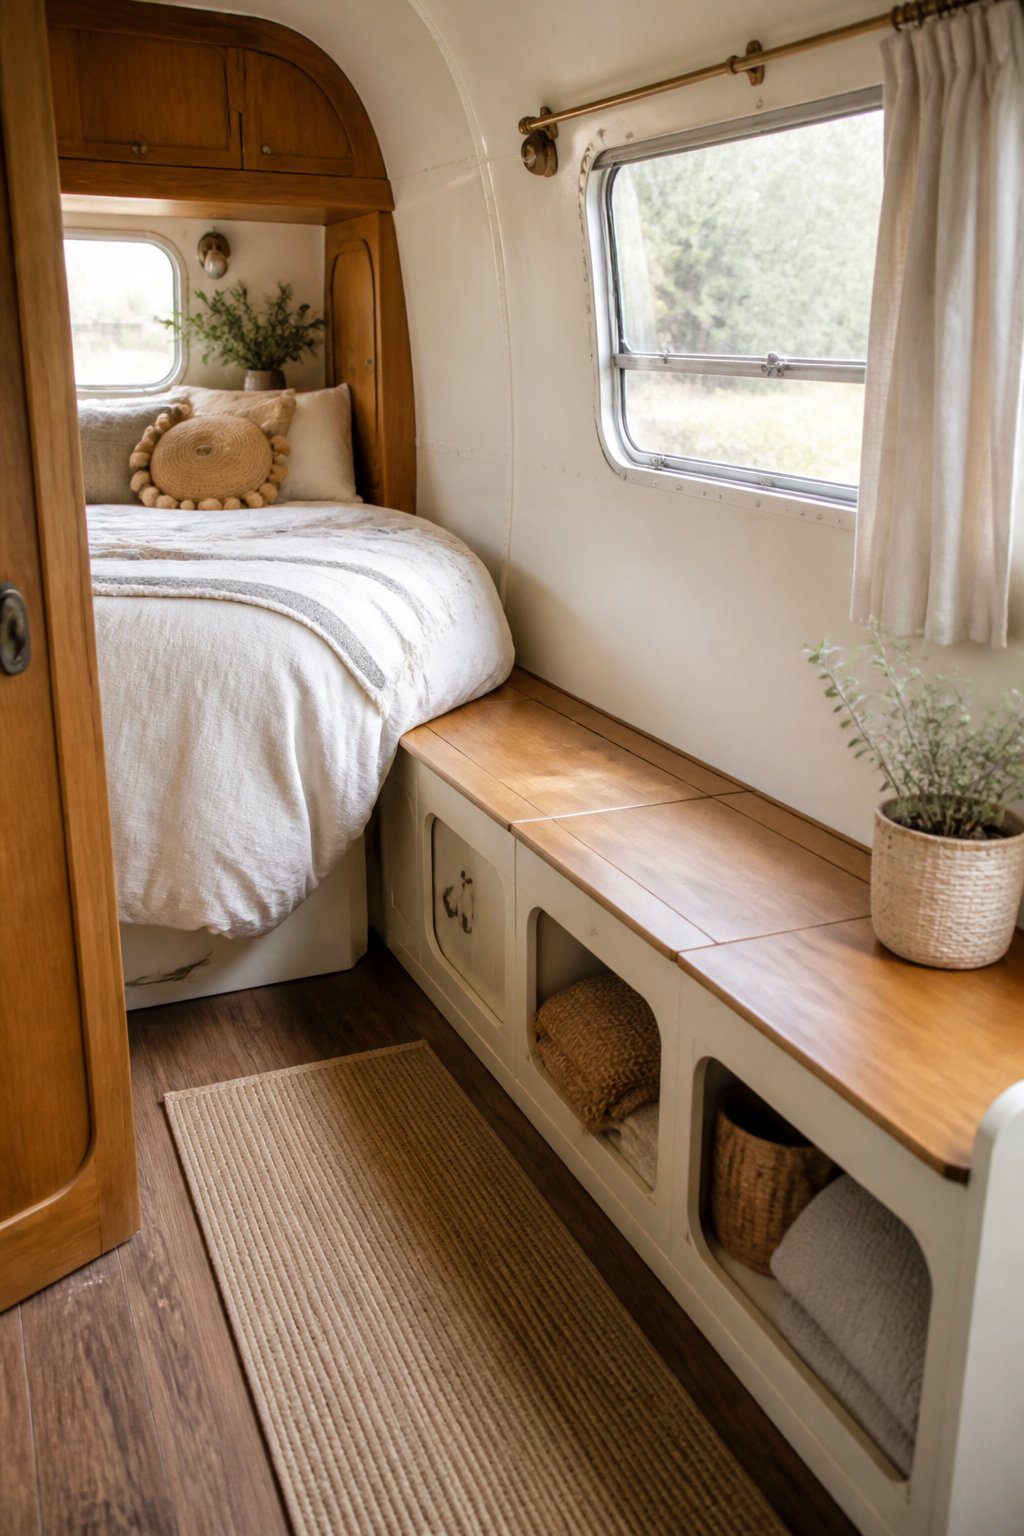
Use the open space beside your bed to build a low storage bench. A sturdy bench can provide a place to sit, store clothing, or prepare meals when you need more usable space. Measure the area carefully so the bench does not block doors, windows, or walking paths.
Build a simple frame from lightweight wood, then add a hinged lid or removable top. Use bins inside to separate shoes, bedding, tools, and cooking supplies. Label each bin so you can find items without emptying the whole compartment.
PRO TIP
Add a cushion with a washable cover to make the bench more comfortable. Choose a color that matches your camper’s interior, and keep the cushion thin enough to preserve headroom and access to the storage space.
4) Use a Flip-Up Kitchen Counter
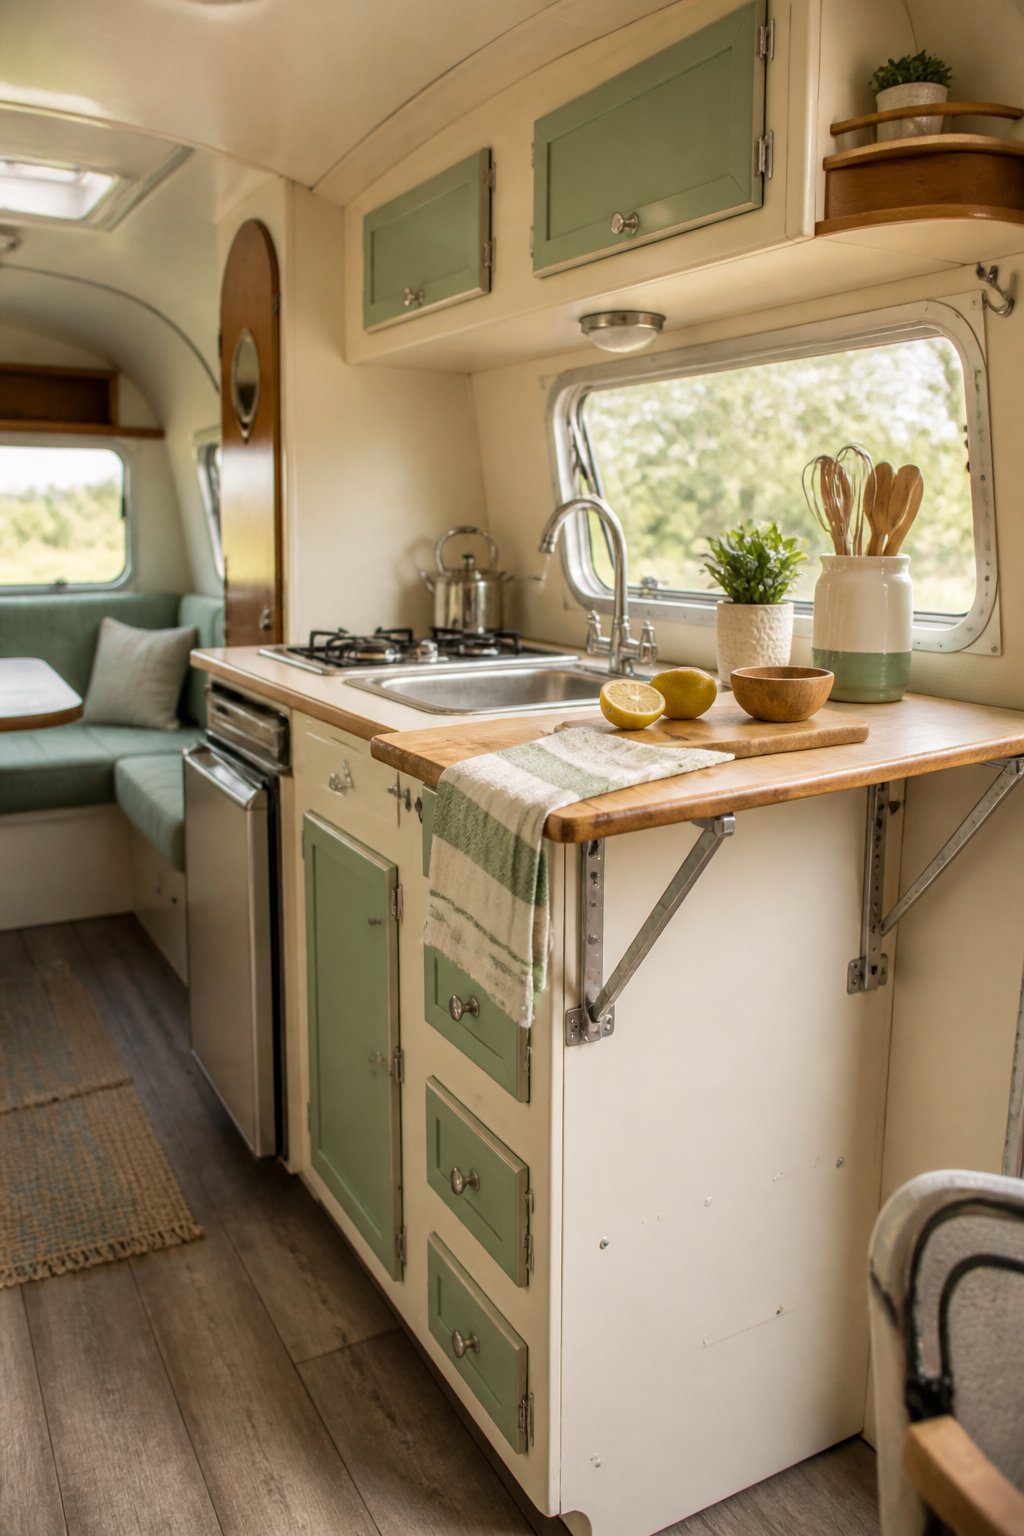
A flip-up kitchen counter gives you extra prep space without taking up floor space all day. Mount a sturdy panel beside your sink or stove, then fold it down when you need room to chop, serve, or set down dishes.
Choose a lightweight surface with strong hinges and a secure support bracket. Keep the counter narrow enough to avoid blocking the walkway when it is open. You can also add a slim rail underneath to hold towels or cooking tools.
PRO TIP
Measure the wall, doorway, and nearby cabinets before cutting the panel. Add a latch or catch to keep the counter closed while you travel, and round the corners to reduce bumps in the tight space.
5) Add Toe-Kick Drawers Under Cabinets
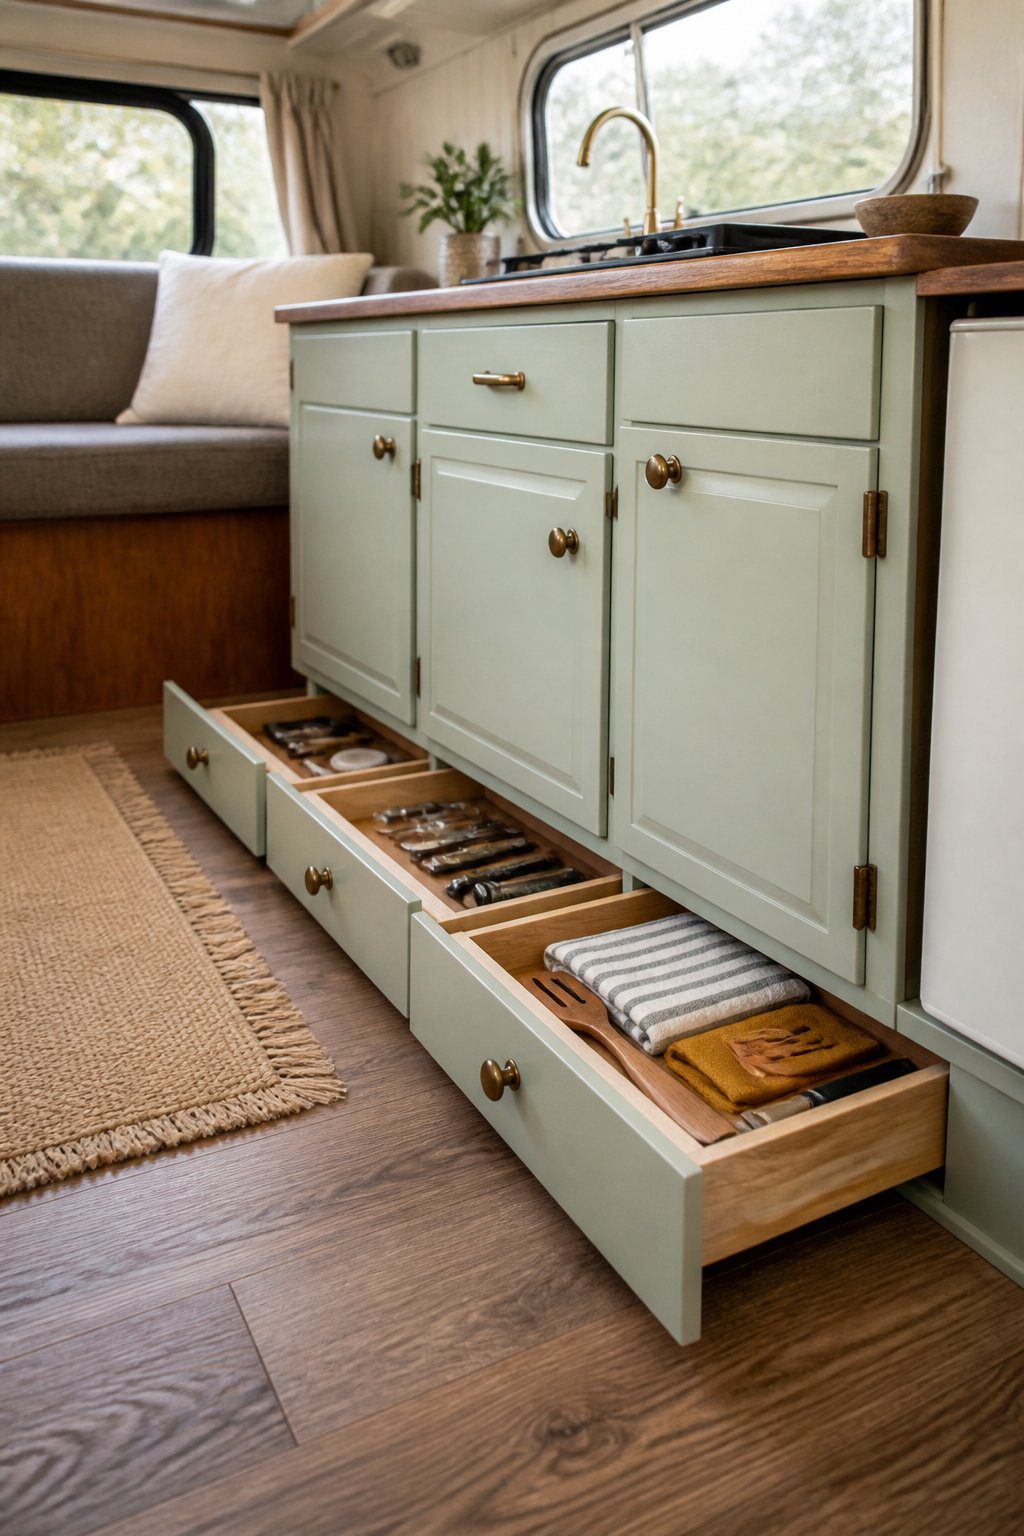
Use the unused space beneath your camper cabinets for slim toe-kick drawers. These shallow compartments give you extra storage without taking up walking space or making the room feel crowded.
Store flat items such as cooking tools, dish towels, maps, or spare hardware inside. Measure the open space carefully before building the drawers, and leave enough clearance for cabinet doors and nearby appliances.
Choose sturdy drawer slides that can handle movement while you travel. Add simple pulls or recessed handles so the drawer fronts stay flush with the cabinet base and do not catch your feet.
PRO TIP
Group similar items in small bins inside each drawer. This keeps loose supplies from sliding around and makes them easier to find when you need them.
6) Mount a Fold-Down Dining Table
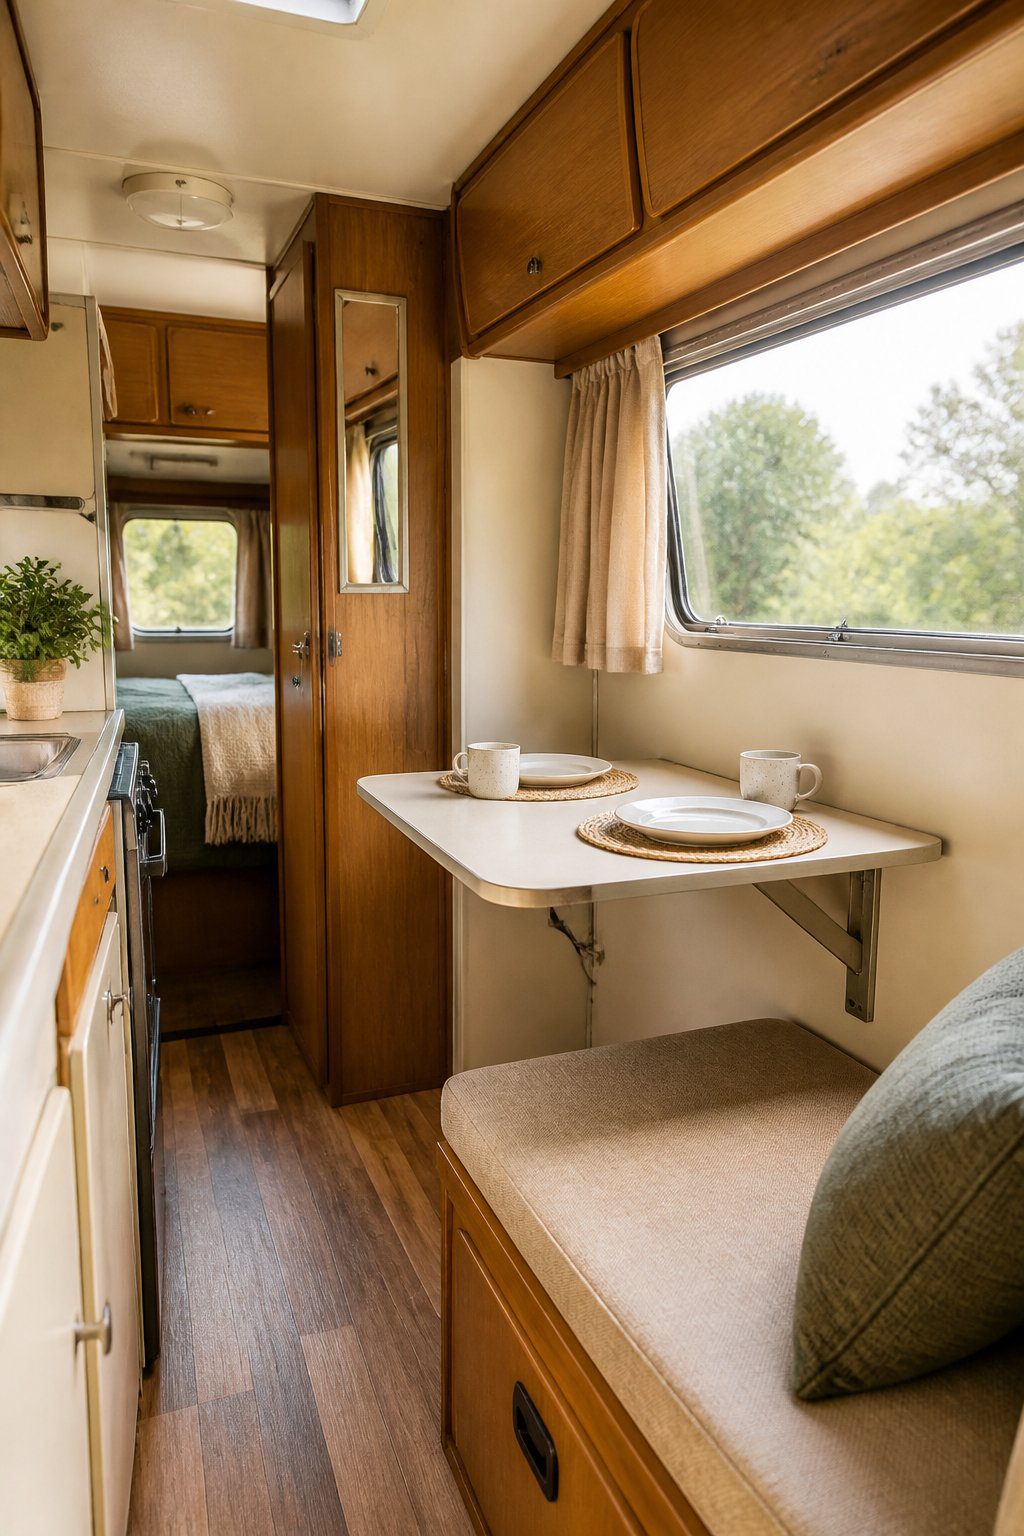
A fold-down dining table gives you a useful eating and work surface without taking up permanent floor space. Mount it to a sturdy wall or cabinet side, and choose a size that fits your camper’s width when lowered.
Use strong hinges and secure latches to keep the table stable during travel. Add a slim support leg or folding brackets beneath it for extra strength. When you lift the table, you can open the walkway or create more room for cooking and relaxing.
PRO TIP
Attach a shallow storage pocket to the table’s underside for napkins, cards, or small tools. Keep the pocket flat so it does not block the table from folding against the wall. Select a surface that matches your existing cabinets to make the update look built in.
7) Create an Overhead Sleeping Loft
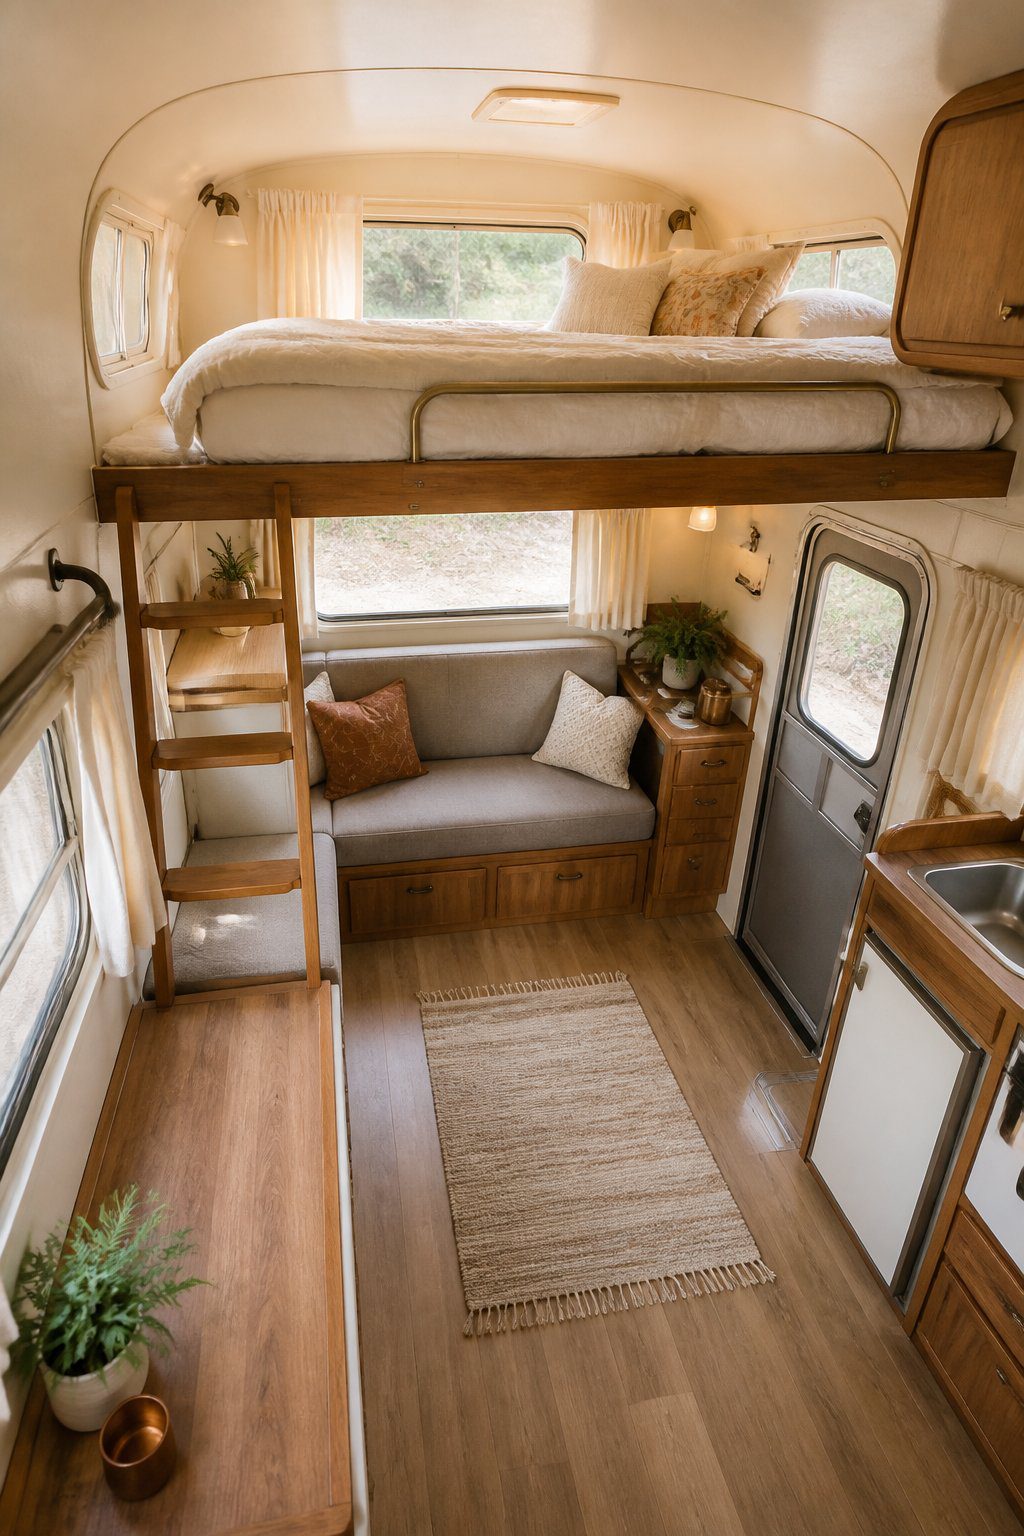
An overhead sleeping loft can turn unused ceiling space into a practical bed area. You can build a sturdy platform above the front dinette, rear seating area, or another section with enough headroom. Measure the camper carefully before planning the frame.
Use lightweight materials to limit added weight, and secure the platform to strong wall studs or the camper’s main frame. Add a low guardrail to help prevent falls, especially if children will use the loft. A removable ladder can provide access without blocking the walkway.
PRO TIP
Choose a mattress that fits the platform and allows space for ventilation. Keep the area below open for seating, storage, or a compact workspace. Check every fastener regularly, since road movement can loosen hardware over time.
8) Install a Slide-Out Pantry
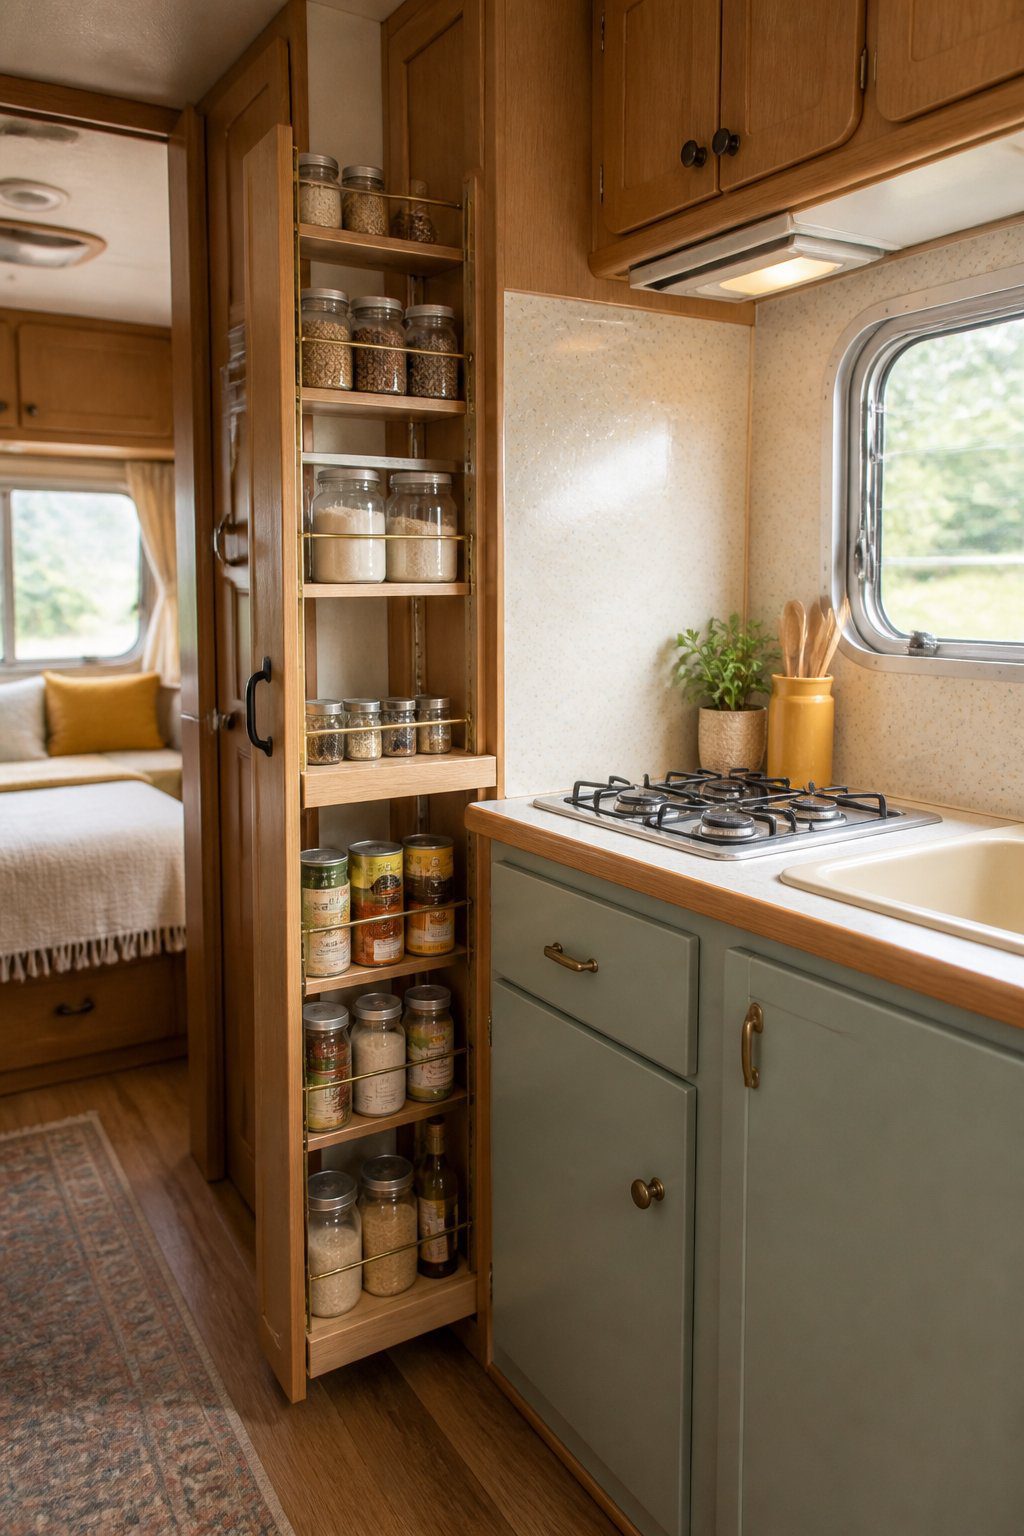
A slide-out pantry lets you use narrow gaps beside the refrigerator, sink, or seating area. You can store cans, spices, dry goods, and cooking tools without taking up valuable floor space.
Measure the opening carefully before building or buying the unit. Leave enough clearance for the pantry to slide out fully, and secure it to the wall or cabinet frame so it stays stable while the camper moves.
Choose adjustable shelves so you can change the layout as your storage needs change. Add a latch or simple locking catch to keep the pantry closed during travel. Labeling each shelf can also help you find supplies quickly.
PRO TIP
Use shallow bins inside the pantry to group similar items. This keeps small goods from shifting and makes it easier to remove several items at once.
9) Use Magnetic Spice Storage
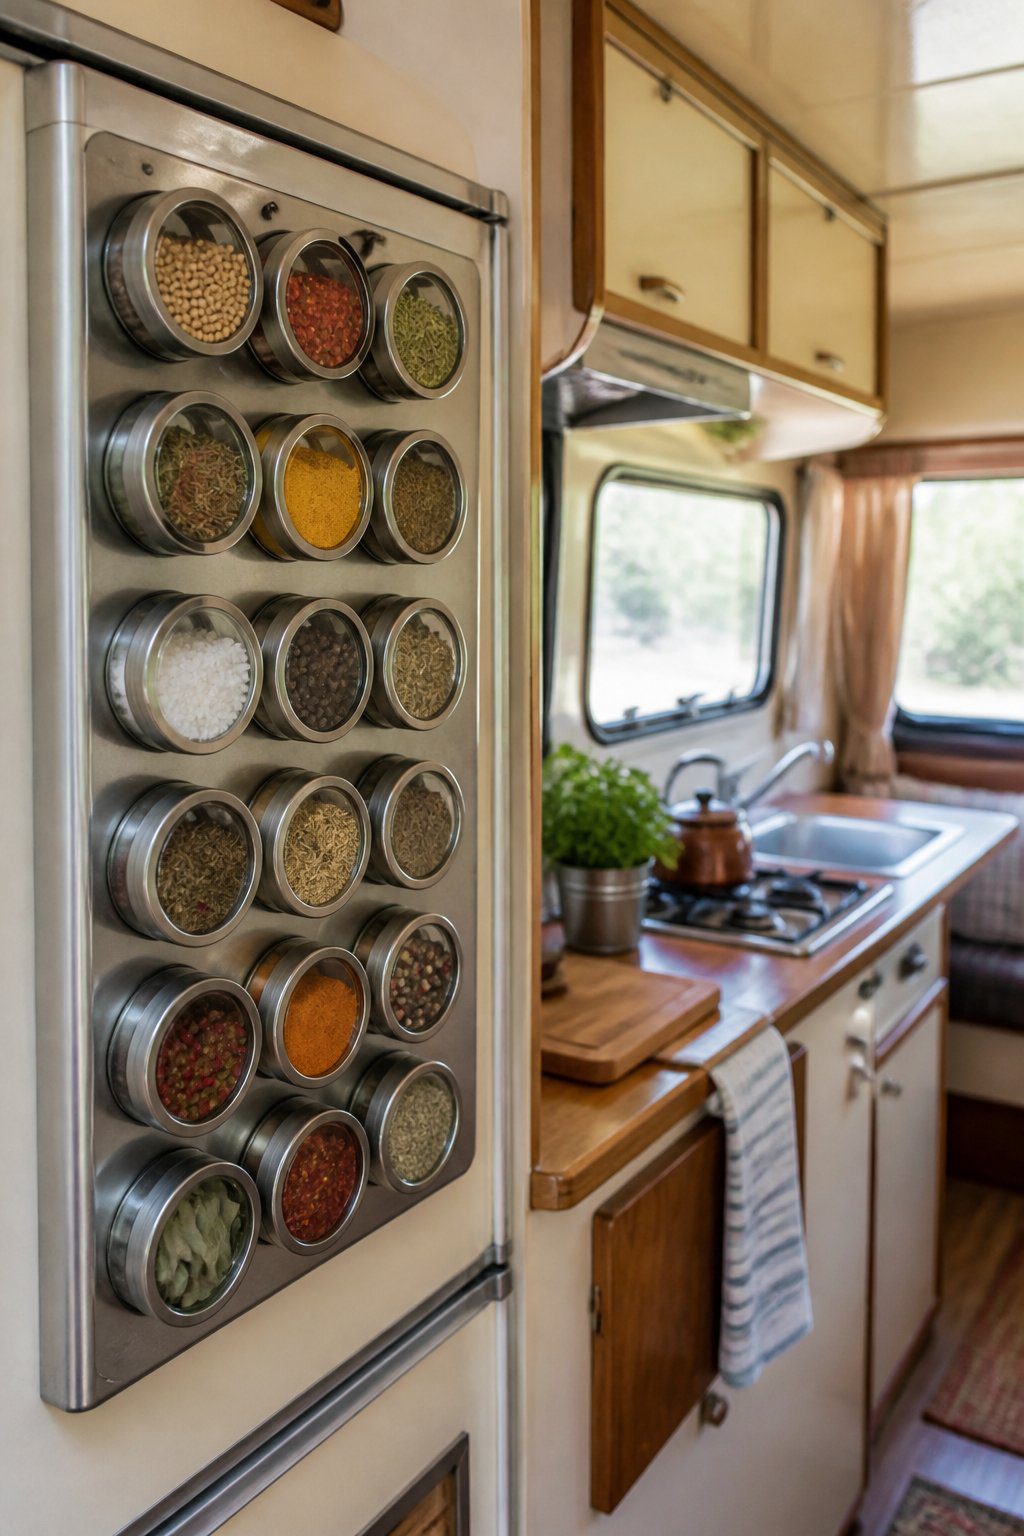
Free up a crowded galley cabinet by moving spices to a magnetic storage system. Attach small metal tins to a magnetic strip on the refrigerator, pantry wall, or another unused vertical surface. Keep the strip away from heat and moisture to protect the spices.
Choose clear-lid containers so you can quickly identify each seasoning. Label the lids if the tins sit above eye level, and arrange them by how often you use them. Place daily staples near the cooking area while storing less-used spices higher up.
Before mounting the strip, check that it will not block cabinet doors, windows, or vents. Use fasteners suited to your camper’s wall material, and avoid placing heavy containers where they could fall during travel. Remove loose tins before driving if the magnets do not hold firmly.
10) Convert the Entryway into a Gear Station
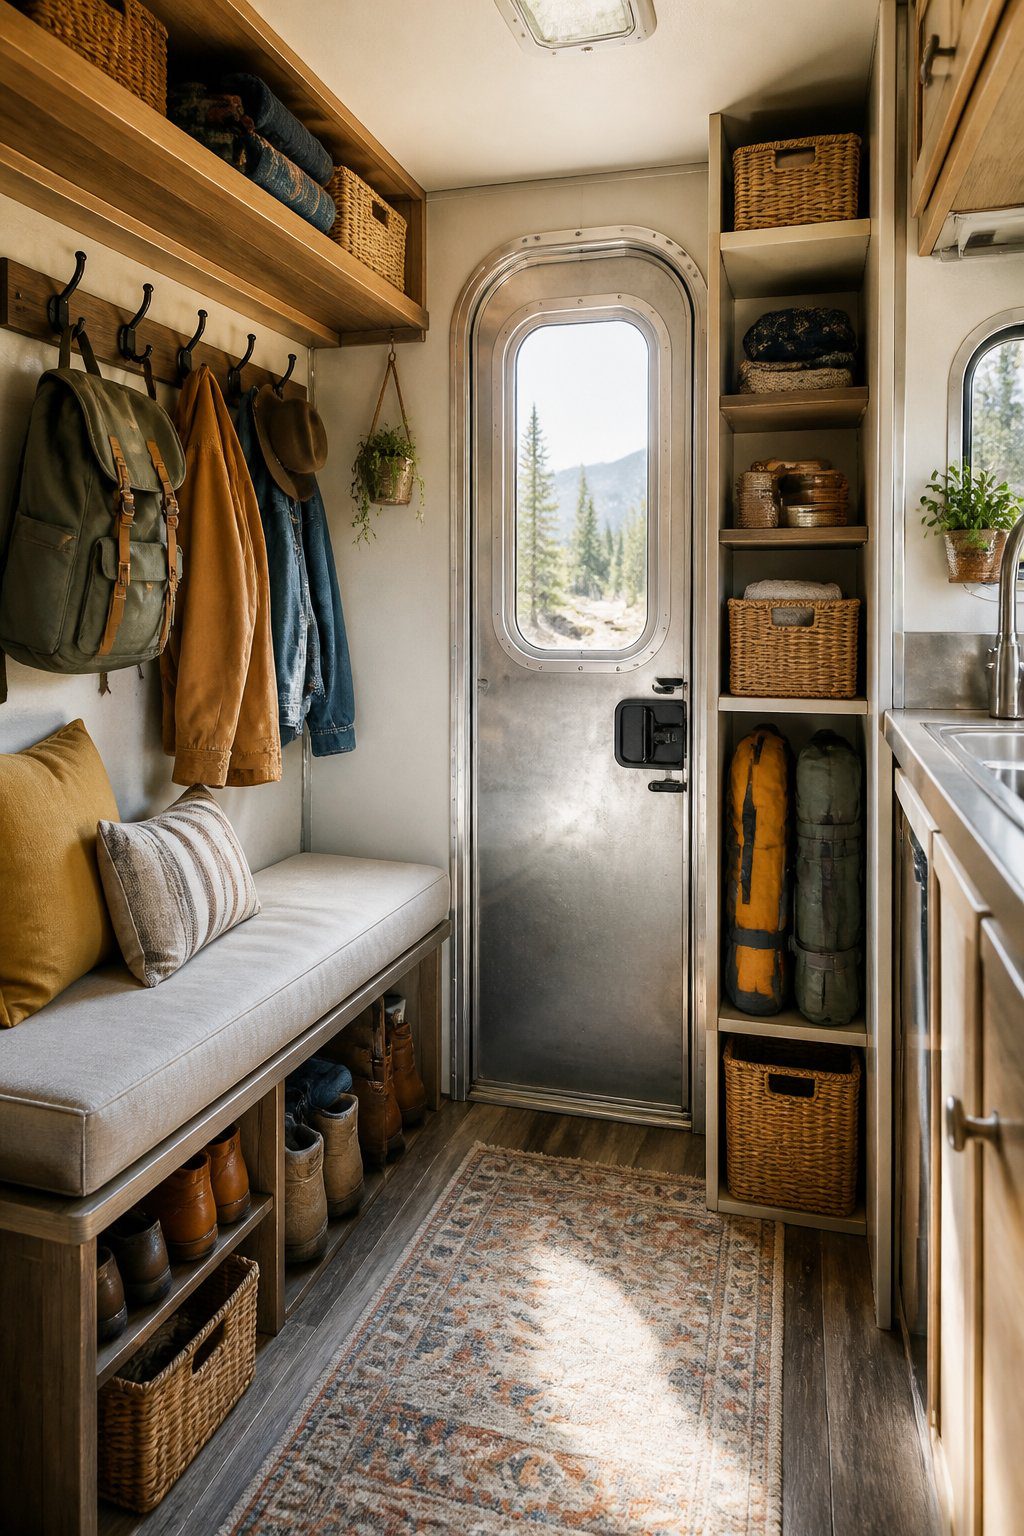
Turn the entryway into a gear station by adding slim storage beside the door. Use wall hooks for jackets, hats, keys, and small bags. A narrow bench can provide a place to sit while you remove shoes, while the space beneath it holds boots or outdoor gear.
Choose storage that fits the camper’s existing walls and leaves the door path clear. Use labeled bins for cooking tools, camping supplies, or cleaning items. Keeping each group in one spot helps you find what you need without filling the aisle with loose items.
PRO TIP
Mount a small fold-down shelf near the door for a phone, map, or flashlight. Add a washable mat below it to catch dirt and moisture before they spread through the camper.
11) Add Under-Bed Rolling Drawers
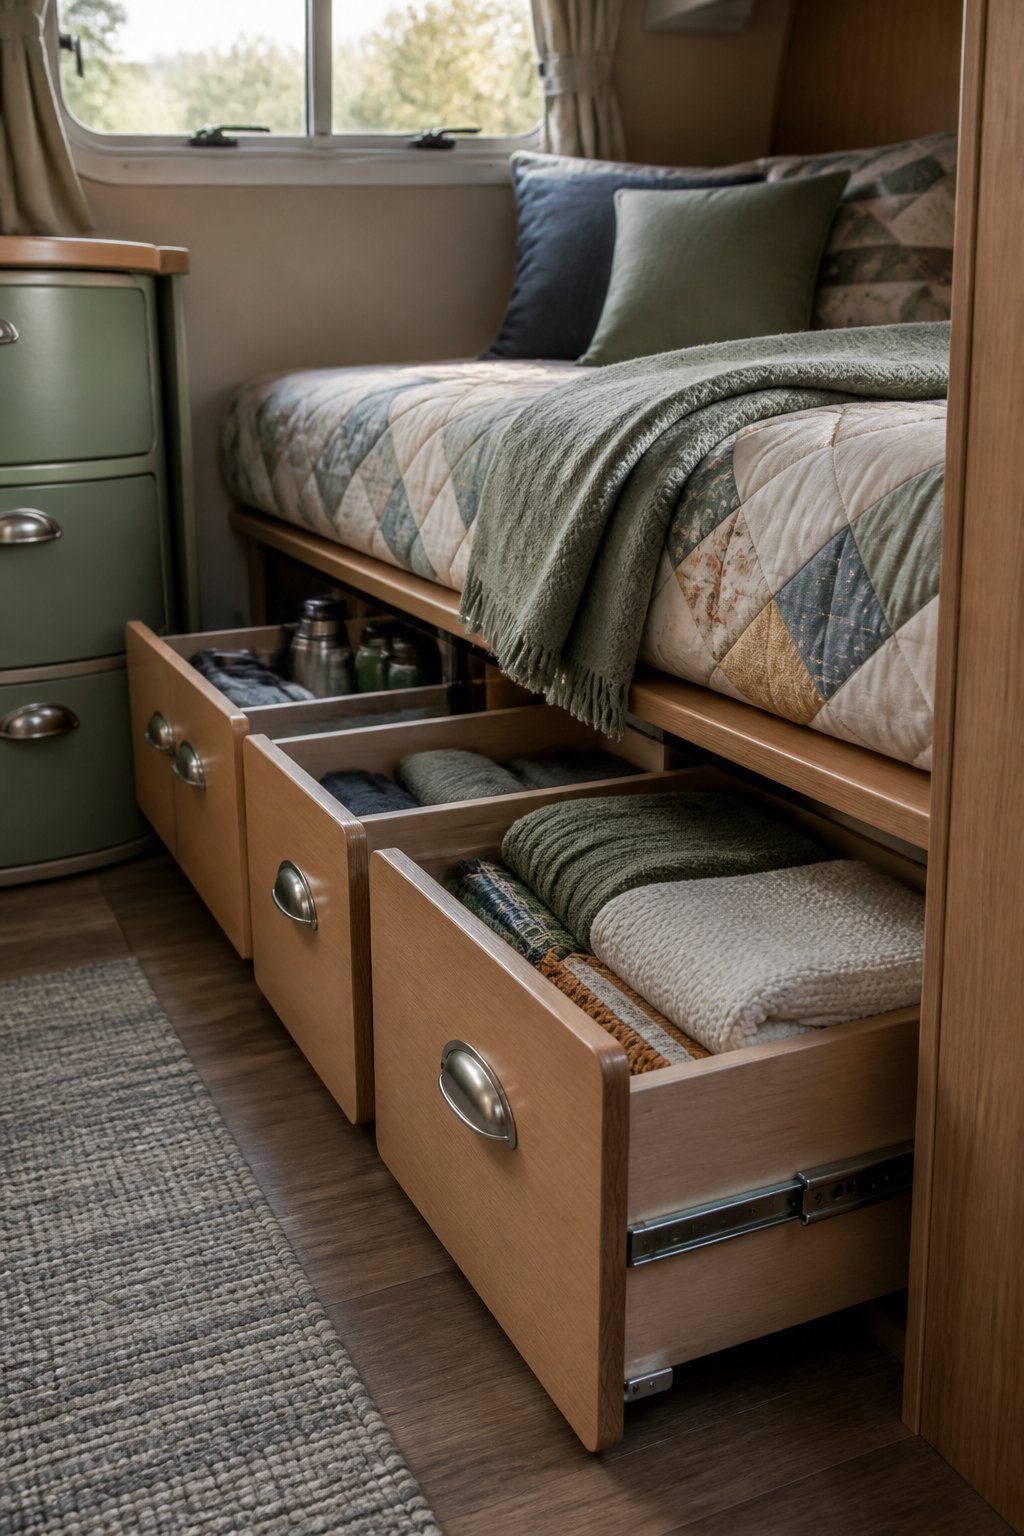
Use the space beneath your camper bed for rolling drawers. This area often becomes a storage gap, but a shallow drawer can hold clothing, tools, bedding, or cooking supplies without taking up walking space.
Measure the opening, bed height, and floor clearance before building. Use lightweight plywood and install sturdy casters or drawer slides that fit the available space. Add simple handles so you can pull each drawer out easily.
Label each drawer to keep small campers organized. Store heavier items low and near the camper’s center to support better weight balance. Secure the drawers with a latch so they stay closed while you travel.
PRO TIP
Leave a small gap around each drawer for easy movement. Test the drawer when the camper sits on level ground and when parked on a slight slope.