
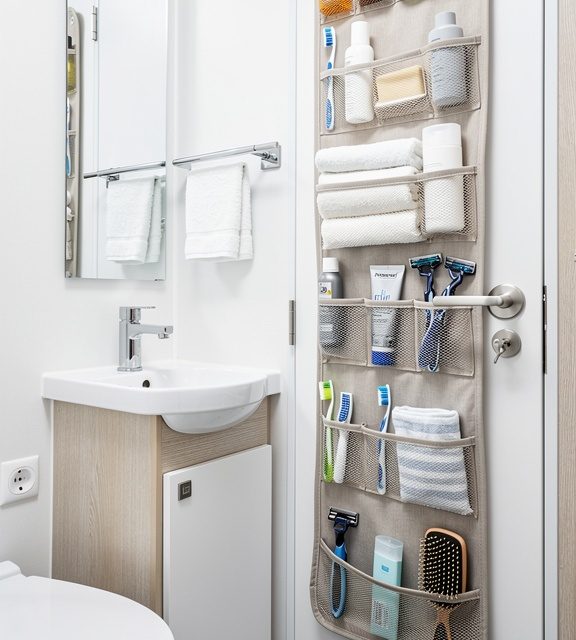
Transforming your RV restroom from a cramped necessity into a stylish sanctuary doesn’t have to be complicated or expensive. Whether you’re a full-time RVer or a weekend warrior, creating a functional and beautiful bathroom space can significantly enhance your travel experience. The key to successful RV bathroom decorating lies in maximizing every square inch while maintaining your personal style. From clever storage solutions to mood-enhancing aesthetics, small changes can make a dramatic difference in how your space looks and feels. These twelve decorating ideas will help you create a restroom that’s not only practical for life on the road but also a place where you’ll actually enjoy spending time. Let’s explore how to turn your compact RV bathroom into a space that rivals stationary home designs.

1. Embrace a Coastal Theme
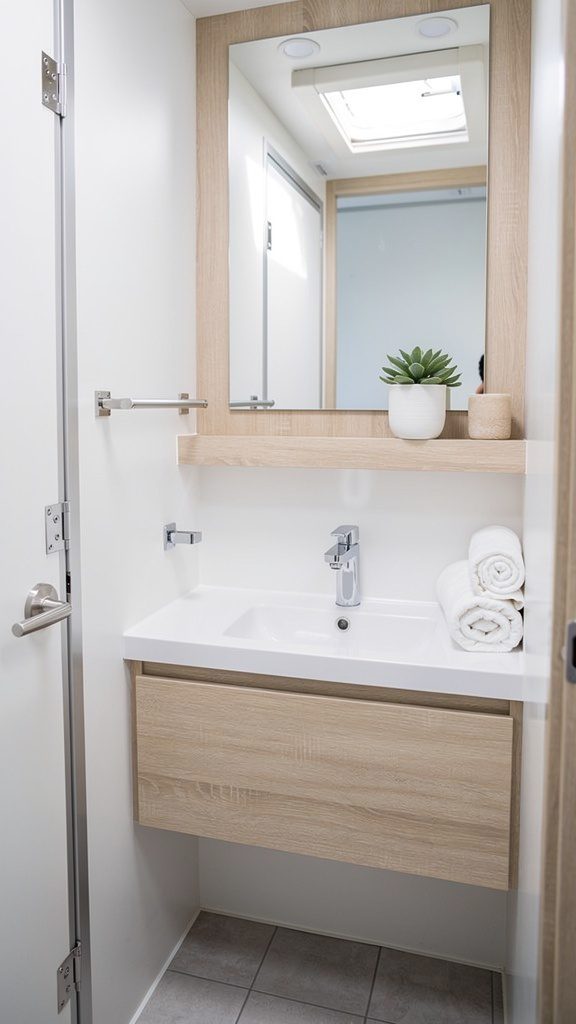
Modern RV bathroom with coastal theme

Would you like to save this article?

We'll email this post to you, so you can come back to it later to read!

A coastal-inspired theme brings tranquility and brightness to your RV bathroom, making even the smallest space feel open and refreshing. This design approach incorporates whites, soft blues, natural wood tones, and beach-inspired accessories like seashells or driftwood accents. The light color palette reflects natural light beautifully, creating an illusion of more space while evoking the peaceful feeling of being near the ocean.

To achieve this look, start with white or light blue towels, add a few nautical touches like rope accents or weathered wood frames, and incorporate natural textures through woven baskets or jute rugs. The beauty of a coastal theme is its versatility—it works equally well whether you’re parked by the ocean or deep in the mountains, bringing that vacation vibe wherever you roam.

PRO TIP: Use removable adhesive hooks shaped like anchors or sailboats to hang towels and robes. These functional decorative elements reinforce your coastal theme while providing practical storage solutions that won’t damage your RV walls.

2. Install Floating Shelves
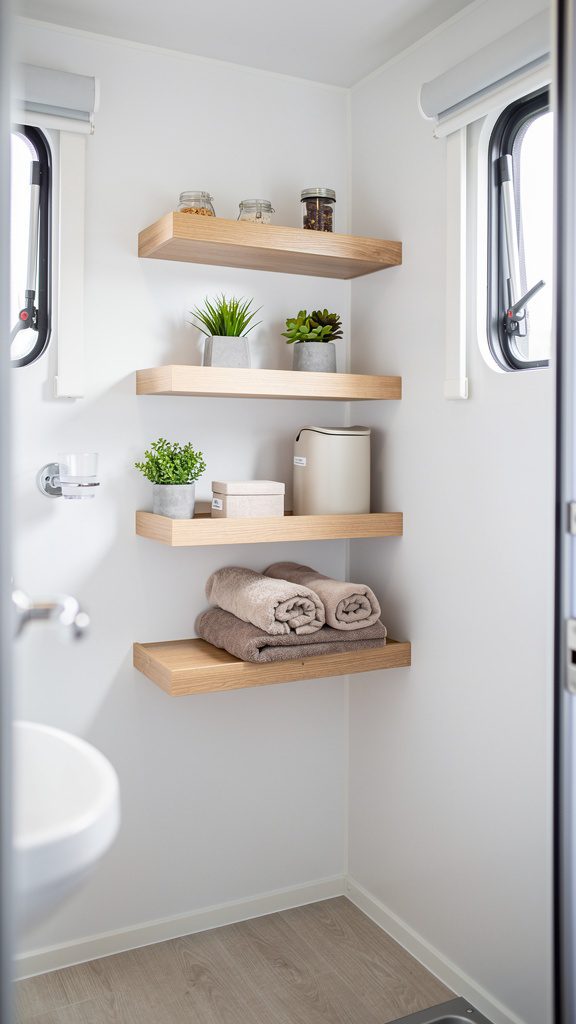
RV bathroom with floating wooden shelves

Floating shelves are a game-changer for RV bathrooms, providing essential storage without the bulk of traditional cabinets. These sleek, wall-mounted shelves create visual interest while keeping toiletries, decorative items, and folded towels within easy reach. By choosing shelves in natural wood or painted finishes that complement your existing décor, you add both functionality and style to previously wasted wall space.

Installation is straightforward, and the open design prevents your bathroom from feeling closed in or cluttered. Display your prettiest bottles, small potted plants, or decorative baskets on these shelves to create a curated, spa-like atmosphere. The key is to keep items organized and avoid overcrowding—less is definitely more in a compact RV bathroom.

PRO TIP: Secure items on floating shelves with museum putty or non-slip shelf liners to prevent them from sliding or falling during travel. This simple precaution protects your belongings and prevents damage while you’re on the road.

3. Upgrade to LED Mirror Lighting
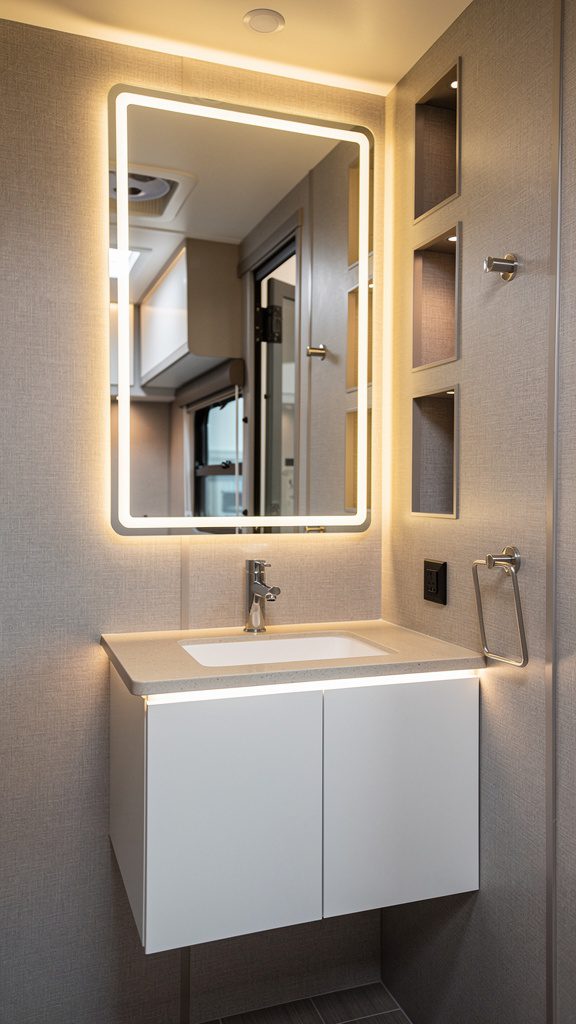
RV bathroom mirror with LED lighting

Proper lighting transforms an RV bathroom from dim and dreary to bright and welcoming. LED strip lights around your mirror provide excellent task lighting for grooming while adding a modern, upscale touch. These energy-efficient lights draw minimal power from your RV’s electrical system, making them perfect for boondocking situations where every watt counts.

Many LED mirror lights come with adhesive backing for easy installation, requiring no hardwiring or professional help. Some models even offer adjustable color temperatures, allowing you to switch between warm ambient lighting and bright daylight tones depending on your needs. The soft glow creates a luxurious atmosphere that makes your morning routine more enjoyable.

PRO TIP: Choose LED lights with a dimmer function or smart controls so you can adjust brightness levels. Lower lighting in the evening creates a relaxing atmosphere, while brighter settings work perfectly for makeup application or detailed grooming tasks.

4. Add a Stylish Shower Curtain
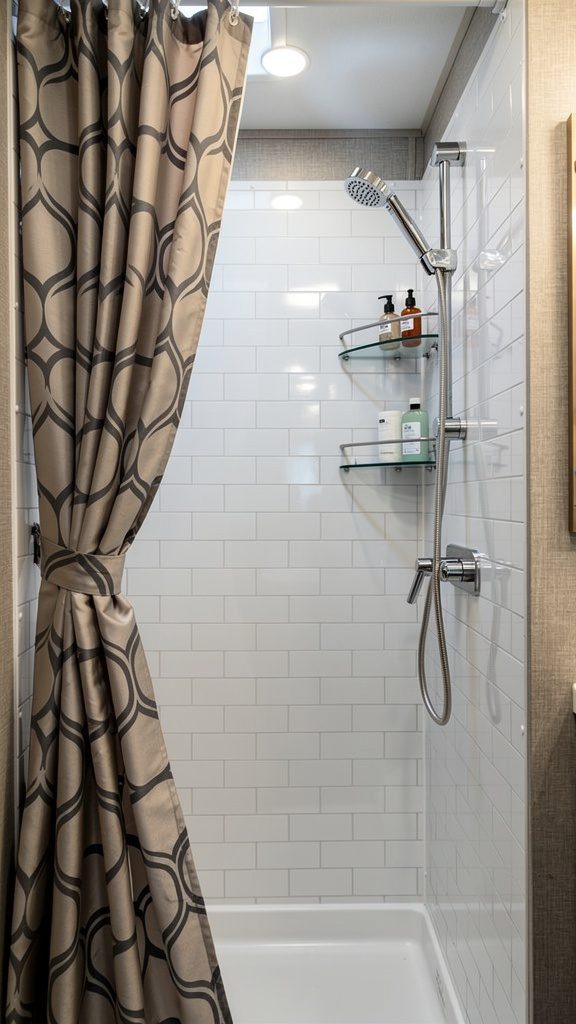
RV bathroom with geometric shower curtain

Never underestimate the impact of a beautiful shower curtain—it’s often the largest visual element in your RV bathroom and can completely change the room’s aesthetic. Whether you prefer bold geometric patterns, calming nature scenes, or elegant solid colors, the right shower curtain serves as both functional water barrier and focal point decor piece.

Look for quick-drying, mildew-resistant fabrics specifically designed for humid environments. The shower curtain you choose sets the tone for your entire bathroom color scheme, so select patterns and colors that make you happy and complement your overall RV interior design. Don’t be afraid to change curtains seasonally to refresh your space without major renovations.

PRO TIP: Invest in a fabric shower curtain with a separate waterproof liner. The fabric curtain can be easily removed and washed, keeping your bathroom fresh and hygienic. Plus, you can swap curtains affordably to update your bathroom’s look whenever you want.

5. Create an Accent Wall

RV bathroom with peel and stick accent wall

An accent wall adds personality and visual interest to your RV bathroom without overwhelming the small space. Peel-and-stick wallpaper makes this project incredibly RV-friendly—it’s easy to install, removes cleanly without damaging surfaces, and comes in countless patterns from modern geometric designs to natural textures. Choose one wall, typically behind the toilet or vanity, to showcase your chosen pattern.

This decorating technique creates a focal point that draws the eye and makes your bathroom feel intentionally designed rather than simply functional. The temporary nature of removable wallpaper means you can change your accent wall whenever the mood strikes without commitment or damage to your RV. Select patterns that reflect your style while considering how they’ll coordinate with your existing fixtures and accessories.

PRO TIP: Before applying peel-and-stick wallpaper, thoroughly clean the wall surface and ensure it’s completely dry. Also, purchase an extra roll beyond your measurements—having extra ensures pattern matching and provides backup for any future repairs or touch-ups.

6. Utilize Magnetic Storage Solutions

RV bathroom with magnetic storage containers

Magnetic storage containers are brilliant for RV bathrooms, utilizing vertical metal surfaces that would otherwise go unused. These clever organizers stick to medicine cabinet doors, metal wall panels, or even the side of your shower, keeping small items like bobby pins, tweezers, and cosmetics neatly contained and easily accessible. The magnetic mounting system means items stay secure during travel while remaining convenient to grab when needed.

Many magnetic storage solutions come in attractive finishes and styles that enhance rather than detract from your bathroom’s appearance. From sleek stainless steel to colorful powder-coated options, you can find magnetic organizers that match your décor. This storage method is particularly valuable in RVs because it creates organization without taking up precious counter or shelf space.

PRO TIP: Create a magnetic wall panel using adhesive-backed magnetic sheets if your RV doesn’t have metal surfaces. This inexpensive solution can be applied to any wall, giving you the flexibility to add magnetic storage anywhere in your bathroom.

7. Incorporate Natural Materials

RV bathroom with bamboo accessories

Bringing natural materials into your RV bathroom creates warmth and organic beauty that contrasts nicely with plastic and metal fixtures. Bamboo accessories like toothbrush holders, soap dispensers, and storage containers offer eco-friendly functionality while adding earthy visual appeal. Wood tones provide a sense of calm and connection to nature, which is especially fitting for a travel lifestyle centered around exploration and outdoor adventure.

Natural materials also tend to be durable and long-lasting, making them practical choices for the rigors of RV living. A small wooden stool, woven storage baskets, or even a cedar plank with hooks can introduce natural textures that make your bathroom feel less utilitarian and more like a thoughtfully designed retreat. These elements work beautifully with virtually any decorating style, from modern minimalist to rustic farmhouse.

PRO TIP: Treat wooden bathroom accessories with a water-resistant sealant to protect them from moisture damage. Regular application of mineral oil or beeswax also helps bamboo items maintain their beautiful appearance and prevents cracking or warping in humid conditions.

8. Install an Over-the-Door Organizer

RV bathroom door with hanging organizer

Over-the-door organizers are storage powerhouses in RV bathrooms, transforming the back of your bathroom door into valuable real estate for toiletries, cleaning supplies, and personal care items. These hanging organizers typically feature multiple pockets or shelves that keep everything visible and accessible while freeing up cabinet space for other necessities. The vertical storage approach maximizes space efficiency without requiring any installation beyond hanging the organizer over your door.

Look for organizers with clear pockets so you can quickly see contents, or choose fabric versions that complement your bathroom’s color scheme. The beauty of this solution is its flexibility—rearrange items easily as your needs change, and if you switch RVs, simply move the organizer to your new space. It’s particularly useful for families or couples who need to accommodate multiple people’s bathroom essentials in limited space.

PRO TIP: Choose an organizer with reinforced grommets and strong hooks to prevent sagging under weight. Also, avoid overloading the top pockets with heavy items—distribute weight evenly down the organizer to maintain balance and prevent door stress.

9. Display Framed Artwork

RV bathroom with botanical prints

Artwork in your RV bathroom elevates the space from purely functional to genuinely enjoyable. Framed botanical prints, abstract designs, or photography that speaks to your personal taste makes your bathroom feel finished and intentional. The key is selecting pieces that can withstand humidity and choosing frames that are lightweight yet secure. A small gallery wall or even a single statement piece creates visual interest and gives you something pleasant to look at during your daily routines.

Consider themes that reinforce relaxation—nature scenes, calming abstracts, or inspirational quotes work particularly well in bathroom spaces. Use command strips or mounting tape designed for frames to hang artwork securely without drilling holes in your RV walls. The artwork you choose is an expression of your personality and makes your traveling bathroom feel like home.

PRO TIP: Print your favorite photos on waterproof canvas or use frames with acrylic fronts instead of glass. These alternatives are lighter, won’t shatter during travel, and resist moisture damage better than traditional framed prints, making them ideal for RV bathrooms.

10. Invest in Luxury Towels

RV bathroom with rolled luxury towels

Quality towels might seem like an indulgence, but they significantly impact your daily experience and bathroom aesthetics. Plush, absorbent towels in coordinating colors create a spa-like atmosphere and make your post-shower routine feel luxurious rather than rushed. Rolling towels hotel-style and displaying them in a basket or on open shelving adds visual appeal while keeping them conveniently accessible.

Choose colors that complement your overall bathroom design—crisp whites create a clean, classic look, while colored towels can tie together your entire color scheme. While you don’t need dozens of towels in an RV, having a few high-quality sets makes a noticeable difference. Look for quick-drying options that perform well in the humidity and limited air circulation common in RV bathrooms.

PRO TIP: Assign each person a specific towel color to avoid confusion and reduce laundry by ensuring towels don’t get mixed up and unnecessarily washed. This system is especially helpful for families traveling together in close quarters.

11. Add Tension Rod Storage

RV bathroom with tension rod under sink

Tension rods are incredibly versatile storage tools that require no permanent installation. Placed under your bathroom sink, a tension rod creates an instant hanging system for spray bottles, cleaning supplies, or small baskets. This simple hack transforms awkward cabinet space into organized storage where everything is visible and easily accessible. The adjustable nature of tension rods means they fit perfectly in the unique dimensions of RV cabinetry.

Beyond under-sink storage, tension rods can be used inside shower stalls to hang caddies, across small walls to display decorative items, or even in medicine cabinets to create dividers. They’re removable, affordable, and can be repositioned whenever you reorganize. The friction-based mounting system holds firmly without damaging surfaces, making tension rods ideal for renters or anyone who wants flexibility in their storage solutions.

PRO TIP: Wrap the ends of tension rods with rubber shelf liner before installing to increase grip and prevent them from slipping during travel. This extra friction keeps rods securely in place even when your RV is bouncing down rough roads.

12. Choose a Cohesive Color Scheme

RV bathroom with navy and white color scheme

A unified color scheme ties all your decorating efforts together, creating a polished, intentional look. Select two to three complementary colors and use them consistently throughout your bathroom—in towels, accessories, artwork, and accent pieces. This approach creates visual harmony and makes your small space feel larger and more organized. Popular combinations include navy and white for a nautical feel, gray and yellow for modern freshness, or sage green and cream for natural tranquility.

Once you’ve established your color palette, shopping for new bathroom items becomes easier because you have clear guidelines. Your color scheme doesn’t need to be boring or matchy-matchy—incorporate different shades and textures within your chosen colors for depth and interest. The cohesive look will make your RV bathroom feel professionally designed rather than haphazardly decorated.

PRO TIP: Take photos of your bathroom and create a simple mood board (digital or physical) with your chosen colors and style inspiration. Reference this when shopping to ensure new purchases align with your vision and prevent impulse buys that don’t fit your established scheme.