
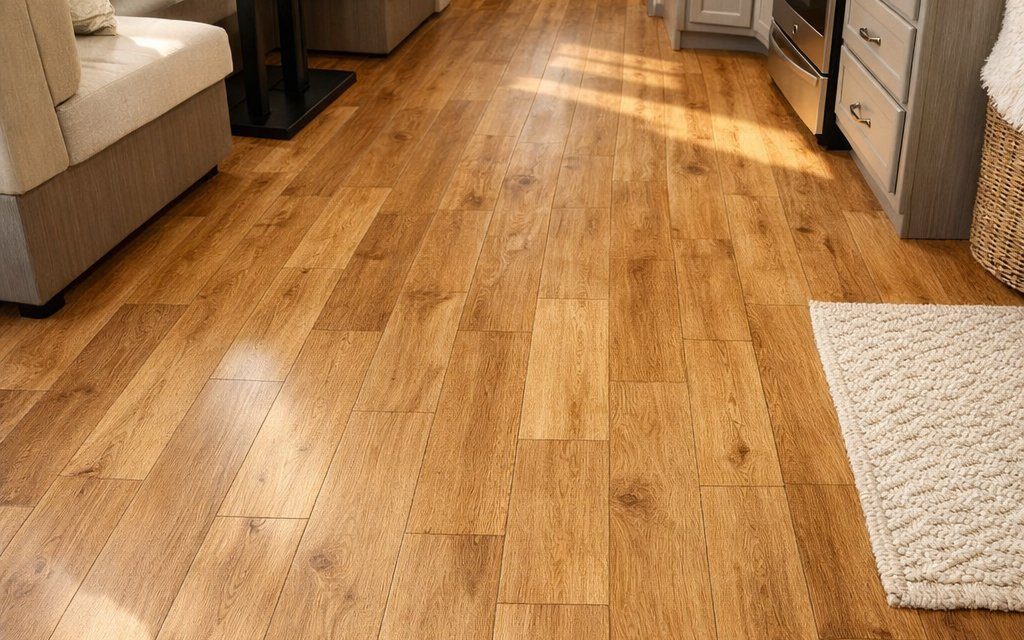
You want a fresh RV floor without a big time or money commitment. This article shows quick, do-it-yourself ideas you can tackle over a weekend to transform the look and feel of your space.
You will find options that fit simple tools and basic skills, from peel-and-stick and vinyl sheets to paint and epoxy. Pick a solution that matches your budget, skill level, and the amount of traffic your RV gets.
You can mix materials and finishes to get a custom look while keeping work time short. Small, staged projects let you test a style before committing to the whole floor.
These projects focus on easy prep, fast installation, and low mess so you can enjoy your updated RV by the end of the weekend.
1) Peel-and-stick vinyl planks
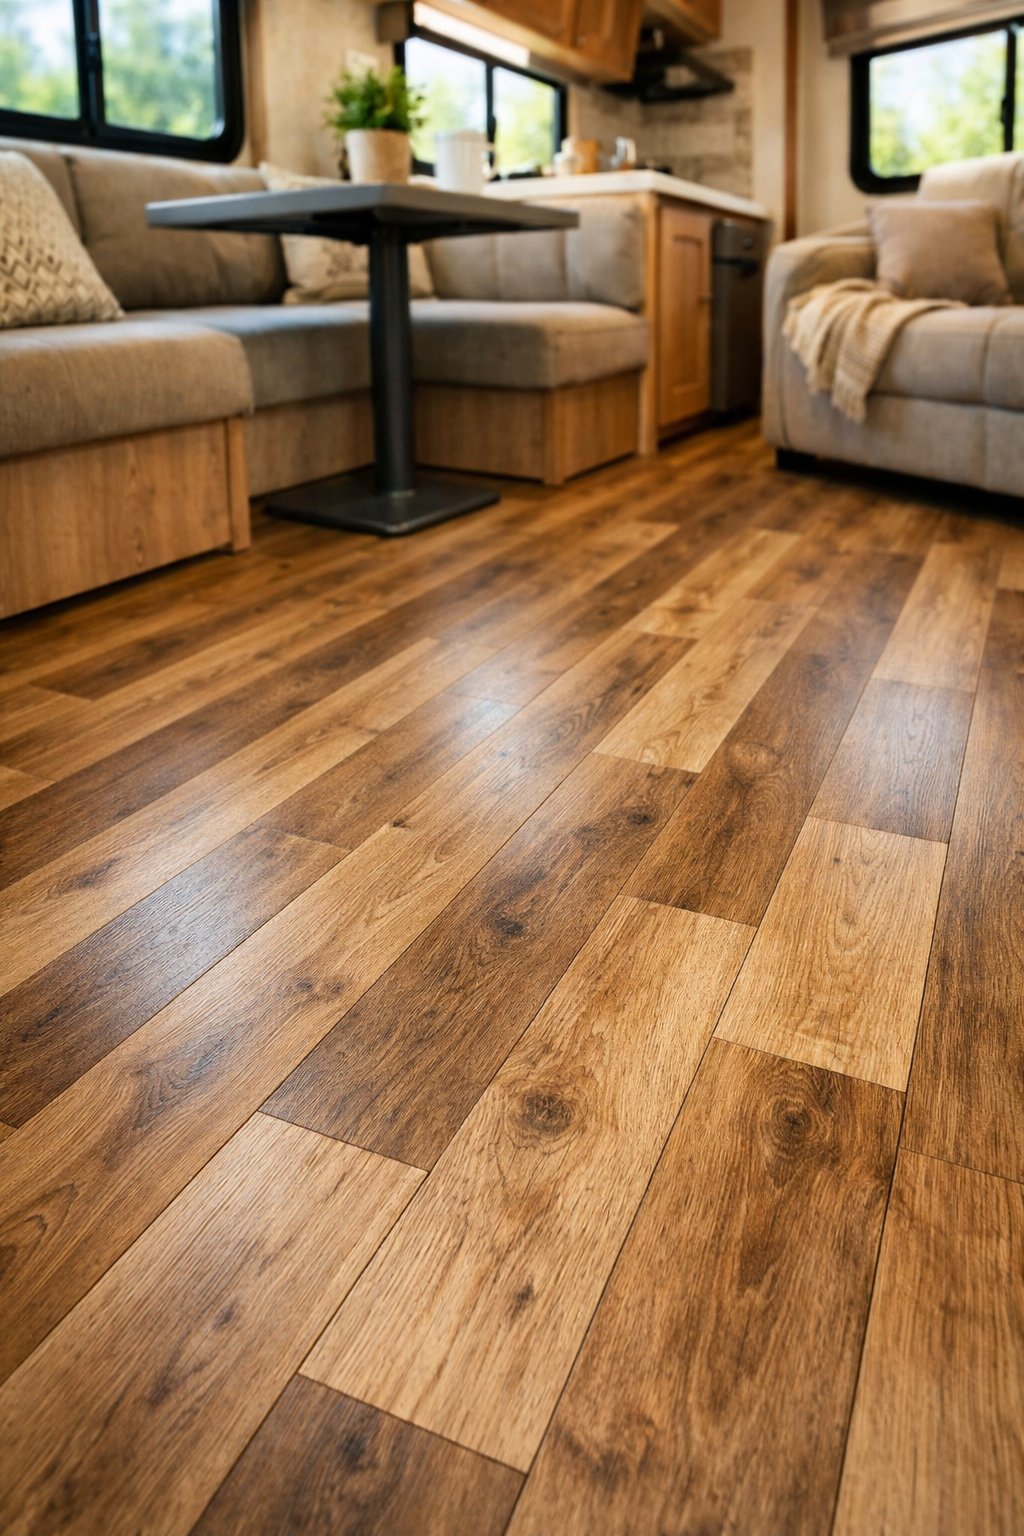
Peel-and-stick vinyl planks let you change your RV floor fast. They come in thin sheets with adhesive backing, so you only need a utility knife and a straight edge to cut and fit them.
Clean and dry the floor before you start. Peel a bit of backing, align the plank, then press it down firmly to avoid bubbles.
Work from one side to the other and stagger the seams for a natural look. You can trim around cabinets and wheel wells, and most planks are waterproof enough for spills and pet messes.
PRO TIP
Measure twice and cut once to avoid waste. Use a roller or a heavy object to press seams for better adhesion and longer life.
2) Interlocking foam floor tiles
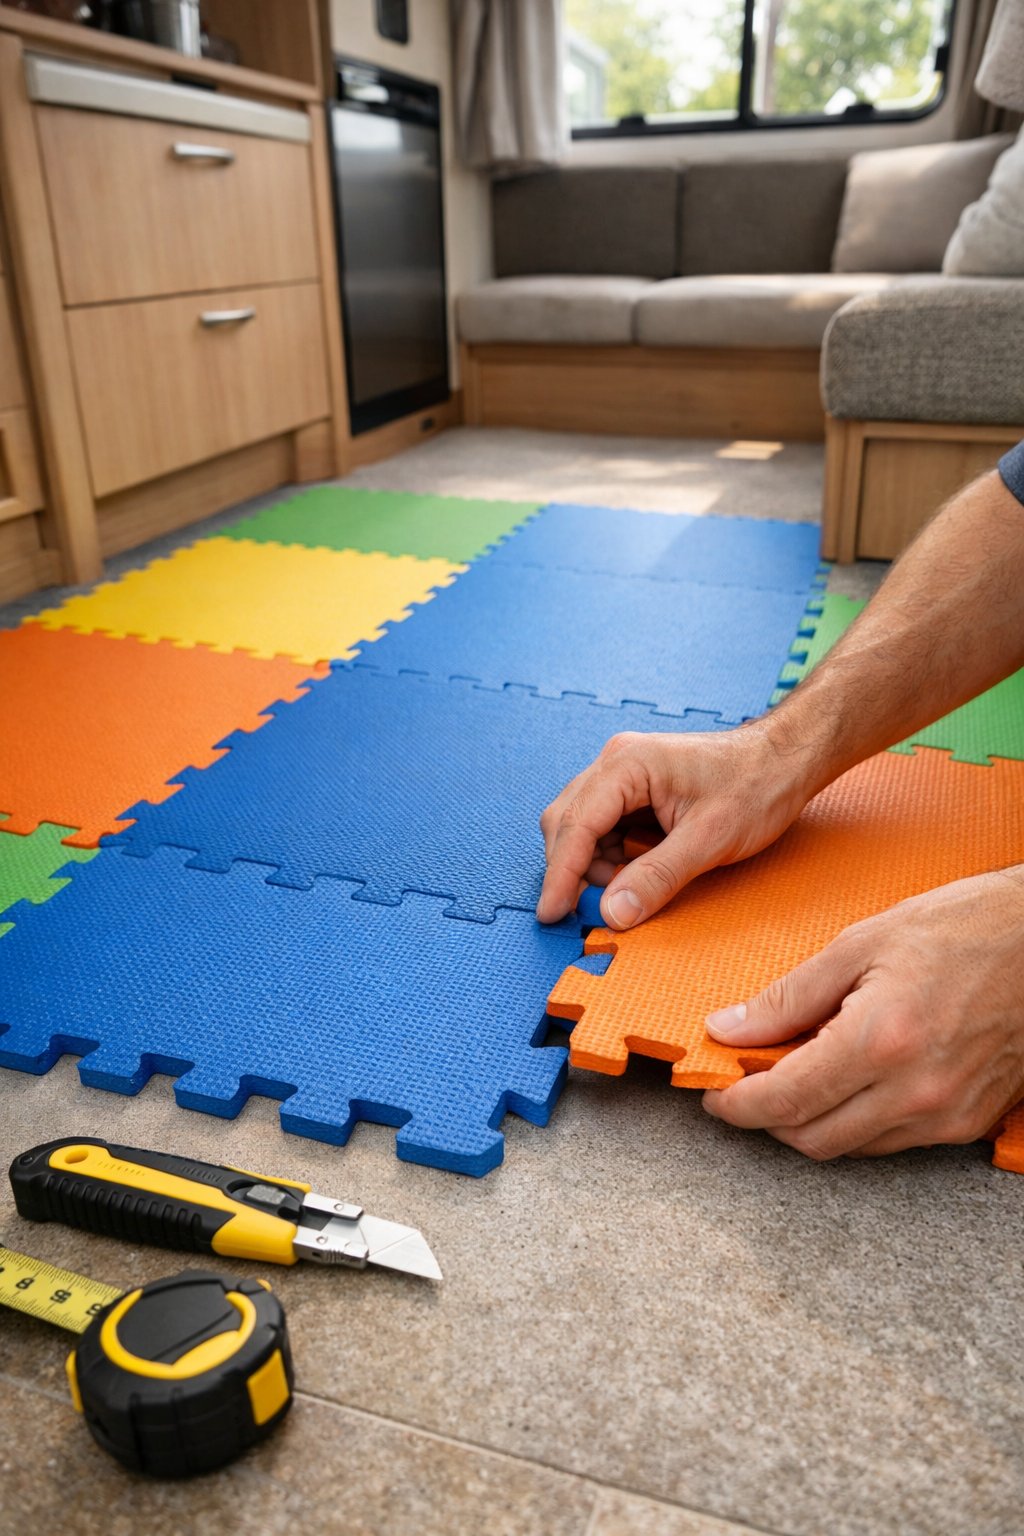
Interlocking foam tiles snap together and cover uneven floors quickly. You can cut them with a utility knife to fit around cabinets and wheel wells.
They feel soft underfoot and add a bit of insulation, which helps on cold mornings. The tiles are lightweight, so you can remove or replace sections without tools.
Installation takes just a few hours for most RVs. Clean the subfloor first, then work from one side across to the other for a neat finish.
PRO TIP
Trim tiles for a tighter fit and use double-sided tape at edges to stop shifting while driving.
3) DIY painted checkerboard floor
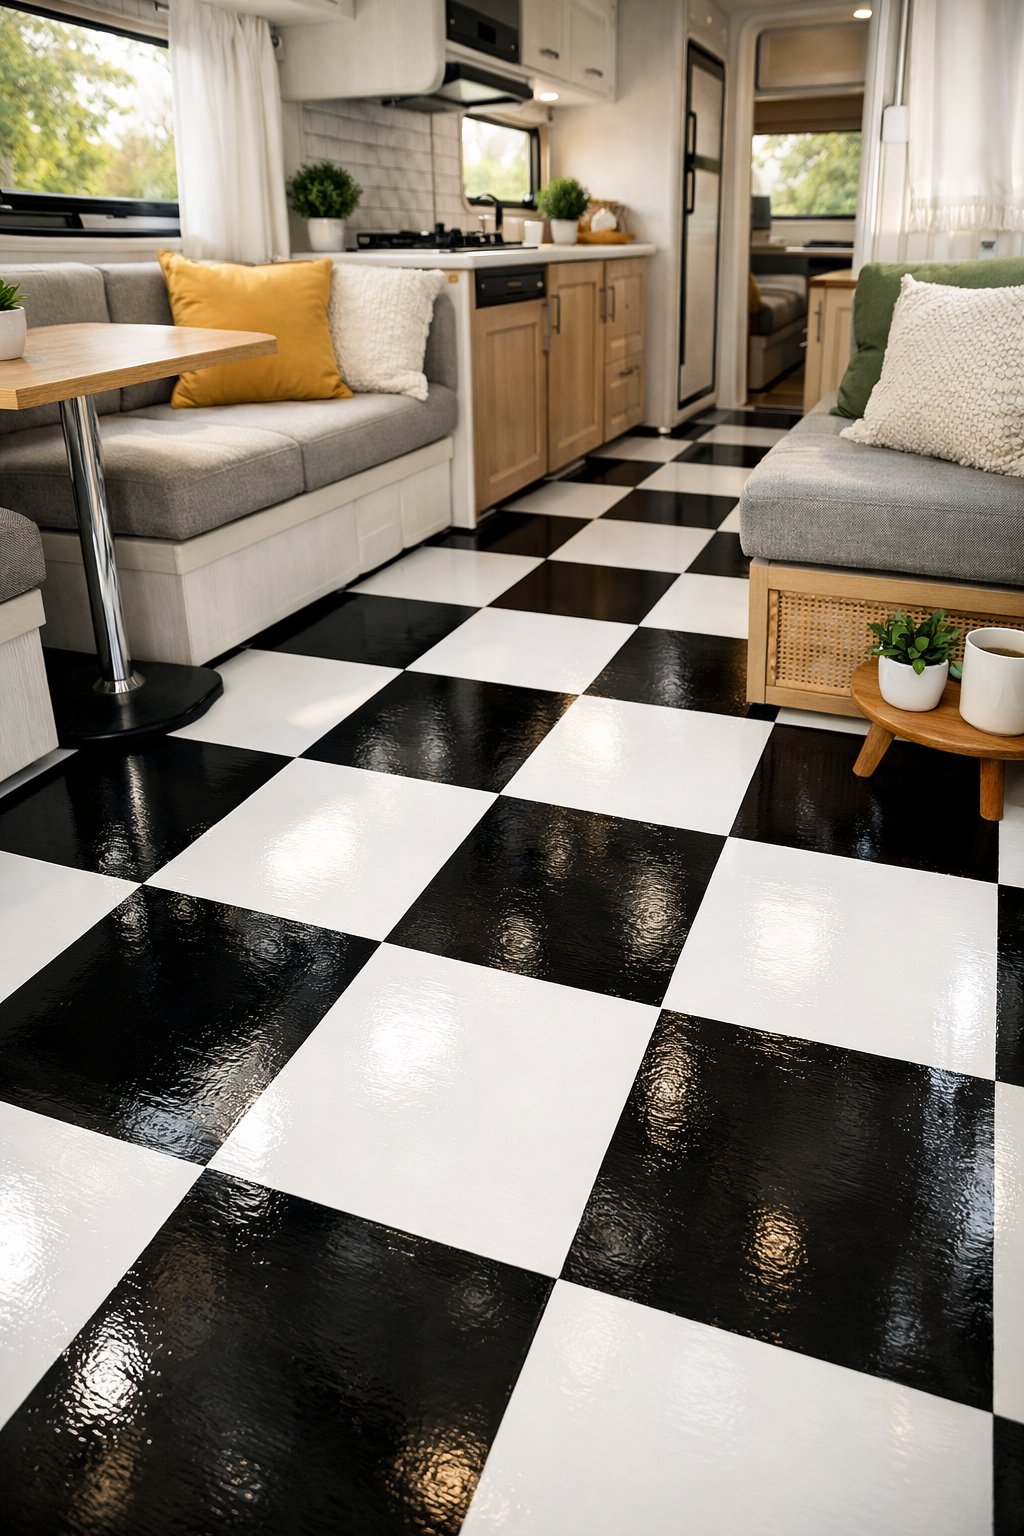
A painted checkerboard floor gives your RV a fresh, clean look without heavy work. You’ll need paint, painter’s tape, a measuring tape, and a steady hand.
Start by cleaning and sanding the floor so paint will stick. Measure and mark a grid of equal squares, then tape the edges for crisp lines. Paint every other square with your first color, let it dry, then tape and paint the remaining squares.
Use thin coats to avoid drips and maintain an even finish. Finish with a clear sealer to protect the paint from scuffs and moisture. This project takes a weekend and brightens the space with a classic pattern.
PRO TIP
Choose two colors with good contrast for the checkerboard to look sharp.
4) Rust-oleum Floor Coating kit
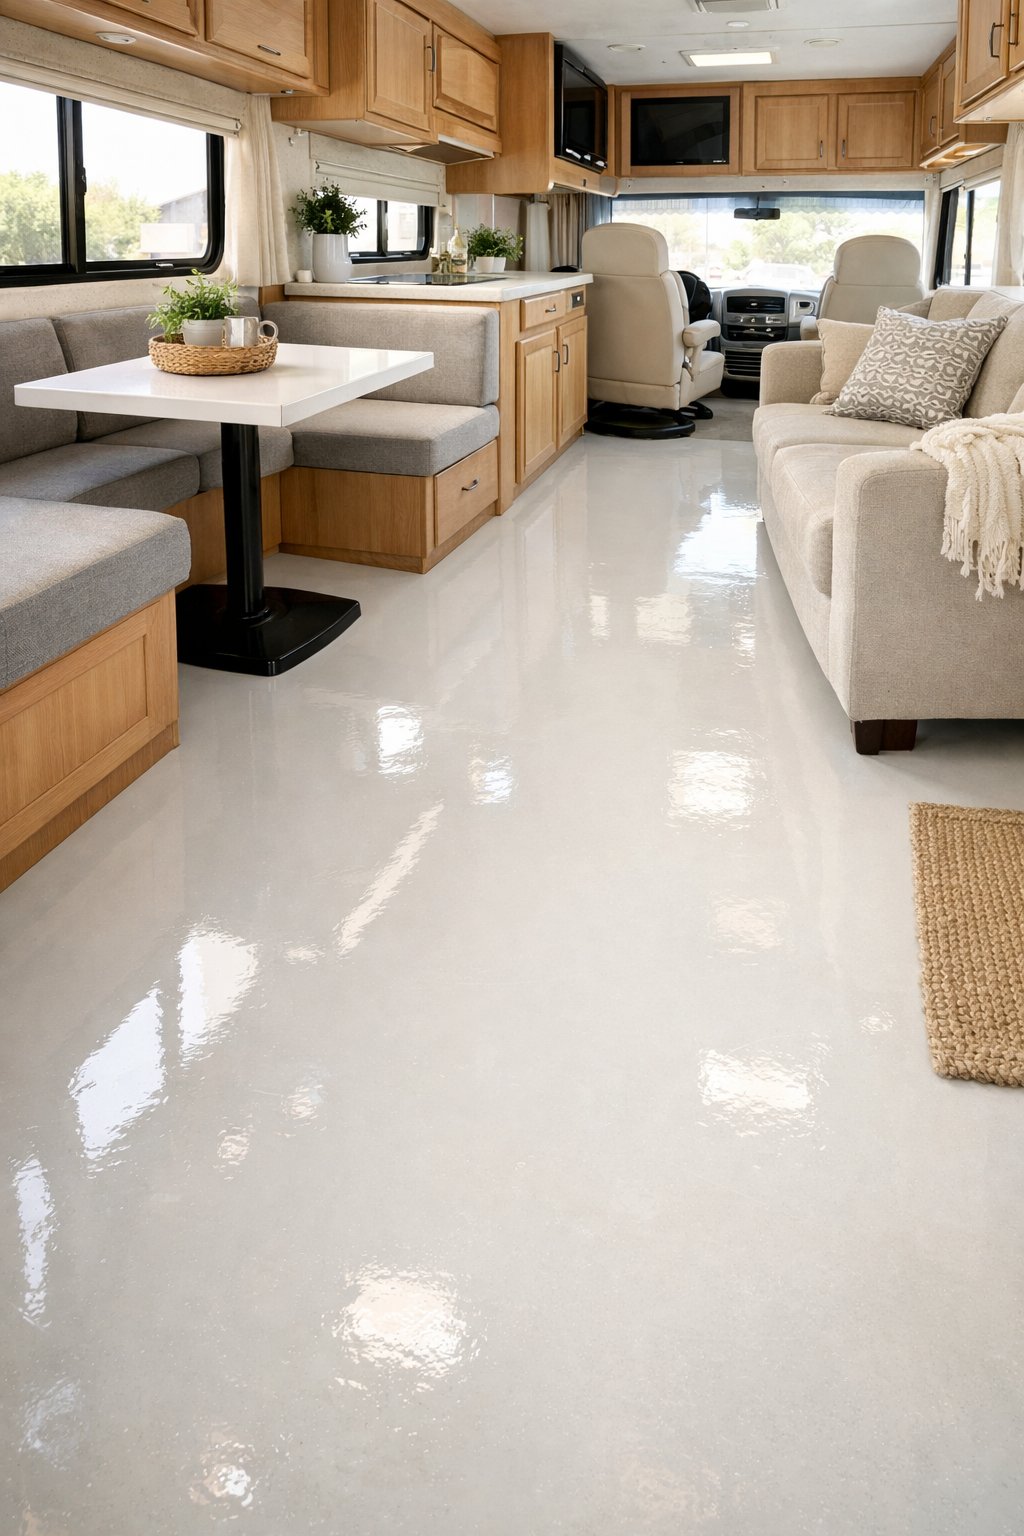
This kit gives your RV floor a hard, protective finish you can apply over existing surfaces. You mix and roll on the coating in a few simple steps, and it dries into a tough layer that resists scratches and stains.
Prep well by cleaning and lightly sanding the floor so the coating bonds. Work in small sections and use a short-nap roller for even coverage.
Expect to wait a day or two for full cure, depending on temperature and humidity. Ventilate the space while it dries to help the fumes clear and speed curing.