
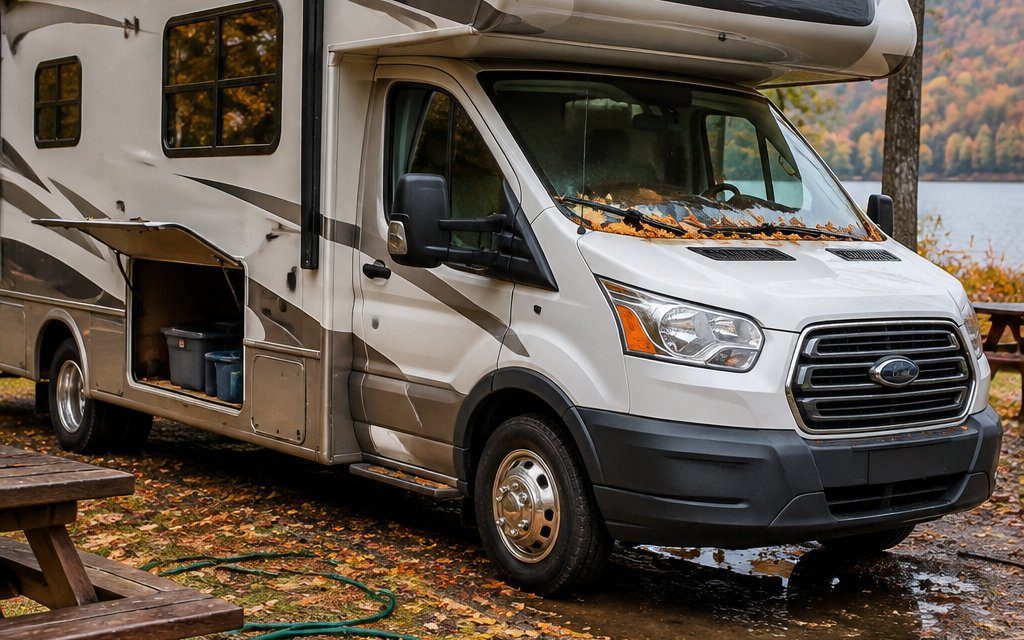
You shorten your RV’s life when you delay winterizing, ignore exterior seals, trap moisture, store batteries incorrectly, neglect tires, or leave food and rodent entry points behind. Fall brings freezing nights and wet weather that turn those maintenance gaps into cracked plumbing, hidden rot, and expensive repairs.
You protect your investment by handling weather-sensitive jobs before your last trip ends. Even if you camp through November or keep your rig in heated storage, you need a plan for temperature changes and the weeks when nobody checks inside.
1) Waiting Until the First Freeze to Winterize RV Plumbing
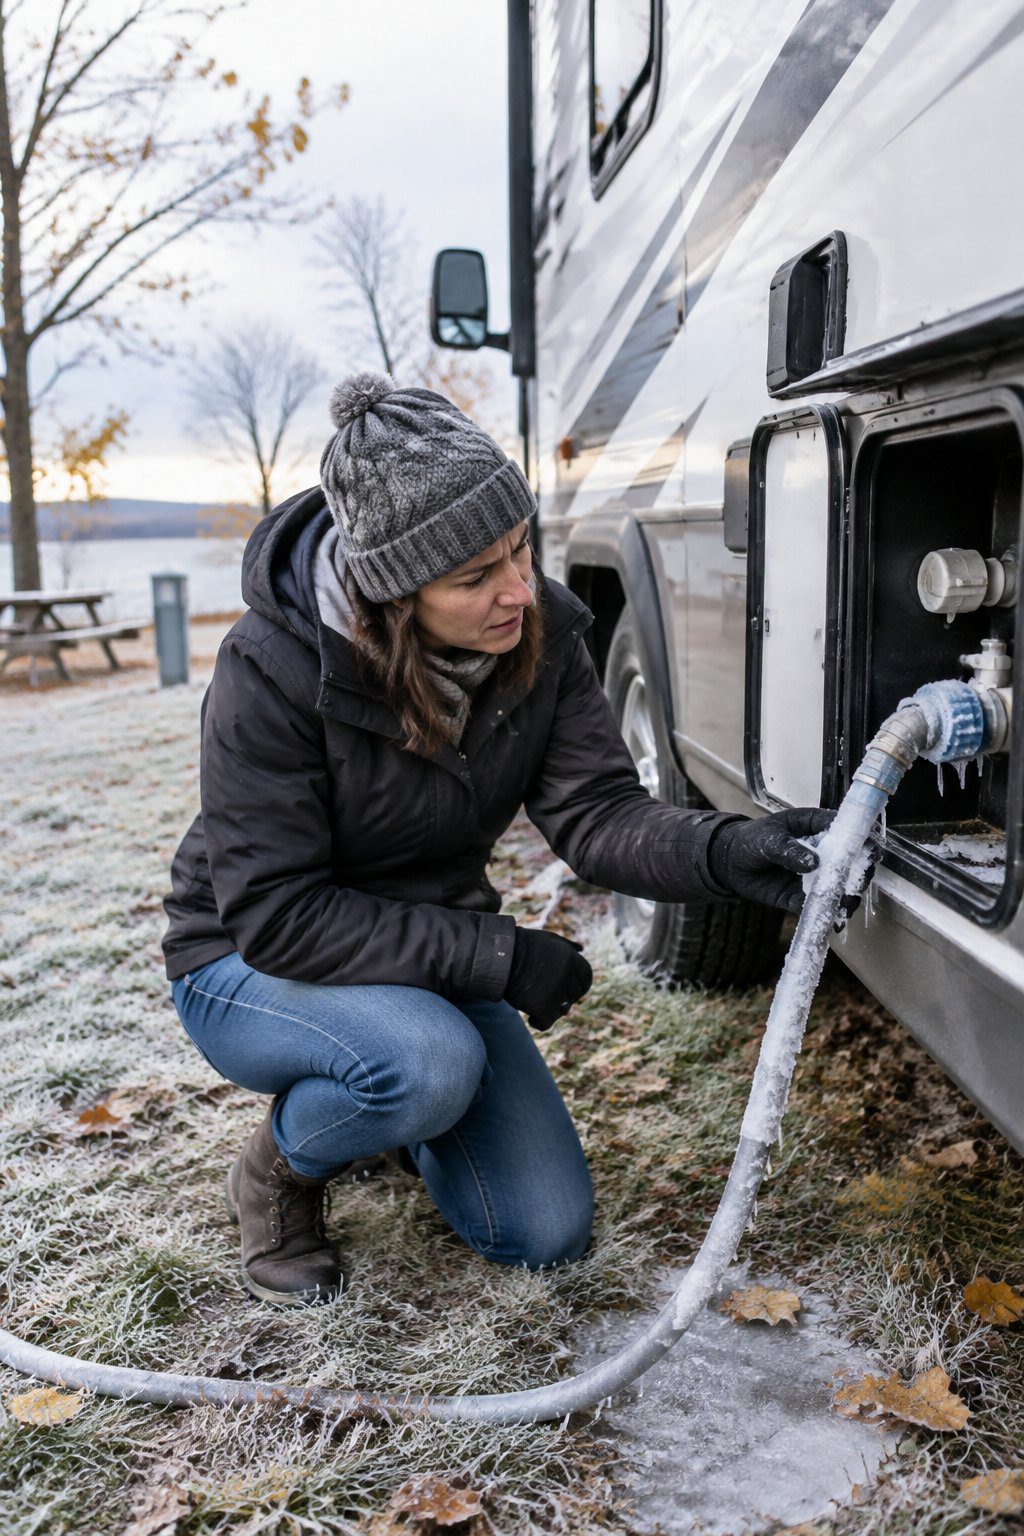
You need to winterize your plumbing before freezing temperatures reach any water left in the system. Your biggest trouble spots include low points and small components, where trapped water expands as it freezes.
Set your deadline using the forecast for your RV’s location. A daytime warmup offers little protection when your exposed hookups spend hours below 32°F.
Follow your model’s winterizing procedure, including these easily missed steps:
- Disconnect, drain, and store your drinking-water hose and inline filter.
- Drain your fresh-water tank and low-point drains.
- Turn off your water heater and let it cool before draining it. Relieve pressure as directed.
- Set your water-heater bypass correctly before adding antifreeze.
- Protect your pump, toilet valve, outdoor shower, and every faucet.
- Follow separate instructions for your ice maker, washer, or tankless water heater.
- Add the specified amount of RV antifreeze to your drain traps and toilet bowl.
Use only RV/marine antifreeze labeled for potable-water systems. Keep automotive antifreeze out of your RV plumbing.
If your manual allows compressed-air winterizing, use a regulator and its specified pressure limit. You still need to protect drain traps and any components that the blowout procedure leaves wet. Keep your water heater switched off until you refill it during spring startup.
2) Leaving Roof Seams and Window Seals Unchecked Before Fall Rain
Checking your roof seams and window seals before fall rain helps you catch leaks before water reaches your walls or subfloor. You might notice the first stain far from the opening because water travels behind panels.
Inspect your roof edges and every roof penetration, including vents, skylights, and antenna mounts. Look for cracked sealant, lifted edges, gaps, and loose trim. Check window frames and slide-out seals from the ground where possible.
For a useful inspection:
- Clear leaves from your gutters and drainage channels.
- Look inside cabinets and along ceiling corners with a flashlight.
- Feel for dampness around windows and beneath accessible plumbing.
- Photograph suspect areas so you can compare them during your next check.
Match your repair products to your roof material and the RV manufacturer’s requirements. Your EPDM, TPO, fiberglass, or aluminum roof needs compatible cleaners and sealants. Applying household silicone without checking compatibility complicates future repairs.
Keep window weep holes clear so water drains outside. If you find soft decking, loose wall layers, or recurring dampness, arrange a professional leak inspection. Only access your roof when its rating and your ladder setup allow safe access.
3) Trapping Moisture Under Tarps and Inside a Closed-Up RV
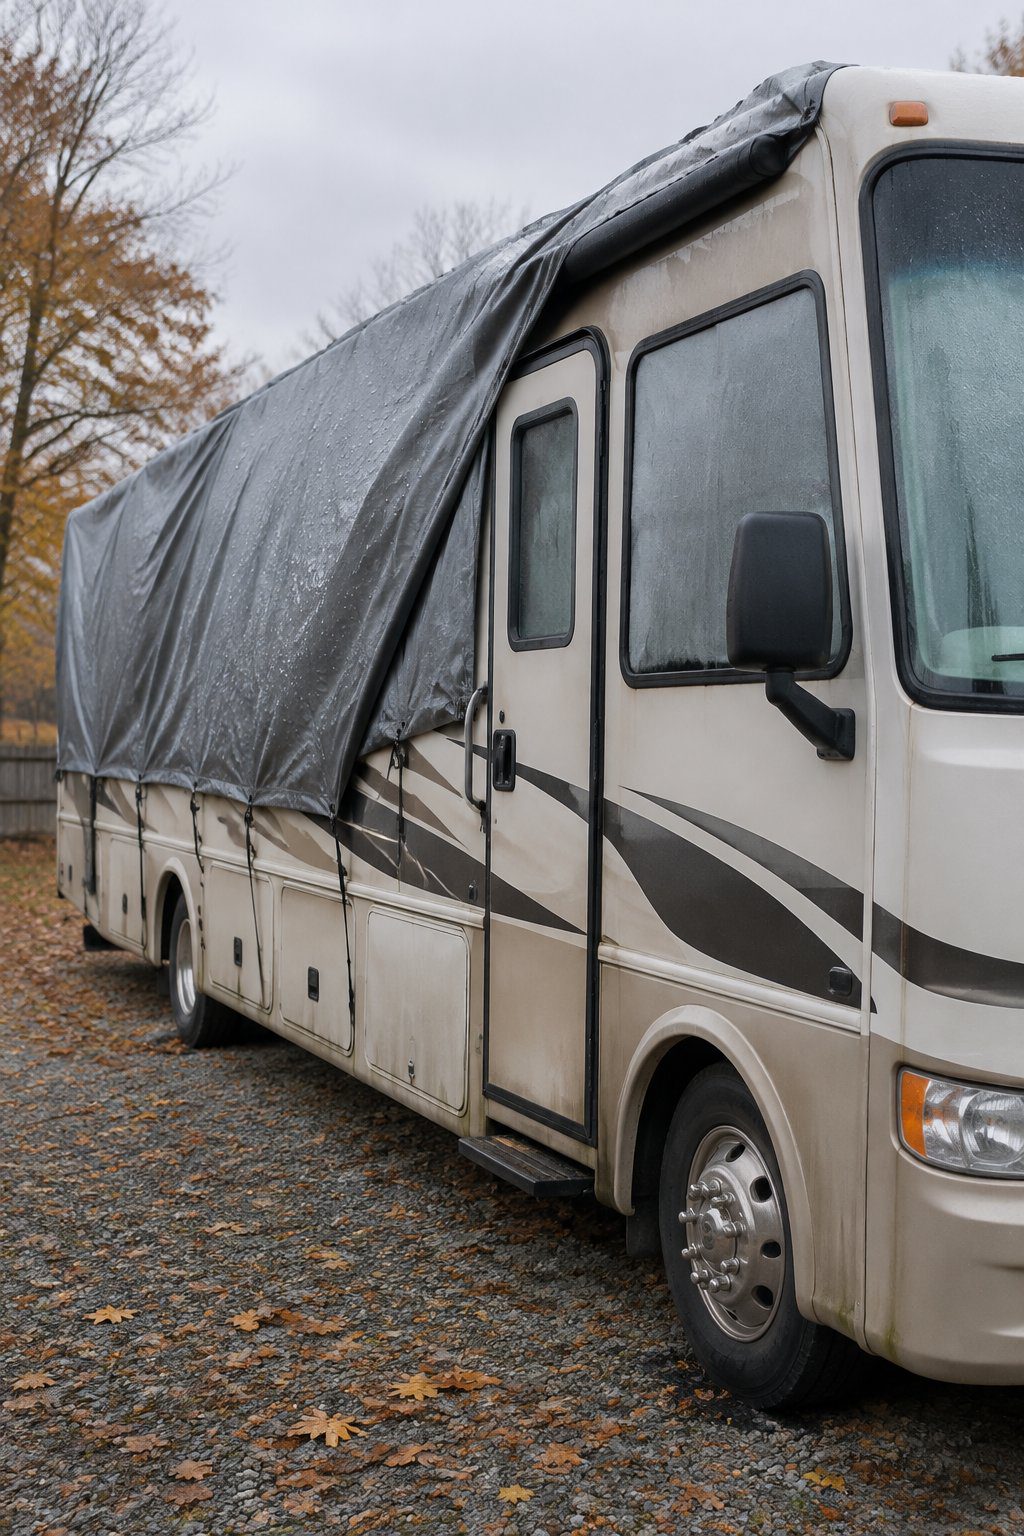
Your stored RV needs moisture control inside and a breathable, properly fitted cover outside. A loose plastic tarp traps condensation against surfaces and rubs against finishes when the wind moves it.
Start storage with a clean, dry interior. Dry your shower and sinks, remove damp towels, and make sure your awning is dry before putting it away for the season.
Use a small digital hygrometer to track indoor humidity. Aim for roughly 30% to 50% relative humidity, and investigate persistent readings above 60%.
Choose a moisture-control setup you can maintain:
- Use a breathable RV cover sized for your rig, with straps secured as directed.
- Allow airflow around your stored cushions and mattress.
- Prop your clean, switched-off refrigerator doors open using their storage latches.
- Use moisture absorbers in stable containers, and check them before they overflow.
- Run a dehumidifier only when you have reliable power and a safe drainage plan.
Follow your manufacturer’s guidance for vent positions. Any vent left open needs weather protection and suitable pest screening.
Check inside after heavy rain and during major temperature swings. If you find a wet patch, trace its source before adding more moisture absorbers; a roof leak needs repair.
4) Storing Batteries Without a Chemistry-Specific Charging Plan
Your battery’s chemistry determines its storage charge level and charging routine. Using one routine for every battery type risks early failure or damage.
Identify your house and chassis batteries separately. You might have lithium house batteries alongside a lead-acid starting battery, with different storage instructions for each.
| Your battery type | Your fall storage approach | Your key precaution |
|---|---|---|
| Flooded lead-acid | Fully charge; check electrolyte as directed | Use distilled water and keep the storage area ventilated |
| AGM or gel lead-acid | Fully charge; use an approved charging profile | Follow the maker’s voltage limits |
| Lithium iron phosphate (LiFePO4) | Use the maker’s specified storage charge level | Follow its temperature limits for charging |
For lead-acid batteries, check voltage or state of charge on the manufacturer’s schedule and recharge before deep discharge. A discharged lead-acid battery freezes more readily than a fully charged one.