
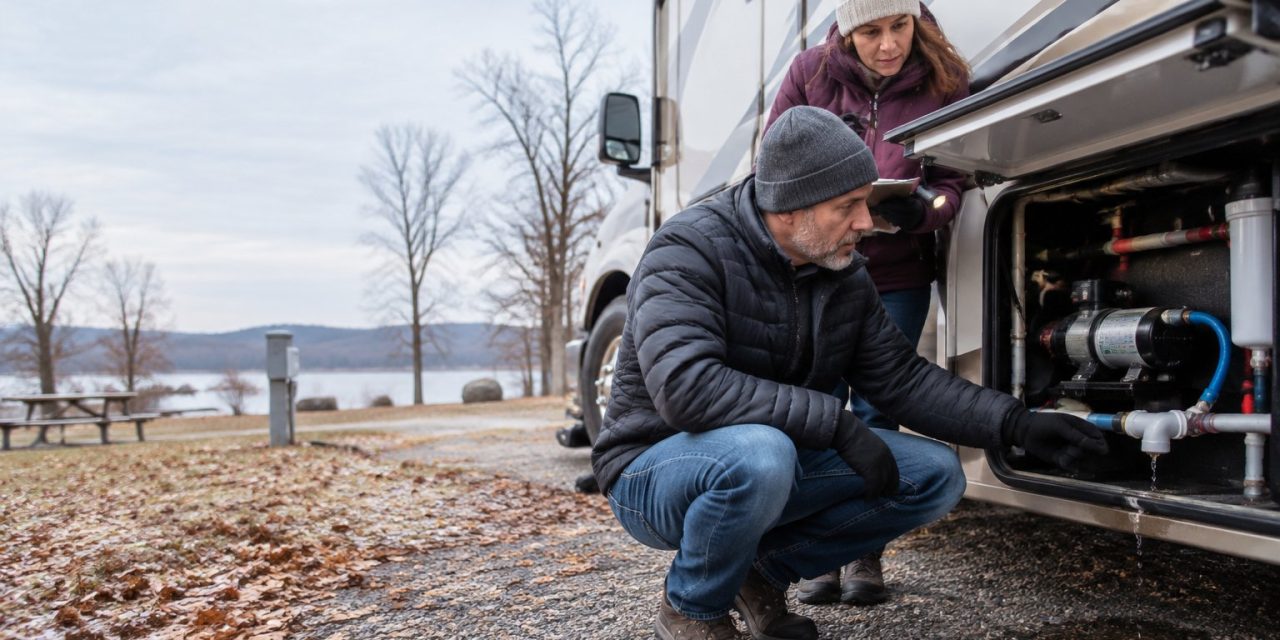
A single cracked water pump can run $300. A split pipe fitting hidden behind a wall panel can run $1,200 or more once you add labor and replacement cabinetry. RV owners lose real money every winter, not because they do not care, but because a few sneaky mistakes slip past even careful people. This guide walks through 7 winterizing mistakes that cost $1,000+ so you can protect your rig, your budget, and your spring road trip plans.
Winterizing an RV is not hard. But skipping steps or rushing through them is how small jobs turn into big repair bills. Below are the mistakes that drain wallets every single year, plus simple fixes for each one.
1. Waiting Until the First Freeze to Start Winterizing
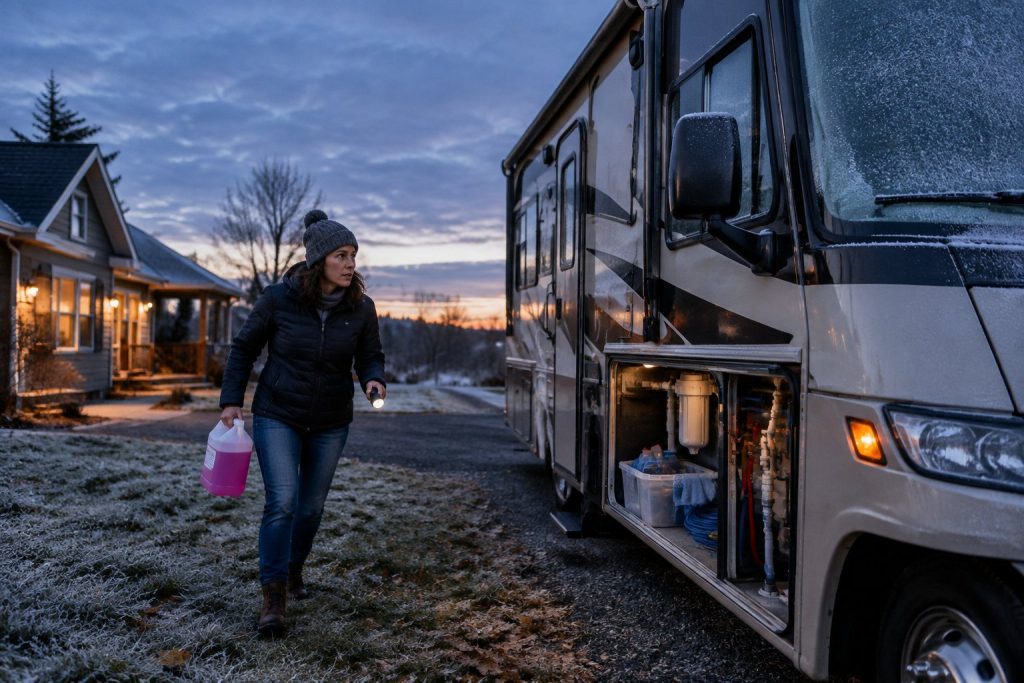
Many RV owners treat winterizing like a last-minute chore. They wait for the weather app to flash a freeze warning, then scramble to find antifreeze at 8 p.m. By then, it may already be too late.
Water left in lines can freeze in just a few hours once temperatures drop below 32°F overnight, especially in exposed areas like underbelly plumbing or outdoor kitchens. Once ice forms inside a pipe, it expands. That expansion can crack fittings, split PVC lines, or damage the water pump. None of these repairs are cheap, and some require pulling apart interior panels to access the damage.
Experts who study seasonal home and property prep consistently point out that starting early, before the first hard freeze, is the single best way to avoid cold-weather damage [1]. The same logic applies directly to RVs. A good rule is to winterize once nighttime temperatures start dipping into the mid-30s, even if daytime highs still feel comfortable. Waiting for a hard freeze warning means waiting too long, because by the time the warning hits, your RV may already be sitting in freezing temps overnight.
2. Skipping the Furnace and Water Heater Check Because It Worked Fine Last Year
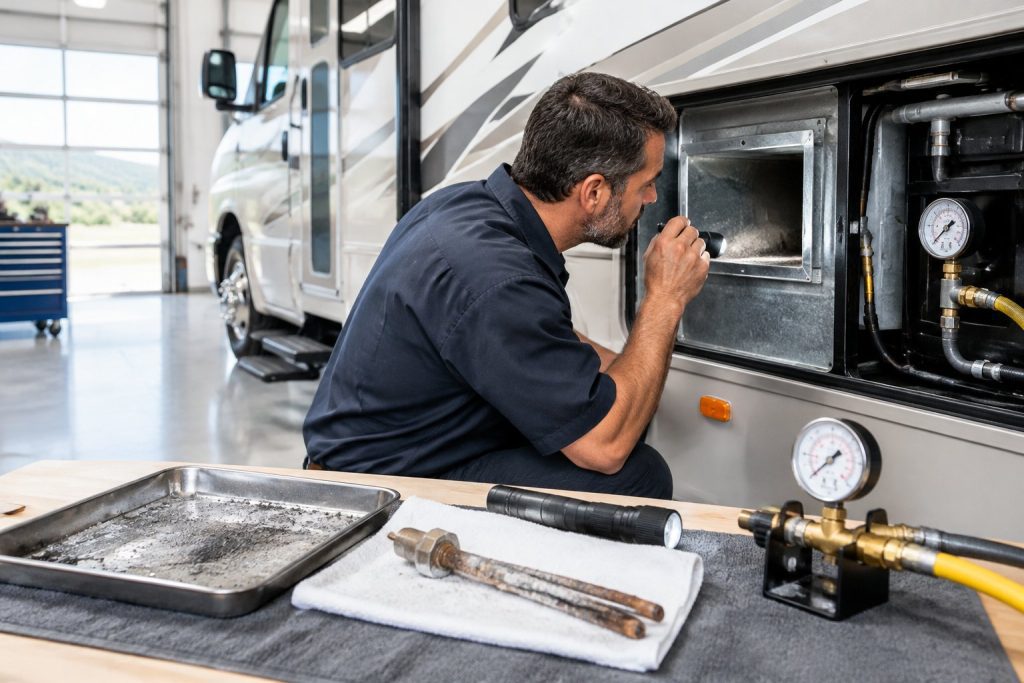
“It worked fine last season” is one of the most expensive sentences in the RV world. Furnaces, water heaters, and propane systems do not stay in perfect shape just because they worked the last time you used them. Dust builds up in furnace ducting. Water heater anode rods corrode. Propane lines develop tiny leaks that are invisible without a proper check.
A furnace that quietly fails during a winter storage trip or a cold-weather camping stint can lead to frozen pipes anyway, since many owners rely on furnace heat to protect plumbing during borderline temperatures. If that backup system fails without warning, the damage is the same as if no one winterized at all.
Fall maintenance checklists built for homes recommend inspecting heating systems before cold weather sets in rather than assuming last year’s performance guarantees this year’s safety [3]. For an RV, that means testing the furnace on propane and shore power, checking the water heater for sediment buildup, and confirming the thermostat responds correctly. A $75 inspection is nothing compared to a $1,500 water heater and cabinetry repair after a freeze-related failure.
3. Leaving Water in Lines, Hoses, and Tanks
This mistake sounds obvious, yet it happens constantly. Owners blow out the main water lines but forget the outdoor shower hose. They drain the fresh tank but skip the water heater bypass. They disconnect the city water hose but leave a garden hose attached to an exterior wash station port, letting trapped water sit right where it can freeze and crack a fitting.
Think of an RV’s plumbing system like a home’s outdoor faucets and sprinkler lines. Homeowners are regularly warned to disconnect and drain outdoor hoses and irrigation lines before winter, because any trapped water left in a line can freeze and burst the pipe behind it [2]. RV plumbing works the same way, just packed into a much smaller space with more hidden corners.
A thorough winterizing job means checking every single water path: fresh tank, gray tank, black tank, water heater, outdoor shower, ice maker lines if equipped, and washing machine hookups in larger rigs. Missing even one line can mean a hidden leak that goes unnoticed until spring, when the damage behind interior paneling is already done.
4. Ignoring Drafts and Air Leaks Around Slides, Windows, and Doors
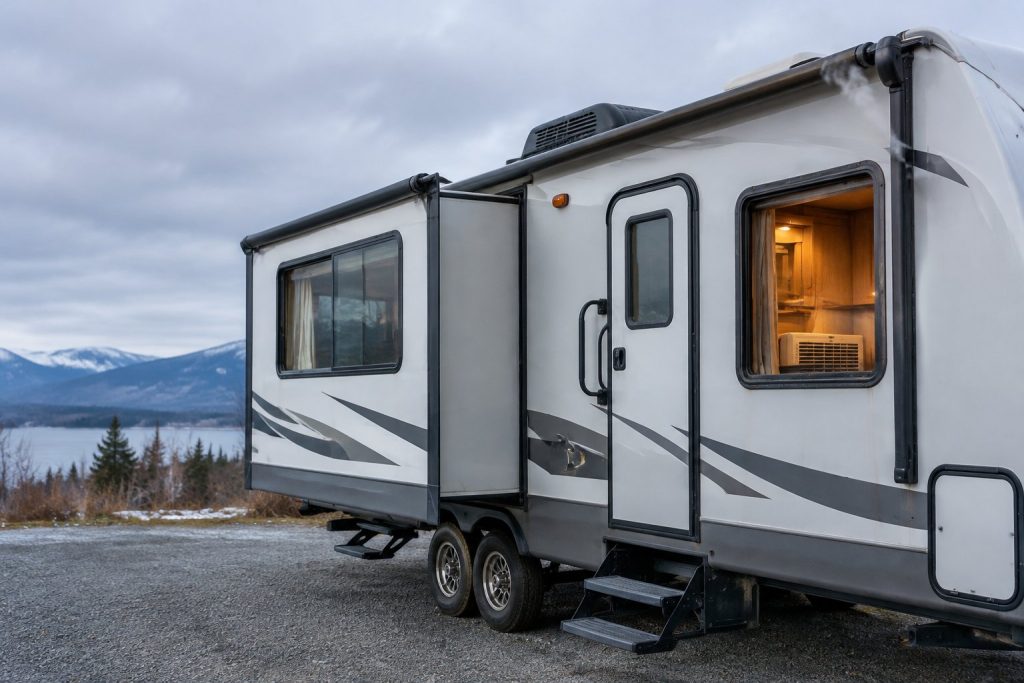
RVs are built with a lot of seams. Slide-out gaskets, window frames, roof vents, and entry doors all rely on seals that wear down over time. When those seals fail, cold air gets in and warm air escapes, forcing the furnace to run far more than it should.