
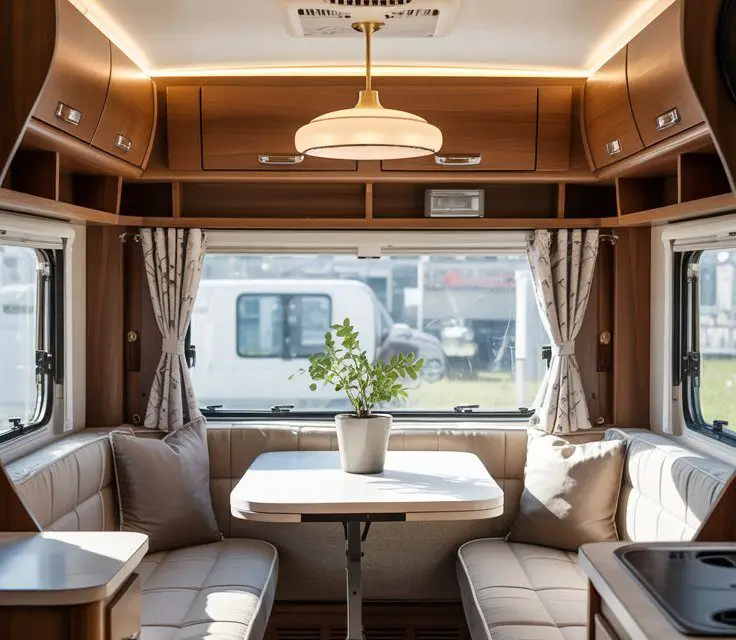
Embarking on an old RV remodel doesn’t have to mean draining your savings account. In fact, some of the most stunning transformations are born from creativity, elbow grease, and smart, budget-friendly choices. The key is to focus on high-impact updates that deliver maximum visual bang for your buck.
Think paint, peel-and-stick products, clever lighting, and upcycled treasures found at thrift stores or garage sales. By prioritizing projects that refresh the space without a full gut job, you can create a beautiful, personalized home-on-wheels that feels brand new. Get ready to be inspired by these 29 amazing ideas that prove style and frugality can absolutely go hand-in-hand.
1. Modernize with Peel-and-Stick Flooring
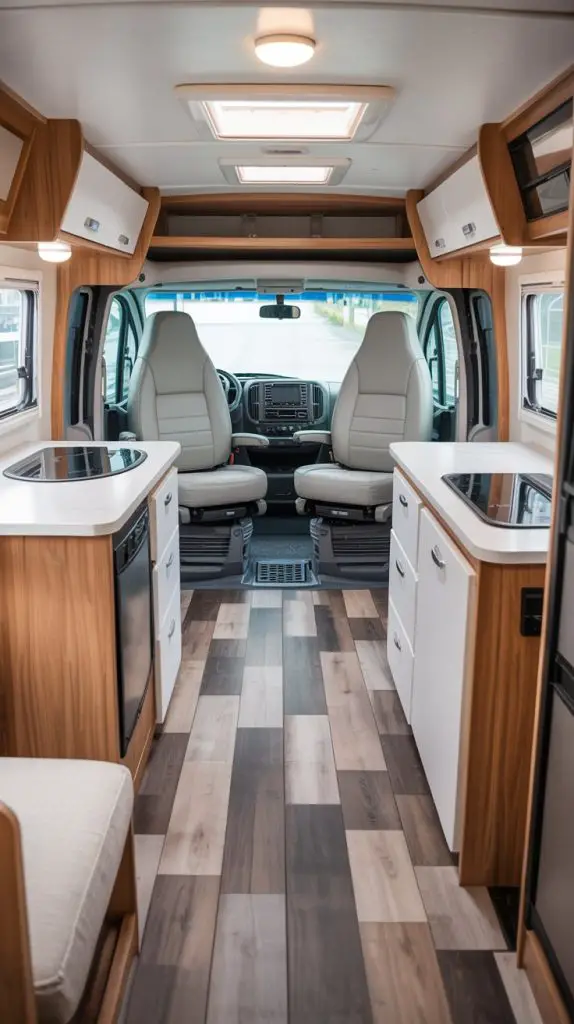
Gone are the days of dated, floral RV carpet. One of the most transformative and budget-friendly changes you can make is installing modern peel-and-stick vinyl plank flooring. This material is incredibly user-friendly; it often requires no messy glue and can be cut with a utility knife, making it a perfect DIY project. It’s durable, easy to clean, and instantly makes the space feel larger, cleaner, and more contemporary. Choose a light grey wood-look or a classic oak style to brighten up the interior and create a fantastic base for your new design.
The beauty of this option is its cost and simplicity. You can often find great deals on these materials at big-box hardware stores, and because RVs have a small square footage, you can complete the entire project for a very reasonable price. It’s also a great way to cover up any existing flooring flaws or stains, providing a fresh, seamless look that ties the whole remodel together.
PRO TIP: Before you begin installation, ensure the subfloor is completely clean, dry, and level. Acclimate your boxes of flooring inside the RV for at least 24 hours before laying it down to prevent expansion or contraction gaps later on.
2. A Fresh Coat of Paint on Cabinets
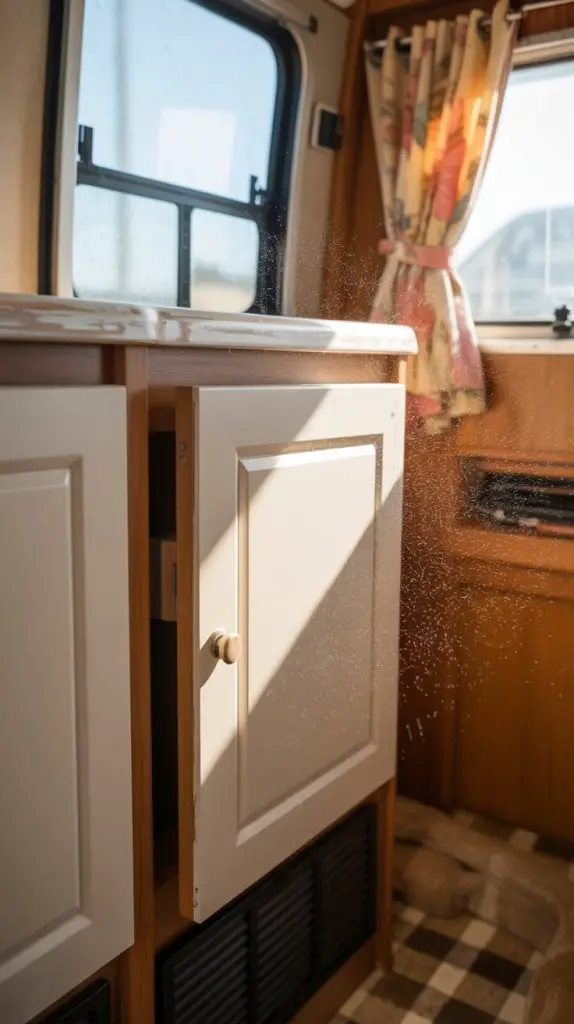
The honey-oak or dark laminate cabinets common in older RVs can make the interior feel cramped and outdated. A simple coat of paint is the most cost-effective way to revolutionize your space. Start by thoroughly cleaning and lightly sanding all cabinet surfaces to help the new paint adhere. Using a high-quality primer designed for laminate or tricky surfaces is non-negotiable for a lasting finish. Then, apply a few thin coats of a durable, scrubbable paint in a light, bright color like white, cream, or light grey.
This project requires more patience than skill, but the results are astounding. Light-colored cabinets will reflect more light, making your kitchen and living area feel instantly larger and more inviting. Don’t forget to update the hardware—new knobs and pulls are an inexpensive detail that makes the entire paint job look professional and complete.
PRO TIP: For a truly high-end look, remove the cabinet doors and drawers to paint them flat on a sawhorse. This prevents dreaded drip marks and ensures a smooth, factory-like finish on every surface.
3. Create an Accent Wall with Removable Wallpaper
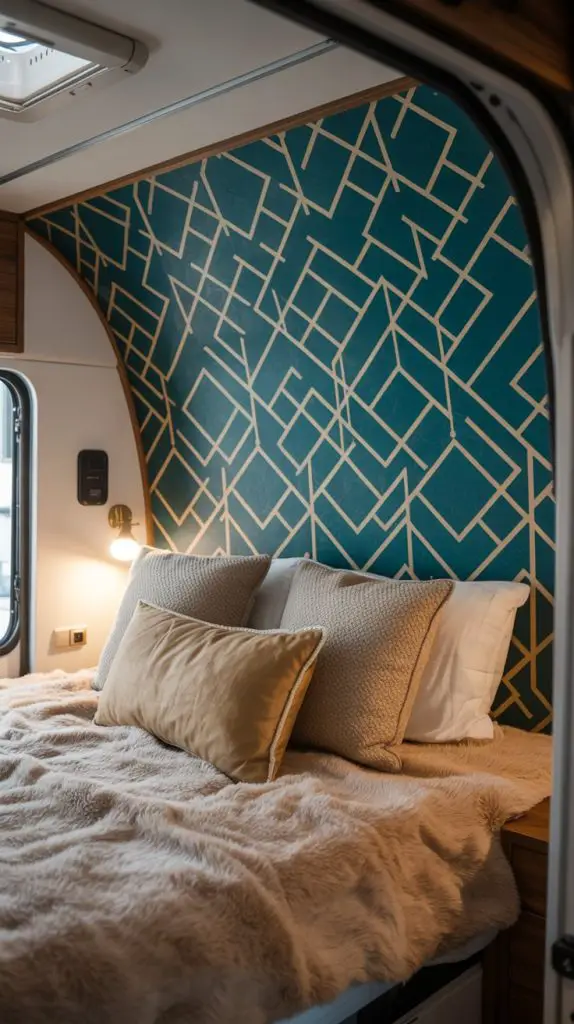
An accent wall adds instant personality and depth to your RV without the commitment or cost of wallpapering the entire vehicle. Removable wallpaper is a renter-friendly (and RV-friendly!) dream product that allows you to experiment with bold patterns, textures, and colors. It’s perfect for behind the bed, the dinette, or even on the ceiling to add a surprise element. The application is forgiving; if you make a mistake, you can just peel it back and try again.
Choose a pattern that complements your new color scheme. A subtle geometric print can feel modern, a botanical pattern brings the outdoors in, or a simple shiplap-look wallpaper can add a rustic farmhouse charm. This single feature will become the focal point of your room and a major talking point for anyone who sees it.
PRO TIP: Use a plastic squeegee or a credit card to smooth out the wallpaper as you apply it. This helps eliminate air bubbles for a perfectly smooth, professional application.
4. Swap Out Old Light Fixtures
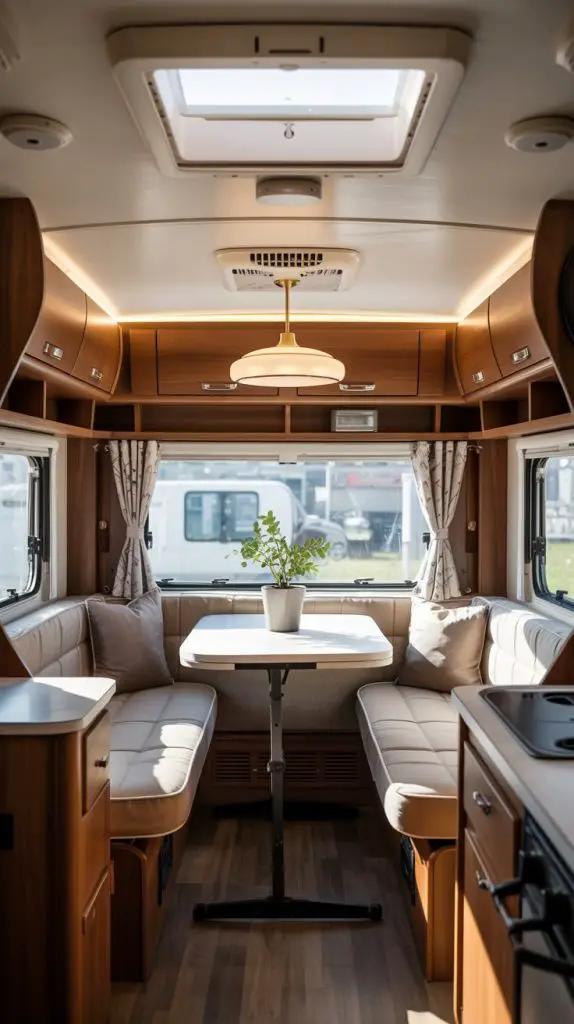
The dated, fluorescent box lights and dim brass fixtures in old RVs can cast a harsh, unflattering light and severely detract from your new decor. Swapping them out is usually a very simple electrical project that makes a huge difference. Look for modern LED fixtures that are not only stylish but also energy-efficient and cooler-running. Consider installing a statement fixture over the dinette, like a small modern chandelier or a sleek dome light, to create a designated “dining area.”
For other areas, simple puck lights under cabinets provide excellent task lighting for the kitchen, and plug-in wall sconces with trendy shades can add ambient lighting by the bed without any hardwiring required. Lighting is everything in a small space, and layering it effectively can make your RV feel cozy and luxurious.
PRO TIP: Take a picture of the existing wiring before you disconnect the old fix