You can give your RV a fresh, cozy look without spending a lot. This article shows easy, low-cost ideas you can do yourself to make your space cleaner, brighter, and more comfortable. You’ll learn practical projects that cost under $500 and fit into your travel plans.
You’ll find options that won’t harm surfaces and are easy to reverse when you want to change things again. Small swaps like flooring, lighting, and hardware can make a big difference in how your RV feels. PRO TIP: Start with one small project to build confidence before tackling bigger changes.
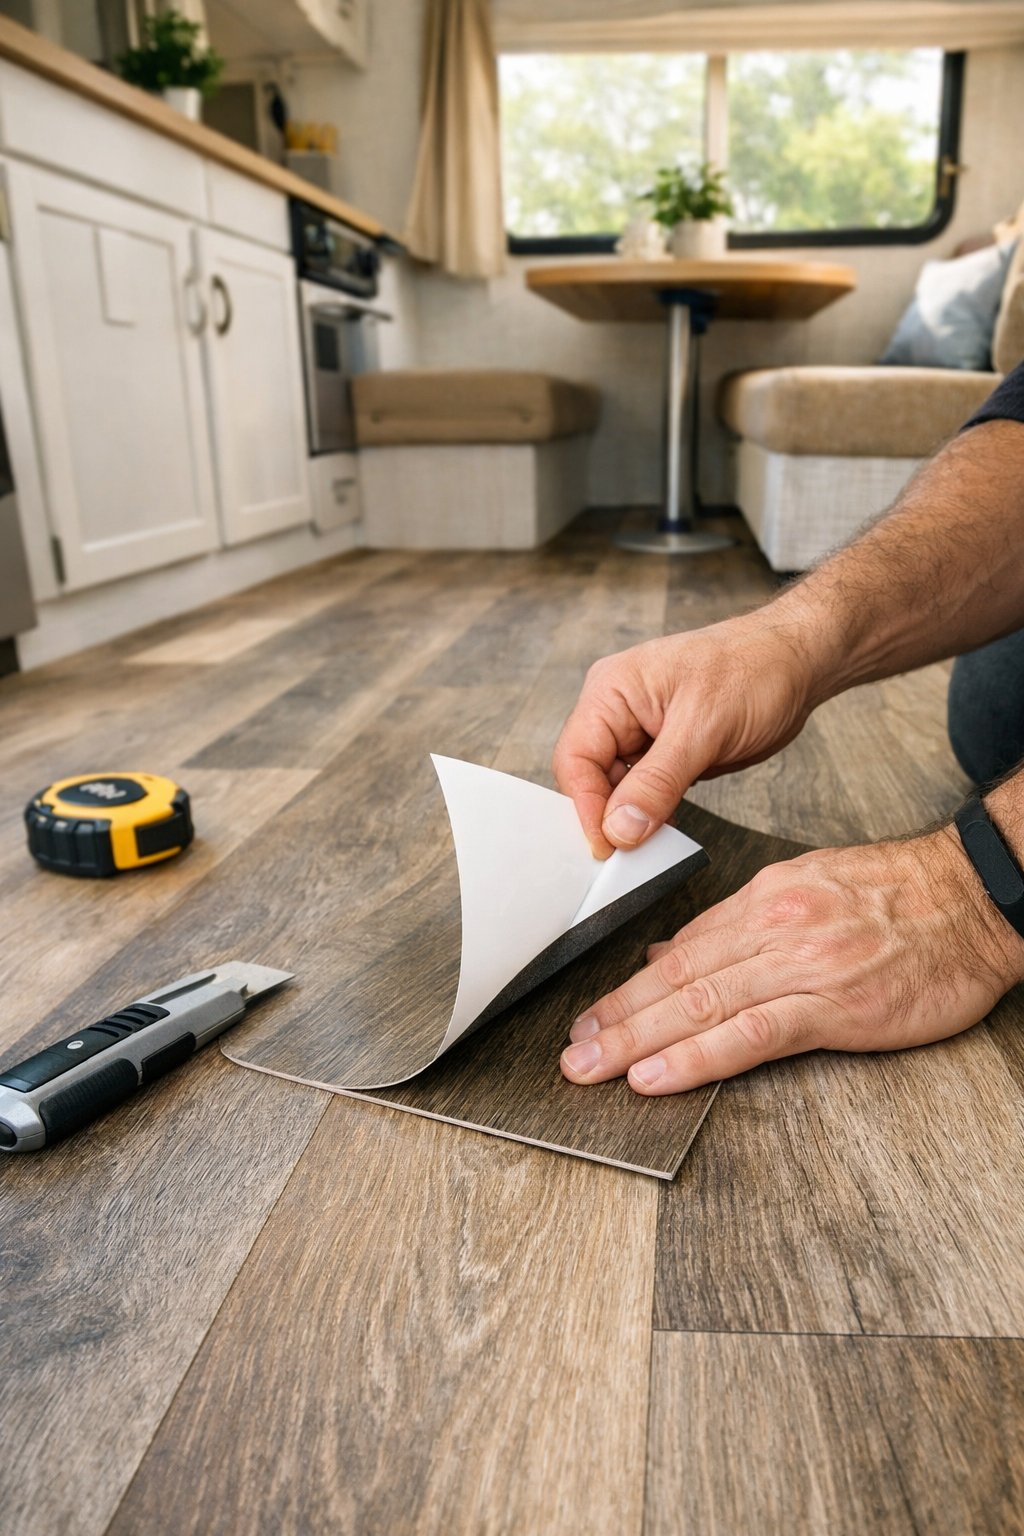
1) Install peel-and-stick vinyl flooring
Would you like to save this article?
Peel-and-stick vinyl gives your RV an instant lift without a lot of work. You can cut pieces to fit odd shapes, and the adhesive backing sticks to most clean, dry surfaces.
Measure the floor, buy a little extra, and lay pieces from one side to the other. Work slowly to match patterns and press seams tight so dirt won’t get under them.
PRO TIP
Warm the stickers with a hair dryer to make them more flexible around curves and edges. Use a roller or a flat board to press air bubbles out for a smooth finish.
2) Use contact paper to refresh cabinets
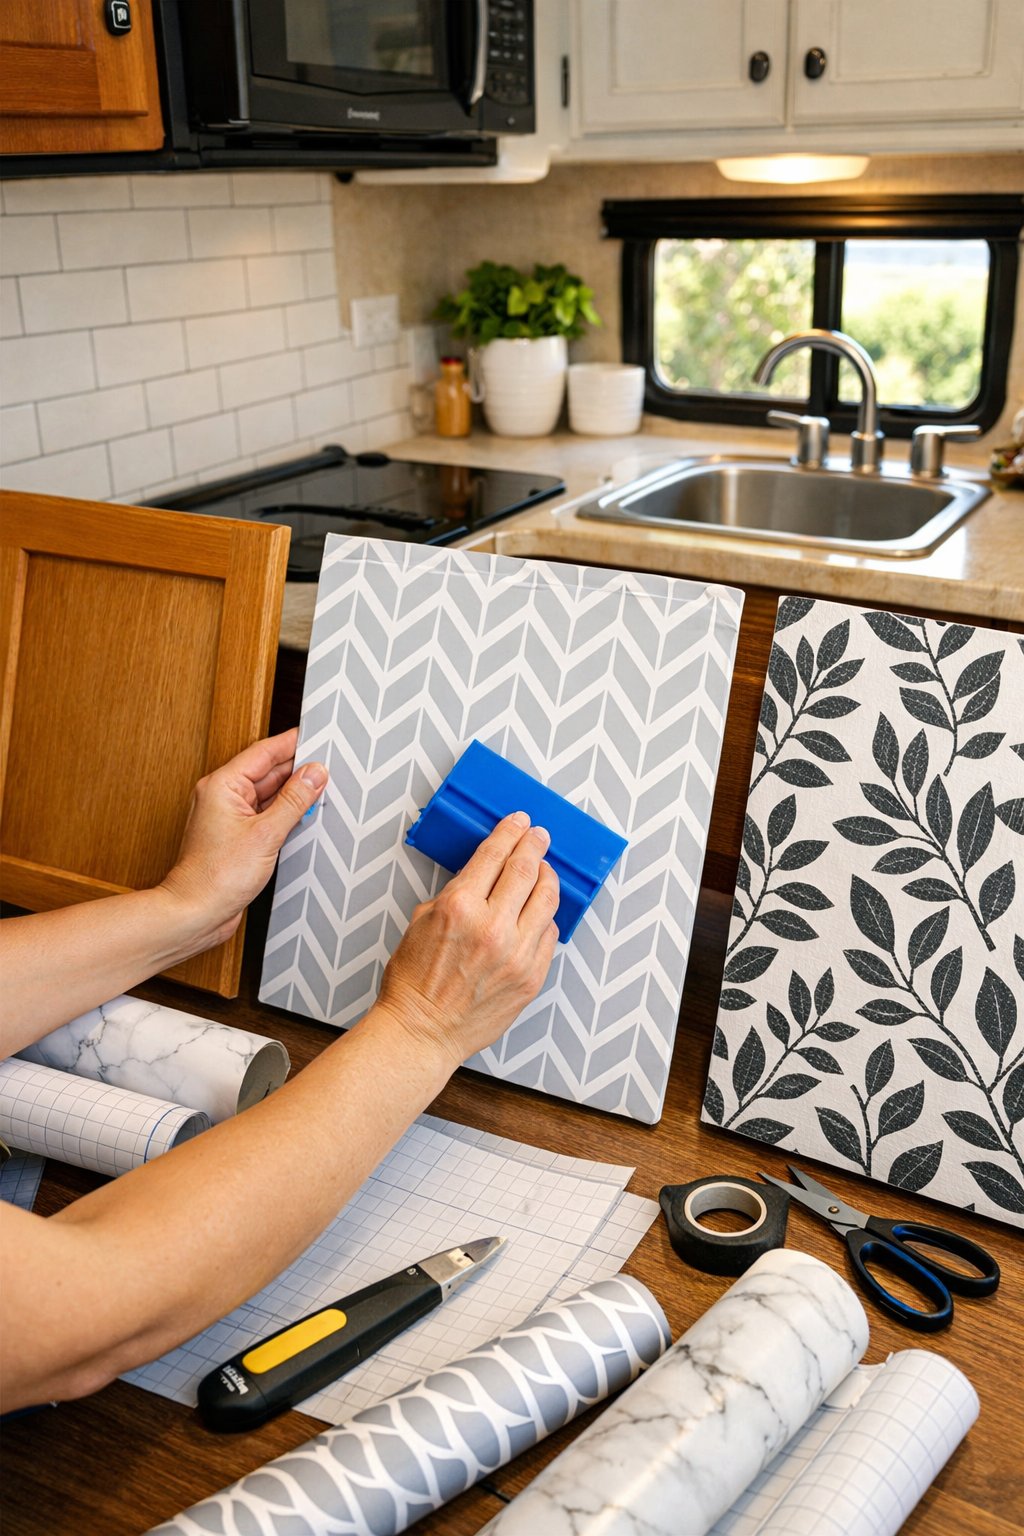
Contact paper gives your cabinets a fresh look without sanding or paint. You can choose a wood grain, solid color, or pattern that matches your style. It sticks on smooth surfaces and peels off later, so it works well for rentals.
Clean the cabinet surface with mild soap and let it dry completely. Measure and cut pieces a little larger than each door, then smooth from one edge to the other to avoid bubbles.
PRO TIP
Use a plastic card to press the paper down and push out air pockets. If you need to remove a strip, warm it with a hair dryer for easier peeling.
3) Add battery-operated LED puck lights
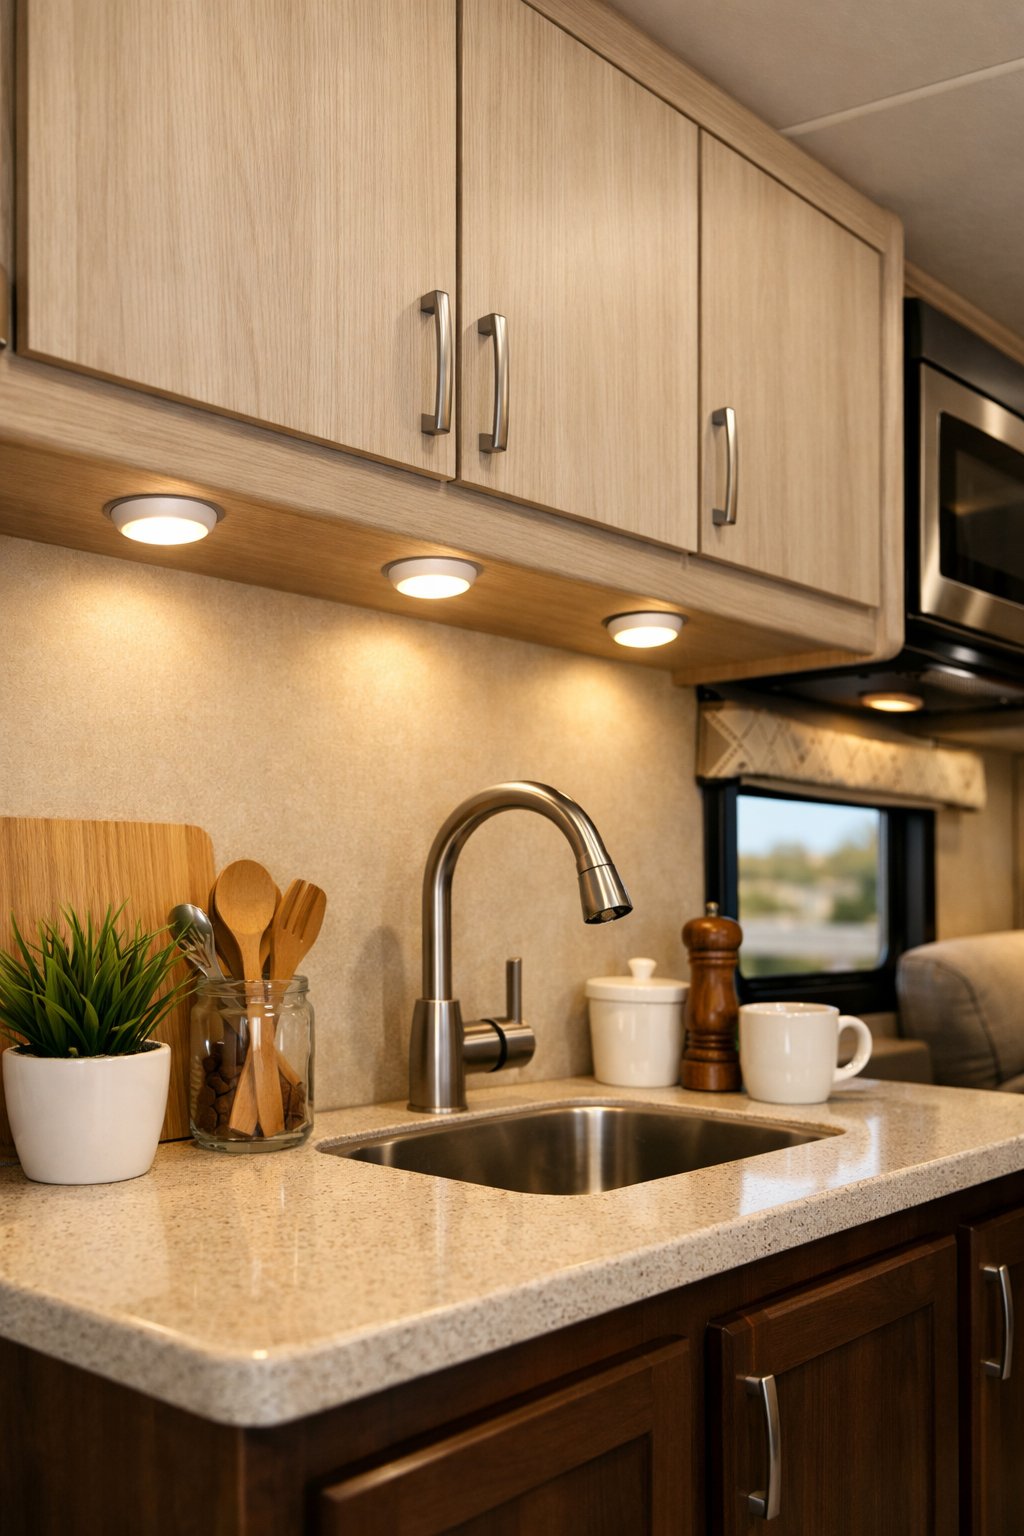
Battery-operated LED puck lights give quick, bright light without rewiring. You can stick them under cabinets, inside closets, or over the sink to make tasks easier. They last for months and stay off your RV’s main power when not in use.
Place a few lights where shadows fall to brighten dark corners. Many attach with adhesive or magnetic mounts, so you can move them as needed. LEDs run cool, so they are safer for small spaces.
PRO TIP
Mount lights on a small strip of Velcro so you can remove them to change batteries or aim the beam. Use warm white bulbs to keep the space cozy while still making it easy to see.
4) Replace old curtains with washable cotton panels
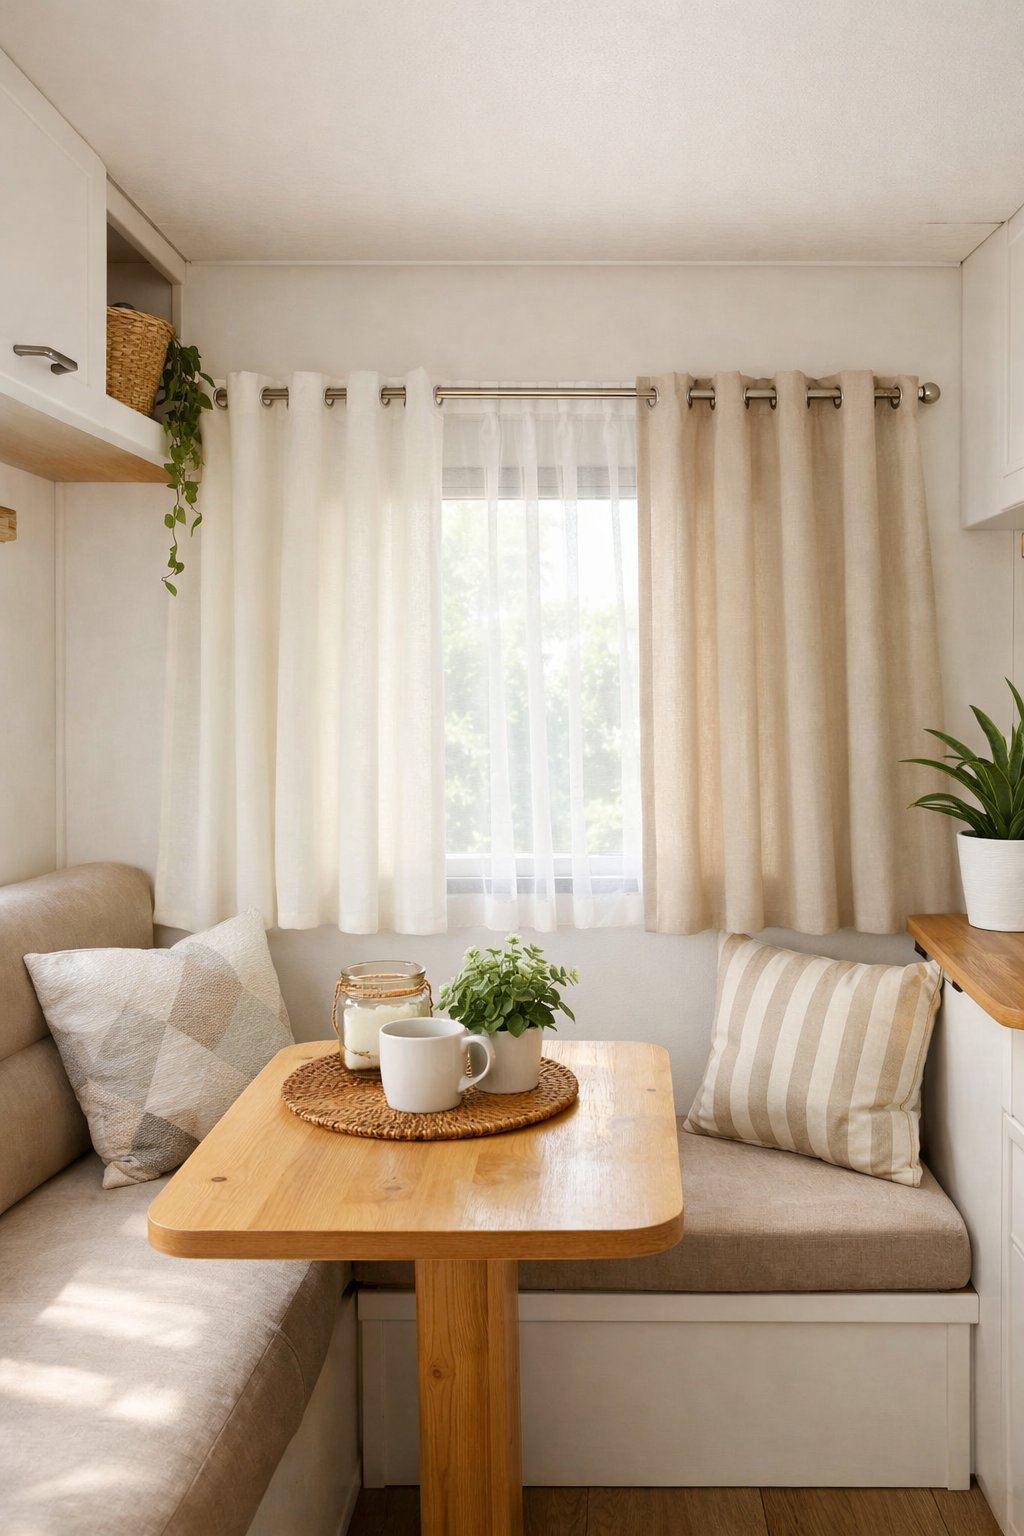
Old curtains can make your RV feel tired. Swap them for lightweight cotton panels to freshen the space without spending much.
Cotton cleans easily and dries fast. You can wash stains from cooking, pets, or travel without special care.
Pick light colors to brighten small spaces and help heat reflect in summer. You can sew simple hems or use no-sew tape to save money.
Measure your windows before shopping so you avoid returns. Install simple tension rods or clip rings for an easy, tool-free hang.
PRO TIP
Choose cotton with a tight weave for more privacy and light control. If you want more shade, add a thin blackout liner you can remove when not needed.
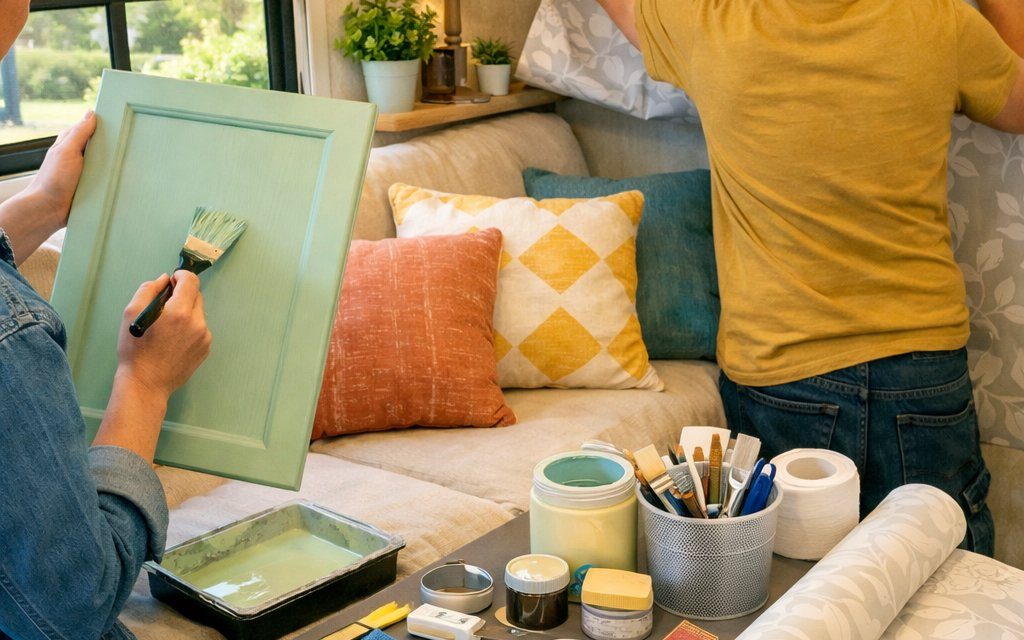
5) Paint the RV interior with chalk paint
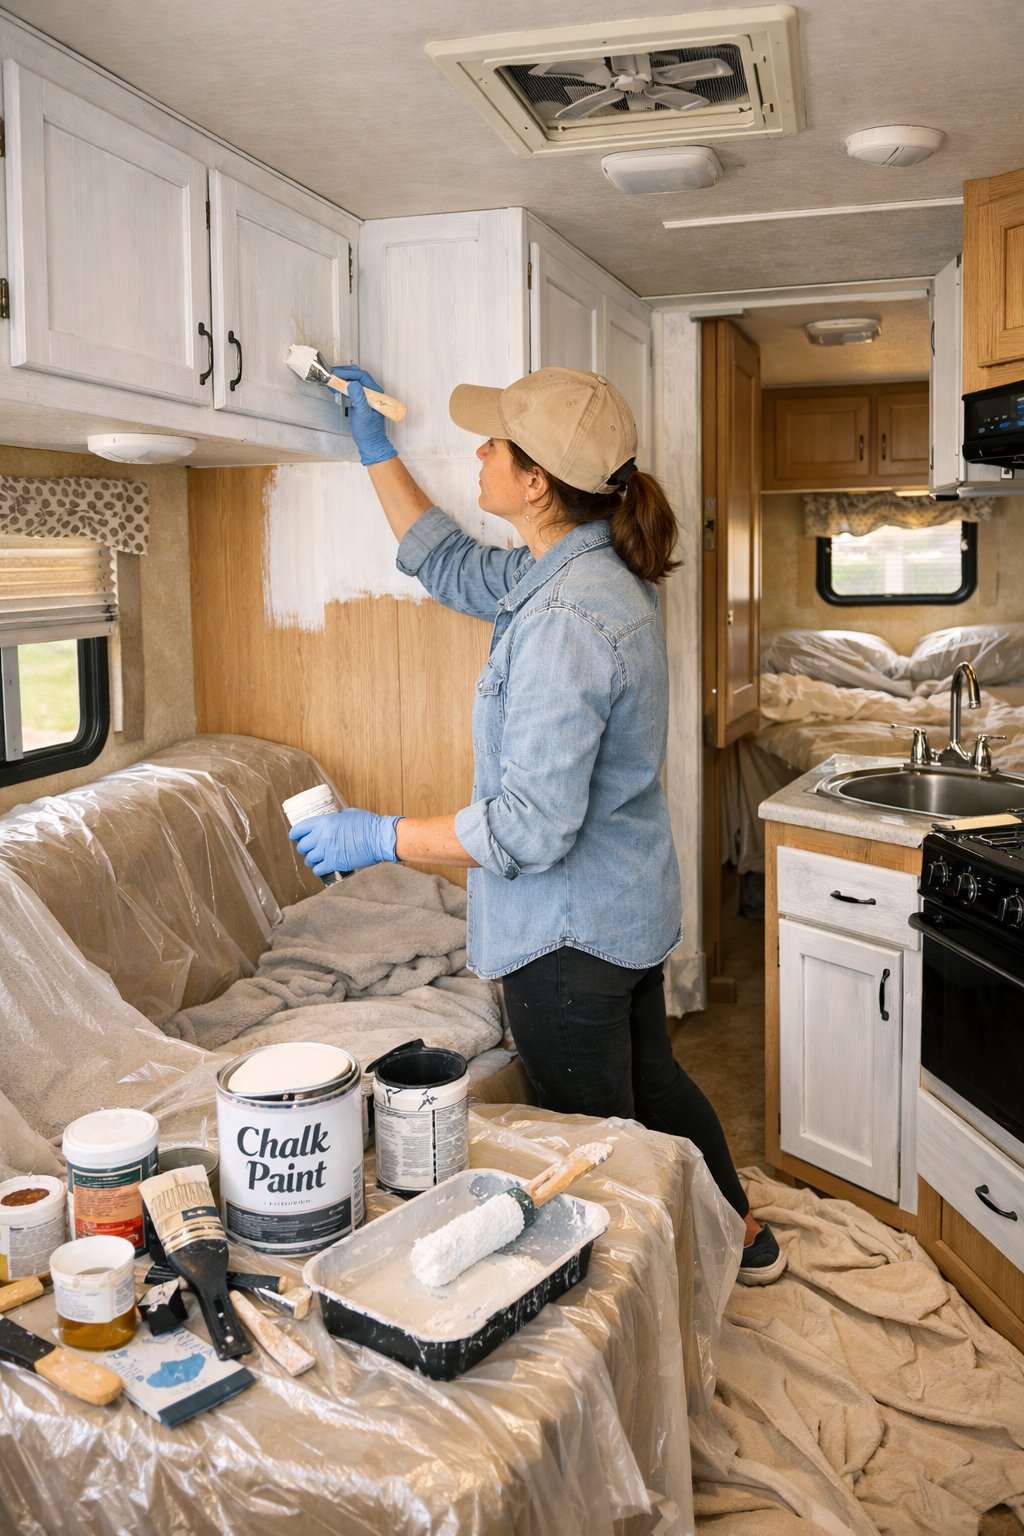
Chalk paint sticks well to old surfaces and hides small flaws. You can refresh cabinets, trim, and table tops without sanding for hours.
Choose light, neutral colors to make your space feel larger and brighter. Use a small roller for flat areas and a brush for corners and details.
PRO TIP
Mix a little water into the paint if it feels too thick; this helps it glide on smoother. Apply two thin coats instead of one thick coat for a more even finish.
Seal high-touch areas with a clear topcoat to protect the finish. This adds durability while keeping the matte look you want.
6) Use removable wallpaper for an accent wall
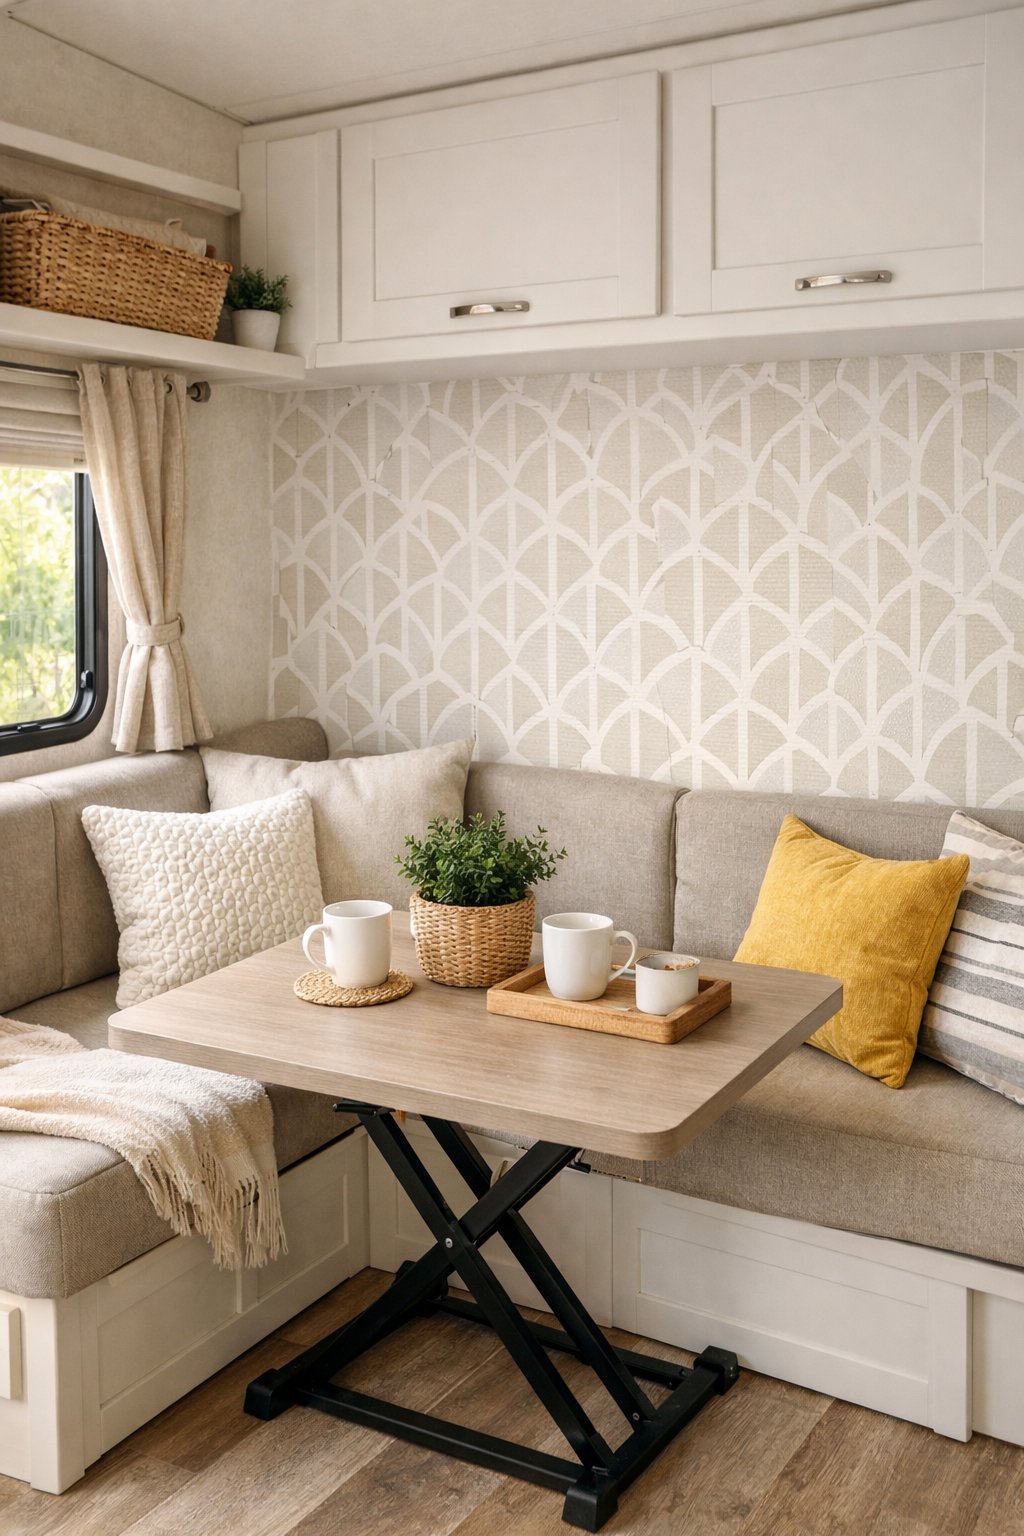
Removable wallpaper adds color and pattern without permanent changes. You can cover one wall to create a focal point and keep the rest simple.
Measure the wall and buy a bit more than you need. That makes matching patterns easier and lets you fix mistakes without stress.
Peel-and-stick paper is easy to install. Work from top to bottom, smoothing bubbles as you go with a soft cloth or card.
PRO TIP
Pick a light, washable design for small spaces to keep the RV feeling open. When you move, peel it off slowly at a low angle to avoid residue.
7) Add peel-and-stick backsplash tiles

Peel-and-stick tiles give your RV an instant style lift without heavy tools. You can cover the area behind the stove or sink to protect walls from splashes and stains.
These tiles stick to most smooth surfaces and come in many colors and patterns. Installation is simple: clean the surface, measure, cut to size, and press the tiles on.
PRO TIP
Buy a few extra tiles for mistakes and future repairs. Use a straightedge and a utility knife for clean cuts, and press edges firmly to prevent peeling while you travel.
8) Swap out drawer knobs with vintage ceramic ones

Changing drawer knobs gives your RV an instant style boost without big costs. You can find ceramic knobs at flea markets, thrift stores, or small shops. They add charm and a touch of color that lifts a plain cabinet.
This swap takes minutes and needs only a screwdriver. Keep the old screws in case sizes differ. If a knob sits too deep, add a short spacer or washer to make it fit snugly.
PRO TIP
Match one or two knobs first to see how the look fits your space. Stick to a single color family for a cohesive feel, or mix patterns for a playful look.
9) Install a compact fold-down table
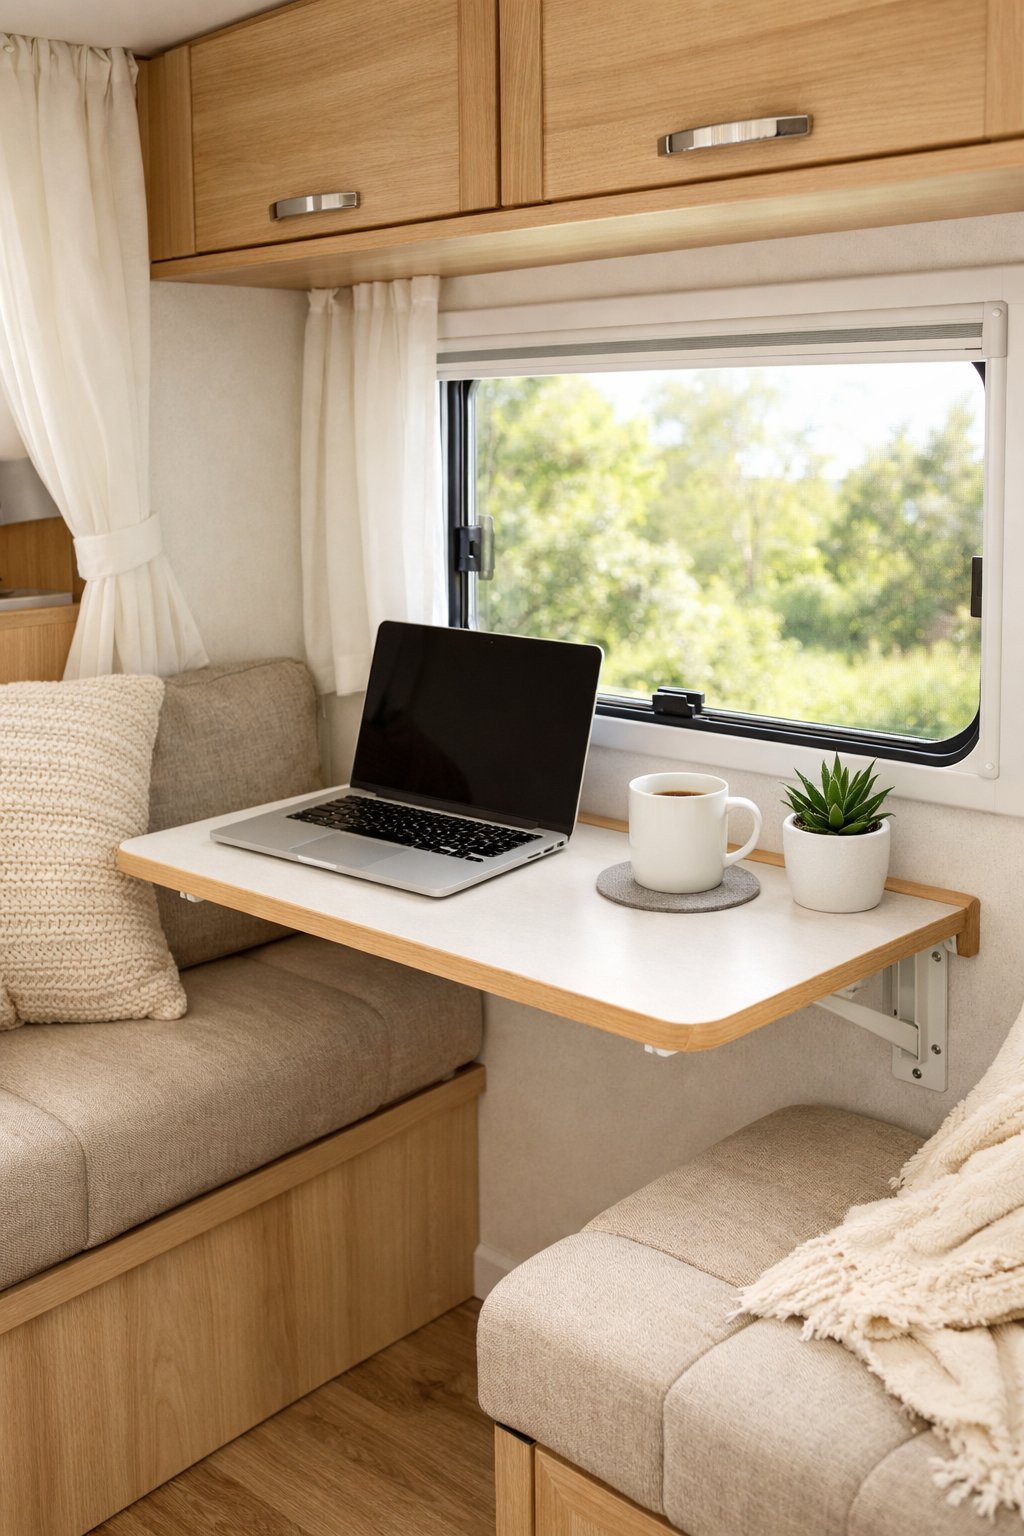
A fold-down table gives you extra workspace without taking up room. Mount it on a wall near the kitchen or dinette so you can fold it away when not in use.
Pick a lightweight table top and sturdy hinges or brackets that lock in place. Measure twice before drilling to avoid mistakes. You can add a small latch to keep it secure while you drive.
PRO TIP
Choose a tabletop that doubles as a cutting board or work surface to boost utility. Add a strip of non-slip tape under the edge to keep dishes from sliding when parked on uneven ground.
10) Use outdoor rugs for the entryway
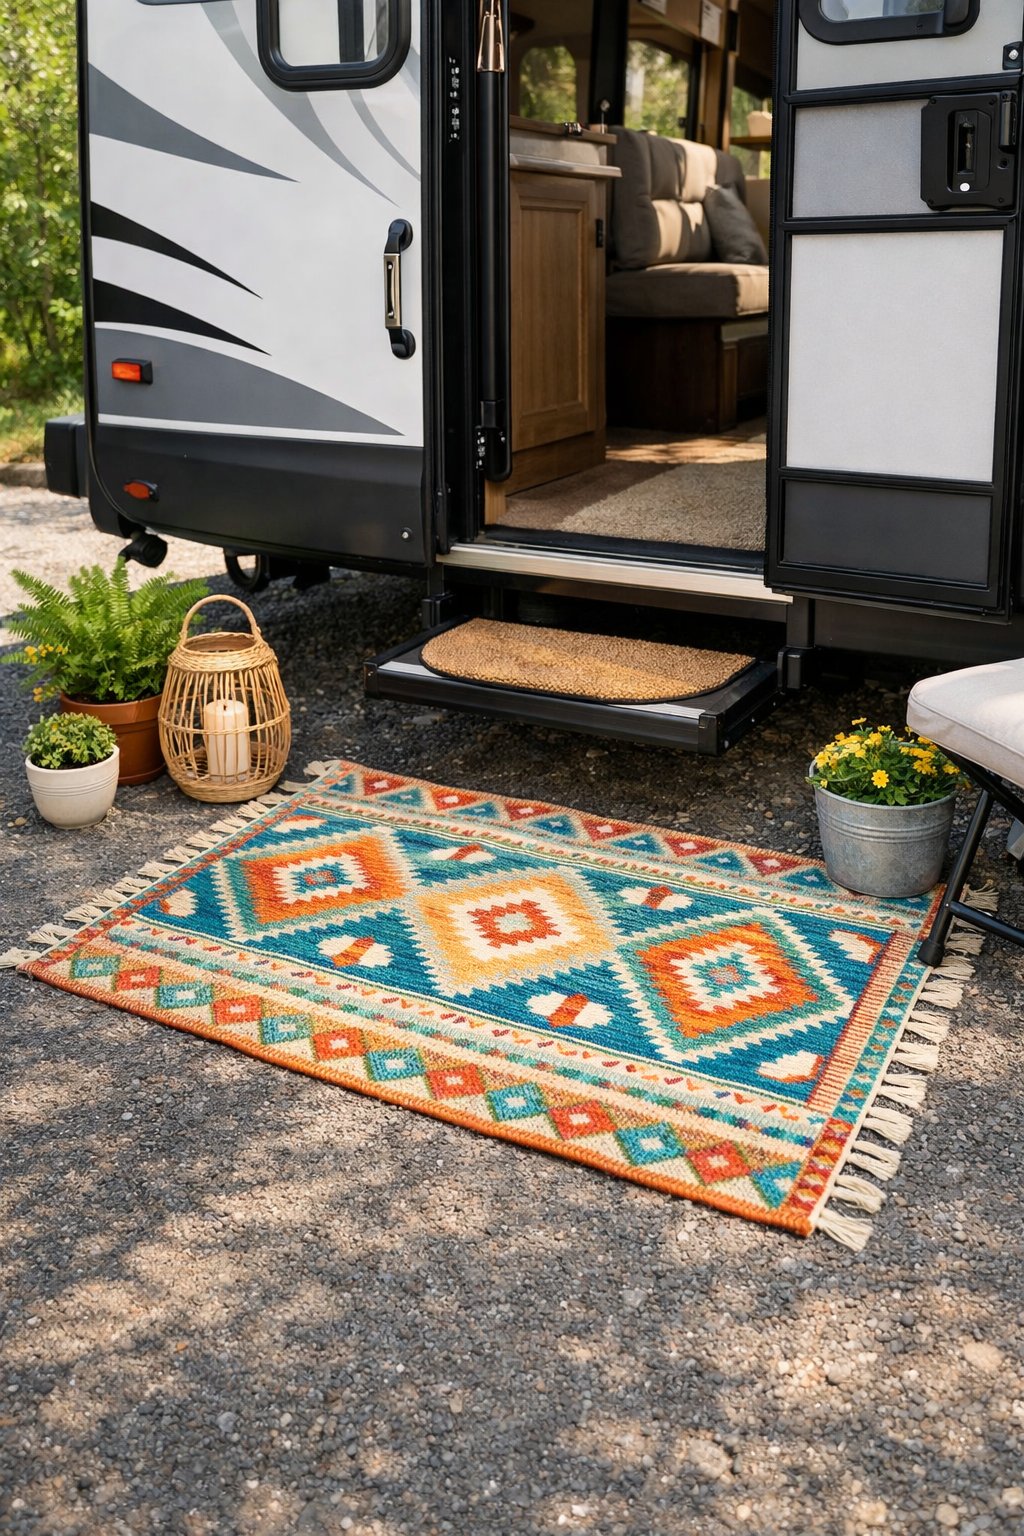
Outdoor rugs stand up to dirt and moisture better than indoor rugs. Place one at the door to catch mud, sand, and grit before it reaches your floors.
Pick a rug with a simple pattern or color that hides stains. You can change it seasonally for a fresh look without spending much.
PRO TIP
Choose a rug with a non-slip backing or add a thin non-slip pad underneath. This keeps the rug from sliding and protects the floor from scratches.


