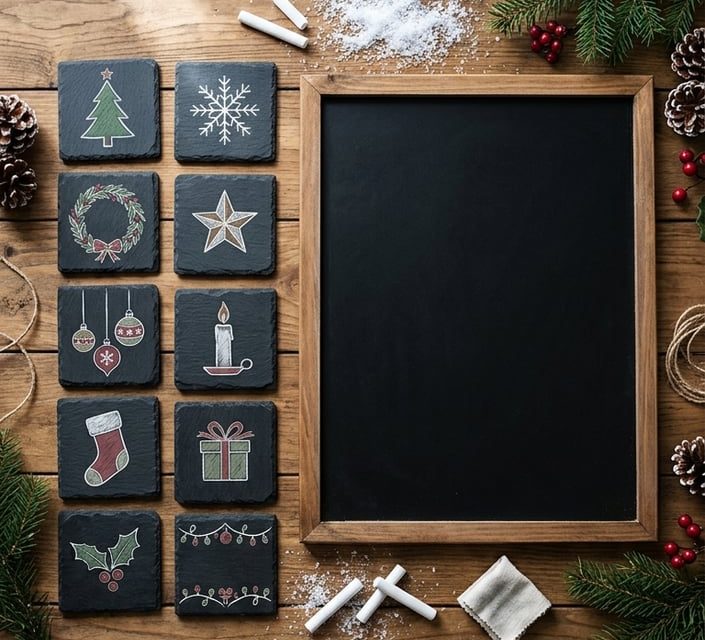
A chalkboard gives you an easy way to refresh your RV’s holiday look as December unfolds. You can rotate ten Christmas chalkboard ideas, from a tiny-space countdown to a guest wish board, to keep your seasonal décor feeling fresh all month.
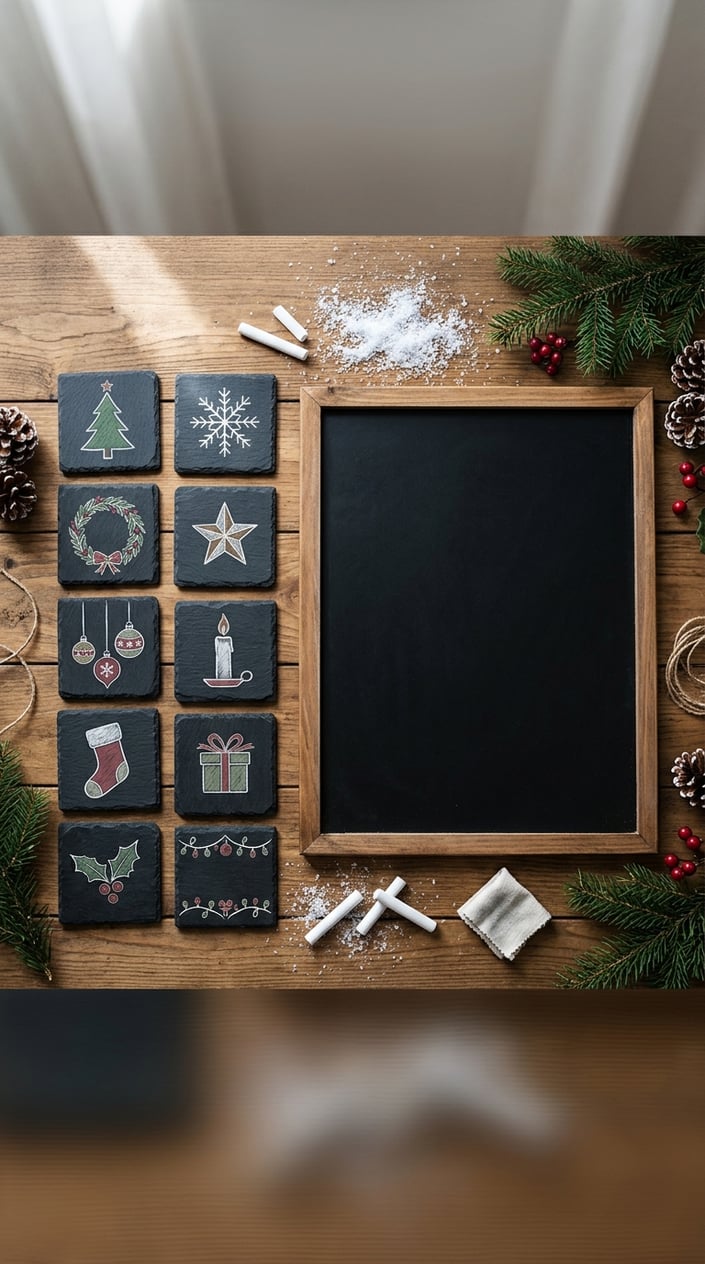
Choose a board that fits your available wall or counter space, then keep chalk and a soft cloth nearby for quick changes. You can use white chalk for a classic look or add a few colors for bright ornaments, lights, and holiday lettering.
1) A Tiny-RV Christmas Countdown
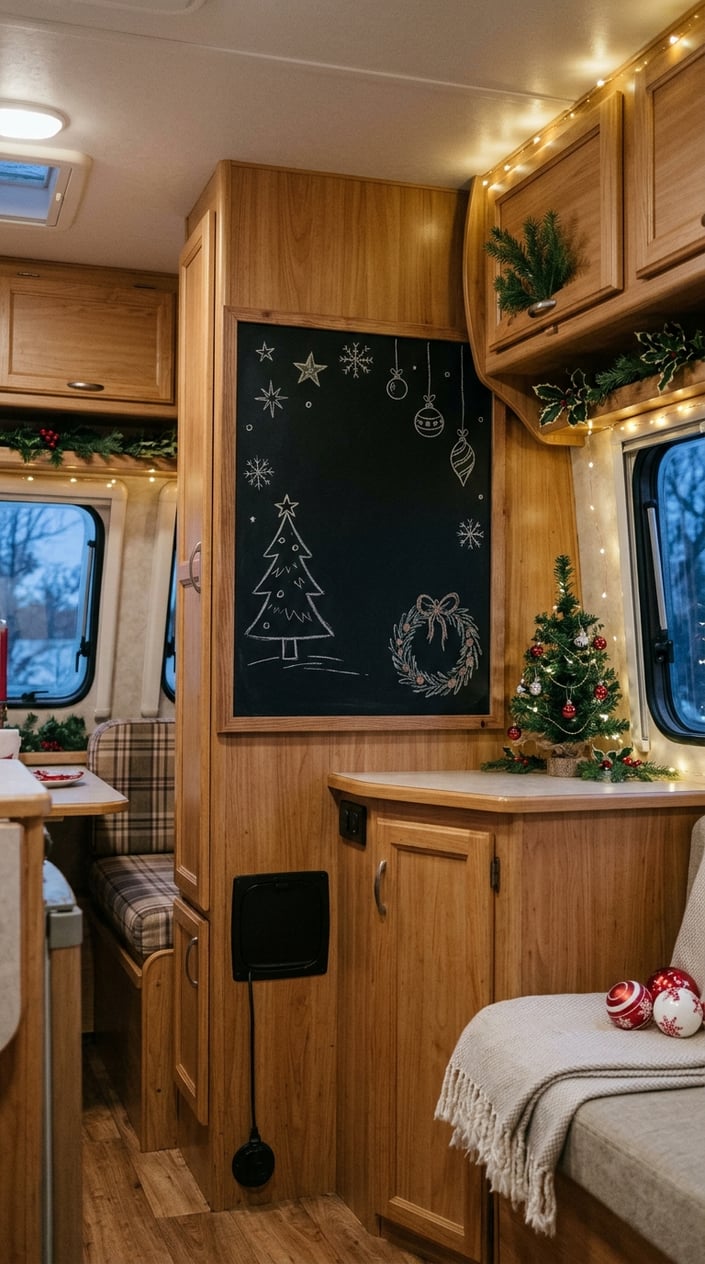
A tiny-RV countdown turns a compact chalkboard into a daily holiday ritual. Draw a row of numbered circles, then fill in one number each day as Christmas approaches. If your wall space is limited, make a simple vertical list or use a small tabletop board that you can tuck away while driving.
Add a miniature wreath, a string of drawn lights, or a little camper sketch around the edge. Keep the lettering large enough to read from across your RV, and leave a clear spot for the daily number. A chalk marker makes crisp lines on a smooth board, while regular chalk gives you a softer, hand-drawn finish. Wipe the board clean when you want to restart the countdown next December.
2) A Chalkboard Christmas Tree With Drawn Ornaments
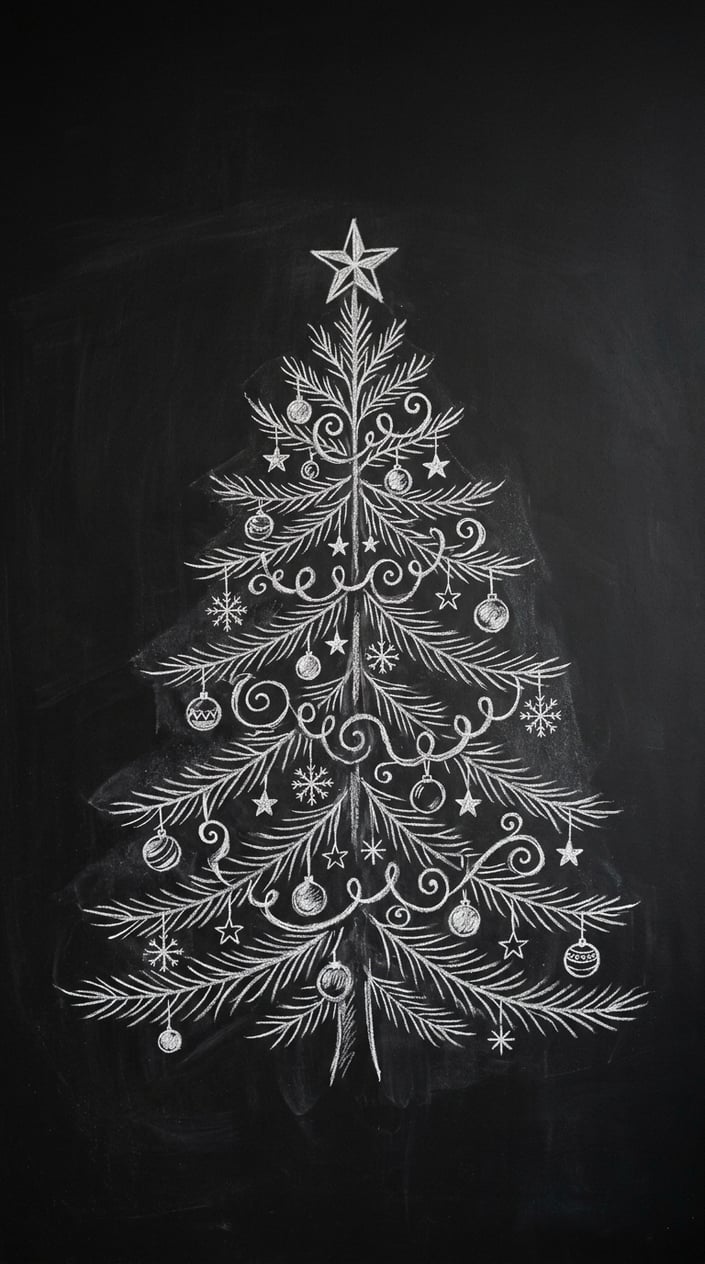
A chalk-drawn tree gives you a full Christmas centerpiece without taking up floor space. Sketch a tall triangle or use loose, wavy branches, then top it with a bright star. Add round ornaments in different colors, spacing them out so the shape stays easy to read.
You can personalize each ornament with a small pattern, an initial, or a family member’s name. For a changing display, redraw one ornament each week to mark a favorite December memory. A border of tiny dots can suggest lights, while a few short strokes beneath the tree create a simple stand. Keep the design near the center of the board, leaving room for a greeting such as “Merry Christmas” above or below.
3) Welcome to Our Rolling Winter Wonderland
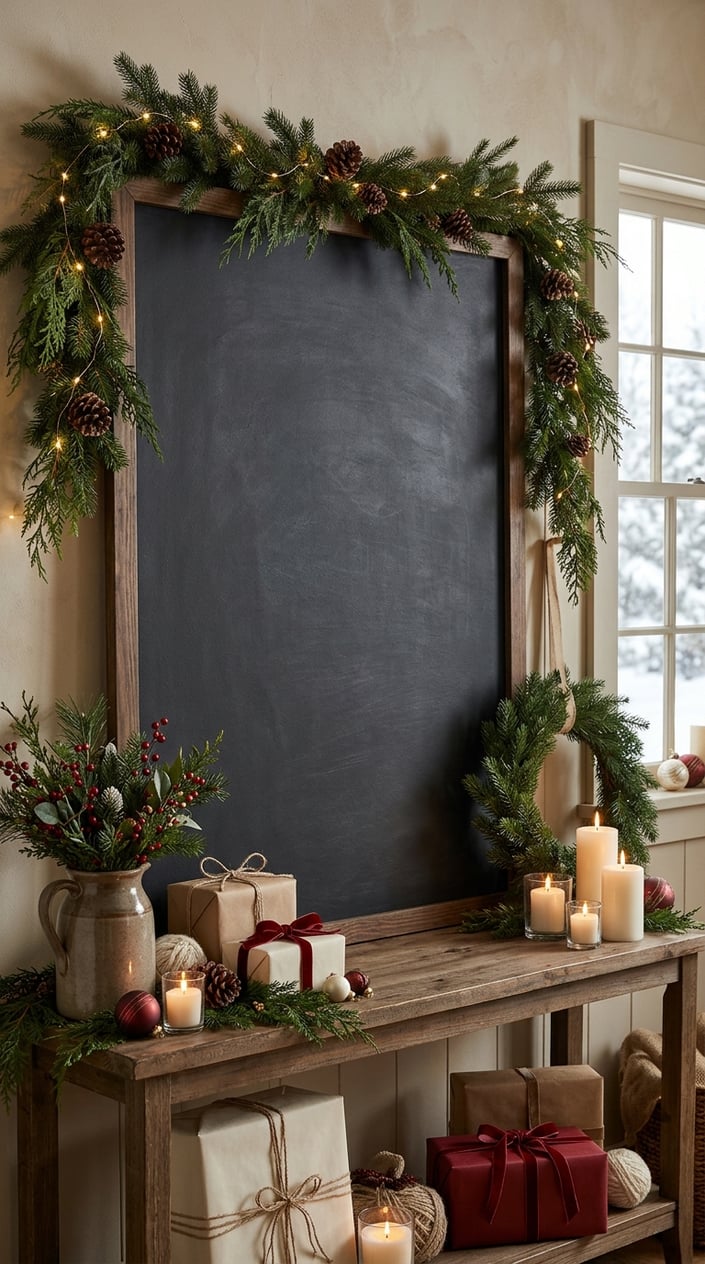
A “Welcome to Our Rolling Winter Wonderland” sign brings seasonal cheer to your RV entry. Write the greeting in large, curved letters, then add small snowflakes around the words. A hand-drawn evergreen branch along one edge gives the message a cozy lodge feel without crowding the board.
Use the sign to greet family or campground guests, or place it where you’ll see it as you come inside. If your board sits near the door, leave enough blank space around the lettering so the message stays clear among coats and holiday gear. Add a few chalk ornaments or a tiny camper beneath the words to make the design personal. When your route changes, update the message with the name of your next stop.
4) A Snowy Campsite Beneath the Stars
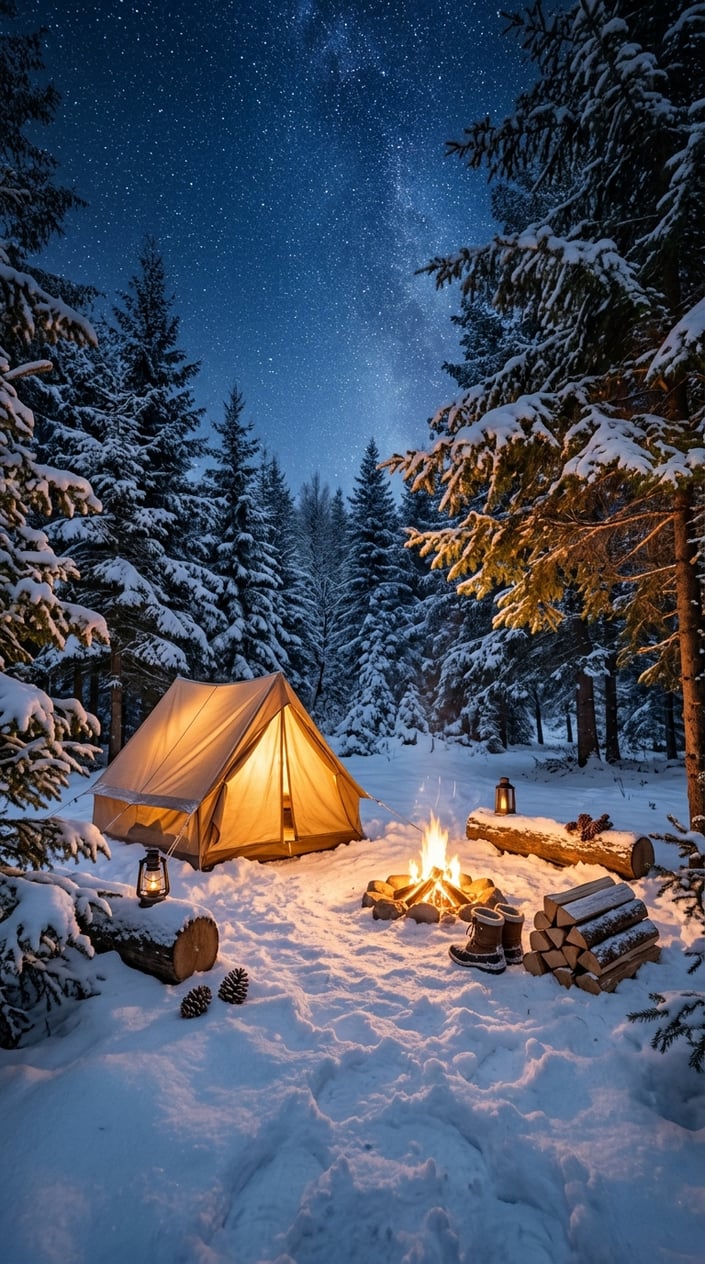
A snowy campsite scene lets you bring your favorite winter travel mood to a chalkboard. Draw a simple tent in the foreground, then add pine trees, a crescent moon, and scattered stars. Use short white strokes along the ground and branches to create fresh-fallen snow.
Give the tent a warm glow with a small patch of yellow or orange chalk. A campfire beside it adds a cozy focal point, especially when you outline the flames with a few curved lines. Keep the scene’s main shapes bold so they remain visible from across your RV. Add a short caption such as “Winter Camp” or “Starlit Stop” to make the board feel like a holiday postcard from the road.
5) A Chalk-Drawn Holiday Road-Trip Map
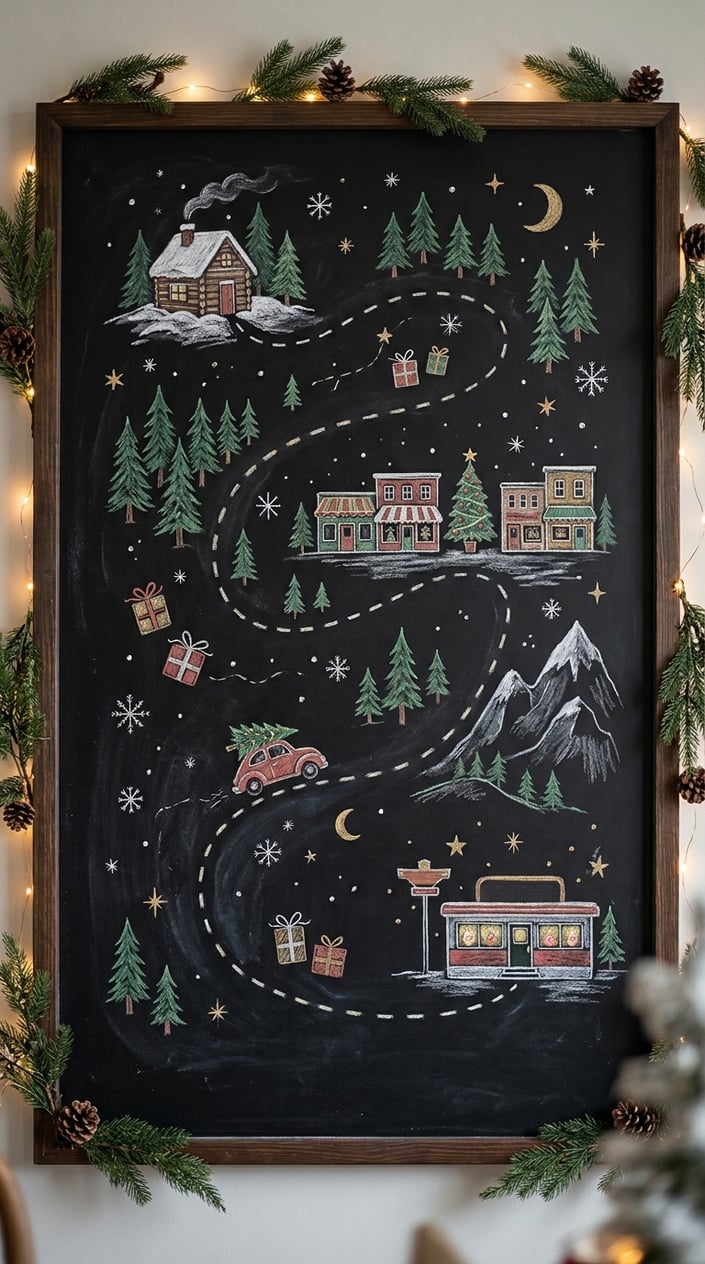
A chalk-drawn road-trip map turns your holiday route into a festive display. Sketch a winding line across the board, then mark your planned stops with small circles or stars. Add simple icons for a pine-covered campground, a snowy town, or a family visit.
Write each destination beside its marker, keeping the words short so the route stays readable. You can use a different chalk color for the path and the stop symbols, then add tiny snowflakes around the edges. If plans shift, wipe away one section and redraw the route without replacing the whole design. Leave a small space for a “You are here” marker, which you can move as your RV travels through December.
6) Santa’s Next Stop: Our RV
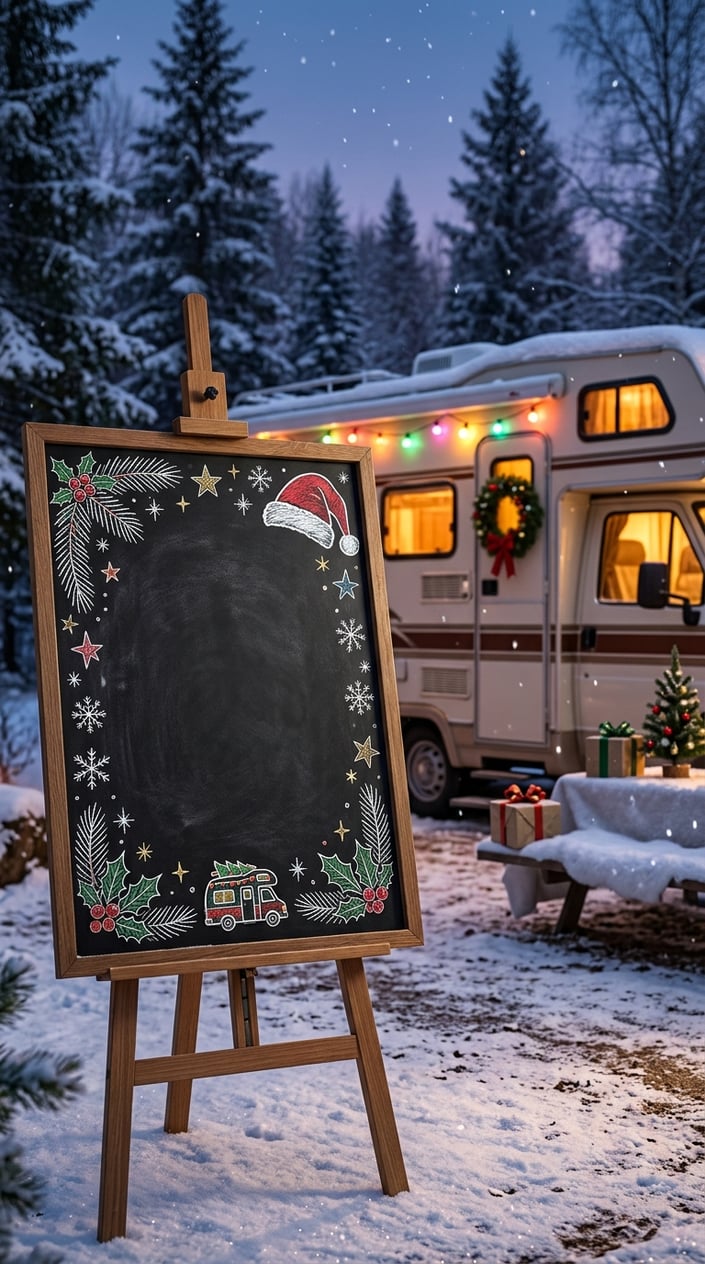
“Santa’s Next Stop: Our RV” makes a playful greeting for your holiday board. Write the phrase across the top, then draw a small sleigh or a trail of stars leading toward a camper. A simple chimney and a few snowflakes give the scene a clear Christmas theme.
Make the message your own by adding your campground name or the date of a planned holiday gathering. If you have children or visiting relatives, leave a small blank area where they can add a star or write their initials. Use a damp cloth to clean stray chalk before the board goes back near your entry. Keep the main lettering bold, so Santa’s destination is easy to spot in a cozy, decorated RV.
7) A Cozy Cocoa and Campfire Menu
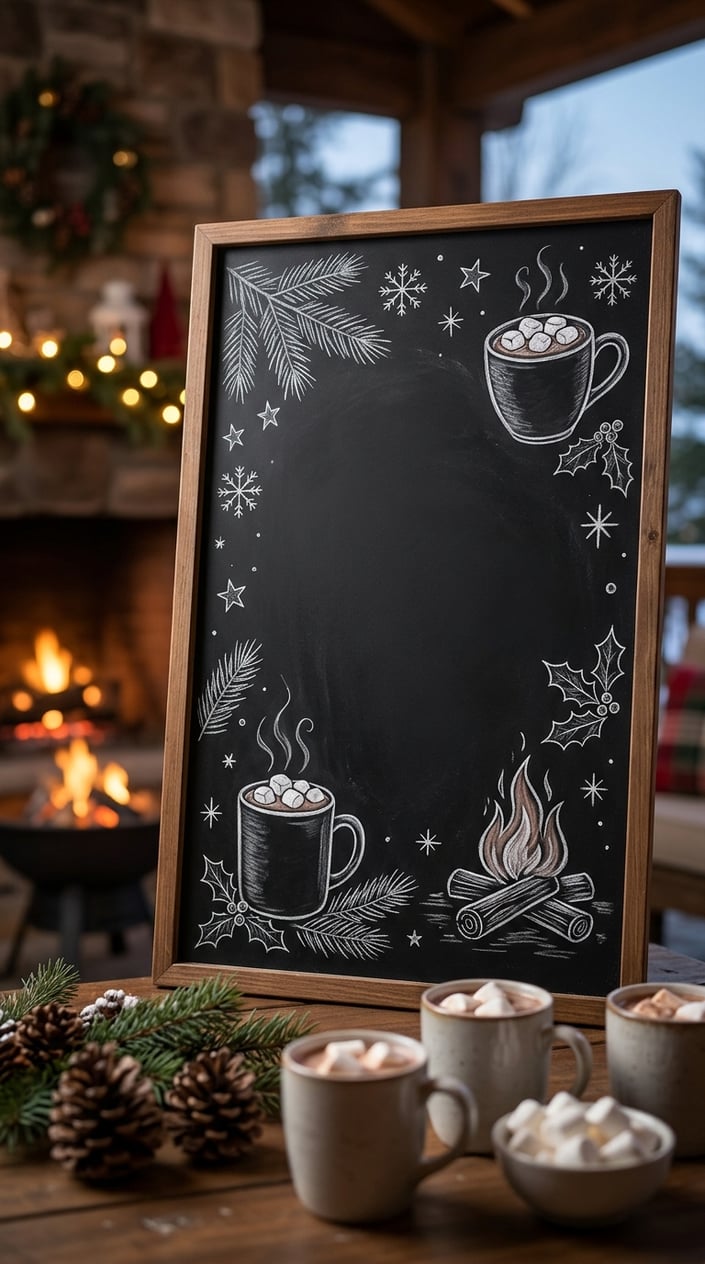
A cocoa and campfire menu makes your chalkboard useful for a relaxed holiday evening. Write a short heading, then list the warm drinks and snacks you’re serving. Add small chalk drawings of a mug, marshmallow, or flame to help the board feel festive.
Keep the menu flexible by leaving room to change an item as supplies or plans shift. A slim board on the counter works well when you want guests to see what’s ready without taking up much space. Use a separate color for the heading, then keep the menu text in a clear, easy-to-read style. If you’re serving cocoa outdoors, add a note about where to find extra mugs or toppings.
8) A Snowman With Heart-Shaped Buttons
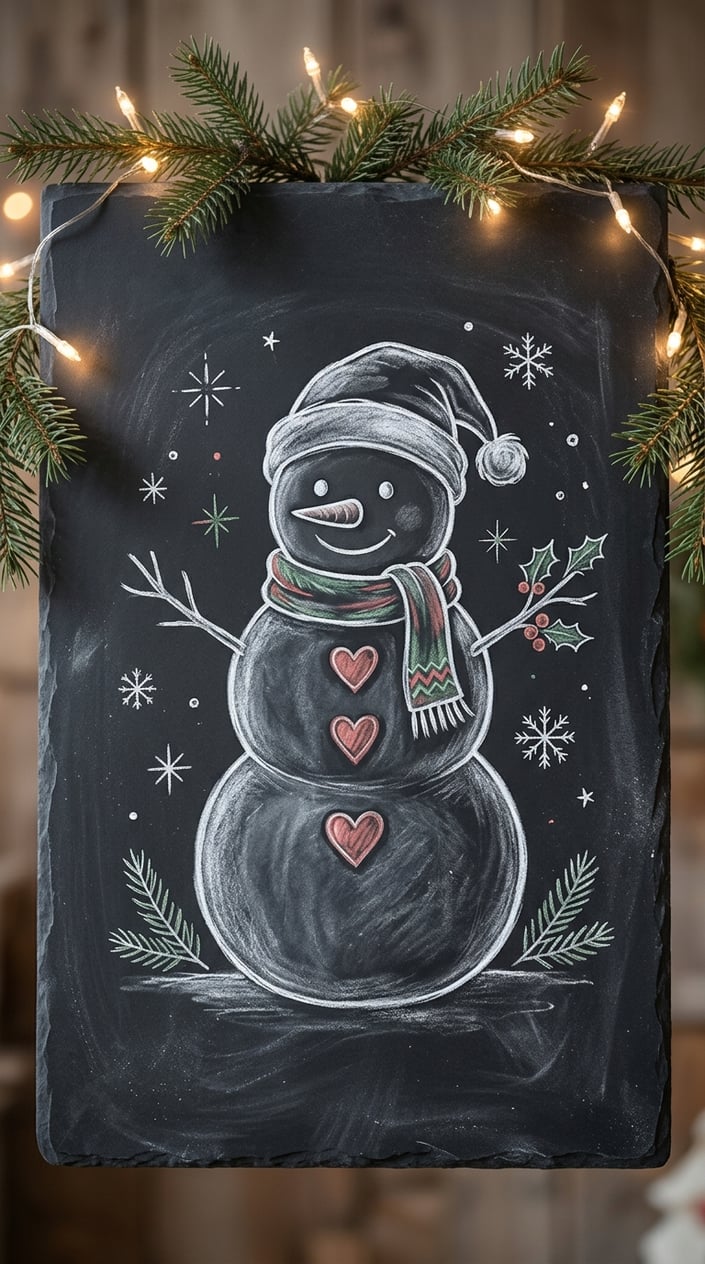
A snowman with heart-shaped buttons gives your holiday chalkboard a cheerful, handmade look. Draw three rounded snow sections, then add a scarf, carrot nose, and simple eyes. Make the buttons the focal point by filling each heart with a bright color.
You can place the snowman beside a greeting or let the character fill most of the board. Add a few flakes around the outline for a wintery frame, keeping the space near the face uncluttered. If you want the design to feel personal, write a short name on the scarf or add a tiny camper in the background. This drawing works well with basic shapes, so you can sketch it freehand and adjust the proportions as you go.
9) Merry Christmas in Twinkling Chalk Lights
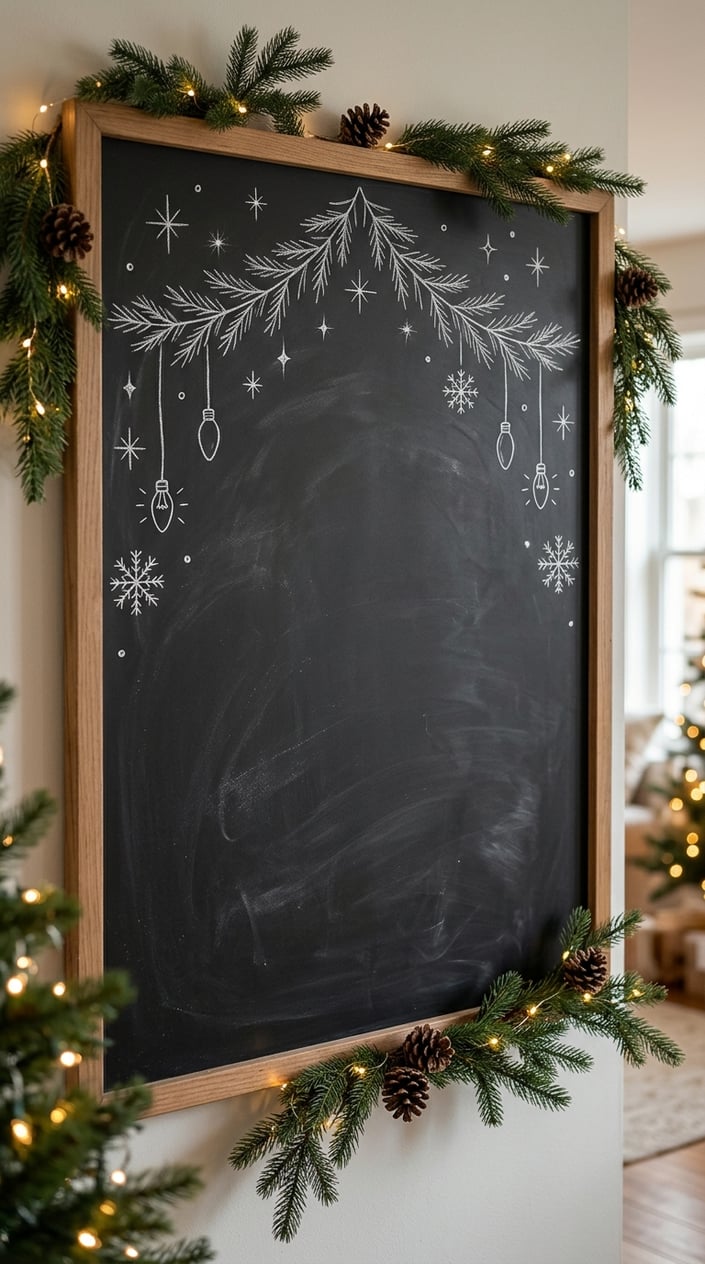
Twinkling chalk lights frame “Merry Christmas” with a bright, festive border. Draw a loose wire around the edge of your board, then add small bulb shapes at regular intervals. Color each bulb in a different shade and leave a little black space between the lights.
Write the greeting in the center with thick, clear lettering. Tiny stars or snowflakes can fill open corners, while a chalk evergreen branch adds a natural touch near the bottom. Keep the bulbs large enough to color without smudging neighboring shapes. For a quick refresh later in December, change the greeting to “Happy New Year” and keep the light border in place.
10) A Chalkboard for Guests’ Holiday Wishes
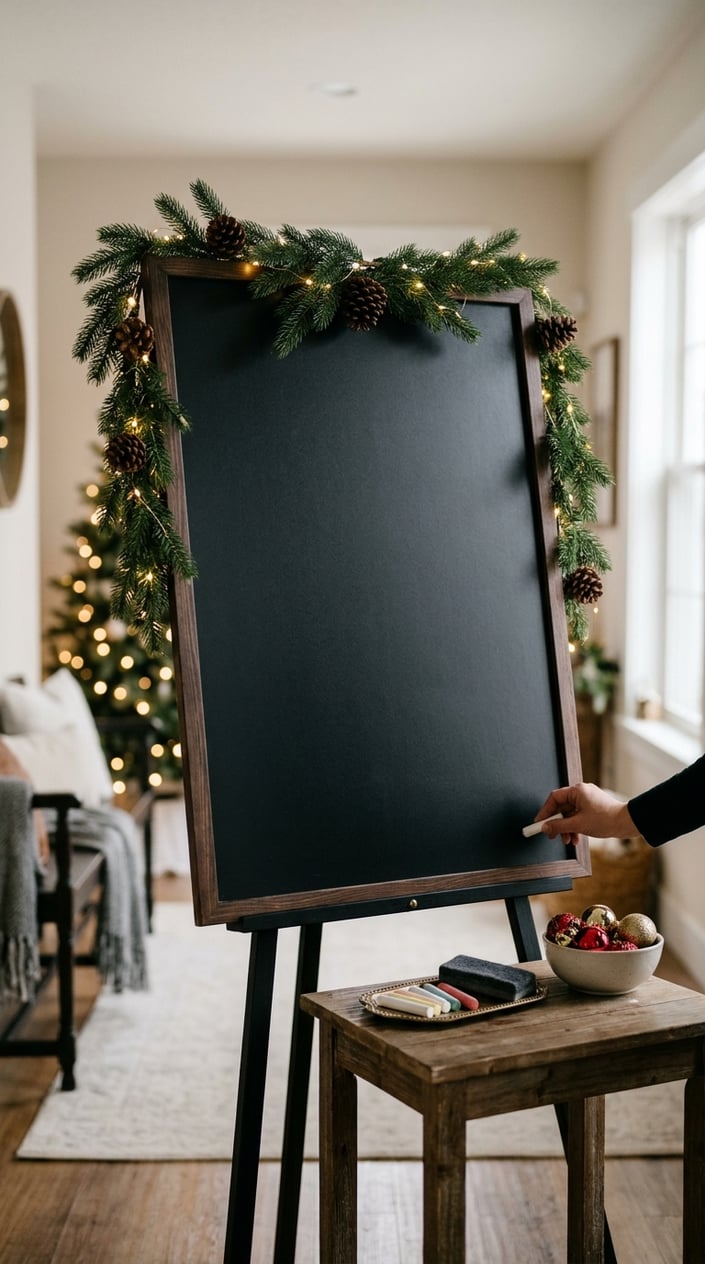
A holiday wish board invites guests to leave a personal note during their visit. Write a short prompt at the top, such as “Share a Christmas wish,” then leave most of the board open. Add a few small evergreen sprigs, stars, or snowflakes around the border so guests have plenty of writing room.
Set a piece of chalk beside the board, and place it where people can reach it without blocking the RV walkway. Your guests might write a wish, a favorite holiday memory, or a greeting for the next stop on your trip. Take a photo before wiping the board clean, then start a fresh message space when new visitors arrive.