You can give your RV Christmas tree a fresh focal point with a lightweight topper that suits your travel style and fits your ceiling height. A wired bow, a perched bird, or a folded road-map rosette adds personality without taking up much room.
In a motorhome or travel trailer, a compact topper is easier to place and store. Choose one that stays secure while you decorate, then remove it before driving so it does not shift in transit.
1) An Oversized Wired Satin Bow

An oversized wired satin bow gives your RV tree a festive focal point with very little weight. Shape the loops to suit your tree’s scale, then use the ribbon tails to soften the outline of the top branches. Wired edges help you adjust the bow after you set it in place.
Choose a narrow bow for a tabletop tree, or make a fuller shape for a taller model with room above it. Attach the bow to a short piece of floral wire or a flexible branch, and check that the wire ends stay covered. If the tree sits near a cabinet or ceiling vent, trim the tails so they stay clear. Pack the bow flat between trips to help preserve its shape.
2) A Lightweight Pom-Pom Ball

A lightweight pom-pom ball adds a soft, playful finish to a small RV Christmas tree. An ivory or white pom-pom gives evergreen branches a snowy look, while a deep red or green version adds a stronger color accent. Pick a size that balances the tree without covering its top branches.
You can make a pom-pom from yarn or choose a ready-made craft ball, then attach a small loop of ribbon or thread for hanging. Keep the attachment snug so the topper stays upright when the tree is bumped. A soft topper also packs easily in a storage bin with other lightweight decorations. For a neat look, fluff the fibers with your fingers after unpacking and before placing it on the tree.
3) A Foraged Twig Star

A foraged twig star brings a natural, handmade look to your RV tree. Gather a few straight twigs, trim them to similar lengths, and arrange them into a simple star shape. Tie the joints with craft wire or sturdy twine, keeping the ends tucked away so they do not snag nearby ornaments or fabric.
A small twig design stays light and works well on a tabletop tree or a narrow artificial tree. You can leave the wood bare for a rustic finish, or wrap a few joints with ribbon to match your decorations. Secure the star to the top branch with floral wire, then check that its points have room around them. Store it flat between trips to protect the shape and avoid pressure on the twigs.
4) A Miniature Camper Ornament Cluster
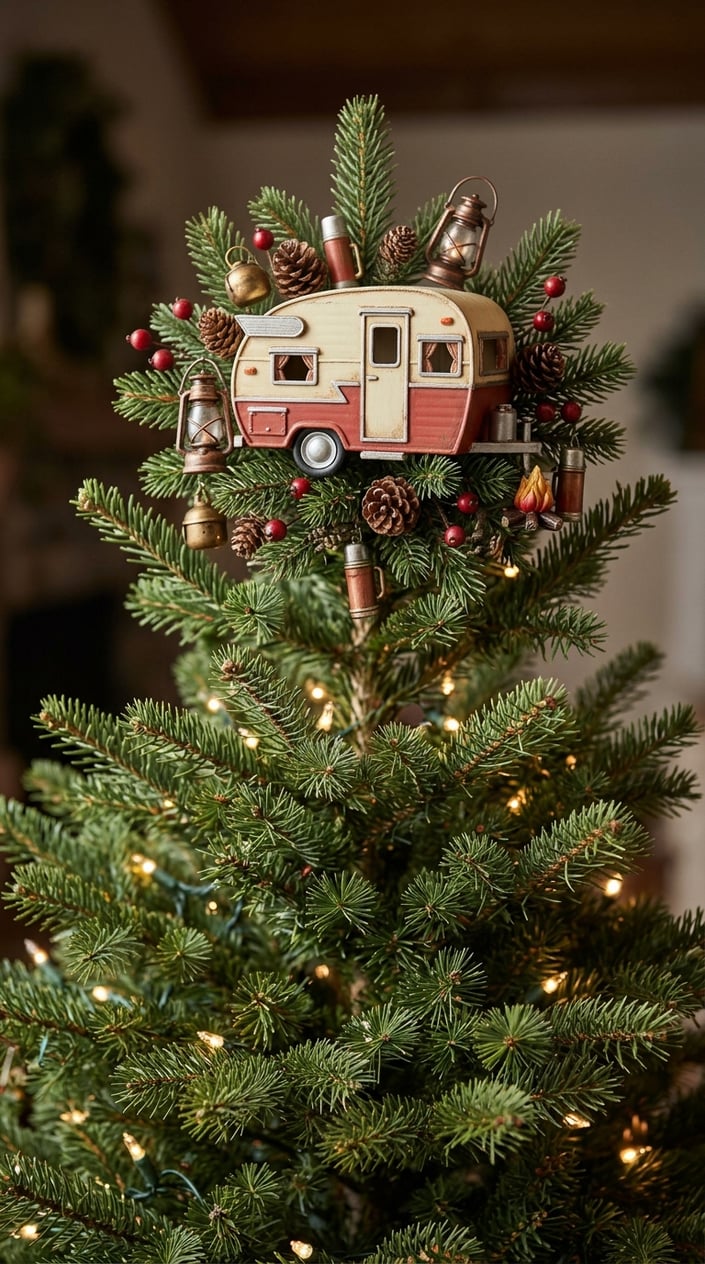
A miniature camper ornament cluster turns your RV tree topper into a nod to life on the road. Choose a small camper ornament as the centerpiece, then arrange a few tiny travel-themed decorations around it. Keep the cluster compact so the top branches can support it and the display fits beneath your ceiling.
Attach each ornament to a separate branch or fasten the group to a lightweight base. This keeps the pieces from swinging into one another when you move the tree. For a balanced look, place the camper near the center and let one or two smaller ornaments peek out at the sides. Before driving, remove the cluster and wrap its pieces in soft cloth or tissue to protect paint and small details.
5) A Pinecone With Berry Picks and Ribbon
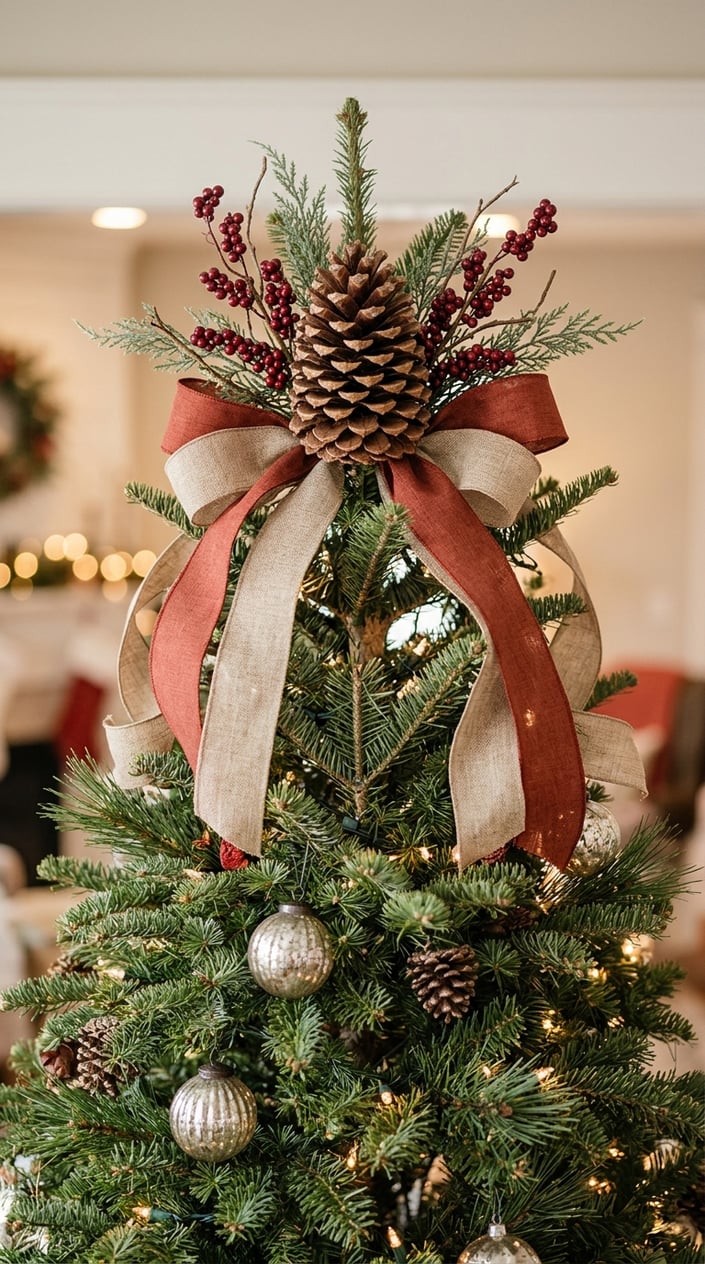
A pinecone with berry picks and ribbon gives your RV tree a woodland-inspired topper. Start with a dry pinecone that feels light, then tuck a few artificial berry picks around its base. A short ribbon bow adds a pop of color and helps cover the point where the pieces meet.
Use floral wire to bind the arrangement to a short stem or sturdy top branch. Keep the berries and cone close together so the topper stays balanced, especially on a small tree. If you gather a pinecone outdoors, check it for loose debris and insects before bringing it inside. Artificial berry picks suit compact RV displays because you can shape their stems to fit the available space and tuck any sharp ends out of reach.
6) A Cascading Pearl-and-Ribbon Spray

A cascading pearl-and-ribbon spray creates graceful movement above your RV tree. Secure a small bundle of faux pearl strands and ribbon at the top, then let the ends trail over nearby branches. Satin or sheer ribbon adds a light look, while pearl strands catch the glow from nearby tree lights.
Keep the hanging lengths short enough to clear a table, seat, or walkway around the tree. Attach the bundle with floral wire or a strong ornament hook, and spread the strands so they do not pull the tree’s top branch to one side. This design works especially well when you want a softer, dressier finish. For storage, coil the strands loosely and wrap the ribbon around them to help prevent tangles.
7) A Shatterproof Mirror Ornament Topper

A shatterproof mirror ornament gives your RV tree a bright, reflective accent. Choose a lightweight mirrored ball or faceted ornament with a sturdy cap and hanging loop. Its reflective surface picks up nearby lights and colors, giving the top of the tree a polished look without requiring a large decoration.
Hang it from the strongest upper branch, or secure the loop with a short piece of floral wire so it stays centered. Check the ornament’s weight against the branch before letting go; a compact tree may need a smaller ball. Shatter-resistant material is practical in a moving home where decorations get packed and unpacked. Place the ornament in a padded container between trips, and keep its surface separate from pieces that could scratch it.
8) A Robin or Owl Perched on a Branch

A robin or owl perched on a branch brings a charming woodland detail to your RV tree. Look for a small bird ornament with a clip or wire feet, then settle it near the top so it appears to rest on an evergreen branch. A robin adds a bright red accent, while an owl gives the display a cozy, storybook feel.
Anchor the bird to a branch that points slightly upward, and check that its tail and wings have room to sit naturally. If the ornament has a hanging loop, secure it with floral wire so it faces forward. A small bird is easy to store in a divided ornament box, where its beak and feathers stay protected. Pair it with a few woodland decorations lower on the tree for a connected theme.
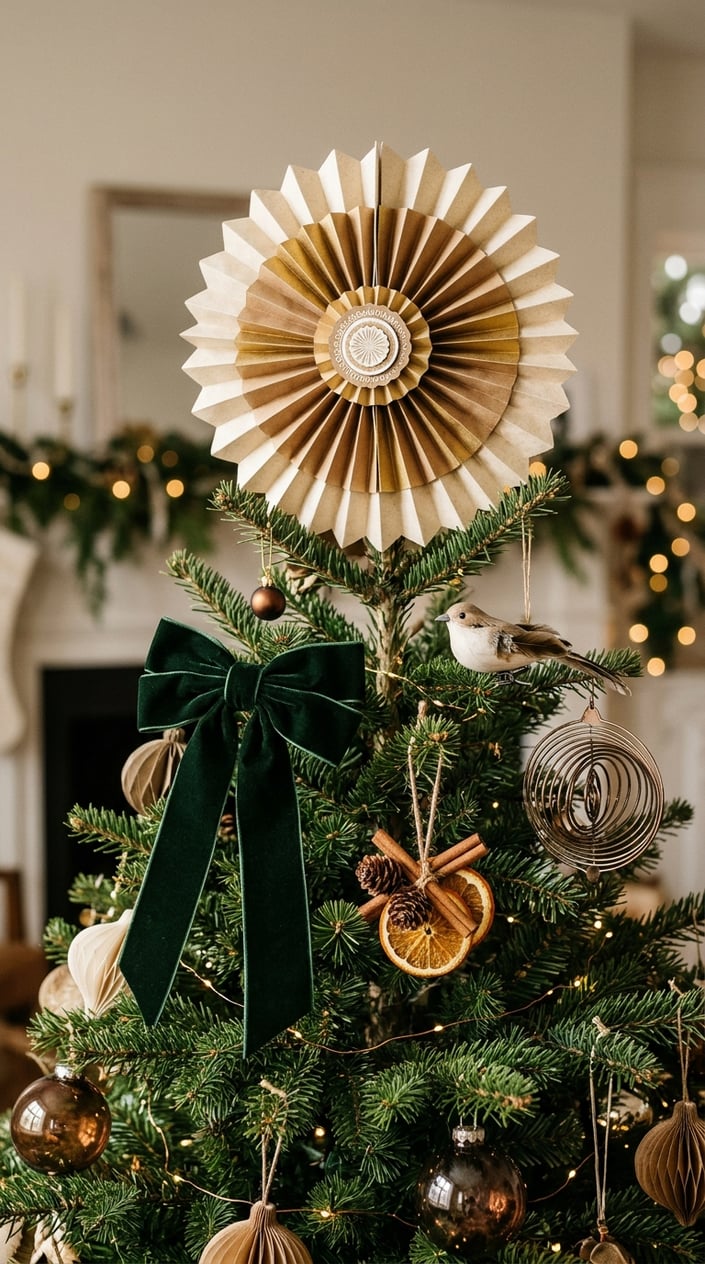
9) A Folded Road-Map Rosette

A folded road-map rosette gives your RV tree a personal touch inspired by the places you travel. Use a paper map, fold it into accordion pleats, and join the ends to form a circular rosette. A small paper circle or ribbon knot in the center can cover the join and add a finished detail.
Choose a map with colors that fit your tree, or use a route map from a memorable trip. Keep the rosette small and light so it sits securely on the top branch. A short loop of thread or ribbon makes it easy to attach and remove. Because paper creases can flatten in storage, pack the rosette in a shallow box with space around it. You can also make a fresh one each season from a different route.
10) A Star of David

A Star of David offers a meaningful tree topper for your holiday display. Choose a lightweight ornament in wood, metal, felt, or another finish that fits your tree’s colors. Its clear shape stands out at the top, and a small size suits a tabletop tree or a low-ceiling RV interior.
Use the ornament’s loop or attach a short ribbon hanger, then fasten it securely to the top branch. If you celebrate both Christmas and Hanukkah, you can bring the symbol into a shared seasonal display in a way that feels personal to your household. Keep the star upright by checking its balance before you step away. Wrap it separately for storage, especially if you choose a finish that could scratch or bend.