
You share tight quarters and need smart ways to make bunks feel private and peaceful. This article shows simple, practical ideas you can use to divide space, cut light, and reduce noise so everyone sleeps better.
Would you like to save this article?
You’ll find quick, budget-friendly fixes and easy installs that work in most RV bunks, letting you create separate sleeping zones without major changes.
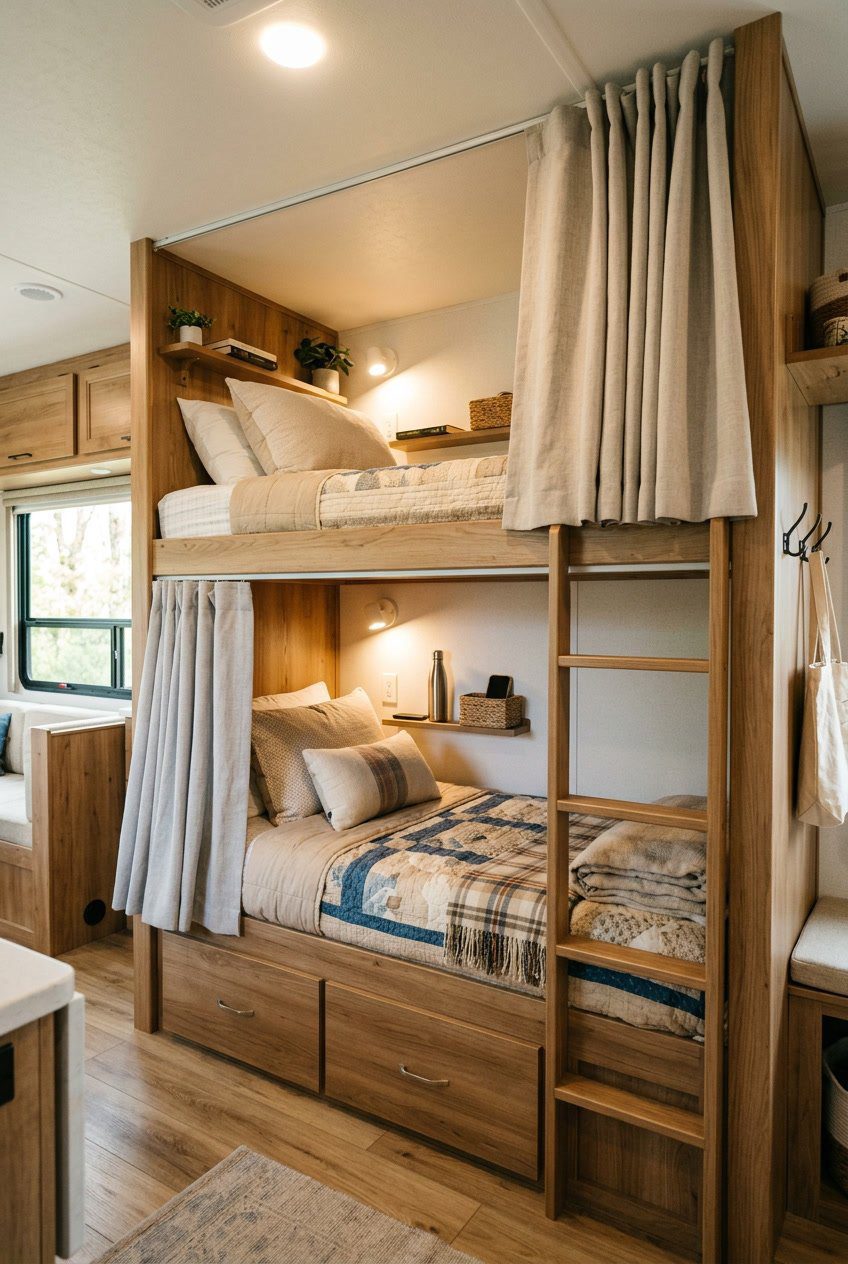
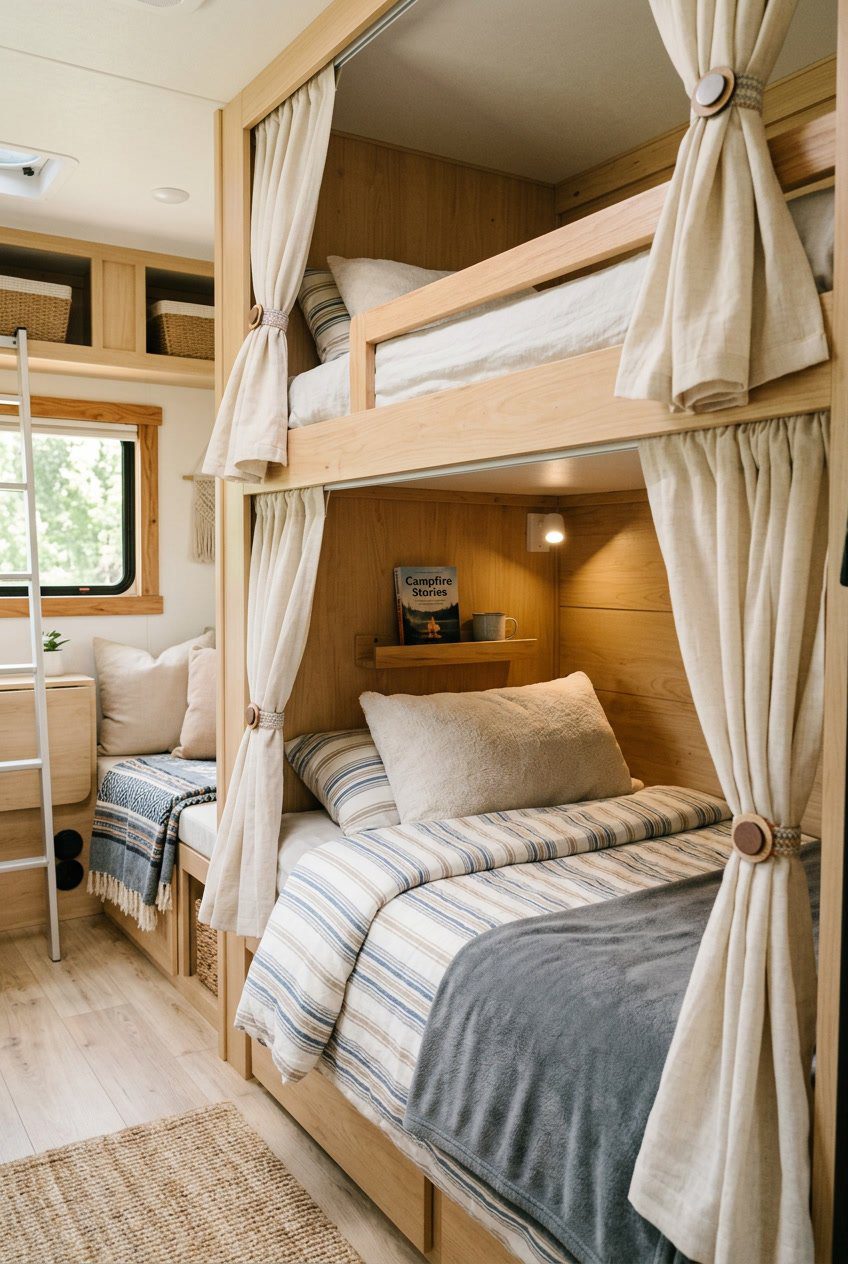
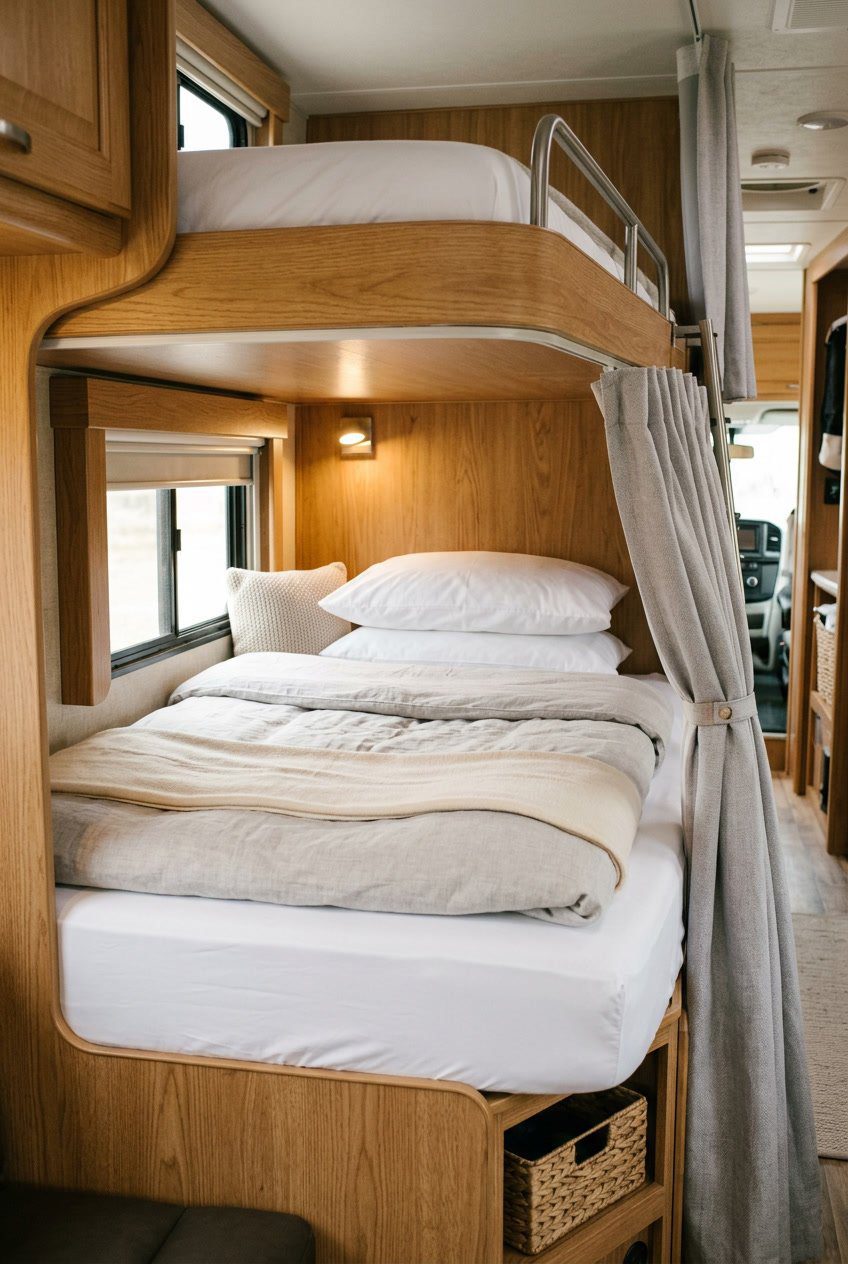
1) Curtain tracks with blackout curtains
You can install a slim curtain track above each bunk to give every sleeper their own private space. Blackout curtains block light and reduce noise, helping you sleep better on the road.
Choose flexible tracks that mount to the ceiling or wall without much drilling. They should glide smoothly so you can open and close the curtain quietly at night.
Pick blackout fabric that breathes a bit to avoid trapping moisture. Use ties or magnets to keep curtains open while driving.
PRO TIP
Measure the bunk opening carefully and add a few inches on each side so the curtain fully overlaps. Velcro along the edges can seal gaps and keep light out.
2) Hanging macramé room divider
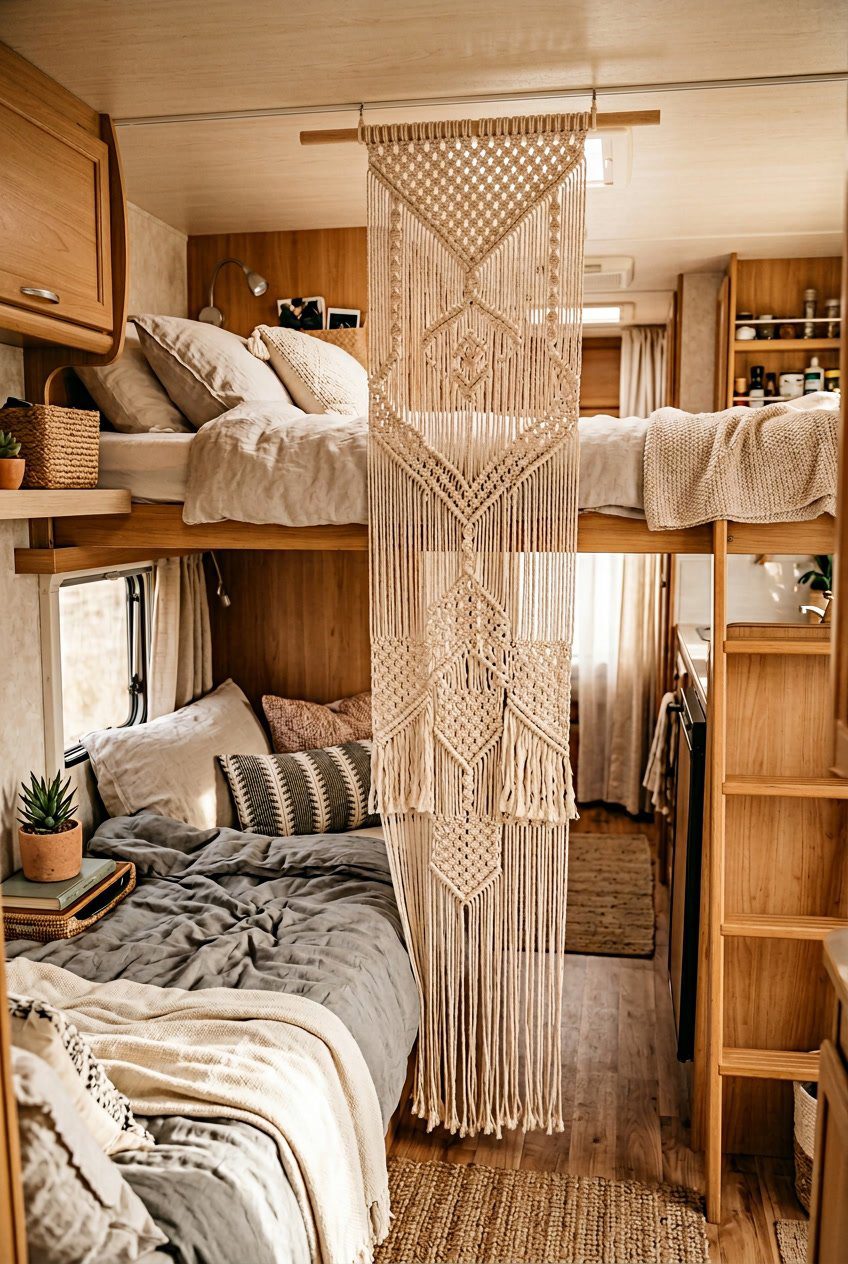
A hanging macramé divider adds texture and a soft screen between bunks. You can hang it from a rail or tension rod to keep it light and removable.
Choose a tight knot pattern for more privacy or a loose one for airflow and light. Natural fibers feel cozy, and you can dye them to match your RV interior.
Installation is simple and tool-free if you use a clip or loop system. It won’t take much space and it lets you open or close the divider quickly.
PRO TIP
Measure the gap first so the macramé hangs at the right height. If you want more privacy, layer two hangings or add a thin blackout liner behind it.
3) Retractable roller shades

Retractable roller shades give you quick, neat privacy for each bunk. You pull them down when you want darkness or a little seclusion, then roll them up to open the space again.
They fit tight to the bunk opening, which helps block light and reduces noise a bit. You can choose light-blocking fabric for naps or breathable fabric to keep air flowing.
Mount them high so the shade clears pillows and gear. Look for shades with a simple latch or magnetic closure so you can secure them while sleeping.
PRO TIP
Install a small clip or hook at the bottom to keep the shade from unrolling on windy nights.
4) DIY tension-rod curtains
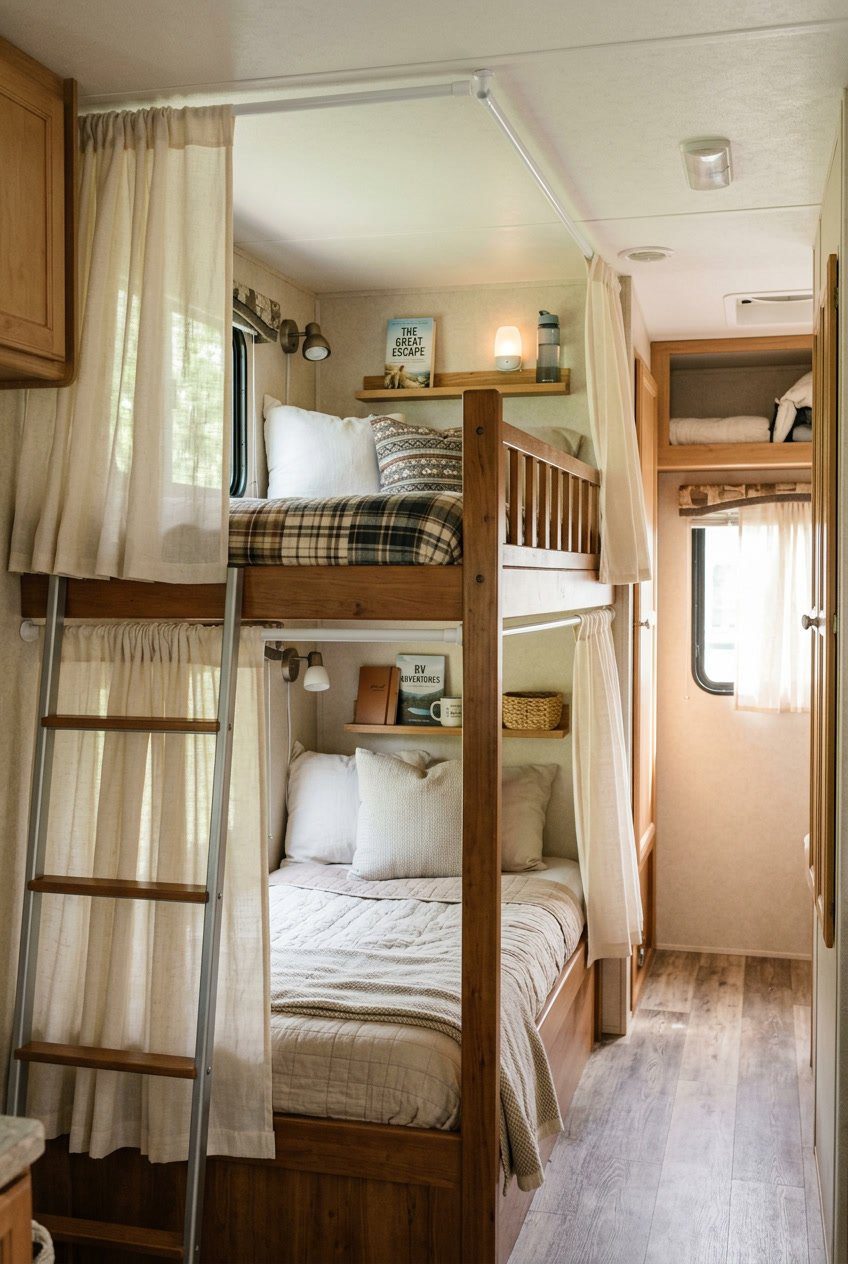
You can make quick, private curtains with a tension rod and light fabric. Install the rod between walls or inside the bunk frame; no drilling keeps the RV intact.
Choose a fabric that blocks light but stays breathable. Cut to size and hem the edges, or use no-sew tape for a faster fix.
Slide the fabric onto the rod or attach with clips for easy removal. You can open and close the curtain quietly, so roommates stay undisturbed.
PRO TIP
Use a thin felt strip or rubber on the rod ends to stop slipping. That adds grip without damage and keeps your curtain in place while you sleep.
5) Zip-together privacy panels
Zip-together panels let you close off bunk beds quickly. You can zip a full curtain across or create a small doorway that opens and closes with ease.
These panels usually attach with snaps, Velcro, or simple tracks. They sit flat against the bunk frame, so they don’t take up much space when open.
You can use light fabric for airflow or thicker fabric for more privacy and darkness. Pick colors and patterns that match your RV style to keep the space cozy.
PRO TIP
Measure the bunk opening before buying or sewing panels. A few inches of extra width makes zipping easier and keeps light from sneaking through.
6) Folding plywood partition with soft edge

A folding plywood partition gives you a simple, strong divider that folds away when you need space. You can hinge thin panels so they tuck flat against a wall or bed frame.
Add foam or soft trim to the edges for safety and comfort. That prevents bumps and keeps the partition from scratching bedding or skin.
Cover the plywood with fabric or vinyl for a nicer look and easy cleaning. You can use hook-and-loop strips to attach the cover so you can remove it to wash.
PRO TIP
Cut panels to fit the bunk height and weight so the partition stays steady. Use light plywood and strong hinges to keep it safe and easy to handle.
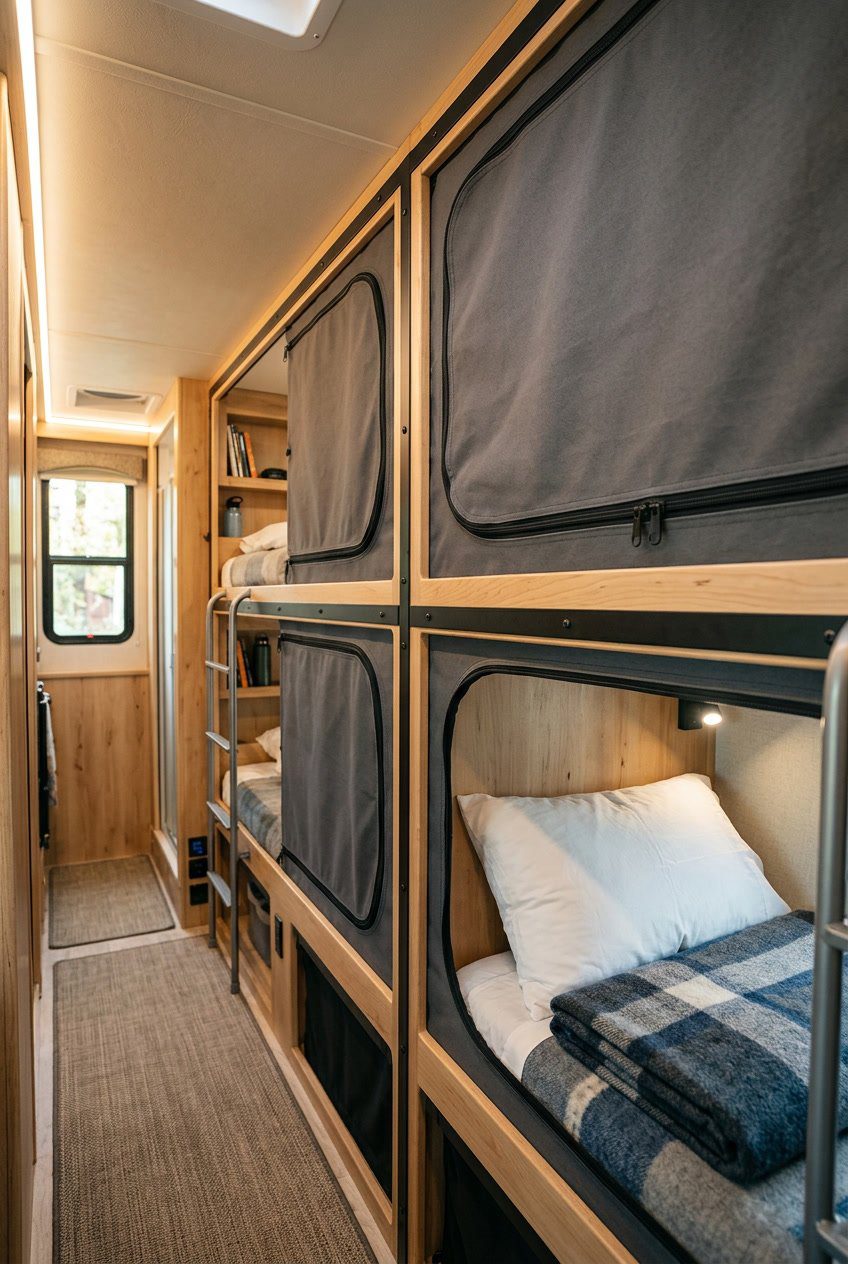
7) Canvas drop-sheet with grommets
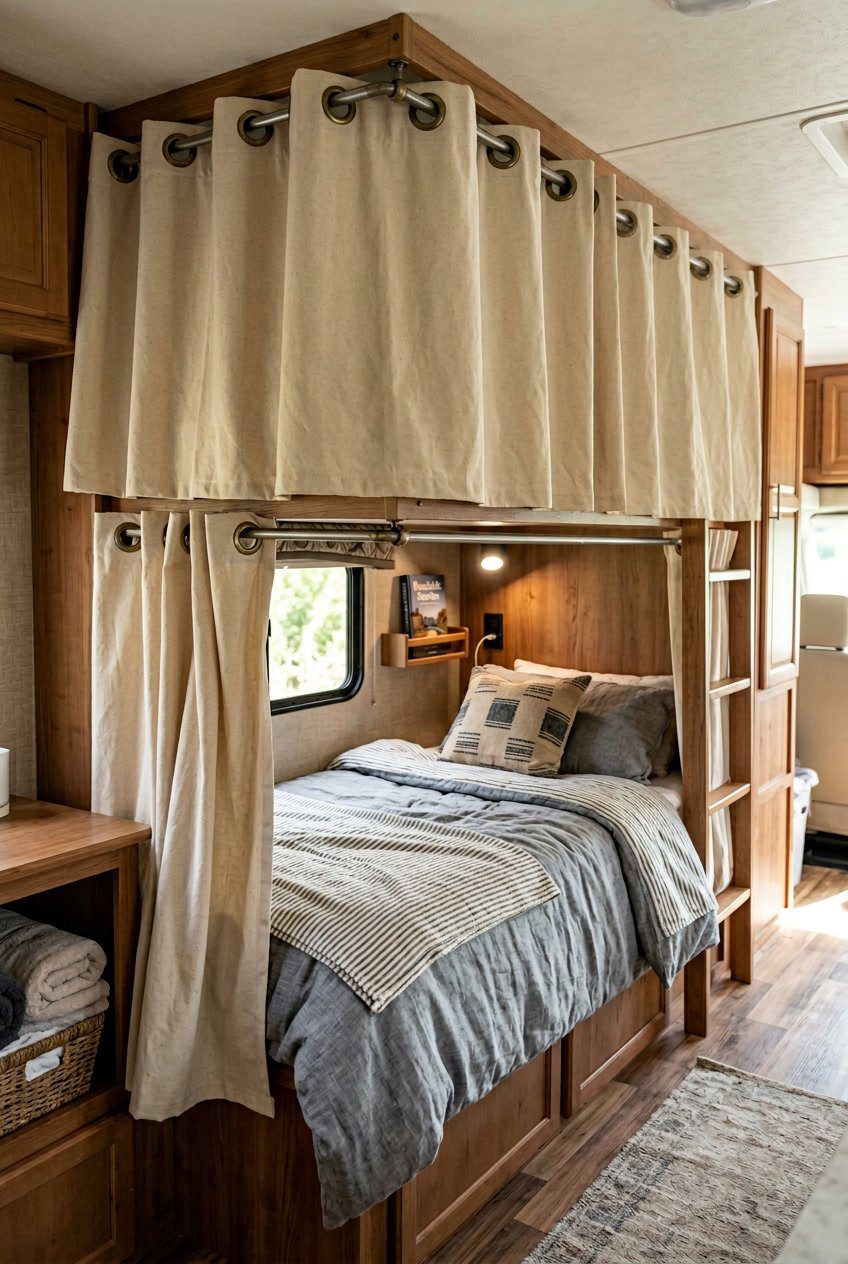
A canvas drop-sheet with grommets gives you a simple, sturdy curtain for bunk areas. You hang it with hooks, rope, or small bungee cords through the grommets to make a roomy, private cover.
Canvas blocks light well and holds up to frequent use. It also breathes better than vinyl, so the space won’t feel too stuffy during sleep.
You can cut the sheet to size and hem the edges or use fabric tape for a quick finish. Add a few evenly spaced grommets along the top to keep the curtain hanging straight.
PRO TIP
Use small Velcro tabs at the bottom to keep the sheet from shifting while you sleep.
8) Portable pop-up privacy tent
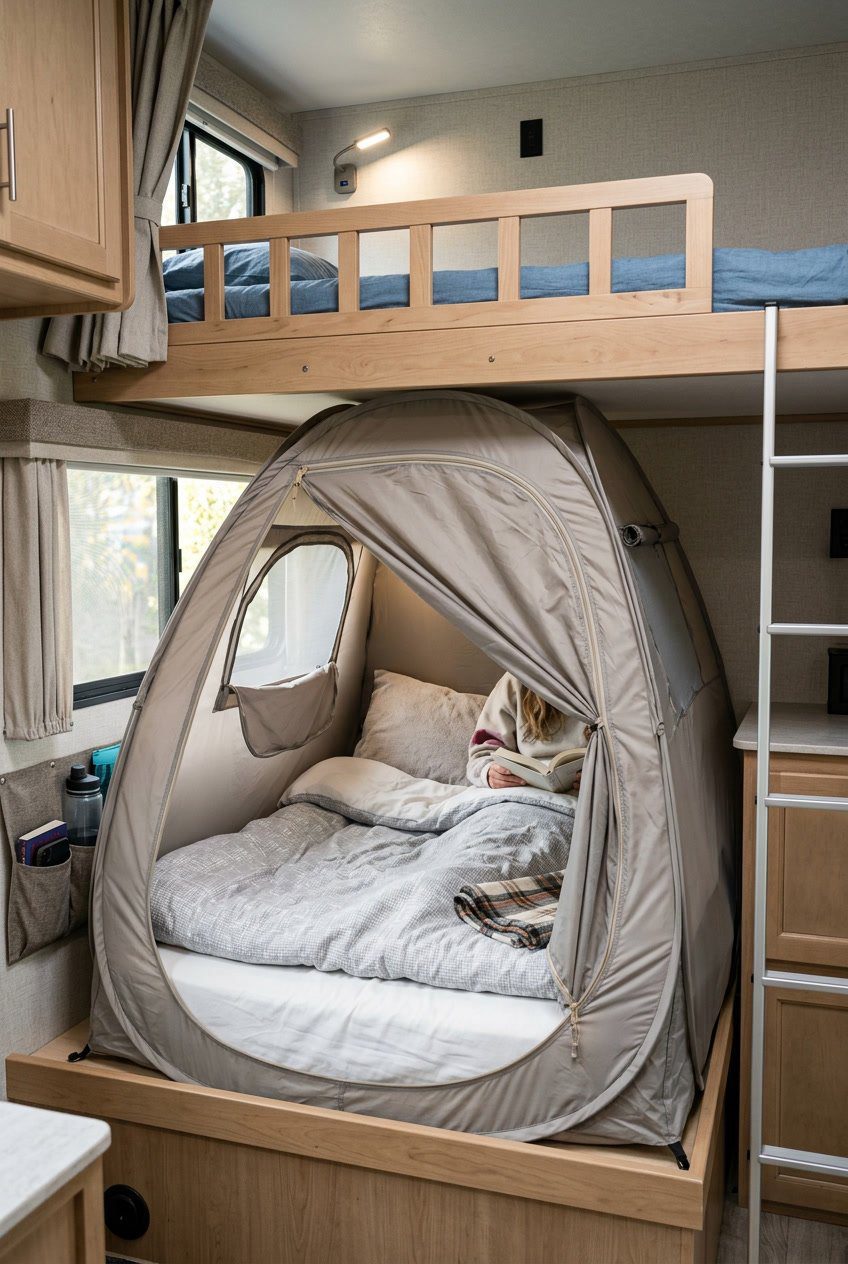
A portable pop-up privacy tent fits inside an RV bunk to give you quick private space. You can set it up in seconds and fold it flat when not in use.
These tents are lightweight and made from breathable fabric so air still flows. They block light and sound better than an open bunk but do not fully soundproof.
Use one for naps, changing clothes, or a quiet spot for reading. Pick a size that fits your bunk and leaves room for getting in and out.
PRO TIP
Choose a tent with a zippered door and mesh panels for ventilation. Keep a small clip-on light inside so you don’t need the RV lights on.
9) Bamboo slat sliding divider
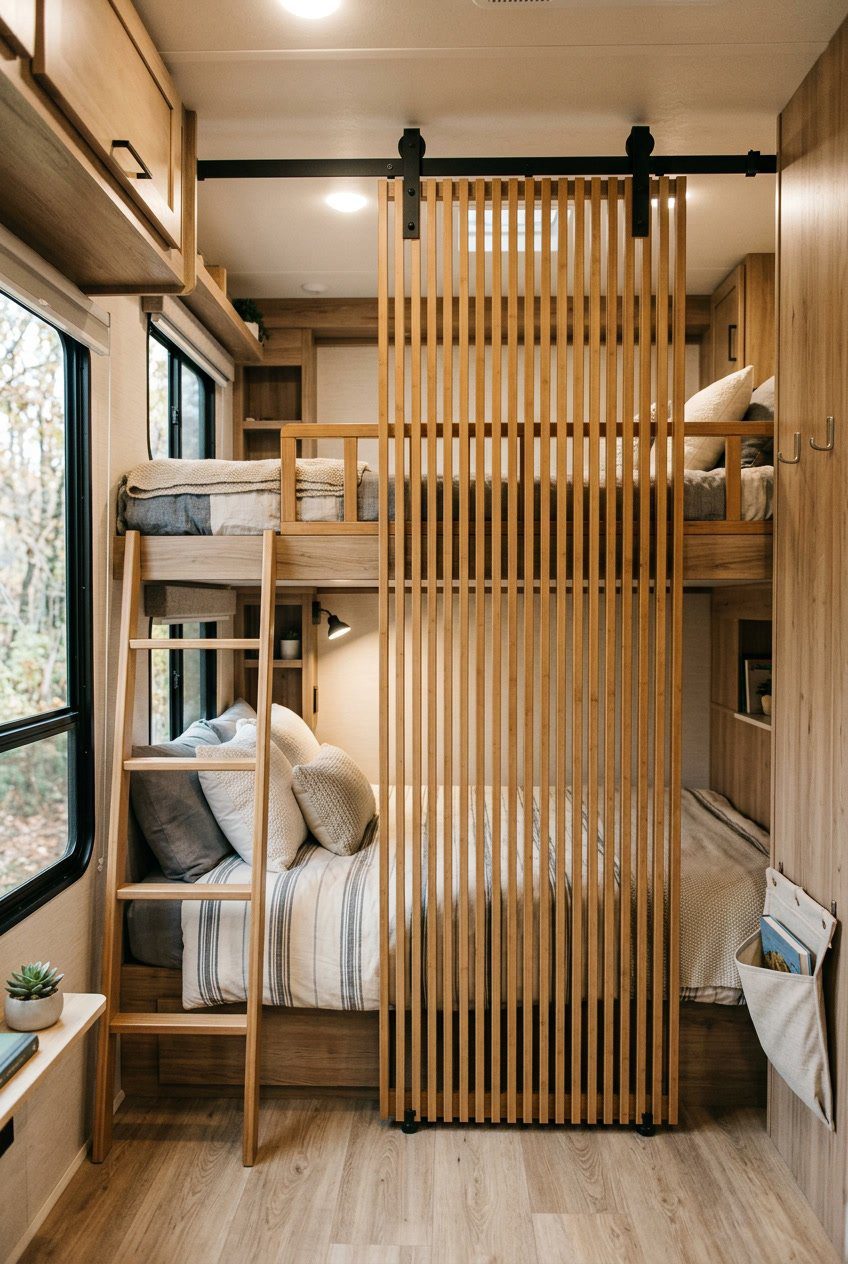
A bamboo slat sliding divider gives you privacy without taking up floor space. It slides on a simple track, so you can open it when you want more room and close it for sleep time.
Bamboo feels warm and natural. The slats let air flow and block light enough for privacy, while keeping the space from feeling closed in.
Install the track near the ceiling or bed frame for smooth movement. Choose lightweight panels and good hardware so the divider glides quietly.
PRO TIP
Add a thin fabric backing for extra light blocking and sound dampening. Match the bamboo tone to your RV wood for a clean, cozy look.
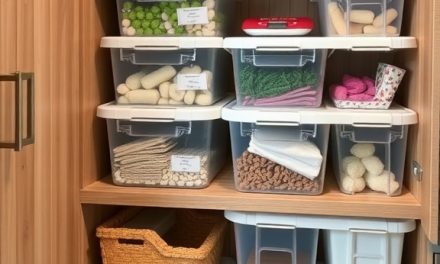
10) Under-bunk storage bins as foot barriers
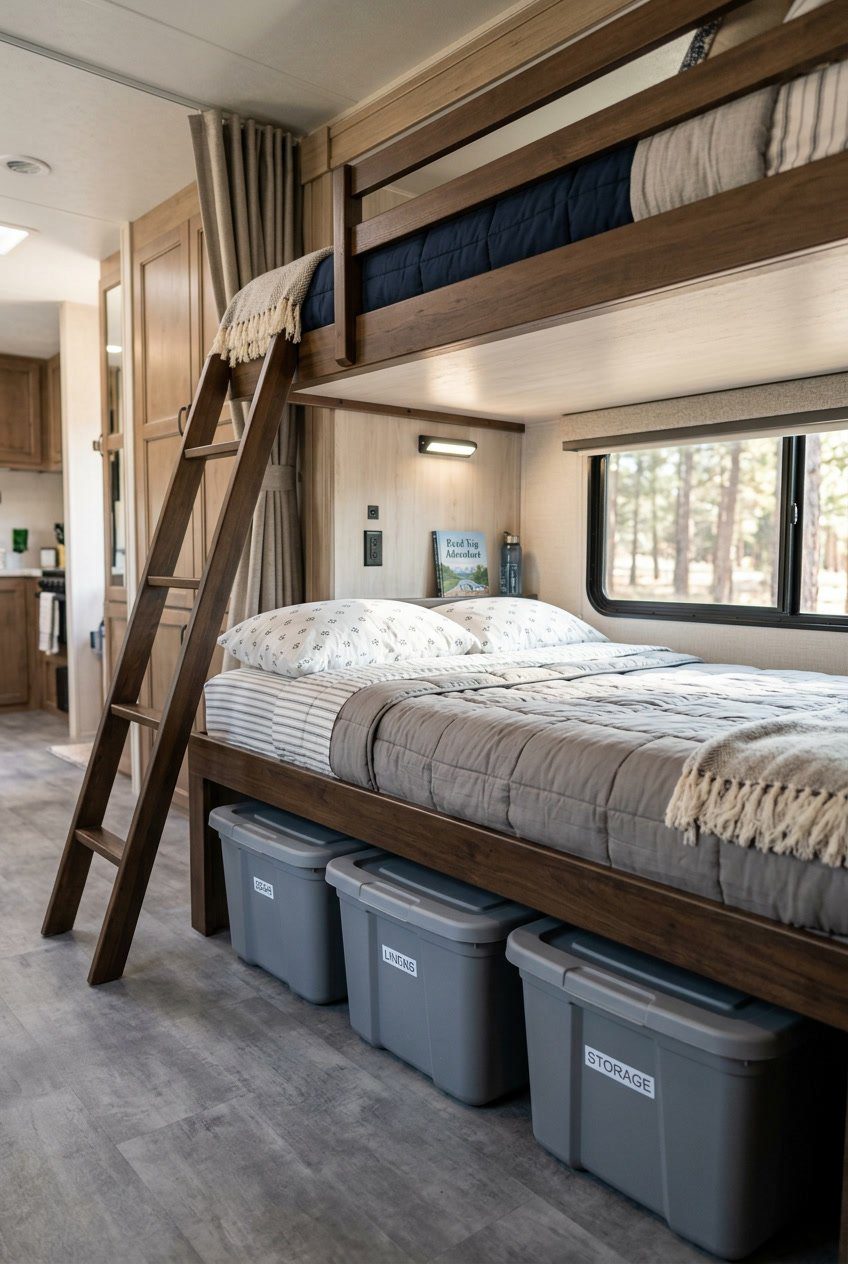
Placing shallow storage bins under the bottom bunk helps block the view and light from the foot of the bed. You can slide them in and out, which keeps the space tidy and gives a small sense of separation.
Choose low, sturdy bins that fit snugly under the frame. They act as a physical barrier without feeling like a wall, and they add useful storage for shoes, books, or blankets.
Stack a few bins side by side for full coverage. That creates a continuous barrier that still lets air flow and stays easy to access.
PRO TIP
Use bins with lids so items stay dust-free and the barrier looks neat.
11) Noise-dampening foam headboard panels

Adding foam panels to the headboard area helps block sound between bunks. You can cut panels to fit the space and attach them with adhesive strips or Velcro for easy removal.
Choose dense, open-cell foam for better sound absorption without adding much weight. Thin panels reduce echoes from voices, snoring, and clinking gear.
Cover panels with a fabric you like to make the space cozy and hide the foam. Light colors keep the bunk feeling bright while darker fabrics hide stains.
PRO TIP
Mount panels so they sit flush against the wall or bunk frame to stop sound from sneaking around the edges. Test placement by listening from the neighboring bunk and adjust until noise drops.
12) Battery-operated motion LED strip for night paths
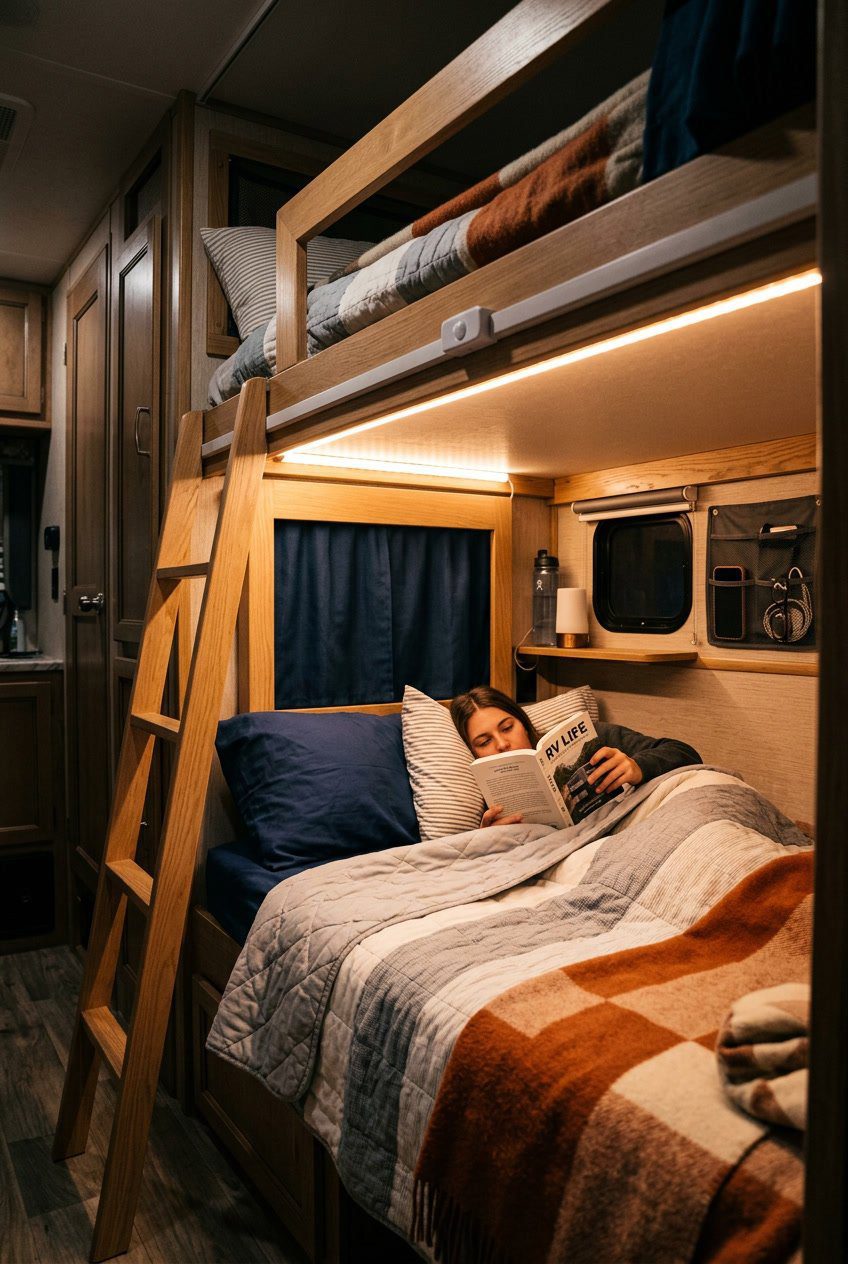
A battery-operated motion LED strip gives your bunk area a soft, guided light without waking others. You can stick it along the bunk edge or the ladder to show the way at night.
The lights turn on only when you move, so they save power and cut down on constant glow. That helps you find your way without bright overhead lights or disturbing roommates.
Install the strip low and point it toward the floor to avoid shining into sleeping faces. Change batteries or recharge regularly so the motion sensor keeps working.
PRO TIP
Place a small strip near the foot of each bunk so each person has their own path. Use warm white LEDs for a gentler, less harsh light.
13) Velcro-attached mosquito netting
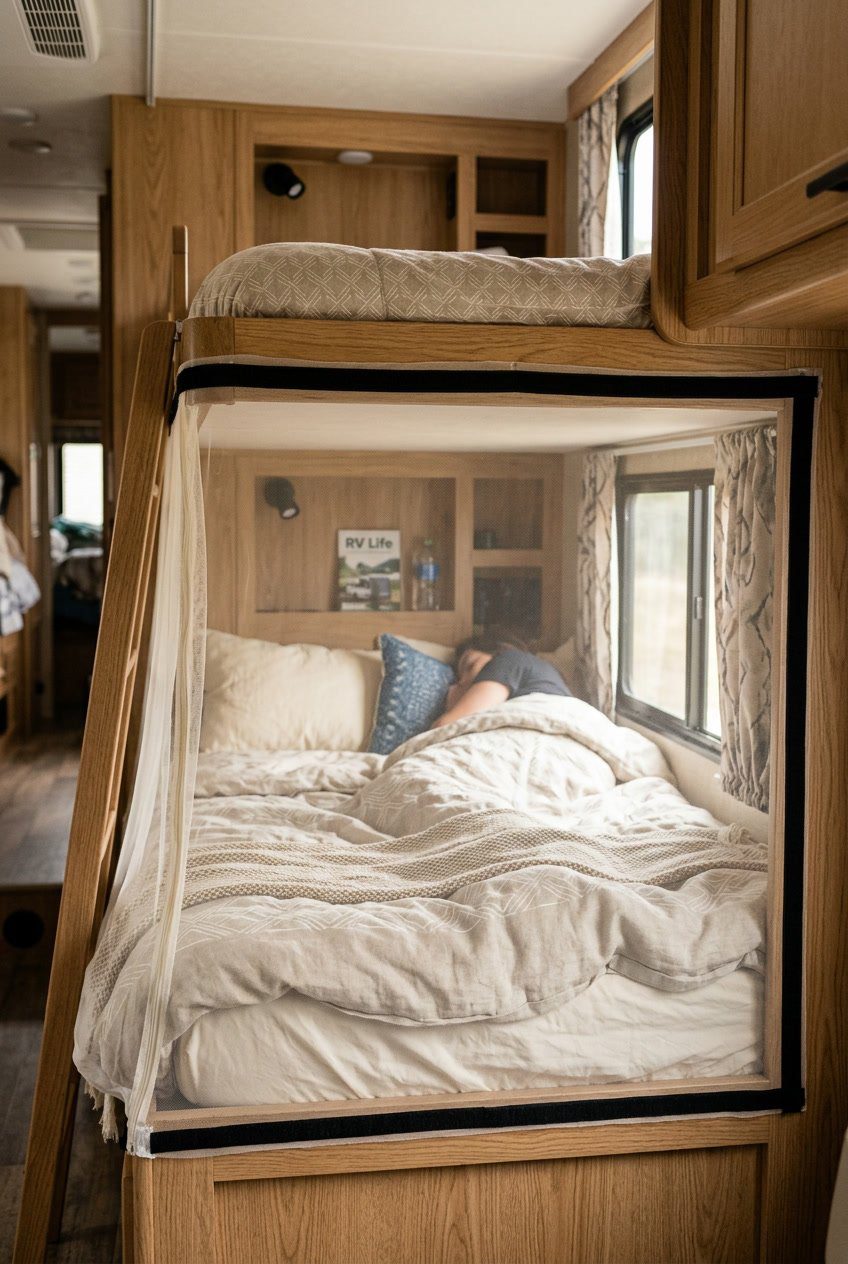
Velcro-attached mosquito netting keeps bugs out without blocking air or light. You stick one side of the Velcro to the bunk frame and the other to the netting, then peel and press it on. Setup is quick and you can open it like a curtain.
The netting fits tight to stop insects, yet it stays easy to remove for cleaning. You can cut the mesh to size and stitch or tape the edges so it won’t fray.
PRO TIP
Use low-residue Velcro so it won’t peel paint or fabric. Measure twice before cutting the netting to avoid gaps at corners.
14) Magnetic curtain tiebacks for quick access
Magnetic tiebacks keep curtains open without fuss. You can grab them fast when you need light or privacy, and they snap closed cleanly.
They work well in tight RV spaces because they need little room and no hardware. Magnets attach to fabric or a small metal plate, so installation is simple.
You can move them up or down to suit different heights and curtain lengths. They also let you create neat folds that stop fabric from flapping while you drive.
PRO TIP
Attach a small loop or tab to the curtain edge so the magnet has something to hold. That makes the tieback more secure and easier to use with one hand.
15) Personal clip-on reading light with flexible neck
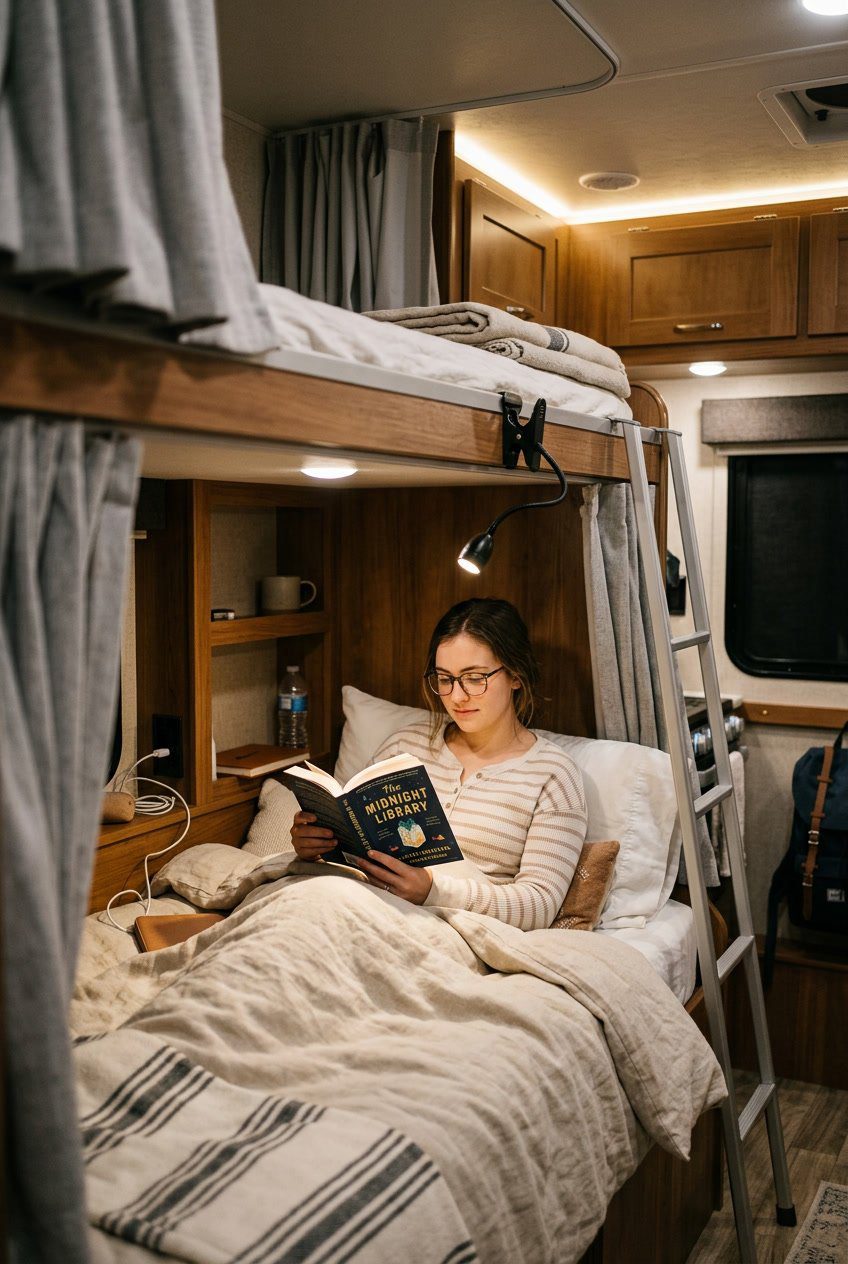
A clip-on reading light gives each sleeper control over their own light without bothering others. You can attach it to a bunk rail, shelf, or headboard and bend the neck to aim light where you need it.
Choose a light with gentle, dimmable settings so you can read without glare. The flexible neck helps you direct light onto pages or a tablet while keeping the rest of the bunk dark.
Battery or USB power means you avoid running cords across the bunk. Clip lights are small, inexpensive, and easy to move when you rearrange your space.
PRO TIP
Mount the clip on the inside edge of the bunk so the beam points down and won’t shine into the other person’s eyes.
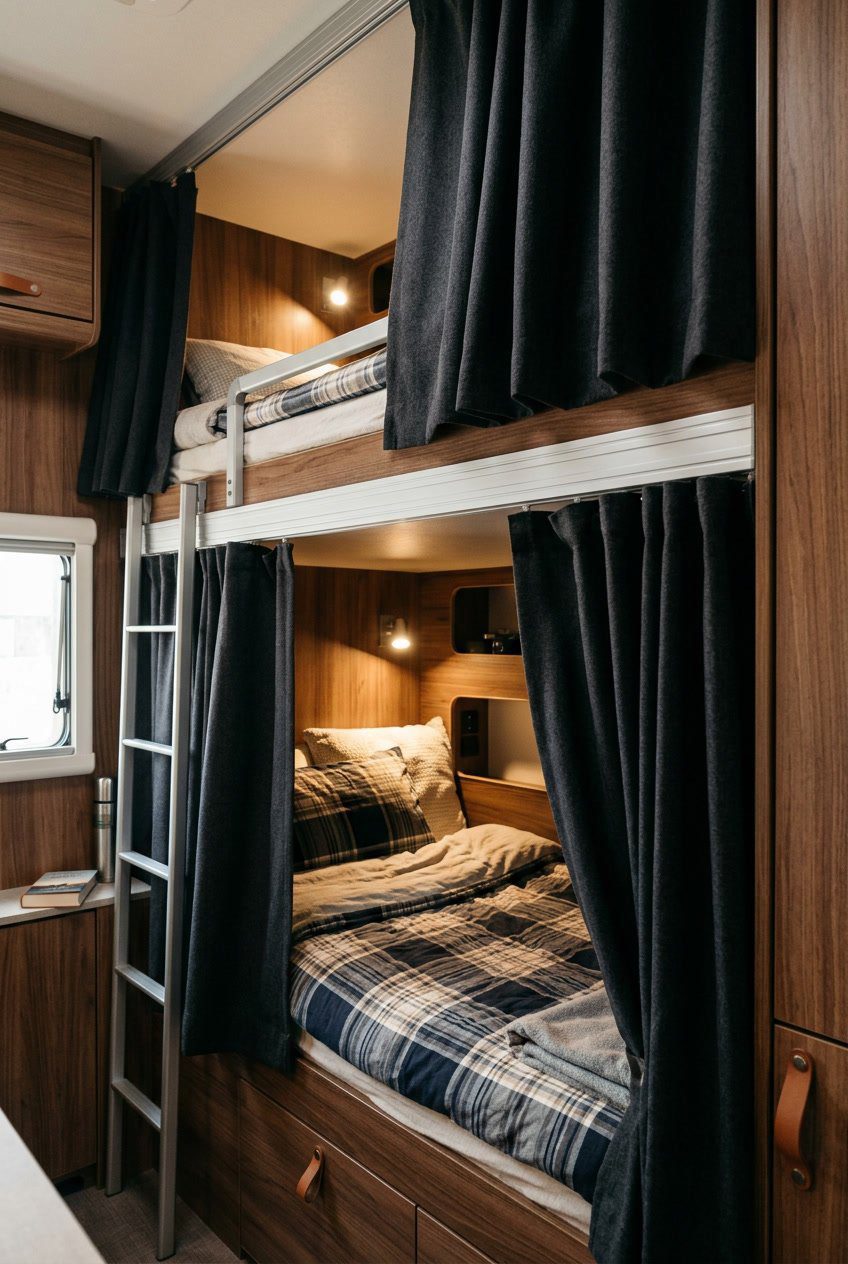
16) Sound-absorbing curtains (minky or heavy velvet)
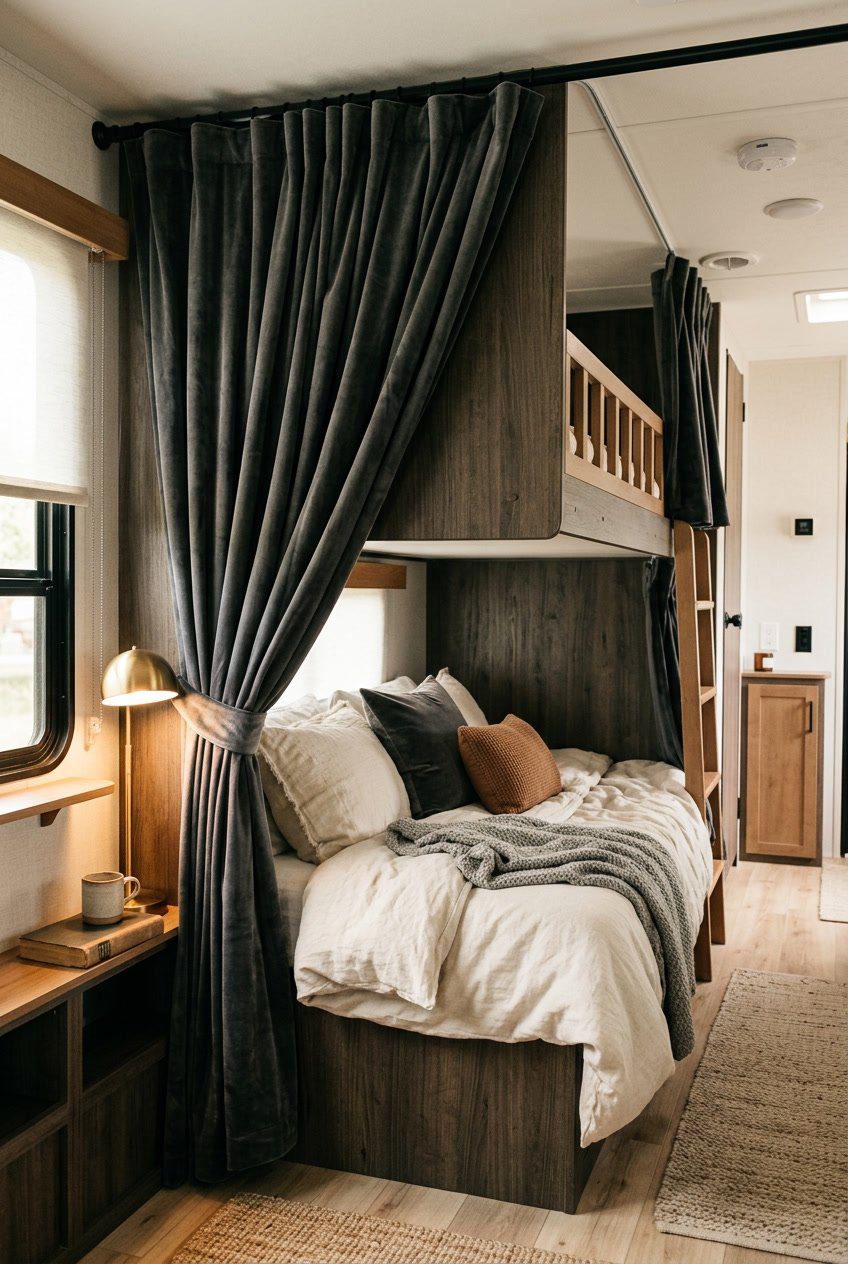
You can hang thick, plush curtains around each bunk to cut noise and add coziness. Fabrics like minky or heavy velvet absorb sound better than thin cotton, so conversations and TV sounds stay quieter.
Install a simple track or tension rod that fits in your RV space. The curtain should move easily but close fully to block light and reduce echoes.
These curtains also help with temperature control by trapping warm air around the sleeper. Choose dark or neutral colors to hide wear and keep the space calm.
PRO TIP
Use blackout lining behind the plush fabric for extra noise and light blocking. Velcro strips at the edges help seal gaps and keep the curtain from flapping while you drive.
17) Custom-fitted bunk mattress topper for even sleep surface
A thin gap or uneven mattress can wake you up fast. A custom-fitted bunk mattress topper fills gaps and creates a smooth surface so you sleep more comfortably.
Choose a topper shaped to match your bunk and its corners. Foam or memory foam options compress to fit tight spaces and stop shifting during travel.
A topper also adds a small layer of cushioning without raising the total height too much. You can zip or tuck it under the mattress to keep it secure on bumpy roads.
PRO TIP
Measure the bunk length, width, and any cutouts before buying or cutting a topper. Use a non-slip pad underneath to keep everything in place while parked or on the move.


