You pull into a campsite after a long drive, and within 30 minutes your RV is perfectly level, the awning is out, the outdoor rug is down, and your neighbors are sneaking glances wondering how you made it look so easy. That’s the power of knowing the right setup tricks — and with these 21 RV camp setup tricks that make you look like a pro, you’ll go from fumbling first-timer to campsite legend in no time. 🏕️
Whether you’re brand new to RV life or a seasoned road warrior looking to sharpen your routine, this guide covers everything from leveling and utility hookups to outdoor living hacks that turn any campsite into a home away from home.
Key Takeaways
- ✅ Leveling your RV correctly is the single most important setup step — it protects your appliances and improves sleep quality.
- ✅ A pre-arrival site inspection saves time, prevents damage, and sets the tone for a smooth setup.
- ✅ Utility hookups in the right order (electric first, then water, then sewer) prevents costly mistakes.
- ✅ Organization tools and checklists are what separate experienced RVers from beginners.
- ✅ Small outdoor living upgrades — rugs, lights, mats — make your campsite feel polished and welcoming.
Would you like to save this article?
The Foundation: Arrival, Inspection & Leveling Tricks
Getting the basics right from the moment you pull in sets up every other part of your stay for success. These first tricks from the 21 RV camp setup tricks that make you look like a pro list are all about nailing your arrival routine.
Trick #1: Do a Drive-By Before You Park 🚗
Before backing into any site, do a slow drive-by or walk the site on foot. Look for:
- Low-hanging branches that could snag your awning or antenna
- Uneven ground or large rocks
- The location of utility hookup pedestals
- Drainage direction (you want water to flow away from your rig)
This 2-minute step prevents a lot of headaches.
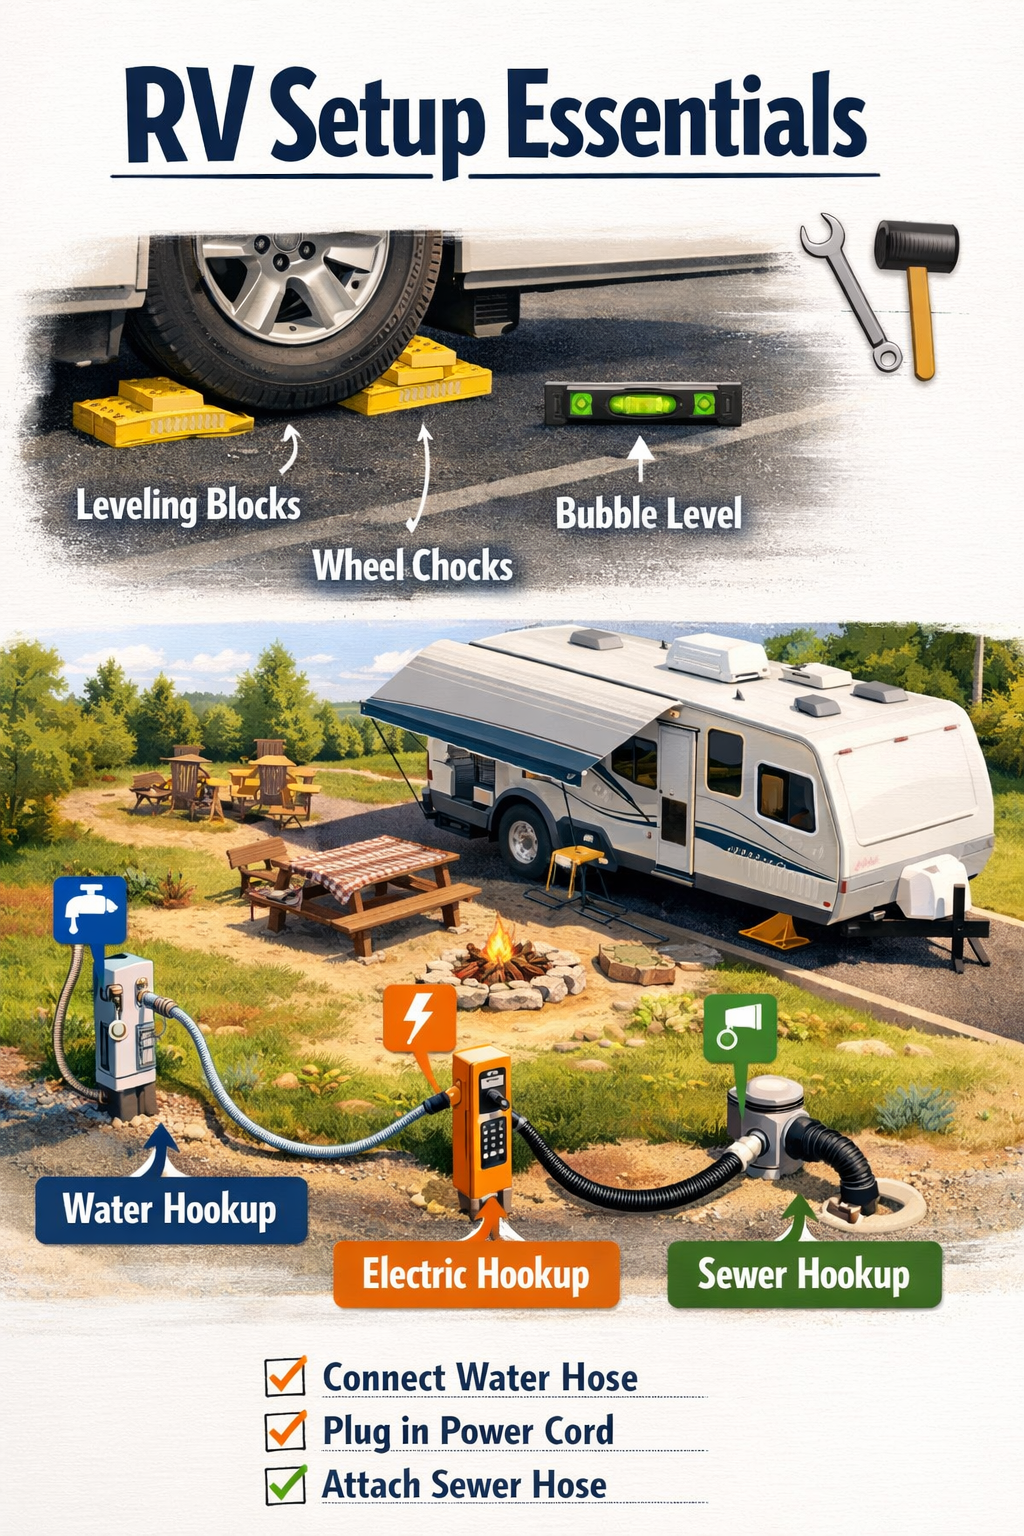
Trick #2: Always Level Side-to-Side First
Leveling is non-negotiable. An unlevel RV can cause refrigerator compressor damage, poor sleep, and sliding furniture. The golden rule: level side-to-side before front-to-back.
💬 “A level RV isn’t just about comfort — it’s about protecting your investment. Your refrigerator needs to be level to work efficiently.”
Use a simple bubble level or a digital RV level app to check your position before placing leveling blocks.
Trick #3: Keep Leveling Blocks in a Mesh Bag
Store your leveling blocks in a mesh bag or milk crate near the entry door. This keeps them accessible, lets them drain after rain, and means you’re never digging through storage bays to find them.
Pro tip: Color-code your blocks by height (2″, 4″, 6″) with spray paint so you grab the right ones instantly.
Trick #4: Use a Bubble Level on Your Countertop
Can’t find your level? Set a small bubble level right on your kitchen countertop. It’s already a flat, stable surface and gives you an accurate reading without crawling under the rig.
Trick #5: Chock the Wheels Before Unhitching
Always place wheel chocks before you unhitch a trailer or disconnect a tow vehicle. This prevents the terrifying (and expensive) scenario of your RV rolling on its own. Place chocks on both sides of at least one wheel.
Trick #6: Note Your Leveling Block Setup for Next Time
Take a quick photo of how many blocks you used on each side. When you return to the same campground, you’ll know exactly what to grab — zero guesswork.
Trick #7: Run a Pre-Setup Walk-Around Inspection
Before touching a single hookup, walk around the entire rig and check:
| Inspection Item | What to Look For |
|---|---|
| Tires | Damage, low pressure, road debris |
| Slide-outs | Clearance from trees/obstacles |
| Roof vents | Closed before any movement |
| Exterior compartments | Latched and secure |
| Awning | No damage from travel |
This walk-around takes 5 minutes and catches problems before they become expensive repairs.
Trick #8: Extend Slide-Outs in the Right Order
If your RV has multiple slide-outs, check your owner’s manual for the correct extension order. Some rigs have a specific sequence to prevent stress on the frame. Always make sure the area is clear of people, pets, and obstacles before extending.
Trick #9: Stabilize Jacks After Leveling (Not Before)
Stabilizing jacks are not leveling jacks — they’re designed to reduce sway and bounce after the RV is already level. Extend them just until they touch the ground firmly, then give them a quarter-turn more. Over-cranking can damage your frame.
Utility Hookups, Organization & Outdoor Living Like a Pro
Once your rig is level and stable, it’s time to connect utilities and make your campsite feel like a true outdoor home. This second half of the 21 RV camp setup tricks that make you look like a pro guide focuses on the details that experienced campers swear by.
Trick #10: Connect Utilities in the Right Order ⚡
This is one of the most important setup habits you can build. Always connect in this sequence:
- Electric first — powers your systems and lets you run the AC or heat while you finish setup
- Water second — attach your water pressure regulator before connecting to the campground spigot
- Sewer last — never leave your sewer valve open continuously (the “open sewer valve” mistake causes odor problems)
Disconnecting follows the reverse order: sewer, water, electric.
Trick #11: Always Use a Water Pressure Regulator
Campground water pressure can spike high enough to burst your RV’s internal water lines. A water pressure regulator (under $15) threads onto the spigot before your hose and keeps pressure at a safe level. This is one of the cheapest forms of RV insurance available.
Trick #12: Use a Dedicated Drinking Water Hose (White, Not Green)
Keep a white or blue “drinking water safe” hose exclusively for your fresh water connection. Never use a standard garden hose — they can leach chemicals and harbor bacteria. Label it clearly so it never gets mixed up.
Trick #13: Carry a Surge Protector for Shore Power
Campground electrical pedestals can have wiring issues — low voltage, miswired outlets, and power surges are all real risks. A portable surge protector plugged in between the pedestal and your power cord protects your RV’s electrical system from damage. It’s a worthwhile investment.
Trick #14: Test the Outlet Before Plugging In
Use an outlet tester (a small, inexpensive device) to check the campground pedestal for proper wiring before connecting your RV. A miswired outlet can cause serious damage. This 10-second check is a habit every experienced RVer has.
Trick #15: Build a Setup Checklist (And Actually Use It)
The pros don’t rely on memory — they use checklists. Create a laminated setup checklist that covers:
- ✅ Leveling and stabilizing
- ✅ Slide-out extensions
- ✅ Awning deployment
- ✅ Utility connections (electric, water, sewer)
- ✅ Interior setup (slide-out furniture, refrigerator check, thermostat)
- ✅ Outdoor setup (rug, mat, chairs, lights)
A good checklist takes the stress out of setup and ensures nothing gets missed, especially when you’re tired from a long drive.
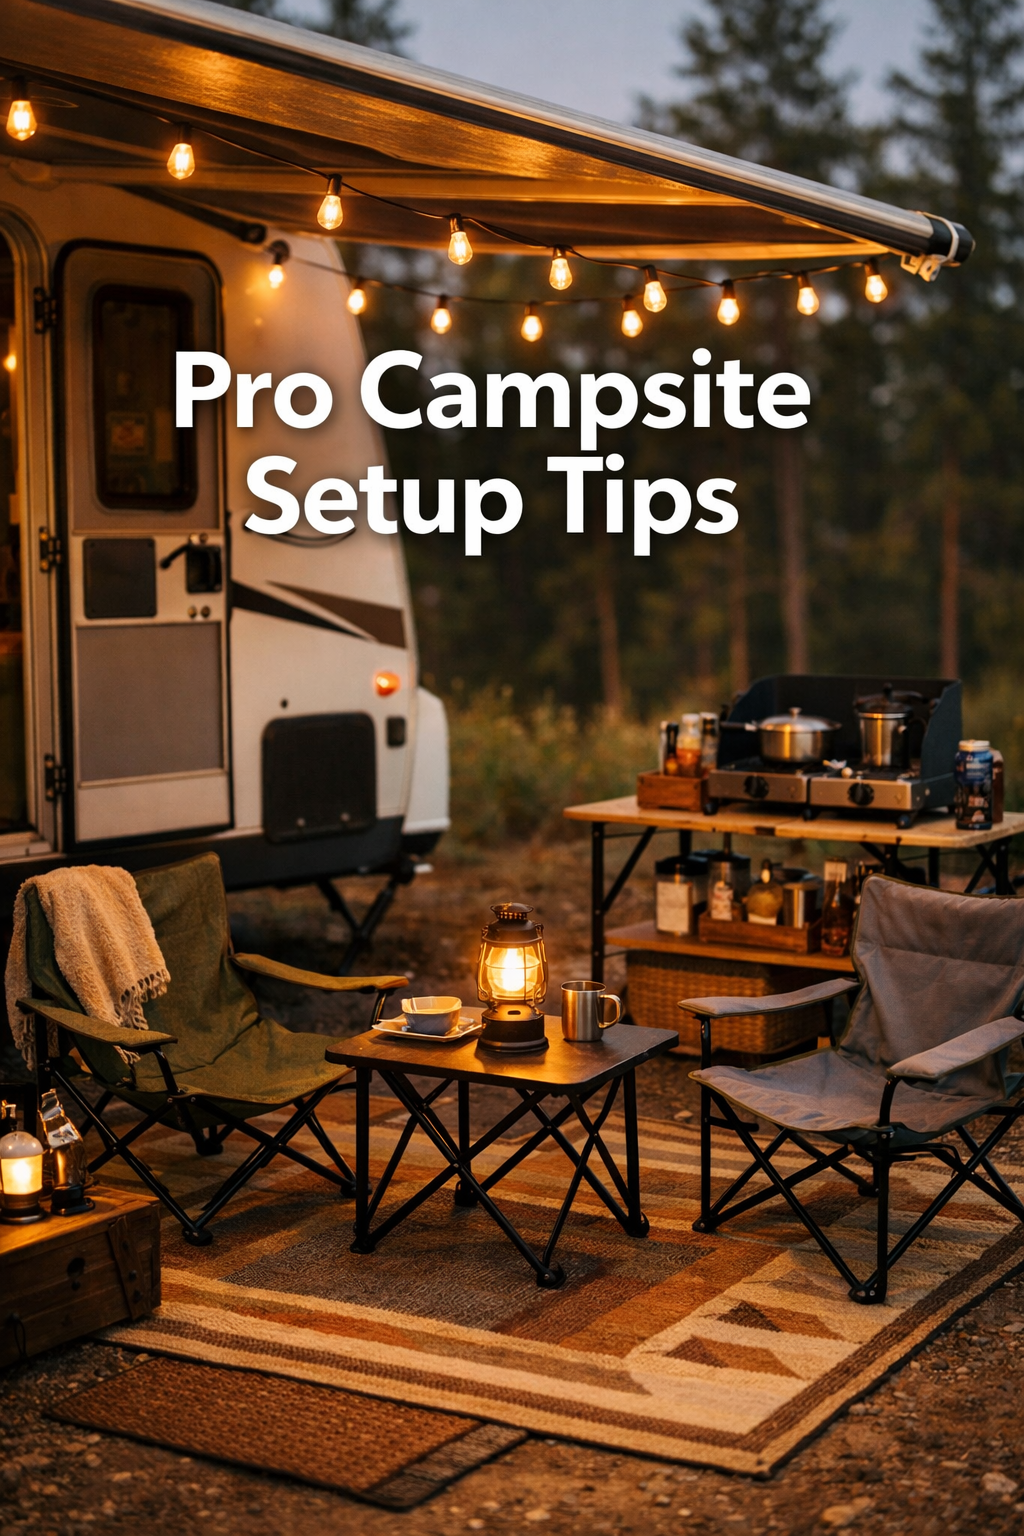
Trick #16: Lay Your Outdoor Rug Before Setting Up Furniture 🪑
An outdoor rug defines your campsite “living room” and keeps dirt from tracking inside. Lay it down early in the setup process — before chairs, tables, and gear — so everything gets positioned correctly the first time. Look for reversible, easy-clean rugs designed for outdoor use.
Trick #17: Use a Door Mat at Every Entry
A simple outdoor mat at the RV door catches an enormous amount of dirt, sand, and grass before it gets inside. Pair it with a small shoe rack or a hook-and-loop shoe bag on the door for a truly clean entry system.
Trick #18: String Up LED Lights Early 🌟
Campsite ambiance matters! String LED lights along your awning as part of your standard setup routine. They’re lightweight, use minimal power, and transform your site at dusk. Many experienced RVers keep their lights permanently attached to the awning arms so they’re ready to go in seconds.
Trick #19: Set Up Your Outdoor Kitchen Station Right Away
If you use a camp stove or outdoor grill, set up your outdoor cooking station during initial setup — not when you’re hungry. Use a folding camp table dedicated to cooking, keep it away from the RV’s exterior walls, and always check wind direction before lighting anything.
Trick #20: Create a “Campsite Command Center” Bin
Keep a dedicated bin or tote with everything you need for site setup:
| Item | Purpose |
|---|---|
| Outlet tester | Check pedestal wiring |
| Water pressure regulator | Protect water lines |
| Surge protector | Protect electrical system |
| Bubble level | Verify leveling |
| Wheel chocks | Safety |
| Hose washers (extras) | Prevent leaks |
| Work gloves | Sewer connections |
| Laminated checklist | Stay organized |
This bin goes out first and comes in last — every single time.
Trick #21: Do a Departure Prep the Night Before 🌙
The most experienced RVers start their teardown the evening before they leave. This means:
- Emptying and cleaning the outdoor rug
- Retracting the awning and securing it
- Disconnecting and storing the outdoor kitchen
- Doing a final walk-around to spot anything left out
Morning departure becomes smooth and stress-free when the heavy lifting is done the night before.
Quick Reference: RV Camp Setup Order at a Glance
Here’s a fast-reference table summarizing the full setup sequence:
| Phase | Key Steps |
|---|---|
| Arrival | Drive-by inspection, walk the site, plan your approach |
| Parking | Level side-to-side, then front-to-back |
| Stabilizing | Chock wheels, extend stabilizer jacks |
| Exterior | Walk-around inspection, extend slide-outs, deploy awning |
| Utilities | Electric → Water (with regulator) → Sewer |
| Outdoor Living | Rug, door mat, chairs, lights, outdoor kitchen |
| Interior | Refrigerator check, thermostat, slide-out furniture |
| Pre-Departure | Night-before teardown of outdoor items |
Bonus Tips: Common Mistakes to Avoid ⚠️
Even with the best tricks, a few common mistakes trip up new RVers:
- Leaving the gray/black tank valve open — this causes odors and “pyramid plugs” in the black tank. Keep valves closed and dump when tanks are 2/3 full.
- Forgetting the TV antenna — always lower your antenna before driving. It’s an easy one to miss.
- Skipping the tire pressure check — always check tire pressure before driving, especially after a cold night.
- Over-tightening water connections — hand-tight plus a quarter-turn is enough. Over-tightening cracks fittings.
- Not checking slide-out clearance — always look before you extend. Trees, awnings, and neighboring rigs can be in the way.
Conclusion: Your Path to Pro-Level RV Setup
Mastering the 21 RV camp setup tricks that make you look like a pro isn’t about having the most expensive gear — it’s about building smart habits and following a reliable system every time you pull into a site. From the moment you do your pre-arrival drive-by to the night-before teardown routine, each of these tricks adds up to a faster, safer, and more enjoyable camping experience.
Here are your actionable next steps:
- Build your laminated checklist today — customize it to your specific rig and laminate it for the road.
- Assemble your campsite command center bin — gather the 8 essential items listed above and keep them together.
- Practice your leveling routine at home — do a dry run in your driveway before your next trip.
- Invest in the three non-negotiables: a water pressure regulator, a surge protector, and an outlet tester.
- Start the night-before departure habit on your very next trip — you’ll never want to go back to morning chaos.
The campsite is waiting. Go out there and set up like a pro. 🚐✨


