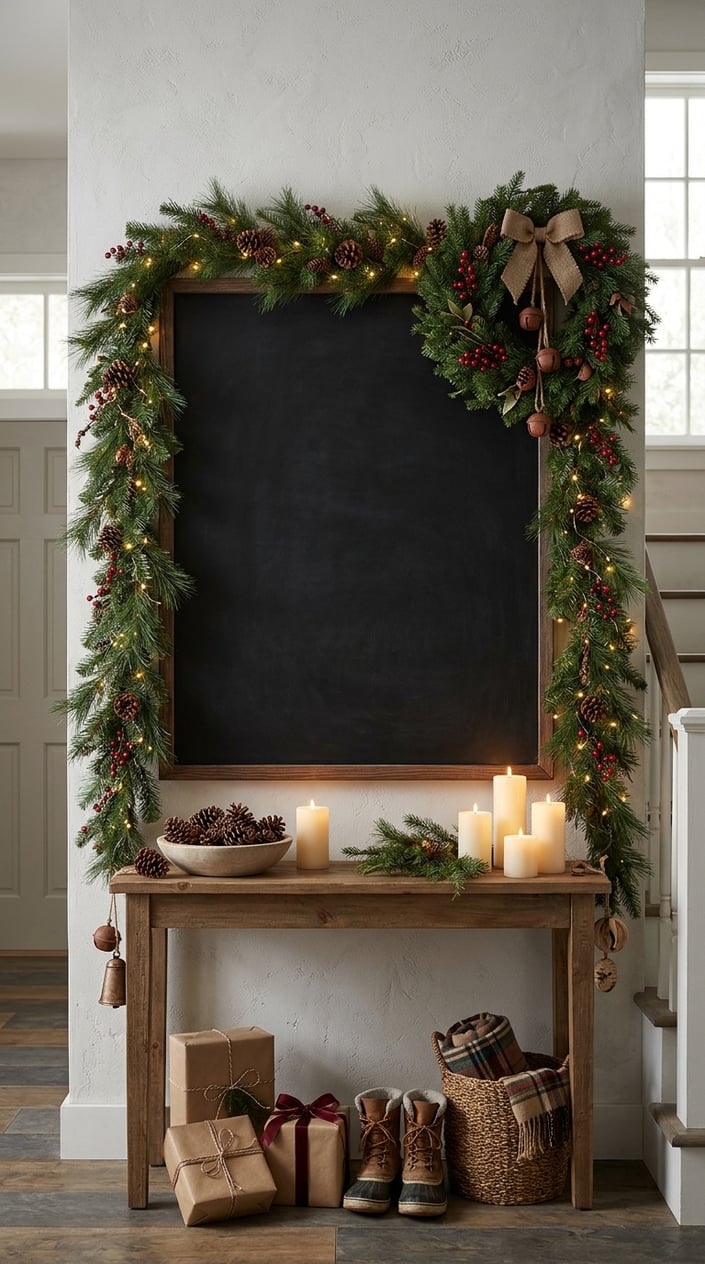
A chalkboard gives your Christmas entryway a personal welcome, and you can make it festive with hand-lettered greetings, winter drawings, and RV-inspired holiday details. Use white chalk for lettering, then add red and green accents for a classic look.
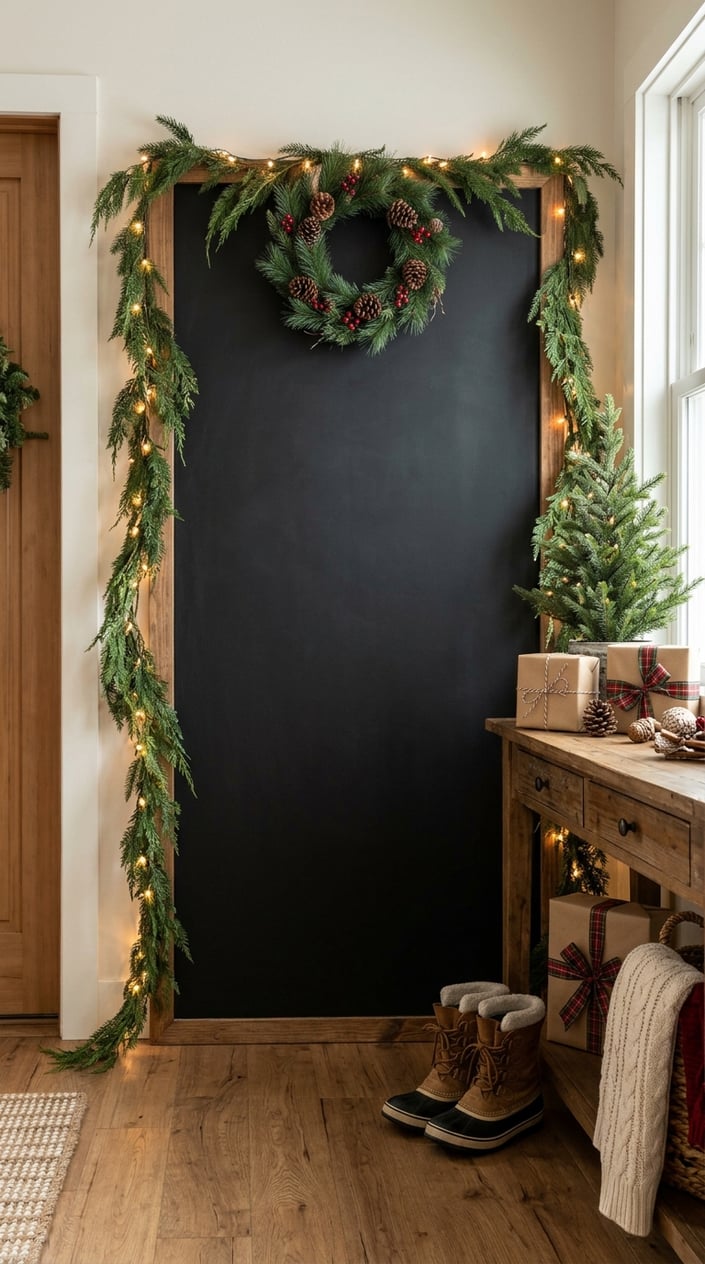
Your board can greet guests at home or add seasonal charm to a camper. Keep the design easy to read from the doorway, and choose a message you can update as your holiday plans change.
1) Welcome to Our Rolling Christmas Home
Turn your entryway into a warm welcome for fellow travelers with a “Welcome to Our Rolling Christmas Home” sign. Add a simple camper outline beneath the words, then draw a wreath on its door and a few snowflakes overhead.
Use white chalk for the main lettering and green or red chalk markers for small accents. A short message keeps the artwork legible on a compact RV board. Frame the display with lightweight garland, and keep boots and gifts arranged below it without blocking the sign.
2) A Merry Christmas Campsite Welcome
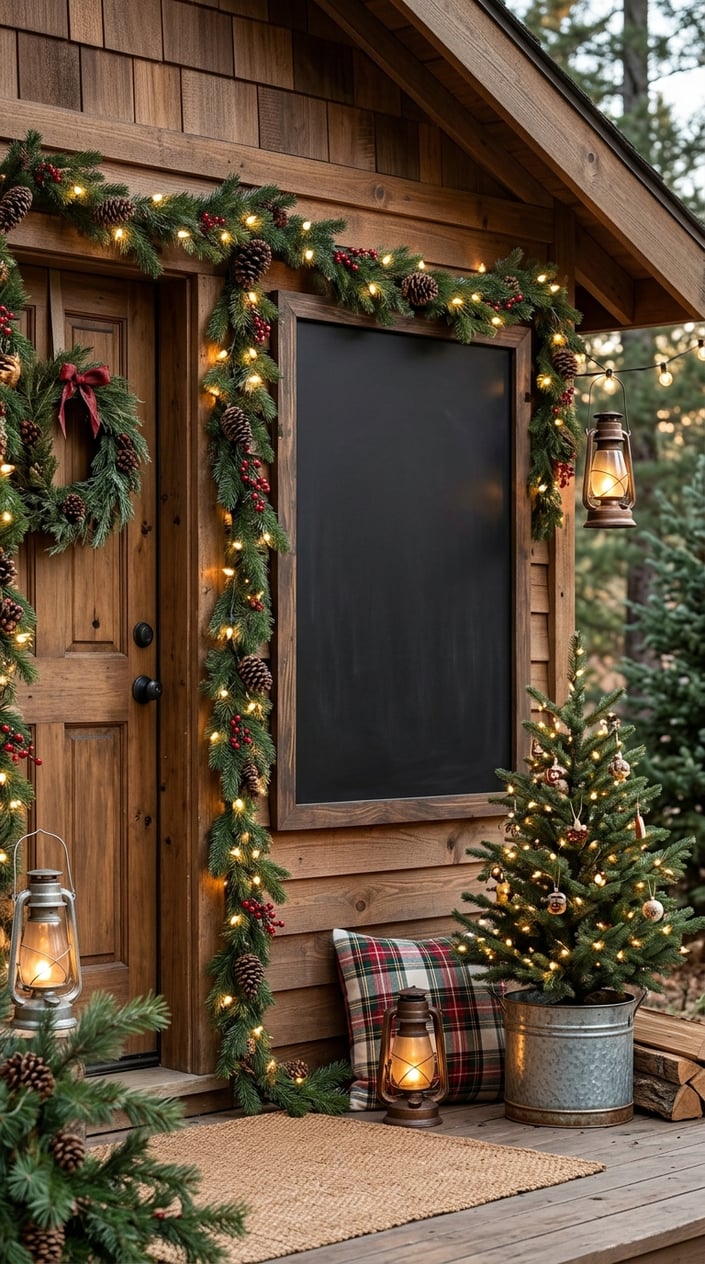
A campsite-themed chalkboard gives your entryway the feel of a cozy holiday stop. Write “A Merry Christmas Campsite” across the top, then sketch a tiny cabin, pine trees, or a tent under falling snow.
Add a welcome line for visiting friends or include your campground name for a personal touch. A simple border of evergreen sprigs makes the board feel seasonal without crowding the lettering. If your entry is narrow, draw the campsite in a small corner and leave plenty of open space around the words.
3) Chalkboard RV Door With a Wreath
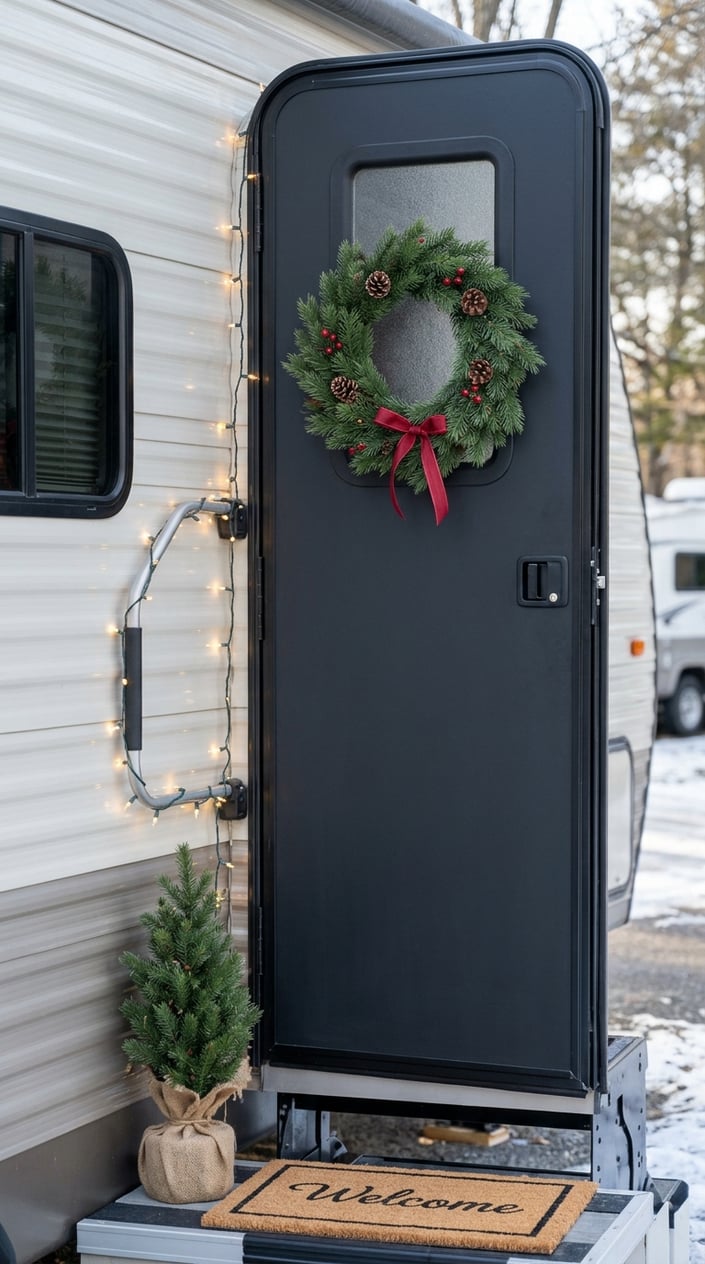
A drawn wreath turns an RV door chalkboard into a classic Christmas greeting. Sketch a circle with loose evergreen strokes, add a red bow at the top, and write “Merry Christmas” beside it or beneath it.
For a clean design, start with a light outline and build up the greenery in short marks. Add a few red berries to bring color to the dark board. Keep the message brief so the wreath remains the focus, and leave a clear margin around the edges for a framed, finished look.
4) Snowy Camper Under the Stars
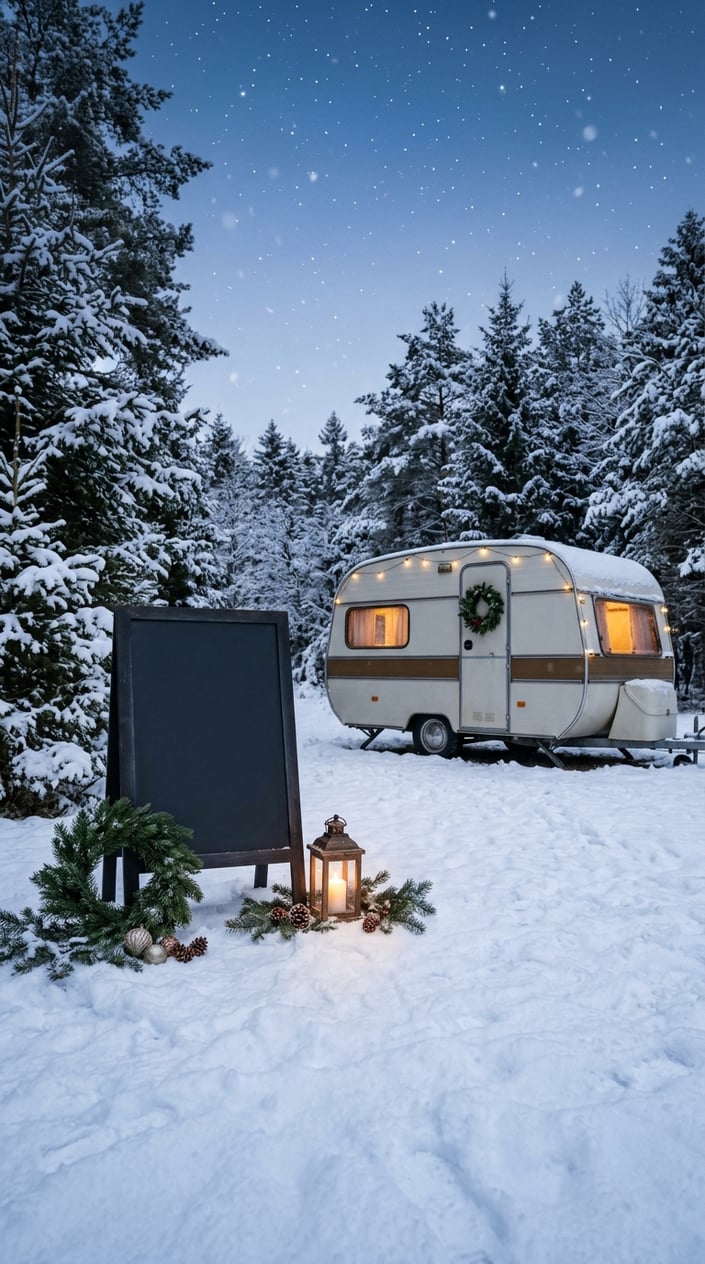
A snowy camper scene brings a peaceful winter-night mood to your holiday décor. Draw a small RV beneath a few stars, then add pine trees and a curved line of snow along the bottom of the board.
Write “Merry Christmas” in open space above the camper. White chalk creates the snow and lettering, while a little gold or pale yellow adds a warm glow to the windows and stars. Keep the lines broad and simple so the scene stays easy to see from across your entryway.
5) Glad You’re Here Lantern and Holly
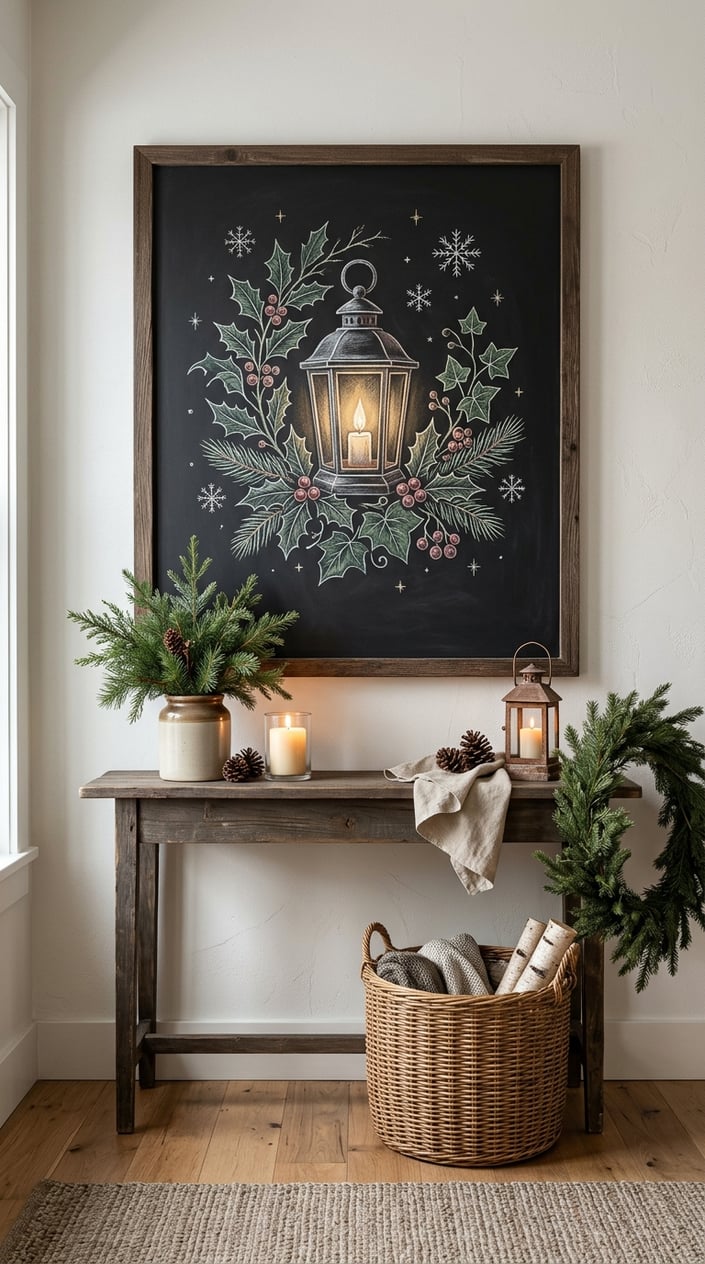
“Glad You’re Here” paired with a lantern makes your entry feel welcoming on dark winter evenings. Draw a lantern beside the words, then add holly leaves and berries around its handle.
Use white chalk for the message and outline, with red and green accents for the seasonal details. A few small lines inside the lantern suggest a candle’s glow without requiring detailed shading. If you want to personalize the sign, add your family name in smaller lettering along the bottom edge.
6) Sledding Weather at the Campground
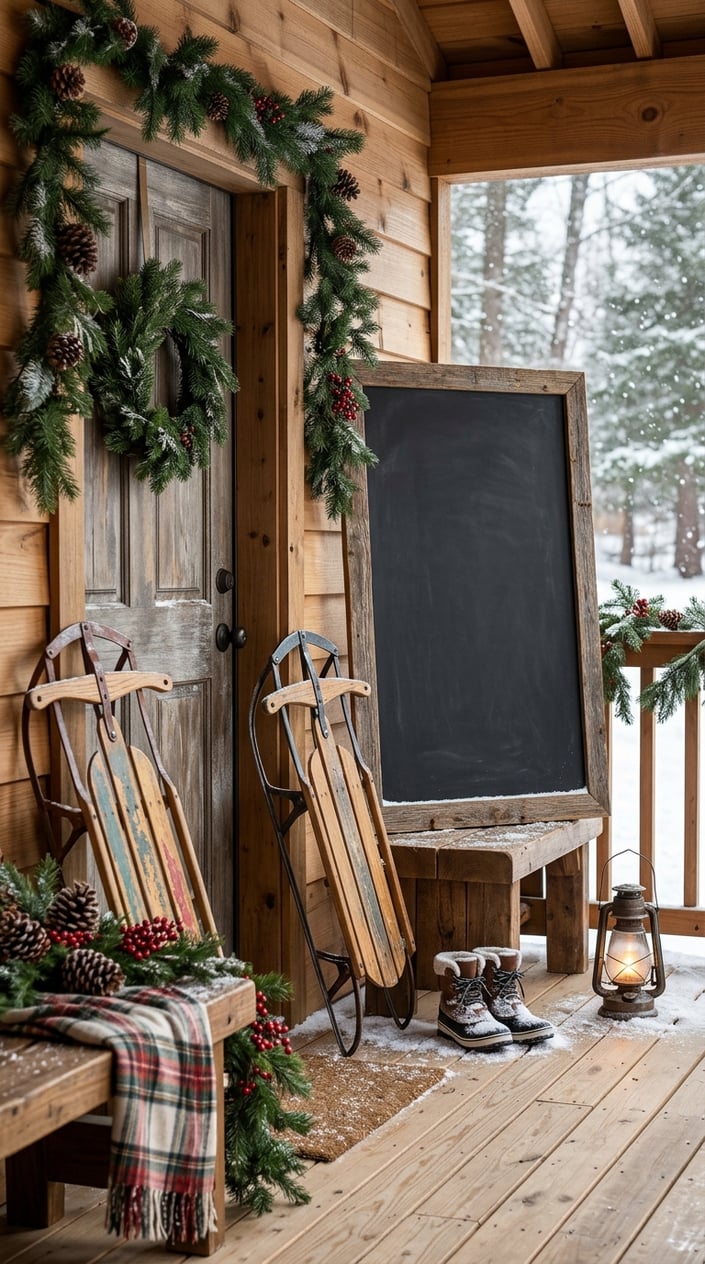
A “Sledding Weather” design brings a playful outdoor theme to your entryway. Letter the phrase in two lines, then draw a wooden sled leaning against a snowy pine tree.
Use white chalk for snow and red for a small accent on the sled. A few short lines around the tree suggest falling flakes without filling the board with detail. This design suits an RV mudroom or cabin entrance, especially when you have a spot nearby for gloves and winter gear.
7) Holiday Mailbox for Traveling Friends
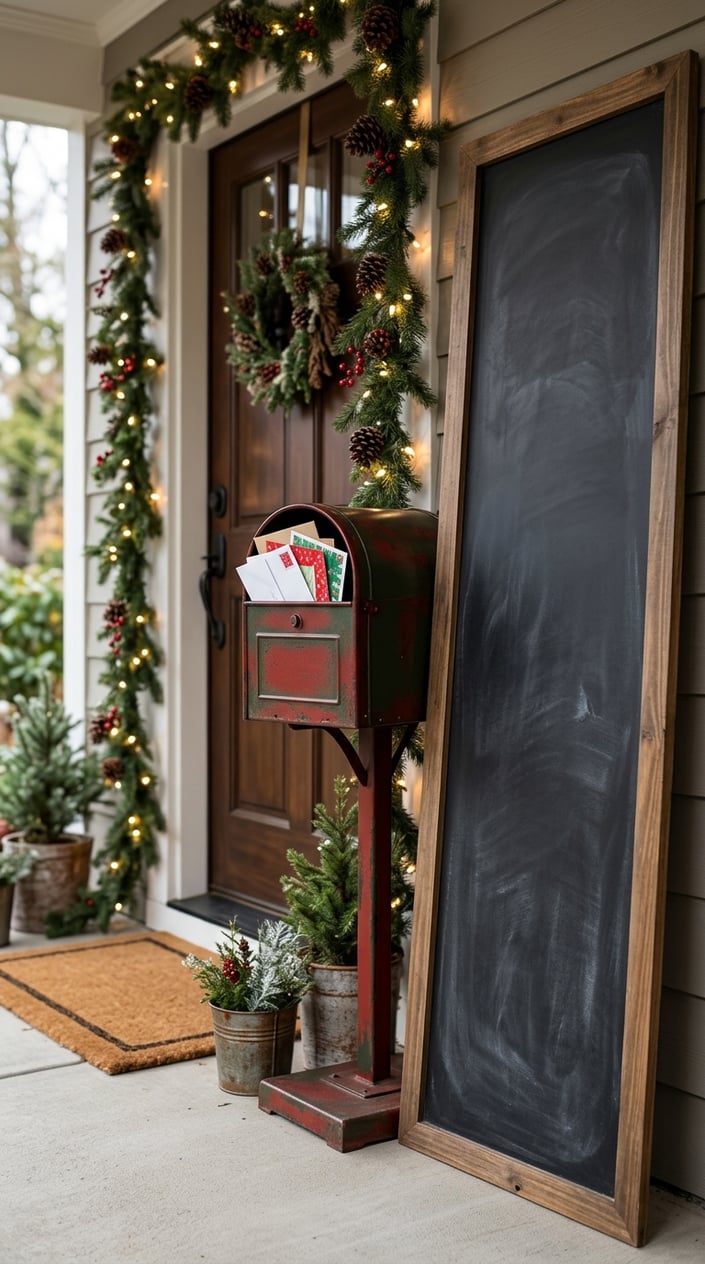
A holiday mailbox chalkboard gives incoming cards and visiting friends a cheerful greeting. Draw a red mailbox with a few cards peeking out, then write “Welcome, Friends” or “Holiday Mail” above it.
Add a pine branch and a small bow to connect the drawing with your Christmas décor. Use block lettering for readability, especially if the board hangs beside a busy doorway. For an RV entry, a small mailbox sketch adds a homey touch without taking much space.
8) Merry and Bright Route Map
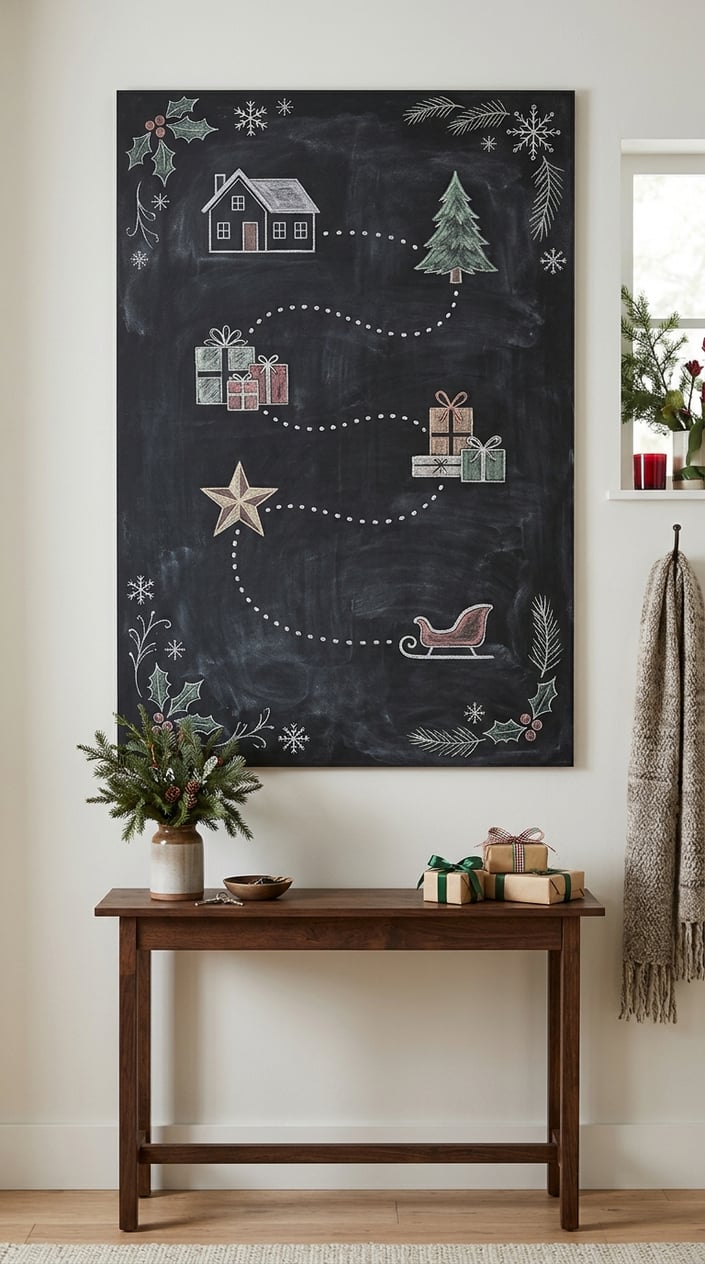
A holiday route map turns your chalkboard into a nod to life on the road. Draw a winding path between a few simple stops, such as a pine tree, a star, and a small camper, then add “Merry and Bright” as the headline.
Use dotted lines to mark the route and small labels for places you plan to visit. Keep names short so the map stays neat on a small surface. You can erase and update the stops as your Christmas travel plans take shape.
9) Countdown to Christmas on the Road
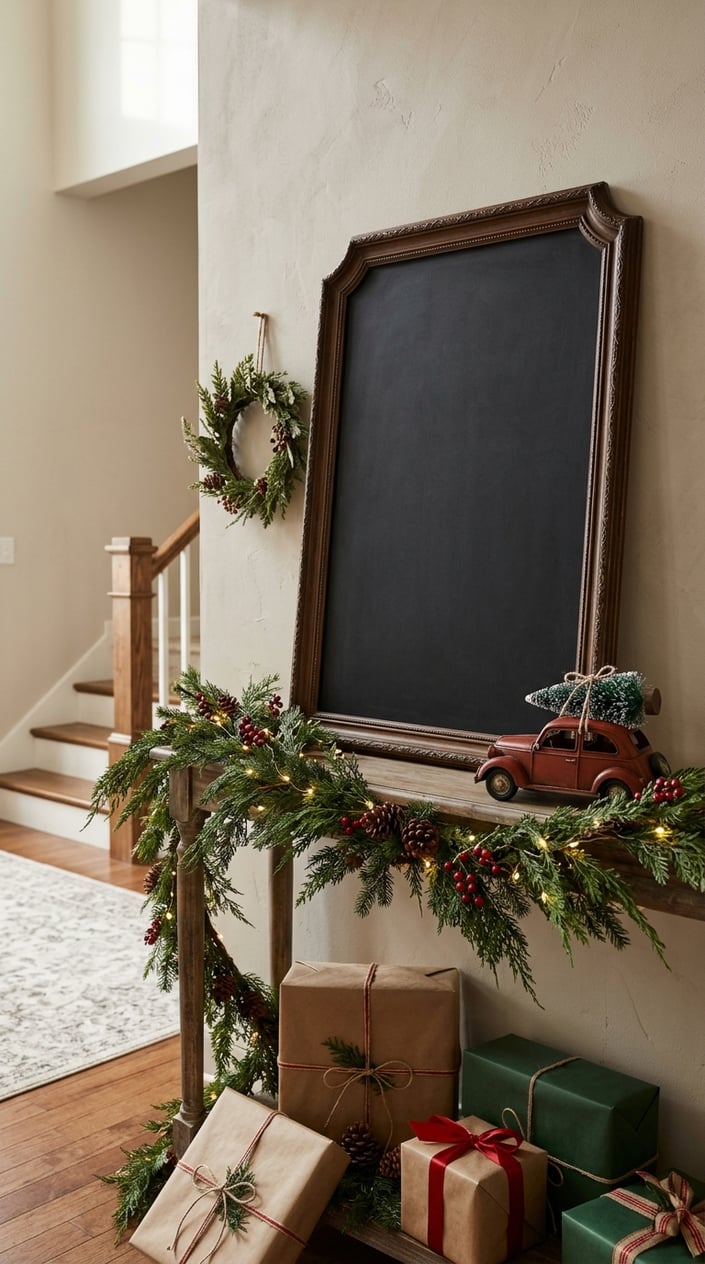
A Christmas countdown board makes the days before your next trip part of the holiday fun. Write “Days Until Christmas” at the top and draw numbered boxes beneath it, with a little camper or car carrying a tree along the bottom.
Leave the number area easy to erase so you can update it each day. Add small lights or evergreen corners for decoration, while keeping the countdown large enough to read at a glance. A chalk marker can give the numbers a crisp edge on a smooth chalkboard.
10) Our Little Winter Wonderland
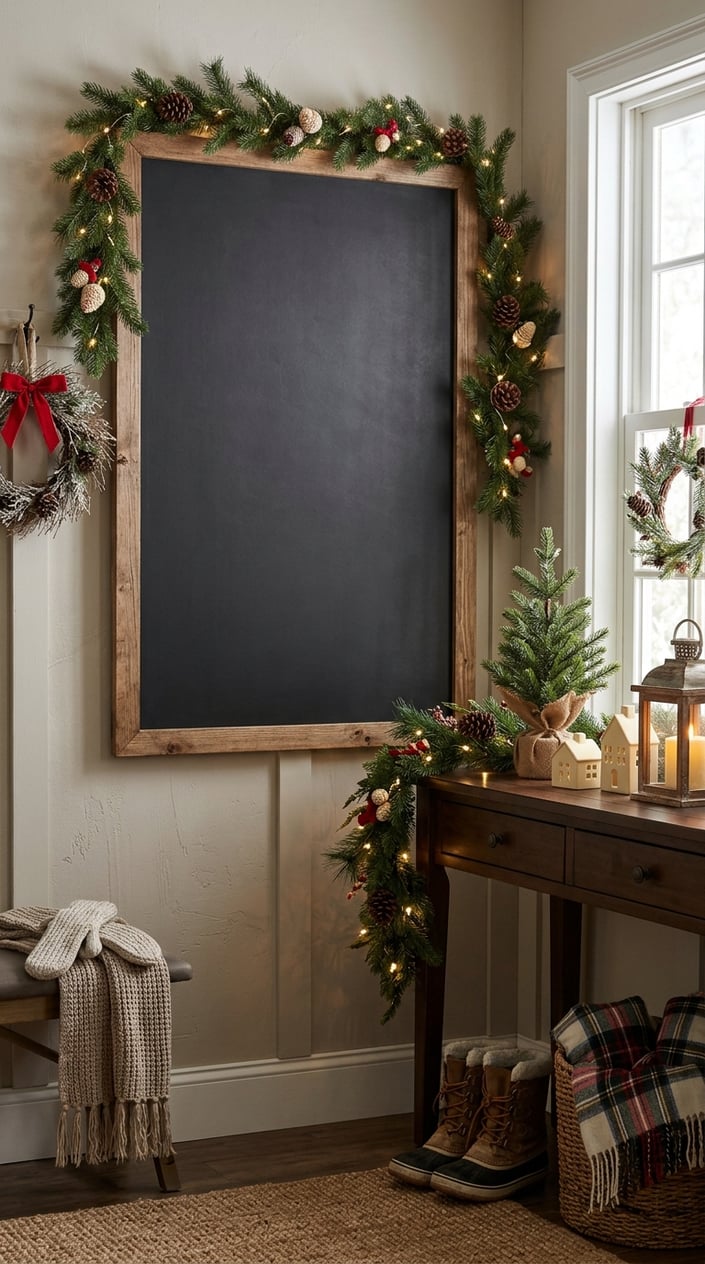
A “Little Winter Wonderland” design suits a small entryway with a cozy, quiet holiday feel. Letter the phrase in a gentle curve and fill the lower edge with snowy hills, pine trees, and scattered snowflakes.
Keep most of the artwork white, then add a few green branches or red berries for color. The open space around the phrase helps the design feel calm instead of crowded. Add a short family greeting below the scene if you want the board to feel more personal.
Choosing a Chalkboard for an RV Entryway
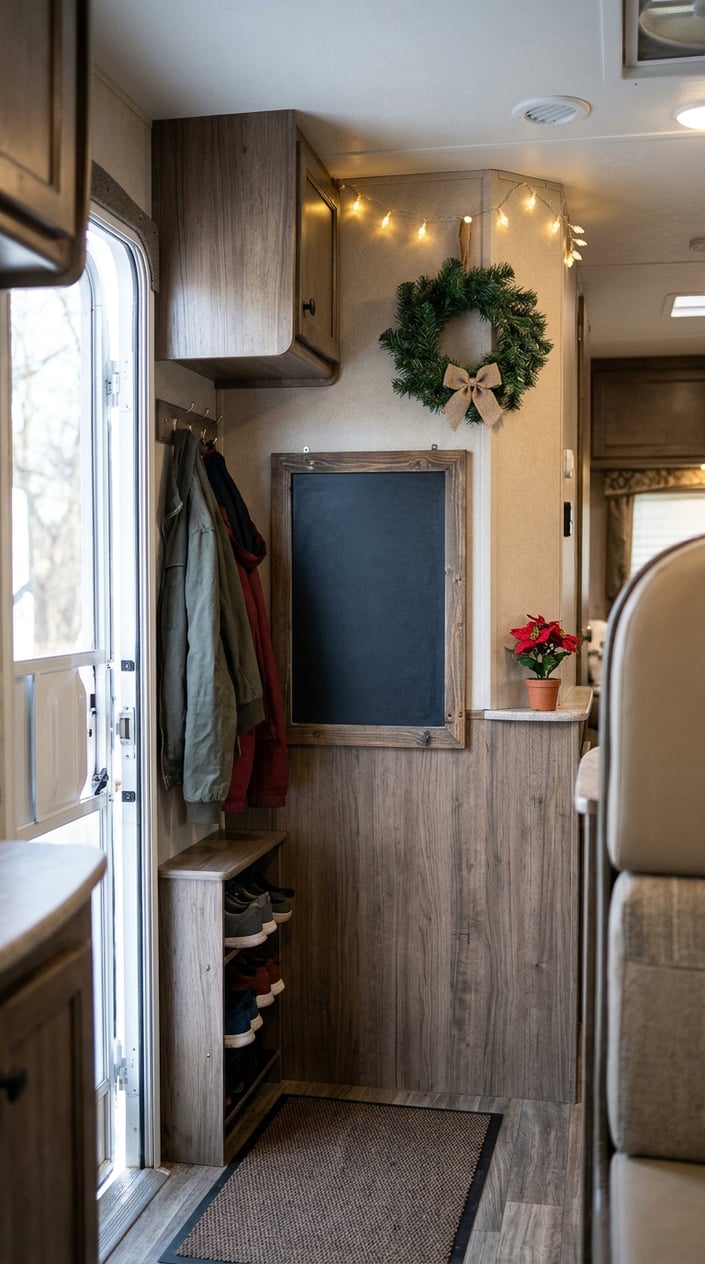
Choose a chalkboard that fits your RV entryway and stays secure as you travel. A small framed board works well on a wall or console, while a peel-and-stick chalkboard surface suits a tight spot with little room for a frame.
How much entryway space do you have?
Measure the wall or door area before choosing a board. Leave room for the door to open and for hooks, storage bins, or other entry essentials. A compact board around 8 by 10 inches can hold a short greeting and a small drawing; a larger wall gives you space for a countdown or route map.
Think about viewing distance, too. If guests will read the board from the doorway, use large lettering and keep the message short. For a narrow RV hall, a vertical board makes use of wall height without taking much width.
Which chalkboard style travels well?
A framed board with a sturdy backing gives you a firm writing surface, while a flexible chalkboard decal adds little bulk. Choose a frame with smooth edges and a hanging method suited to your wall. For a traveling display, a lightweight board is easier to secure and store between trips.
Check the surface before decorating. Traditional chalk wipes away with a damp cloth, while some chalk markers work best on nonporous chalkboard surfaces. Follow the board maker’s care directions, and test a small corner before creating the full design.
Displaying Chalkboard Art in a Camper
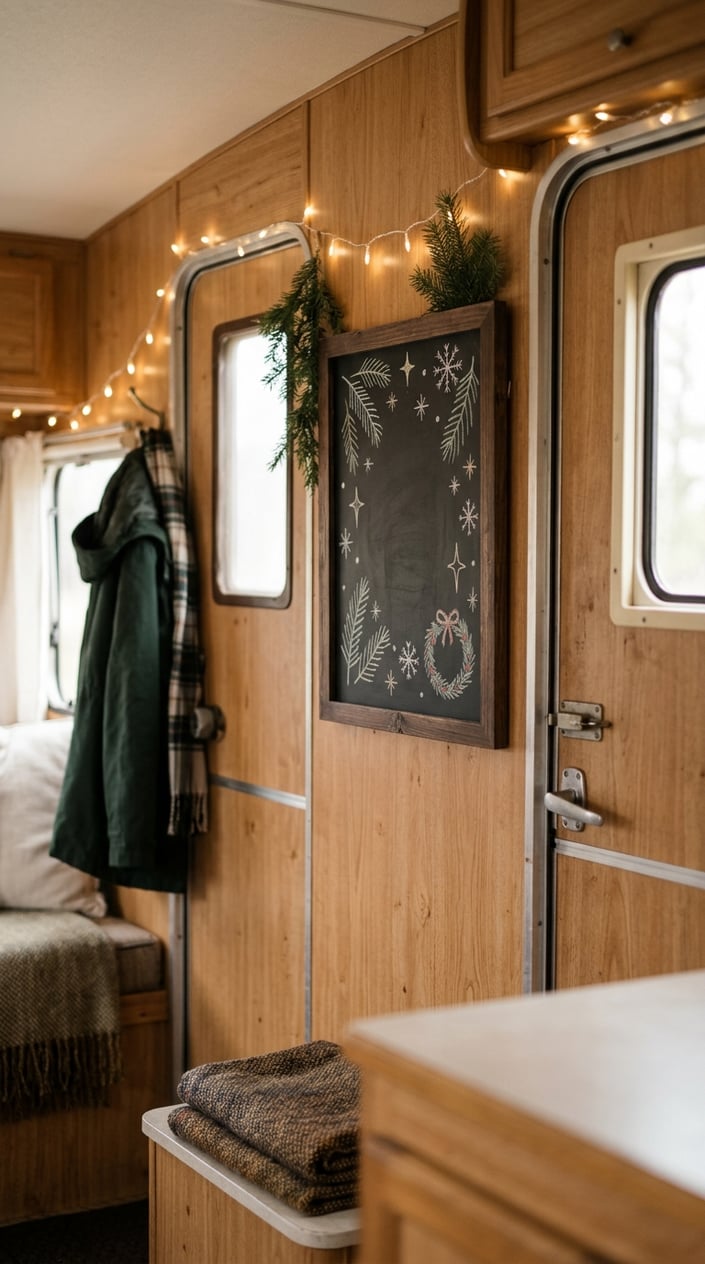
Secure your chalkboard with a mount that suits the wall and use low-dust drawing tools for a tidier camper. Keep the display clear of moving doors and areas where bags or coats brush against it.
How can you keep a board secure while traveling?
For a mounted board, use hardware suited to the wall material and check that the frame sits firmly before driving. Removable hook-and-loop strips can hold a lightweight board on a smooth surface when their weight rating fits the board. Keep the board away from cabinet doors and other spots that shift during travel.
If you prefer to store the board between stops, place it flat in a padded sleeve or secure it inside a cabinet. Wipe the surface clean before packing so loose chalk does not mark nearby items. Recheck the mount after setting up at a new campsite.
How do you reduce chalk dust in a small space?
Chalk markers give you crisp lettering with little loose dust, making them handy for compact RV interiors. Check that the marker is labeled for your board’s surface, since some types work best on nonporous boards. A damp microfiber cloth helps clean the surface when you update the design.
For traditional chalk, choose dustless sticks and erase with a slightly damp cloth instead of a dry eraser. Keep chalk and cleaning cloths in a small container near the board. That setup keeps supplies together and helps prevent chalk residue from spreading around your entryway.