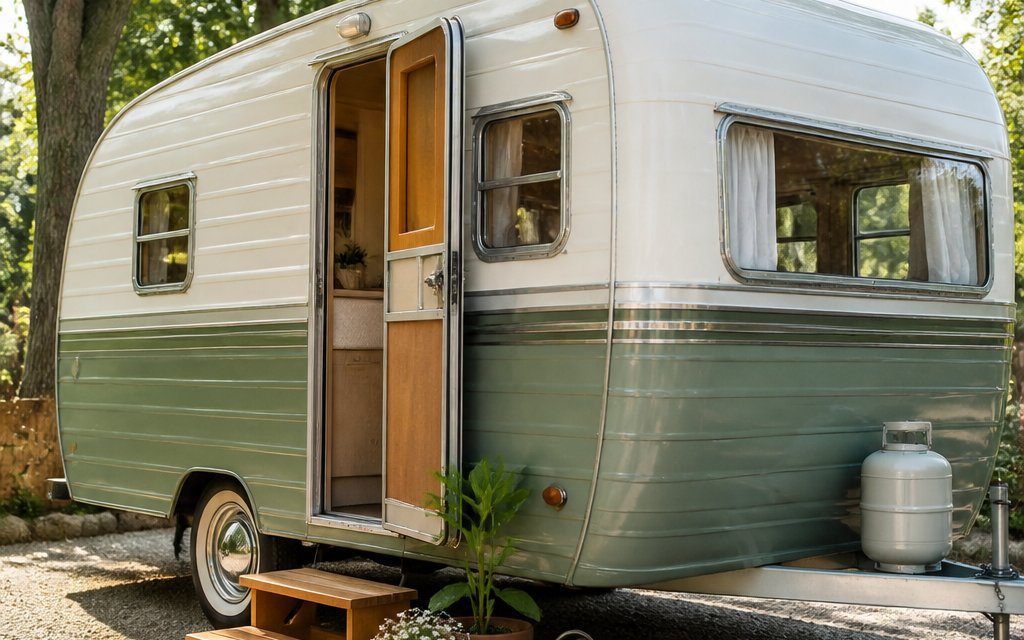
A vintage camper redo can give your travel setup a fresh look while keeping its classic charm. With the right colors, trim, and design details, you can turn a worn exterior into a style that feels personal and inviting.
You can find ideas for every taste, from soft two-tone paint and coastal colors to bold graphics, polished aluminum, and warm wood accents. Explore these makeovers to see how simple exterior updates can shape your camper’s entire appearance.
Choose a color palette before you begin so each update works well with the camper’s original features.
1) Retro Two-Tone Paint in Cream and Sage
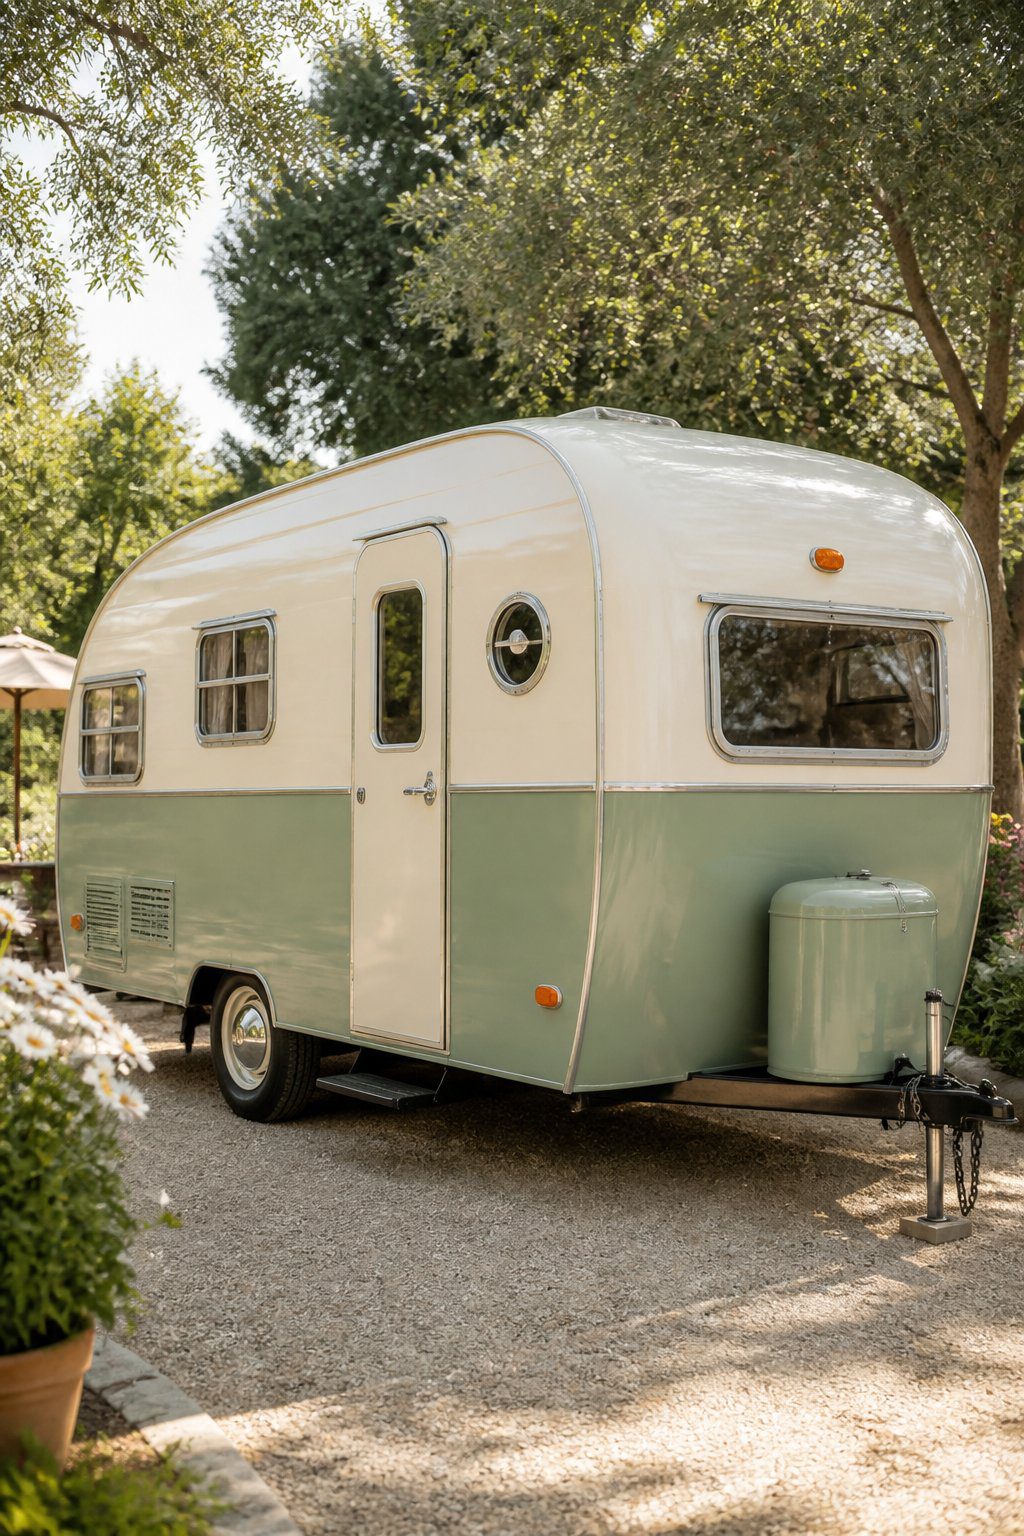
Give your vintage camper a soft, welcoming look with a cream and sage paint scheme. Use cream across the upper half to keep the exterior bright, then add sage along the lower panels for gentle contrast. A thin stripe between the colors can create a clean, classic divide.
Before painting, wash the siding and remove loose paint. Sand rough spots, repair small dents, and cover windows, lights, and trim with painter’s tape. Apply an exterior primer, then add several thin coats of each color for a smoother finish.
PRO TIP
Test both shades on a small hidden area first. Check them in morning, afternoon, and evening light so you can see how the colors change before covering the full camper..finish trim with a muted gray or warm white to tie the palette together.
2) Bold Sunflower Yellow Exterior
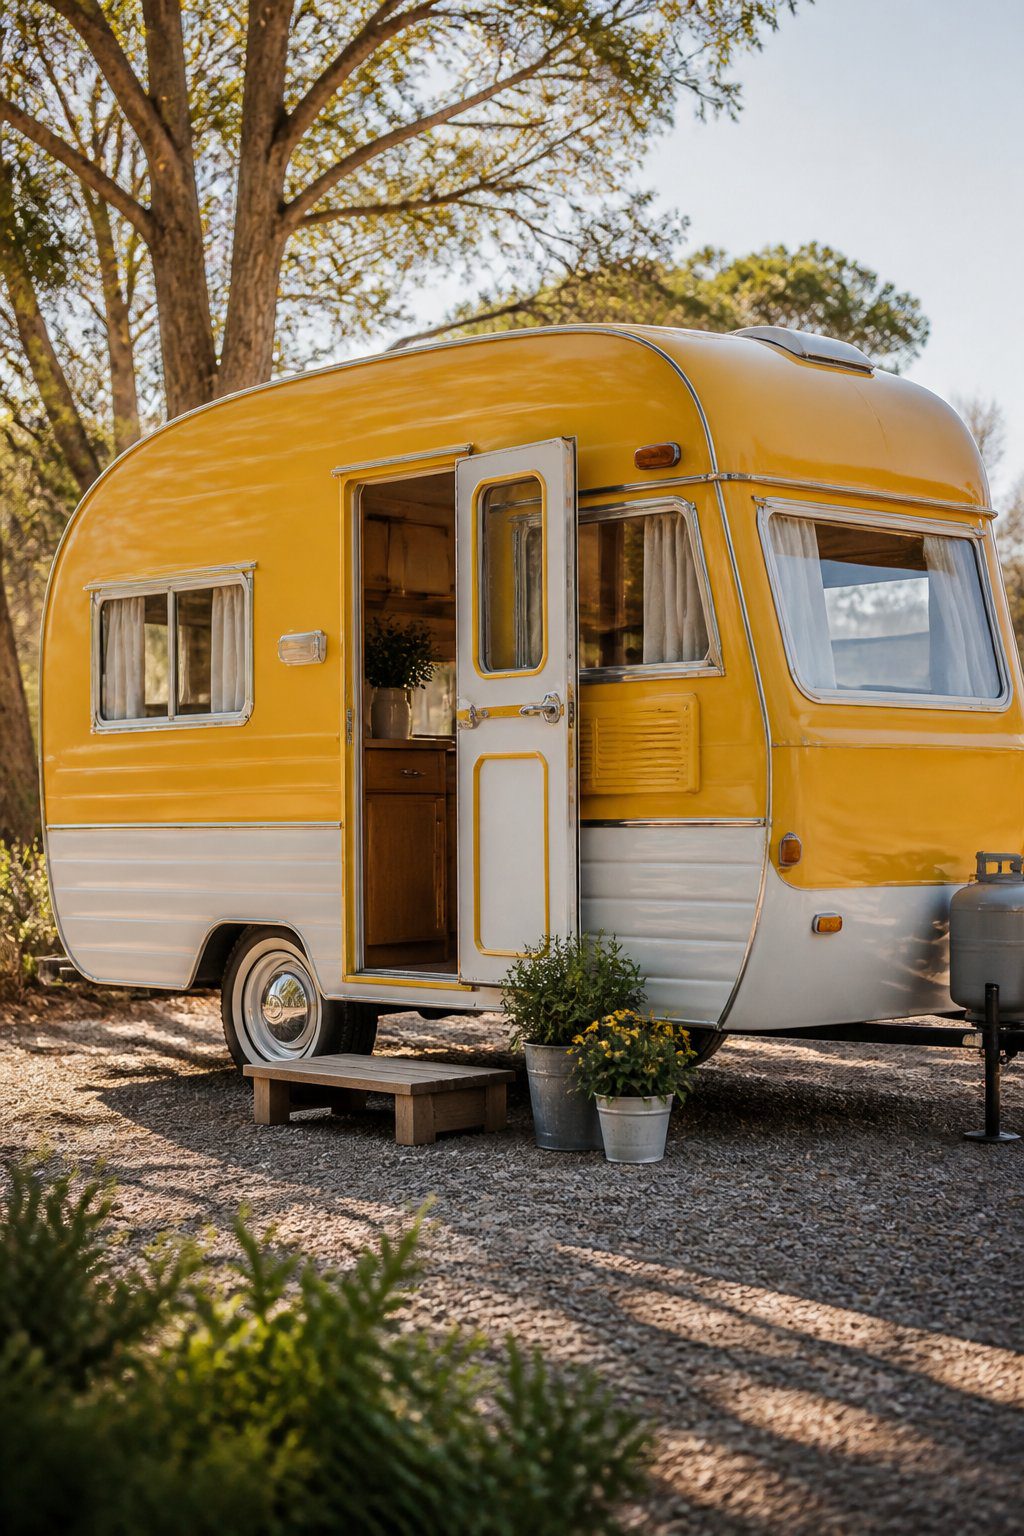
A sunflower yellow exterior gives your vintage camper a warm, cheerful look. Before painting, wash the siding, remove loose paint, and sand rough areas. Cover windows, lights, trim, and vents to keep the finish neat.
Choose a durable outdoor paint made for metal or fiberglass, depending on your camper’s surface. Apply thin, even coats with a roller or sprayer, and let each coat dry fully. A dark gray or white stripe can add contrast without making the design feel busy.
PRO TIP
Test your yellow paint on a small hidden area first. Sunlight can change how the color looks, so check it outdoors at different times of day. Use black or white lettering and simple curtains to complete the fresh exterior.
3) Classic Teardrop Trailer Makeover
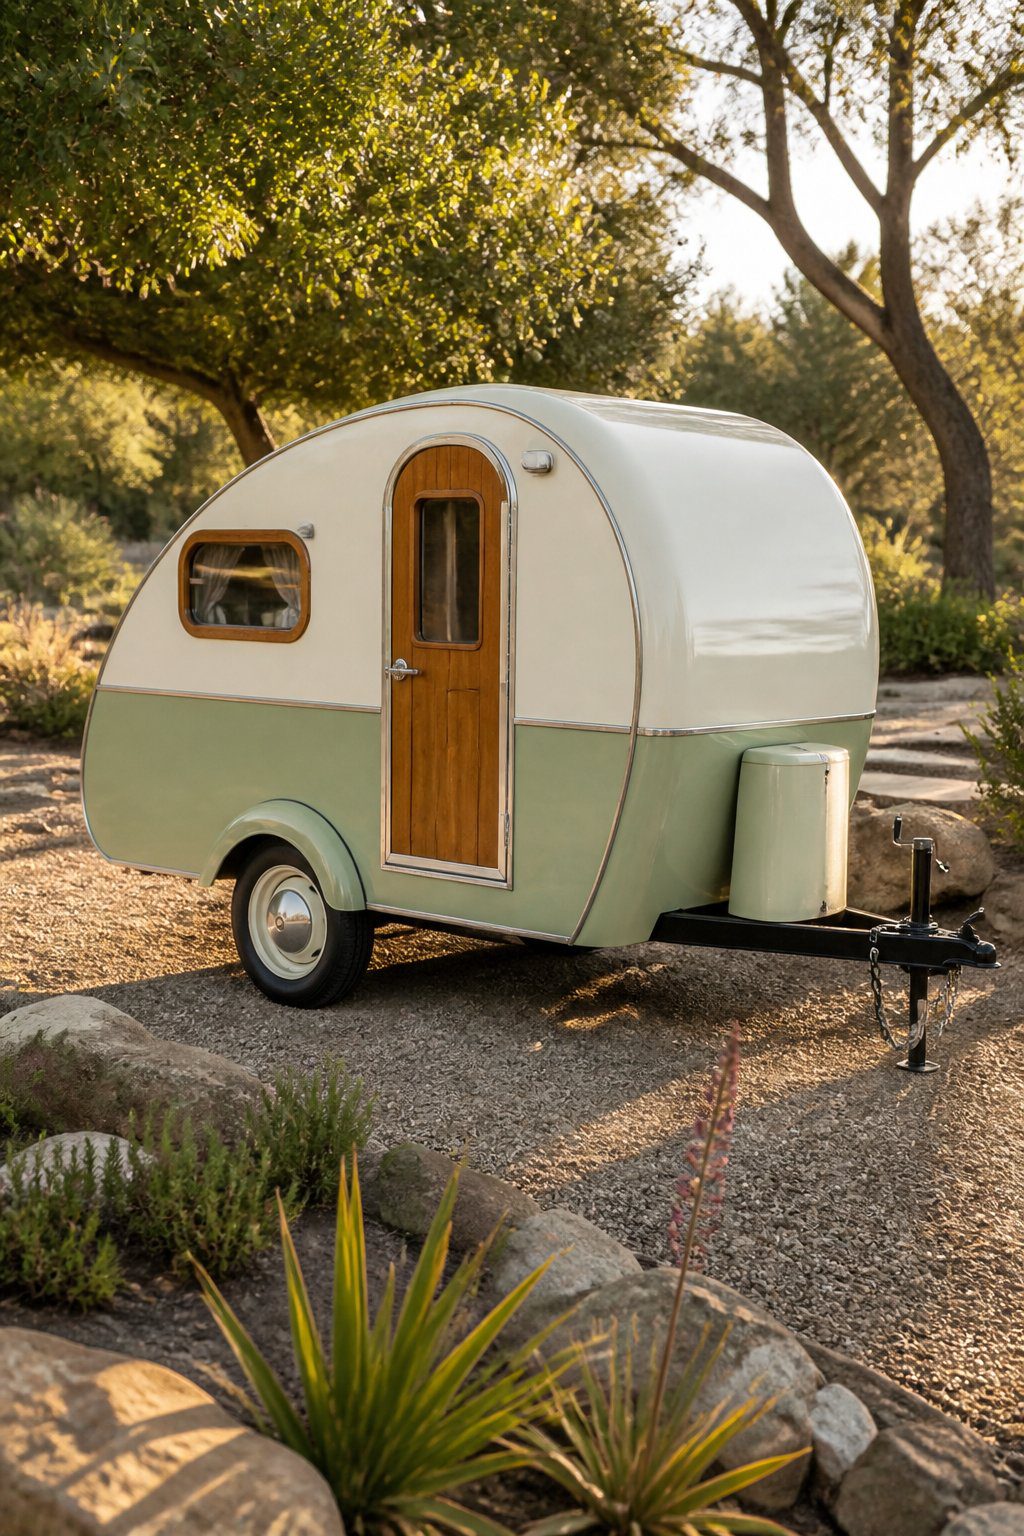
Give your teardrop trailer a clean, simple exterior with a fresh color plan. Choose two soft tones, such as cream and muted blue, to keep the vintage shape visible without making it look dated. Sand peeling paint, repair small dents, and apply an outdoor primer before painting.
Replace worn trim around the doors and windows to create sharper lines. You can also add polished metal details, simple curtains, and a small wooden storage box near the rear galley. These touches improve the trailer’s charm while keeping its classic design.
PRO TIP
Use painter’s tape to mark each color edge before you paint. Work in thin coats, and let each coat dry fully to prevent drips and uneven coverage.
4) Modern Matte Black Trim
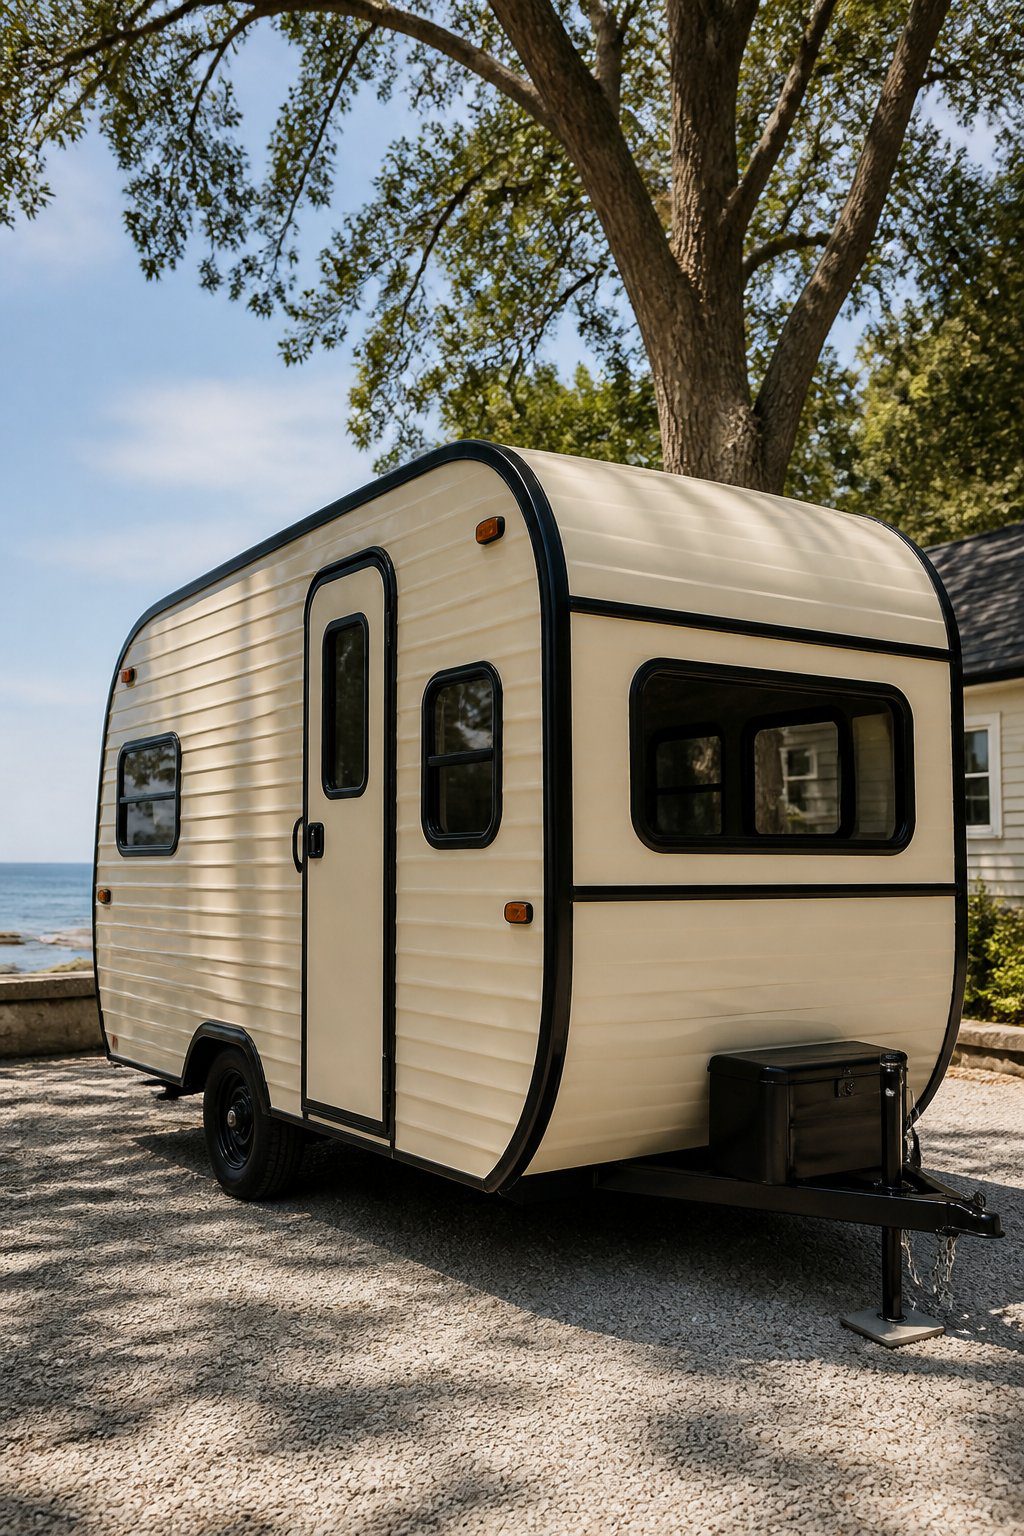
Matte black trim gives your vintage camper a clean, updated look without changing its classic shape. You can use it around windows, doors, storage compartments, wheel wells, and lower body panels. The dark finish also creates a strong contrast against white, cream, silver, or muted paint colors.
Before painting, wash the trim and remove loose dirt, rust, and old coatings. Lightly sand glossy surfaces so the new finish can bond properly. Apply thin coats and allow each coat to dry fully before adding another.
PRO TIP
Use painter’s tape to create sharp edges around windows and seams. Cover nearby surfaces carefully, and test the finish on a small hidden area first. Choose a paint made for outdoor use and check that it works with your trim’s material. Keep your lines even to give the camper a neat, professional appearance.
5) Vintage Red-and-White Diner Style
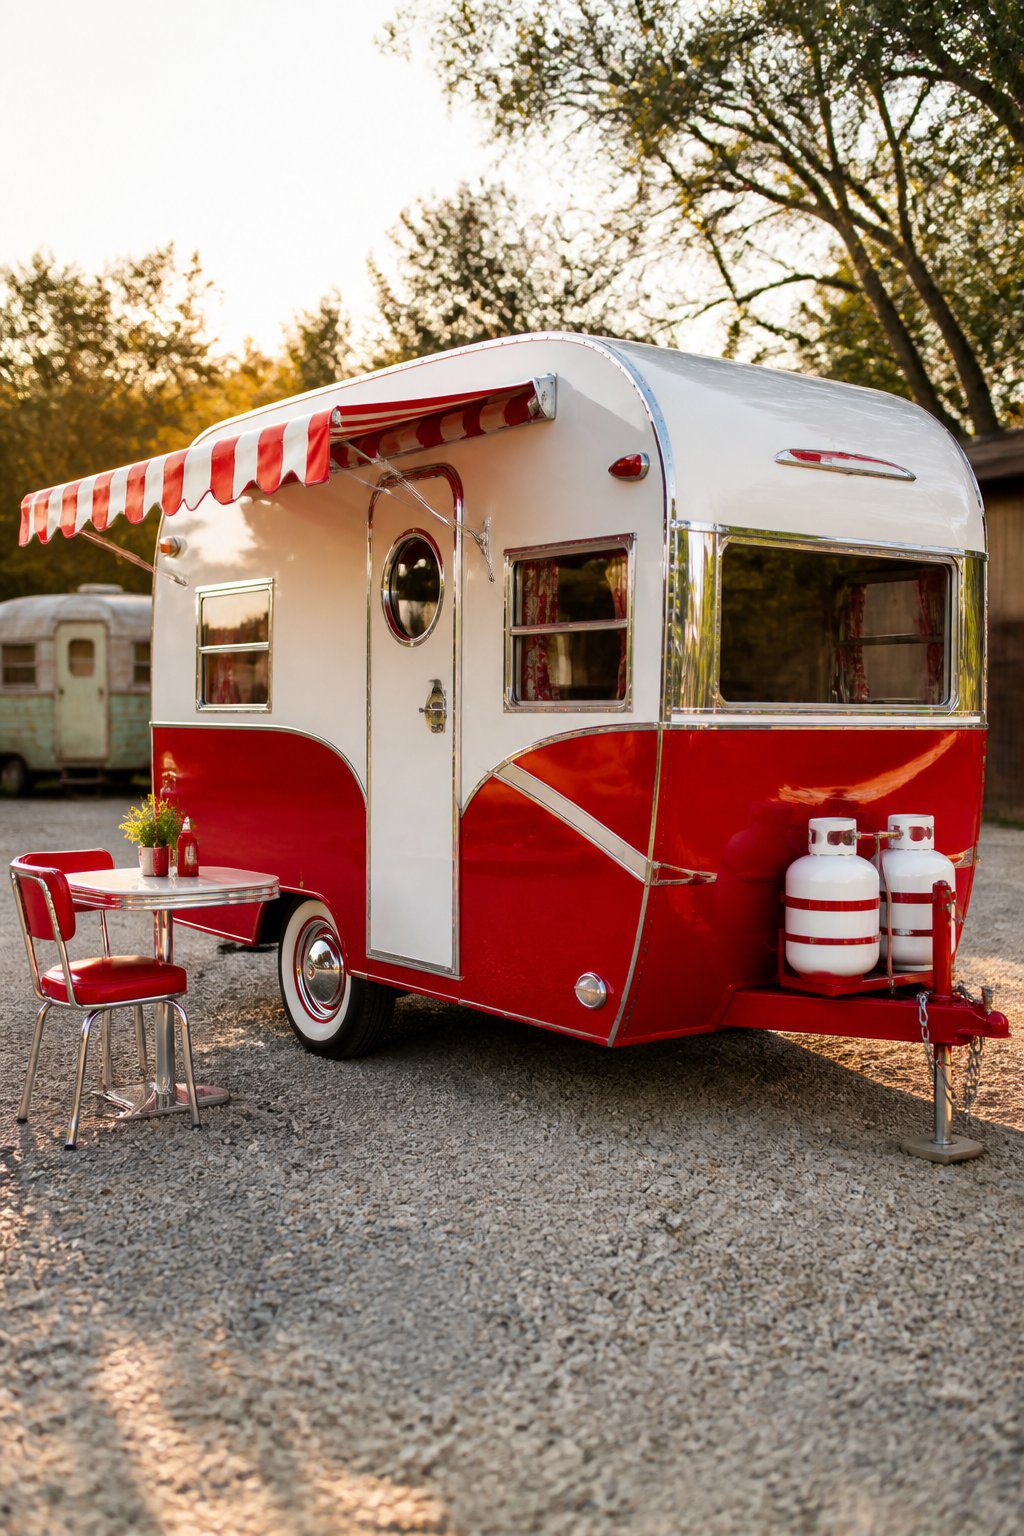
Give your camper a cheerful diner look with a red-and-white color scheme. Paint the main body warm white, then add red panels along the lower half or around the entry door. Use clean lines and even spacing to keep the design neat.
Add a thin red stripe near the roof or around the windows for extra detail. Red wheel covers, a matching entry mat, and simple chrome-look hardware can support the theme without making the exterior feel crowded.
PRO TIP
Test your paint colors on a small panel before covering the camper. Bright sunlight can make red look stronger, while shade can make white appear gray. Use outdoor paint made for metal or fiberglass, and allow each coat to dry fully before adding tape.
6) Coastal Blue and White Color Scheme
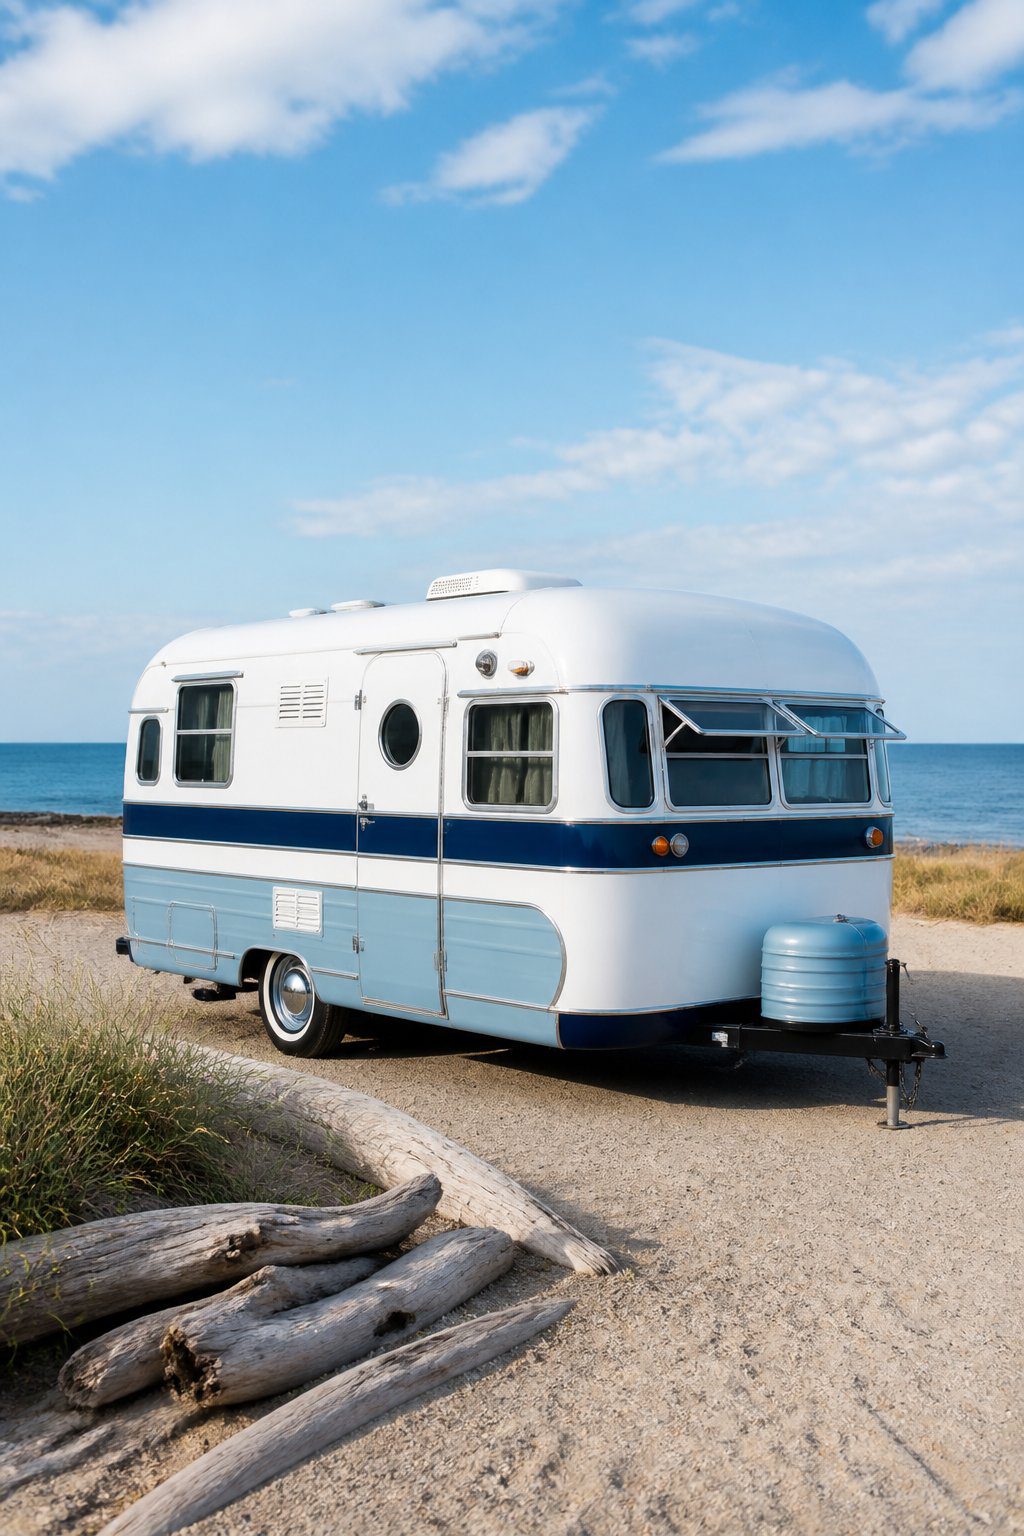
Give your vintage camper a fresh coastal look with soft blue and clean white paint. Use white on the main body to make the camper feel brighter, then add blue to the lower panels, trim, or entry door.
Choose colors with a similar intensity so the exterior looks balanced. A muted blue creates a relaxed feel, while a deeper shade adds contrast around windows and wheel wells. Paint the metal surface only after cleaning, sanding, and applying a suitable primer.
Add simple details, such as blue-and-white stripes, matching window boxes, or a small wave pattern. Keep the accents limited so the camper retains its classic shape.
PRO TIP
Test your colors on a small hidden area before painting the full exterior. Check them in morning, afternoon, and evening light to make sure they match your plans.
7) Restored Aluminum Skin with Polished Rivets
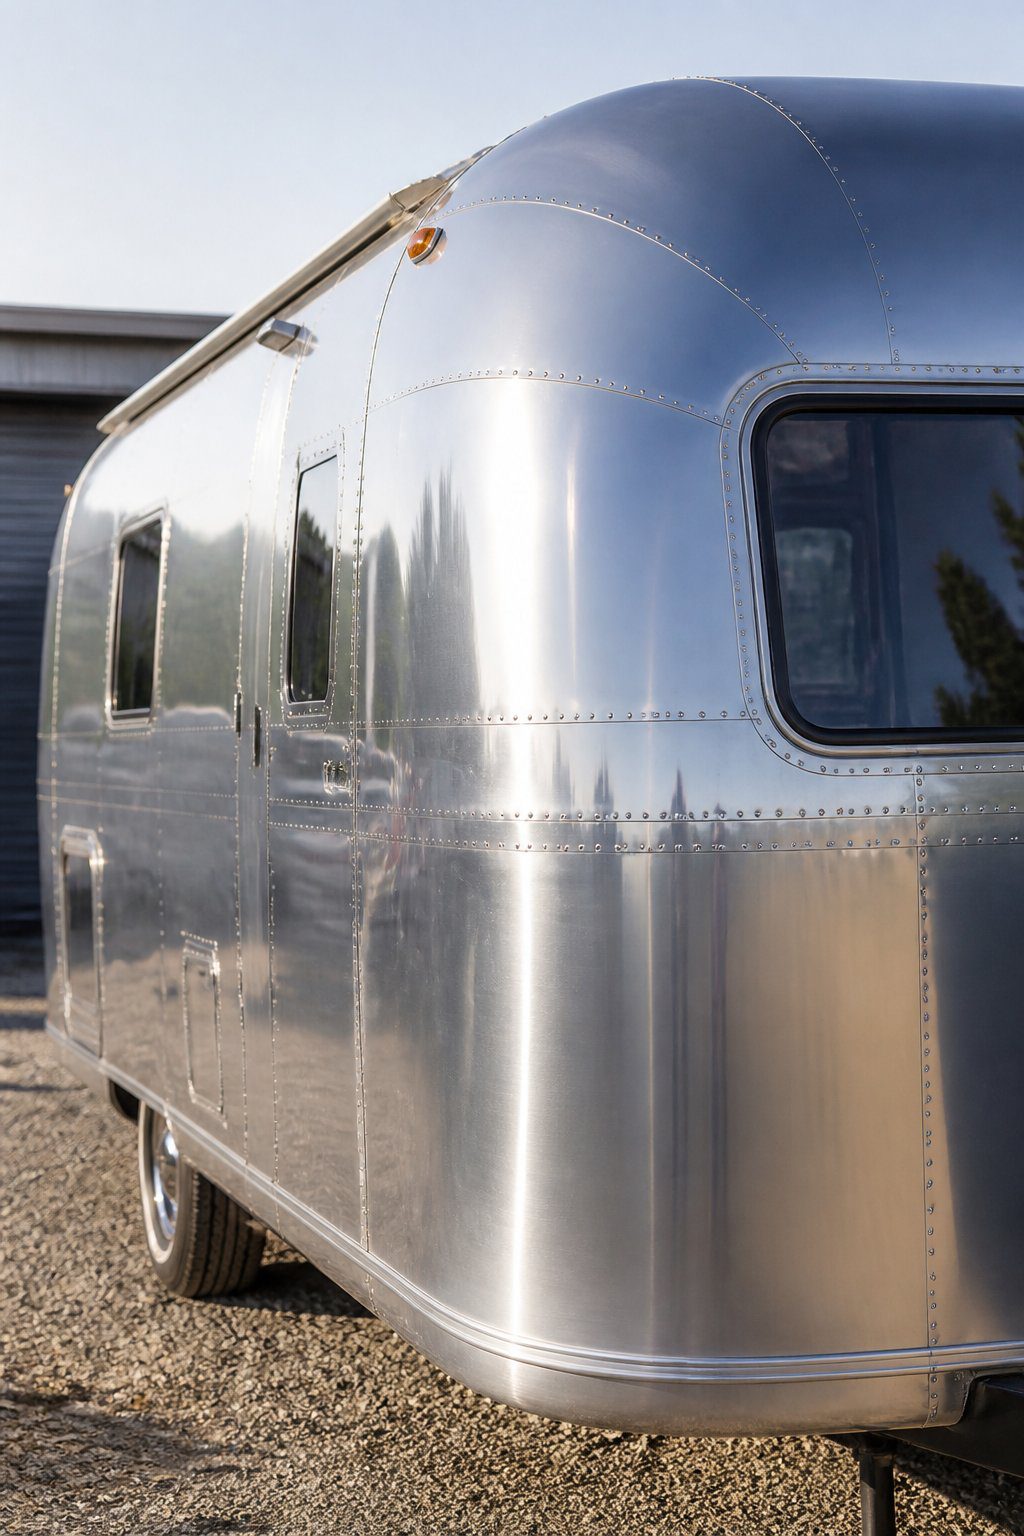
You can give an older camper a clean, bright finish by restoring its aluminum skin. Start by washing away dirt and oxidation with a mild cleaner. Use a soft brush or cloth to avoid adding scratches.
Repair small dents before polishing the panels. Work in small sections, and test your method in a hidden spot first. A gentle polish can bring back the metal’s natural shine without making the surface look artificial.
PRO TIP
Keep the original rivets visible when possible. Clean them carefully with a small brush, then polish around them by hand. Replace only loose or damaged rivets, and match their size and finish to the existing hardware.
Protect the restored surface with a suitable metal protectant. This helps reduce dulling from rain, road grime, and sun exposure. Check the aluminum each season and touch up small areas before oxidation spreads.
8) Retro Checkerboard Accent Panel
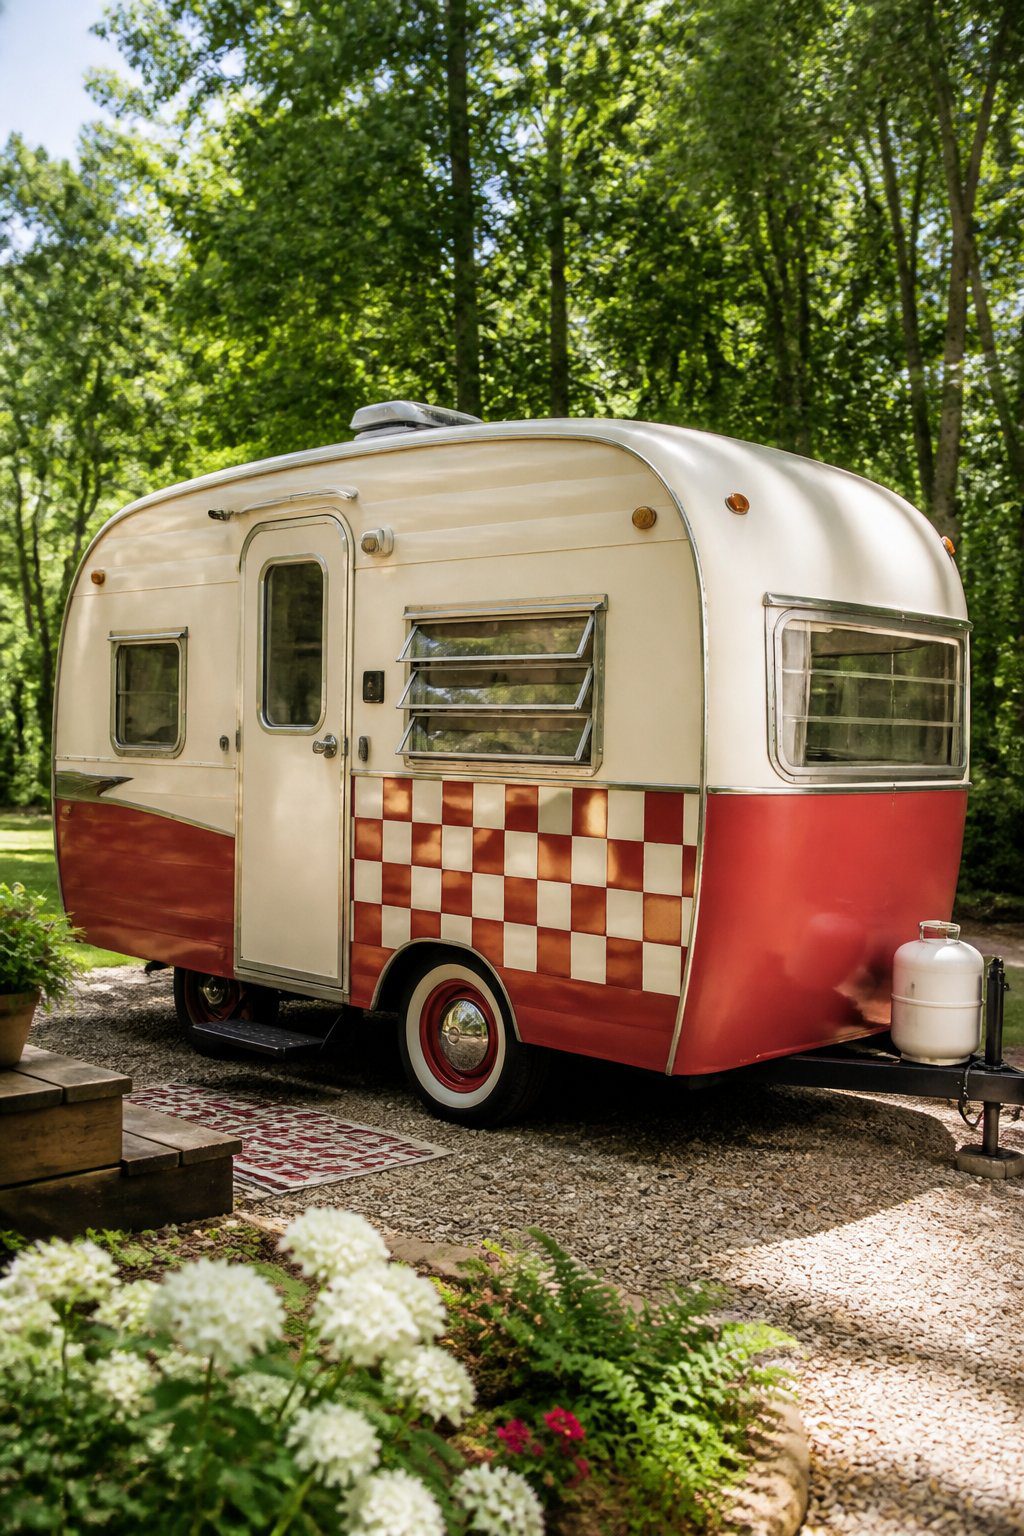
You can add a checkerboard panel to your camper’s exterior for a simple retro update. Choose a flat section near the entry door, rear hatch, or lower side wall. Clean the surface well and repair peeling paint before you begin.
Use painter’s tape to mark even squares, then apply alternating colors with exterior-rated paint. A black-and-cream pattern gives a classic look, while muted blue or green creates a softer finish. Keep the squares aligned with the camper’s edges for a neat appearance.
For a quicker option, use outdoor vinyl cut into equal squares. Press each piece firmly and smooth out air bubbles. Seal the finished panel according to the material instructions, especially around edges exposed to rain and road dust.
PRO TIP
Make a paper grid first and hold it against the camper. This lets you adjust the panel size and placement before applying paint or vinyl.
9) Bohemian Painted Floral Motif
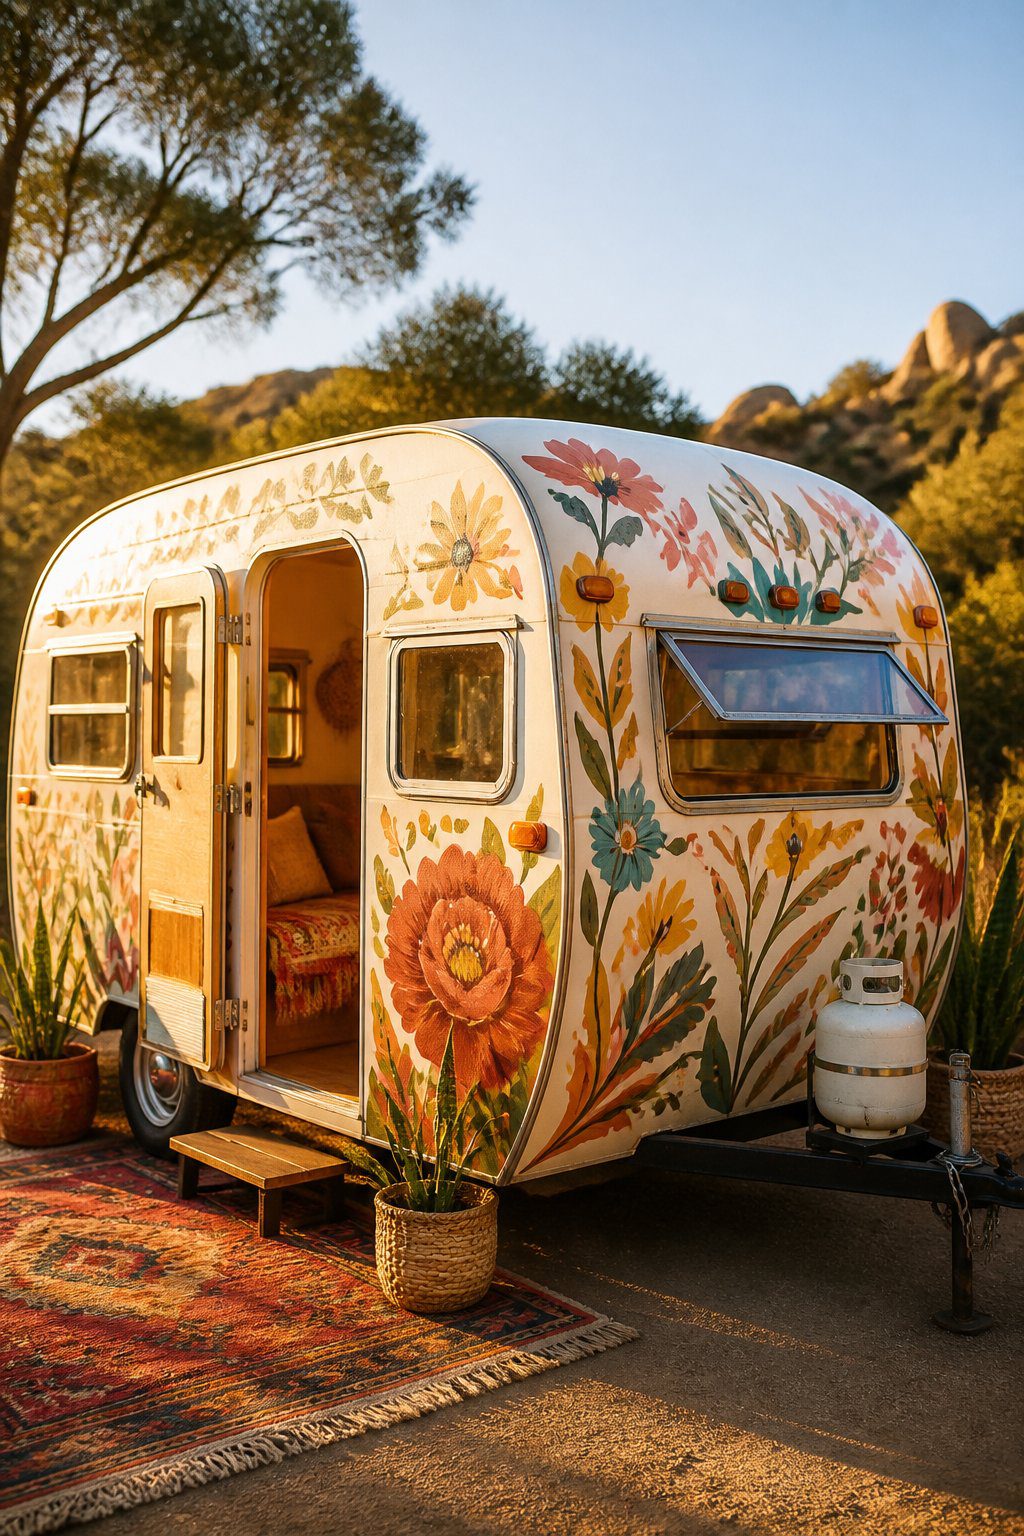
Give your camper a relaxed, creative look with a hand-painted floral motif. Start by cleaning the exterior and lightly sanding rough areas so the paint adheres well. Sketch loose flowers, leaves, and curved stems with chalk before adding color.
Use a warm base shade, then layer in earthy tones such as terracotta, mustard, cream, and forest green. Keep the shapes slightly uneven to create a handmade feel. You can repeat a few flower styles along one side while leaving open space between them.
Paint around windows, doors, or storage panels to frame these features without covering them. Add small dots, vines, or simple sun shapes to connect separate sections. Seal the finished design with an exterior coating made for painted surfaces, following the product directions.
PRO TIP
Test your color palette on cardboard first. This helps you adjust the balance before painting the camper.
10) Warm Terracotta and Cream Palette
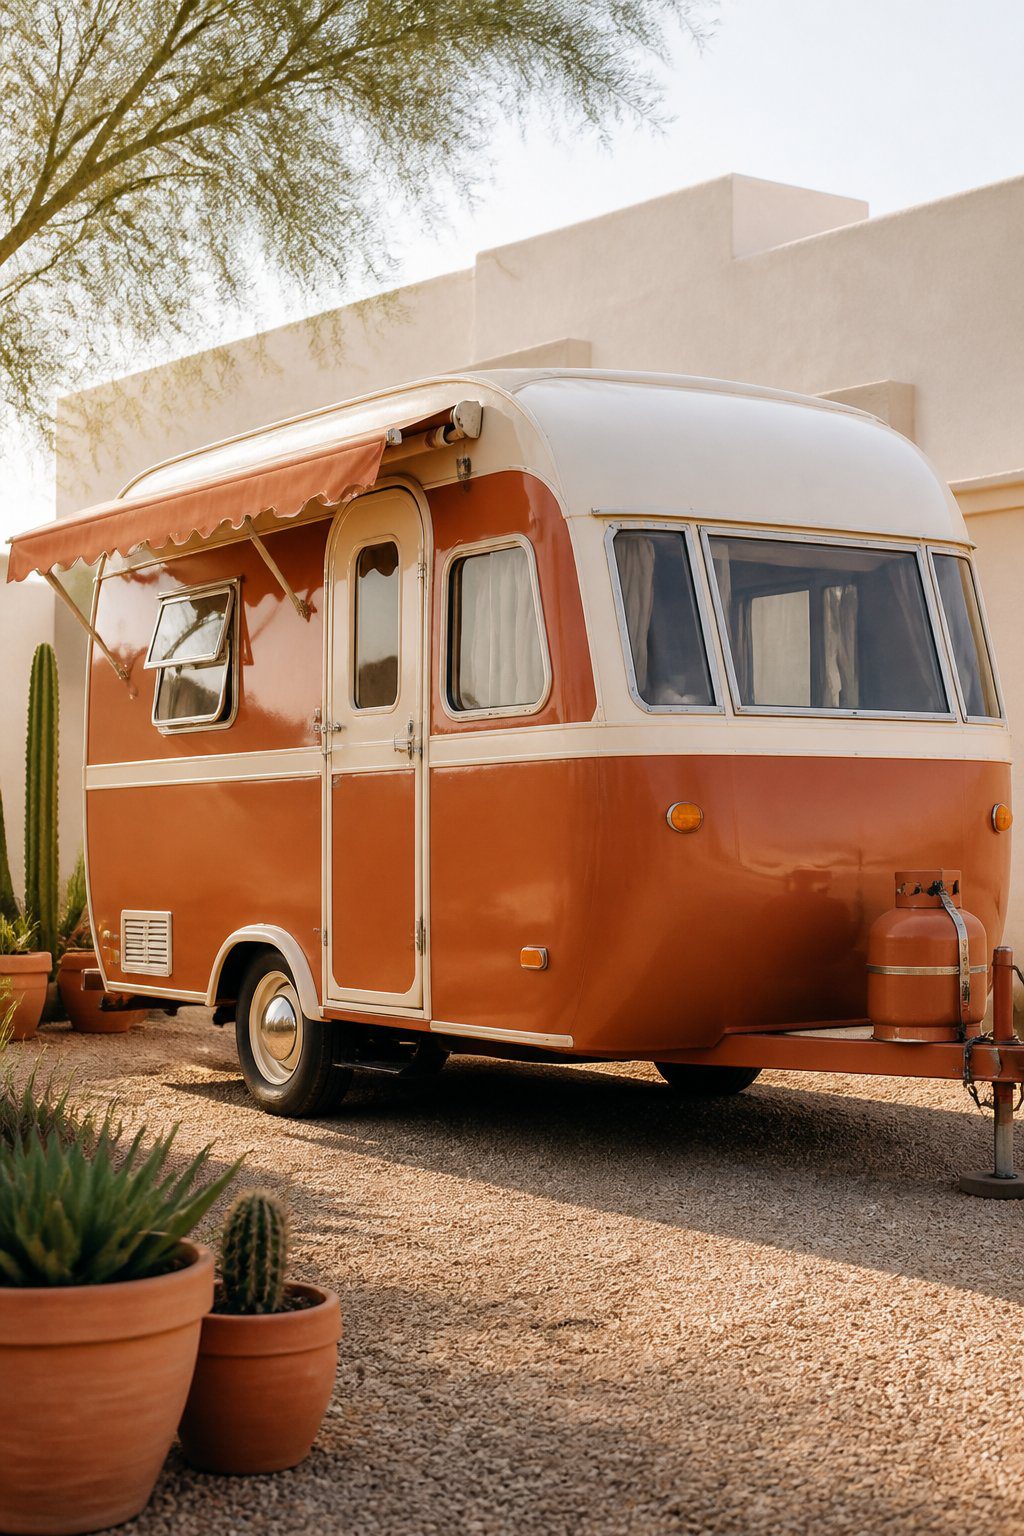
Give your camper a warm, earthy look with terracotta and cream paint. Use cream on the main body to keep the space bright, then add terracotta along the lower panels, trim, or door. This color mix feels welcoming without looking too bold.
Before painting, wash the exterior and remove loose finish. Sand rough areas, repair small dents, and apply an outdoor primer. Use painter’s tape to create clean lines between the two colors, and let each coat dry fully before adding another.
Terracotta also works well on simple details, such as storage doors, window frames, or a narrow stripe. Pair the exterior with natural wood accents, woven shades, or tan cushions for a connected design.
PRO TIP
Test both colors in sunlight and shade before painting the full camper. Outdoor light can change how warm or pale each shade appears.
11) Mid-Century Geometric Graphics
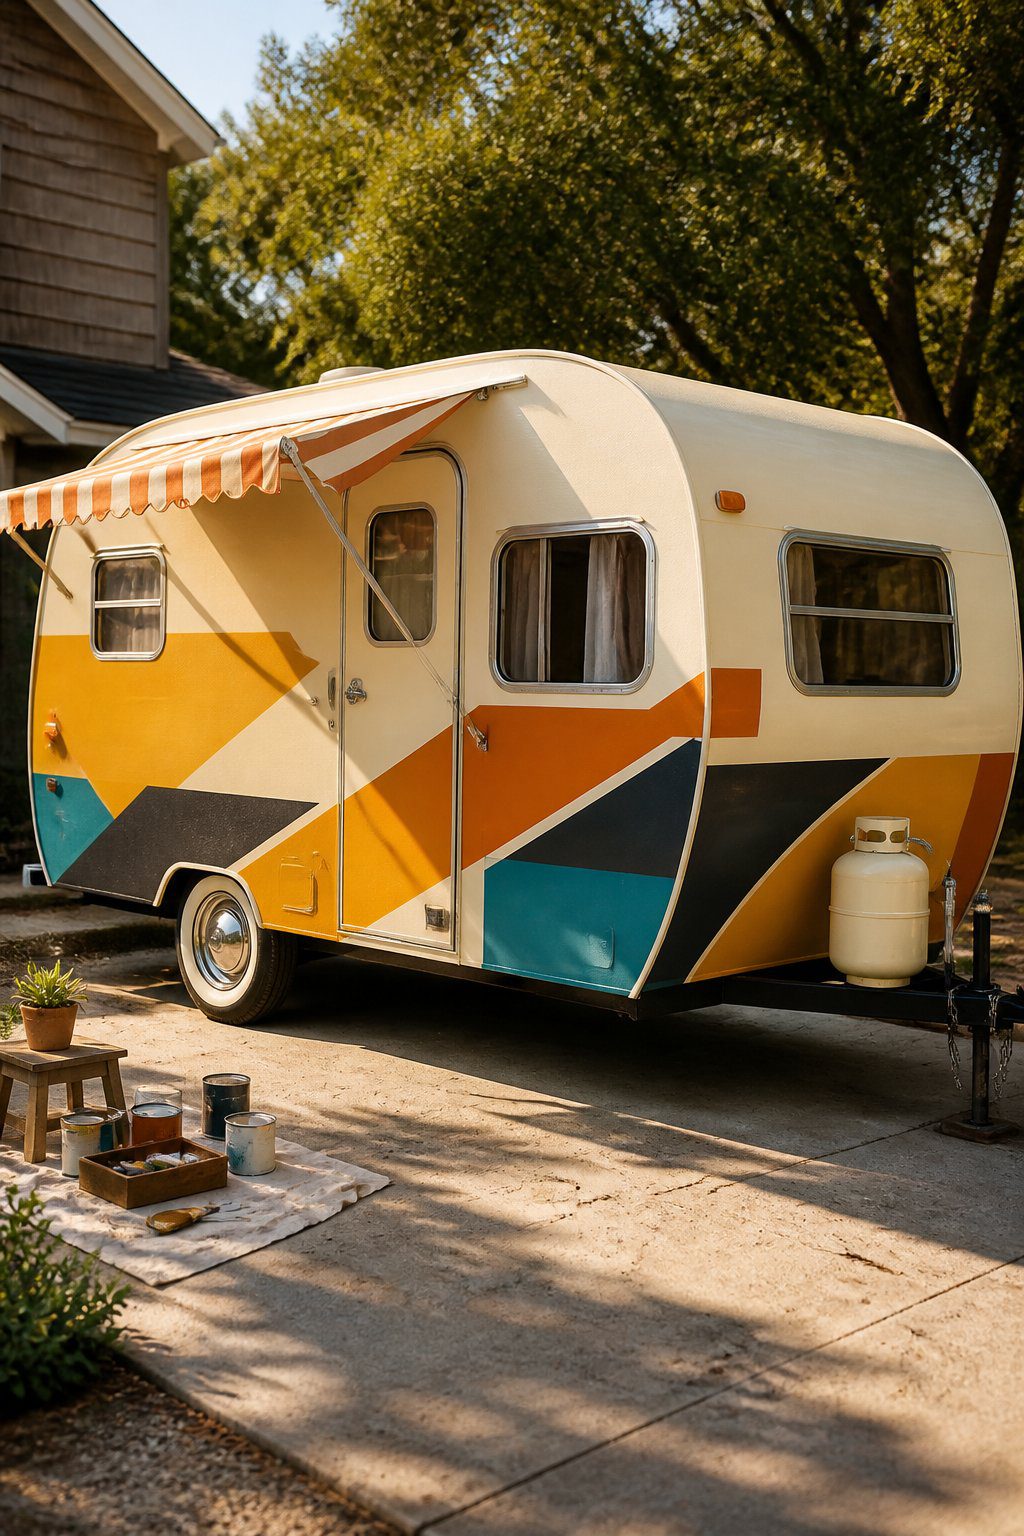
Give your camper a clean mid-century look with bold shapes, angled lines, and simple color blocks. Choose two or three colors that suit the camper’s size and existing trim. Soft cream, muted orange, teal, or olive can create a period-inspired palette without making the design feel busy.
Plan the layout with painter’s tape before applying paint. Use triangles, circles, and long horizontal bands to draw attention to the camper’s shape. Keep the graphics balanced from side to side, but do not worry about making every detail identical.
PRO TIP
Measure each panel and mark key points with a pencil before taping. Apply thin coats of exterior paint, let each color dry fully, and remove the tape slowly to keep the edges clean. A clear protective finish can help shield the design from sun and rain.
12) Farmhouse Whitewash with Wood Trim
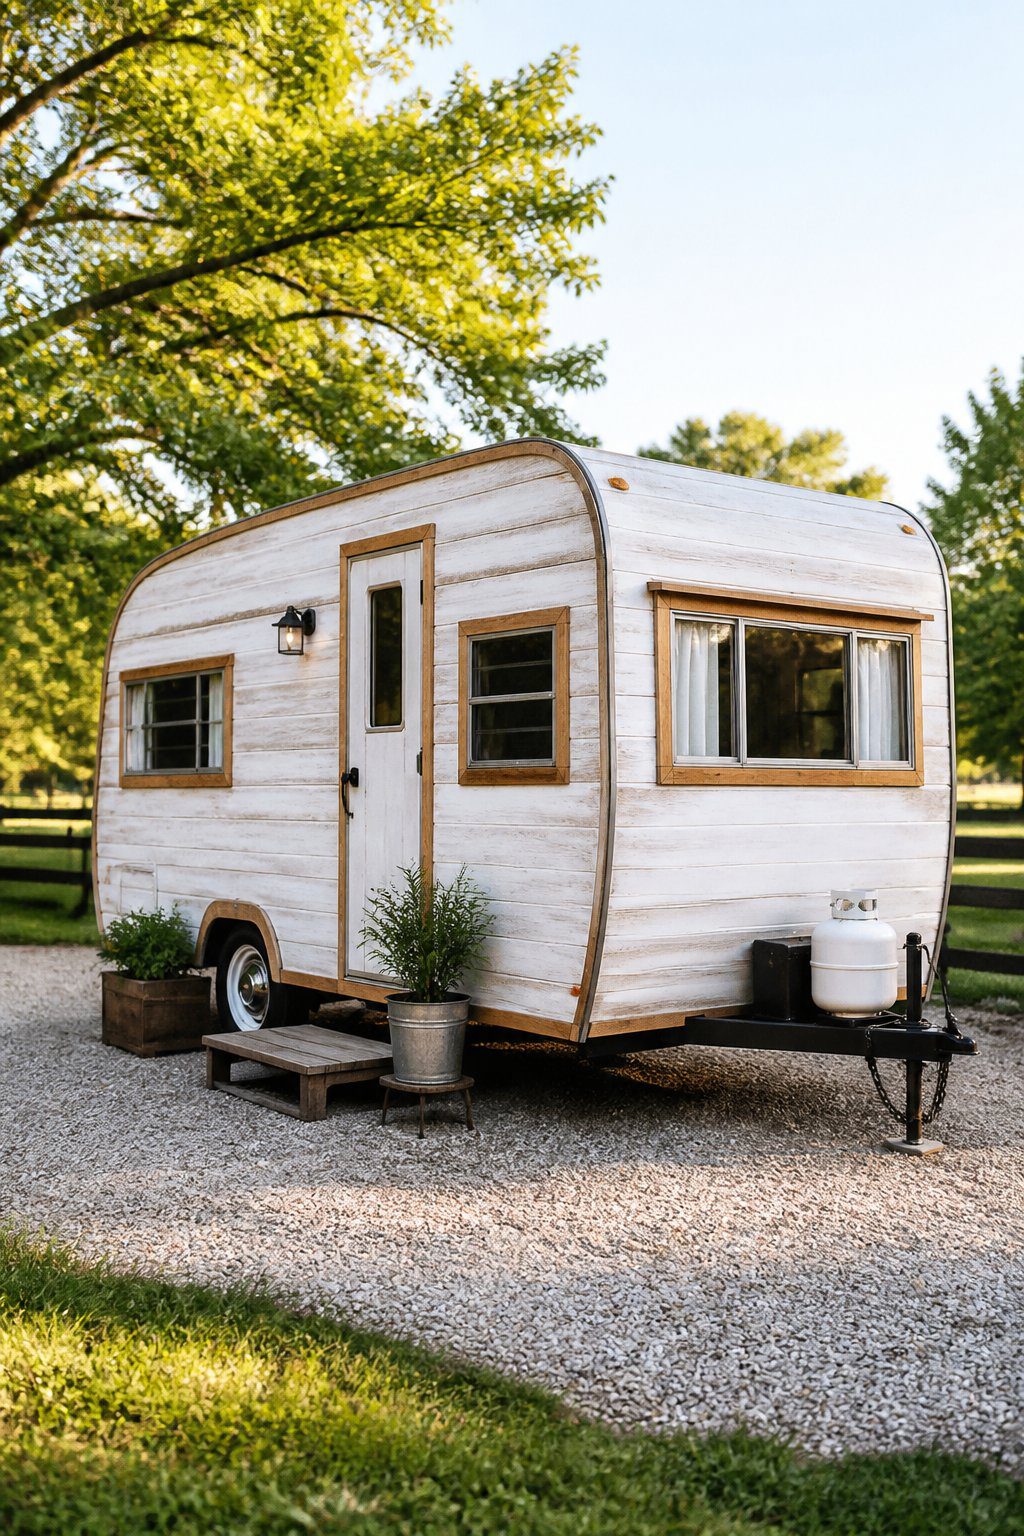
Give your camper a soft farmhouse look with a warm white exterior. A whitewash finish helps cover dull, faded areas while keeping a little texture visible. Clean the siding first, repair cracks, and let the surface dry before painting.
Add wood trim around the windows, doors, and lower panels to create gentle contrast. Choose sealed cedar or another weather-resistant wood, then use simple boards with clean edges. Lightly stain the trim so it adds warmth without making the camper look too dark.
Paint the trim carefully, and use painter’s tape to protect the white finish. Small black or bronze fixtures can complete the design without adding visual clutter.
PRO TIP
Test your whitewash and wood stain on a small hidden area first. Different siding materials absorb paint in different ways, so a sample helps you adjust the color and coverage.
13) Pastel Mint Green Refresh
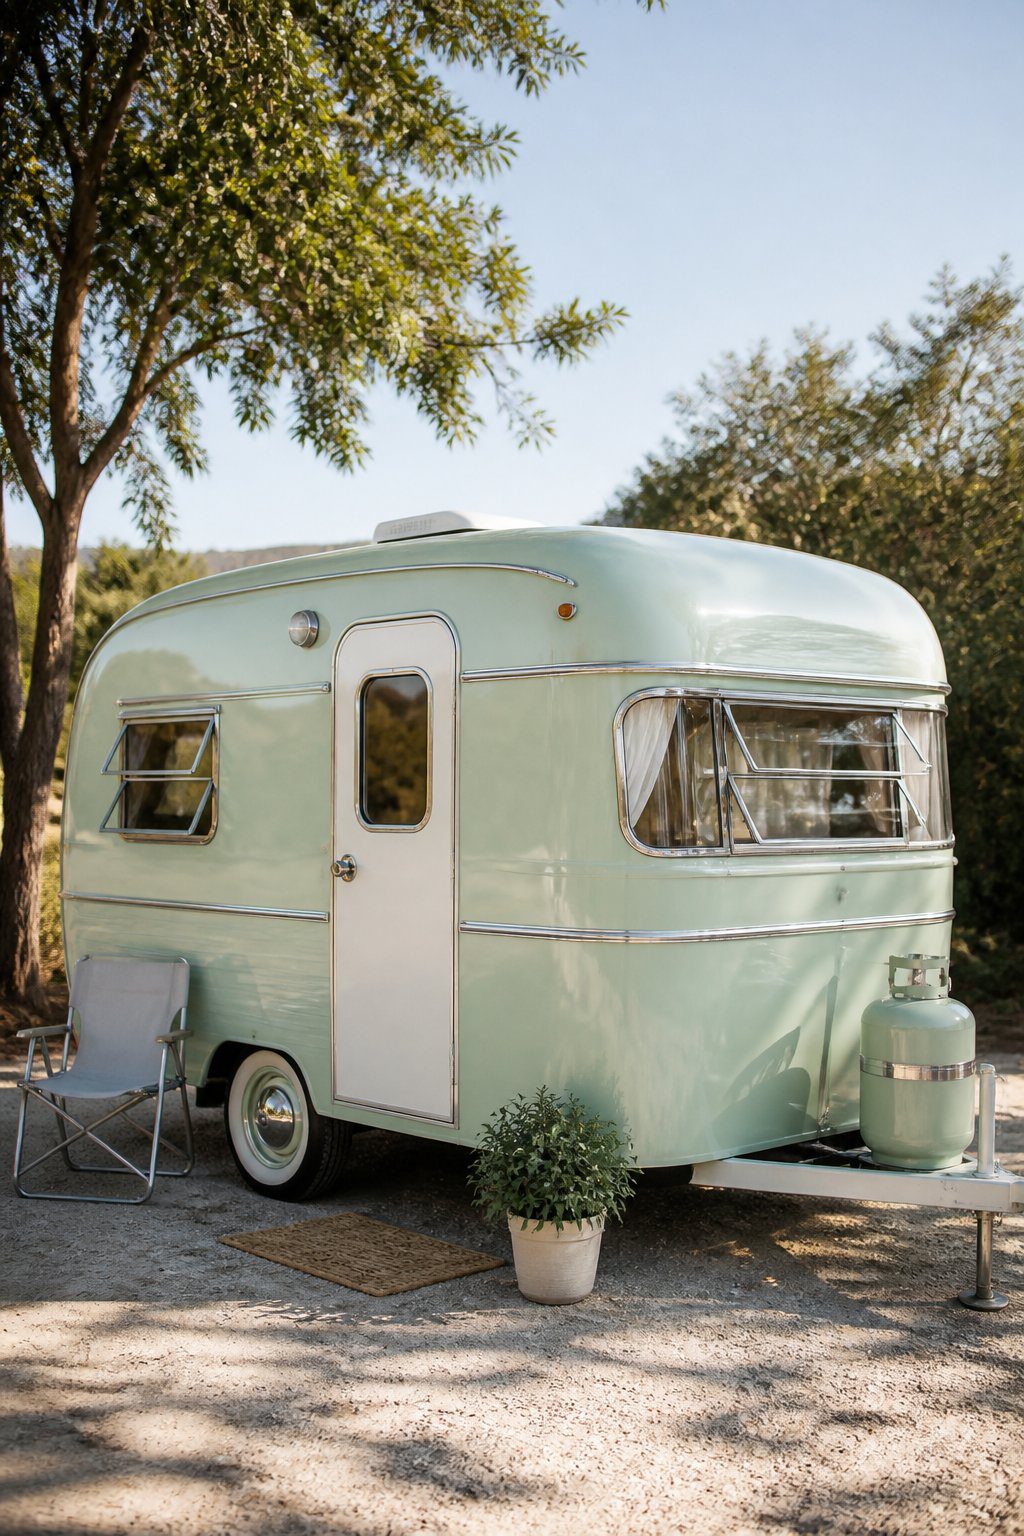
Give your camper a fresh, friendly look with a pastel mint green exterior. This soft color brightens older siding while keeping the vintage shape and details visible. Choose a clean, even finish that works well with the camper’s original trim.
Before painting, wash the exterior and remove loose paint, rust, and dirt. Sand rough areas, repair small dents, and cover windows, lights, and vents. A light primer can help the new color stay smooth and consistent.
Pair the mint finish with warm white trim, natural wood accents, or simple black hardware. Add a small stripe or painted panel if you want more detail without making the design look busy.
PRO TIP
Test your paint color on a hidden section first. Outdoor light can make pastel shades look brighter or cooler than they appear indoors.