You can turn your camper bedroom into a cozy shabby chic retreat with small, hands-on projects that add charm and comfort. You’ll find simple, budget-friendly ideas that blend soft fabrics, distressed wood, and vintage touches to make your space feel warm and personal.
Would you like to save this article?
This article guides you through easy DIYs that refresh your bedding, storage, lighting, and wall decor so your camper feels like a calm hideaway.
Start with one small project to build confidence and see quick improvement before moving on to larger updates.
1) Distressed Wood Headboard with Vintage Stencils
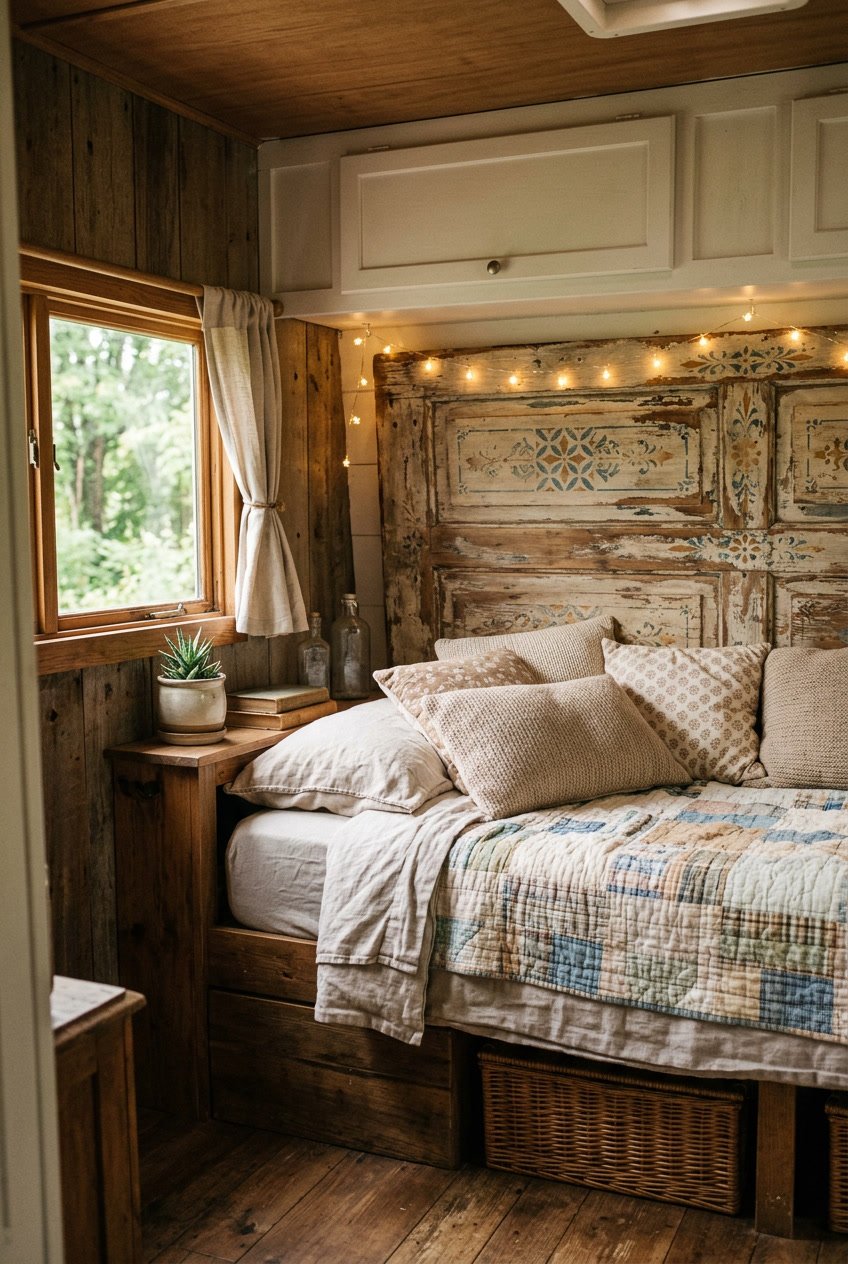
Build a simple headboard from reclaimed or inexpensive pine boards. Sand lightly, then paint with two coats of chalk-style paint for a soft base color.
Distress the edges with sandpaper to reveal the wood underneath. This gives a worn, cozy look without much work.
Choose a small vintage stencil design and center it on the headboard. Use a dark glaze or watered-down paint applied sparingly for a muted, aged effect.
Attach the headboard to the camper wall or to the bed frame with brackets or cleats. Add a few soft pillows and fairy lights to finish the shabby chic feel.
PRO TIP
Seal the finish with a thin clear coat to protect against moisture and wear.
2) Patchwork Quilt from Floral Fabric Scraps
Make a cozy quilt using small floral fabric scraps you already have. Cut squares or rectangles, then arrange them so colors and patterns balance across the quilt.
Sew pieces together in rows, pressing seams flat as you go. Join the rows to form the quilt top, then add batting and a soft backing fabric.
Quilt by hand or with a simple running stitch to hold layers. Use a neutral thread to keep the look calm, or match the fabric for a more seamless finish.
PRO TIP
Use a walking foot or pins to keep layers from shifting while you sew. Start with a small lap quilt to practice before tackling a full camper bed-size piece.
3) Mason Jar String Lights with Burlap Wrap
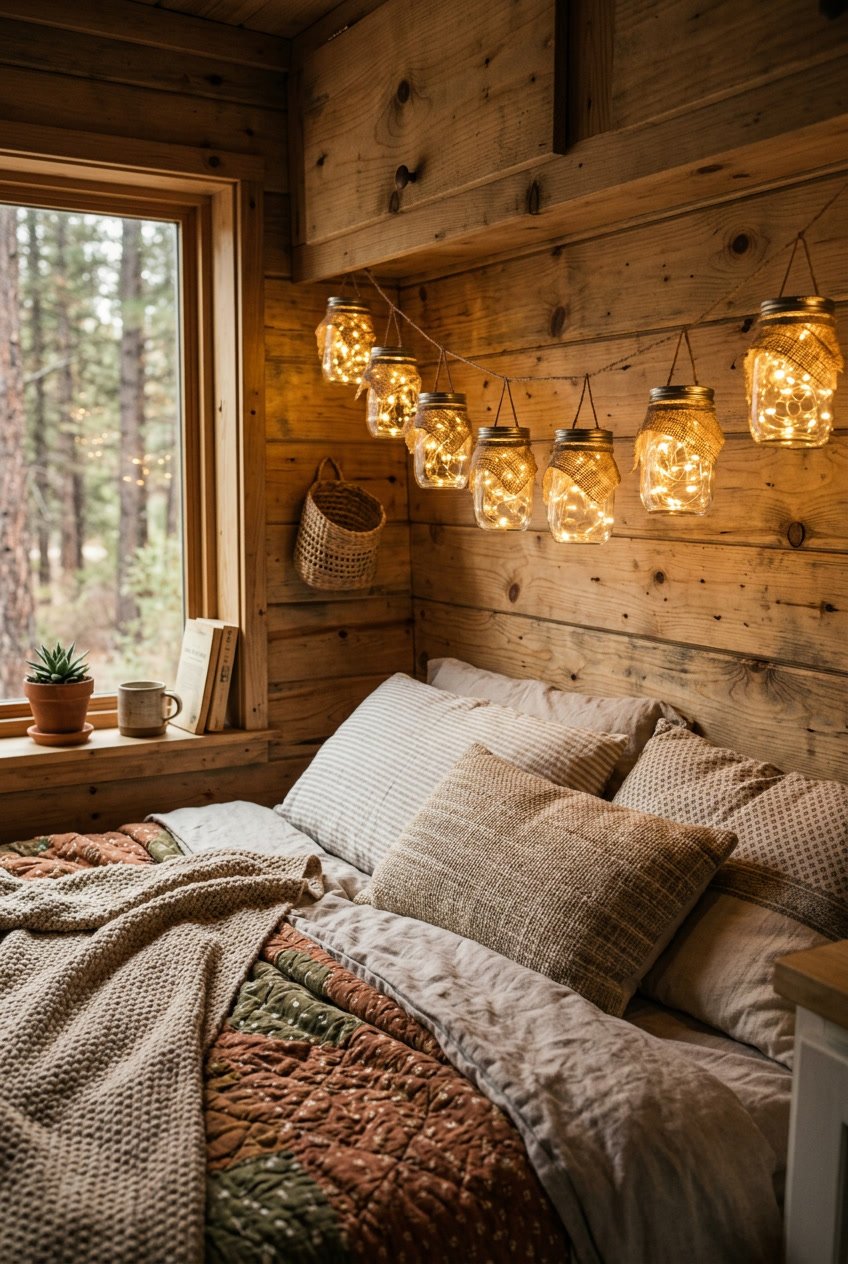
You can make soft, warm lighting with mason jars, string lights, and a bit of burlap. Wrap a thin strip of burlap around each jar and secure it with twine for a rustic look. Place a small string light inside and hang the jars from hooks or a wooden beam.
This project needs only simple tools and basic materials, so you can finish it in an afternoon. The jars cast a gentle glow that makes your camper feel cozy without being too bright.
PRO TIP
Use battery-operated string lights so you avoid extra cords and outlets. Choose warm white bulbs for a calm, inviting light that matches shabby chic decor.
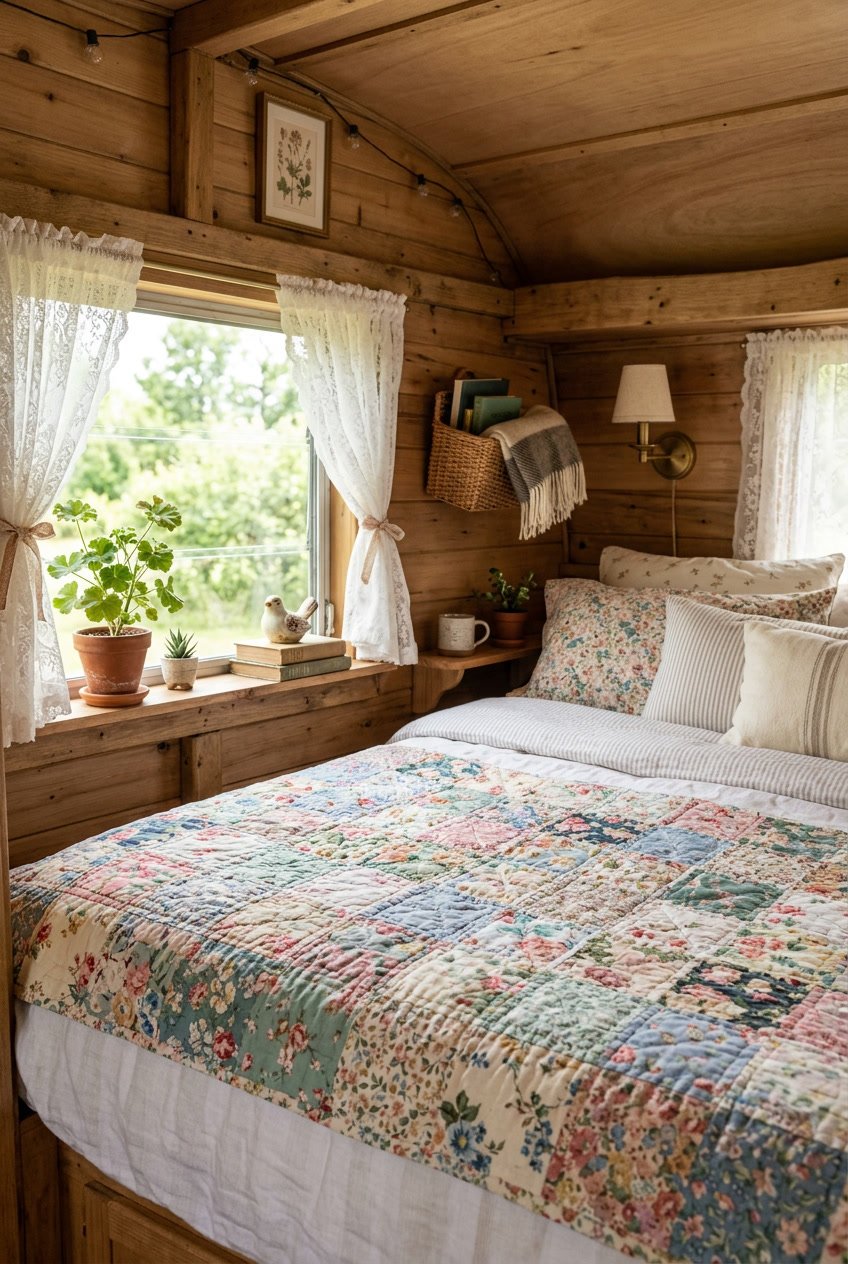
4) Ruffled Lace Curtains with Twine Tiebacks
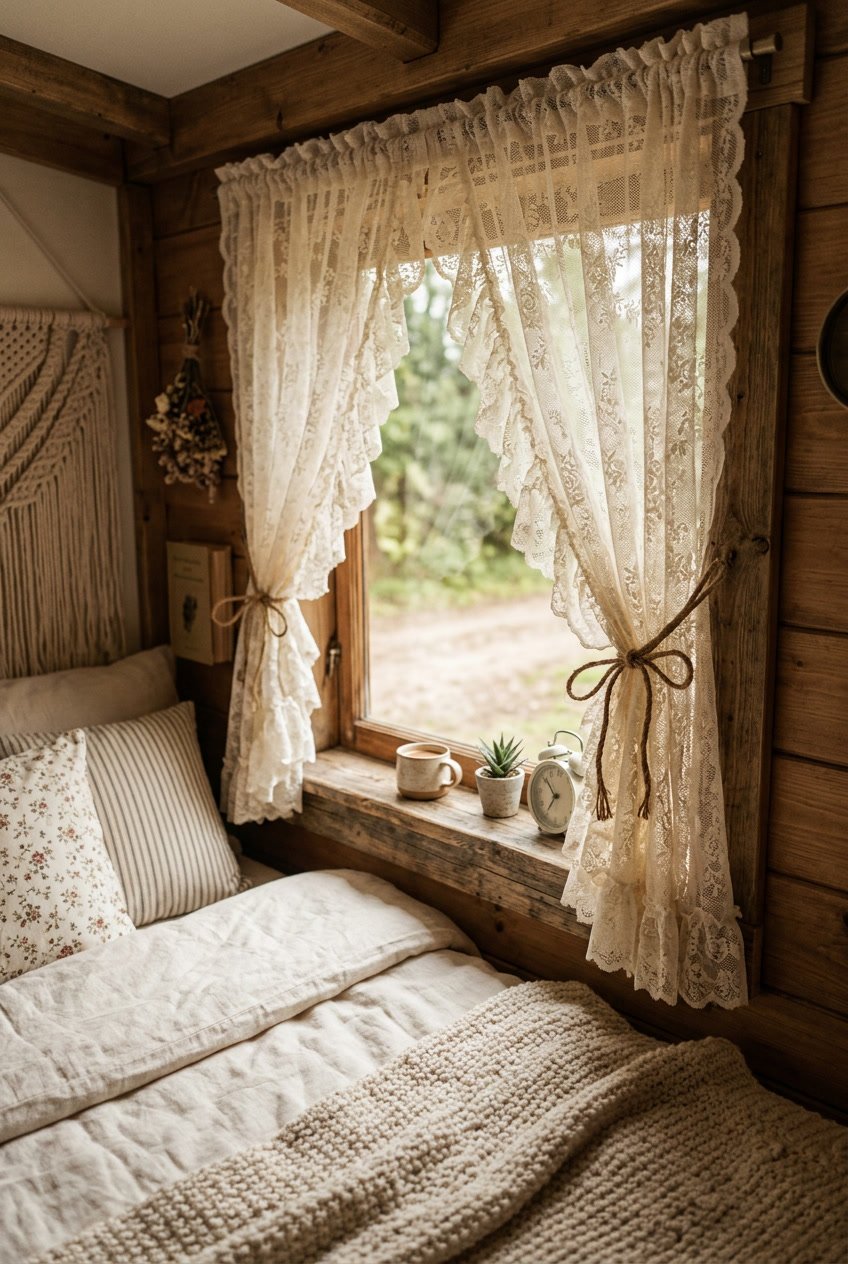
Ruffled lace curtains add soft texture and let light through so your camper feels bright and calm. You can sew simple ruffles onto sheer curtain panels or buy plain sheers and hand-sew a gathered top for a vintage look.
Use natural twine for tiebacks to keep the style cottage and easy to change. Wrap the twine once around the curtain and knot or tie a bow. You can add a small wooden bead or button for a little charm.
Hang curtains with lightweight tension rods or small curtain rings to avoid drilling. Make them easy to remove for washing; lace can yellow if left too long, so freshening helps keep the look clean.
PRO TIP
Cut a small strip of fabric and stitch it to the curtain back as a hidden loop for the twine to slip through. This keeps the curtain neat and prevents slipping during travel.
5) Hand-Painted Antique Suitcase Nightstand
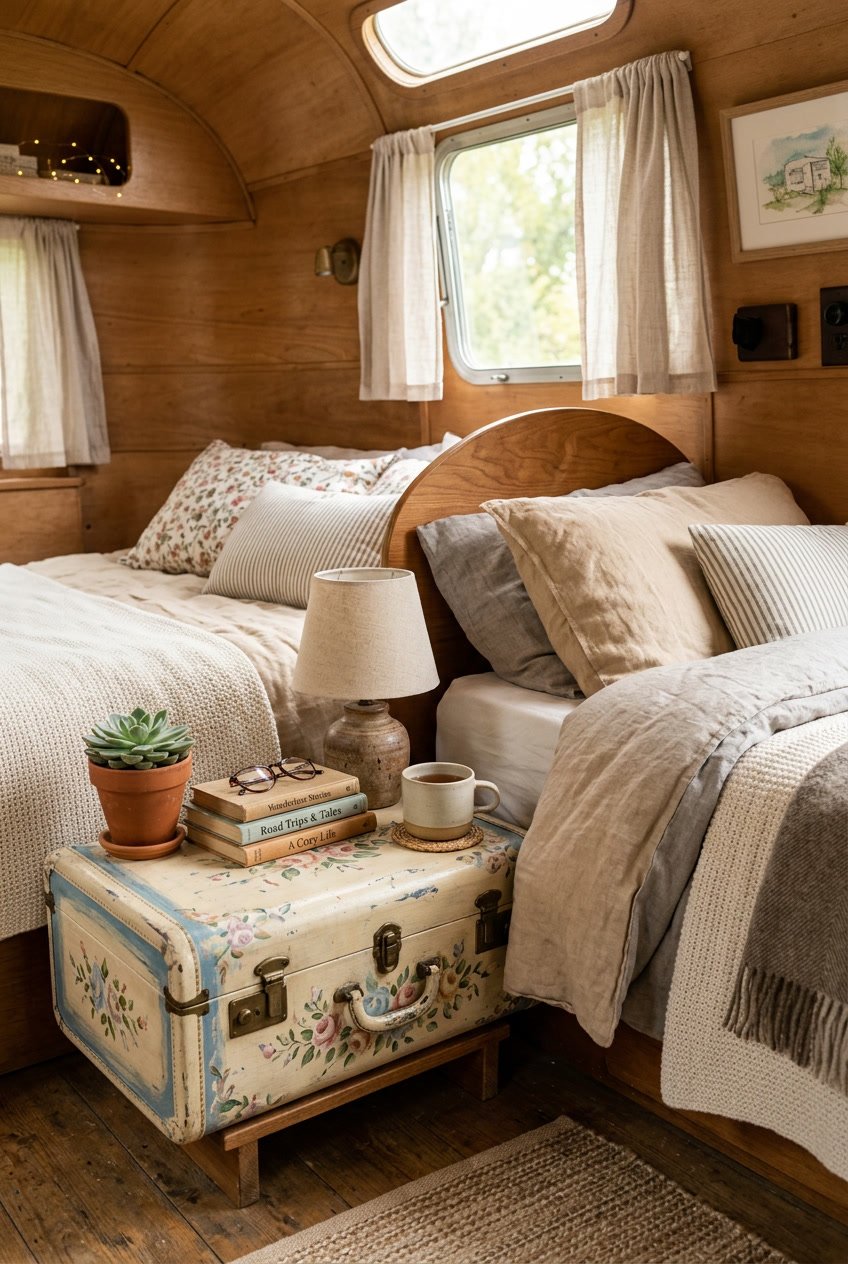
Turn an old suitcase into a charming nightstand for your camper. Paint the outside with soft, worn colors and sand the edges for that shabby chic look. Stack it on small wooden legs or a vintage crate to raise it to bedside height.
Fill the inside with a lamp, a book, and a small box for chargers. You can line the interior with floral fabric for a cozy surprise. Close the latches to hide clutter when you’re on the road.
PRO TIP
Use chalk paint for easy distressing and quick touch-ups. Add felt pads under the legs to protect your camper floor.
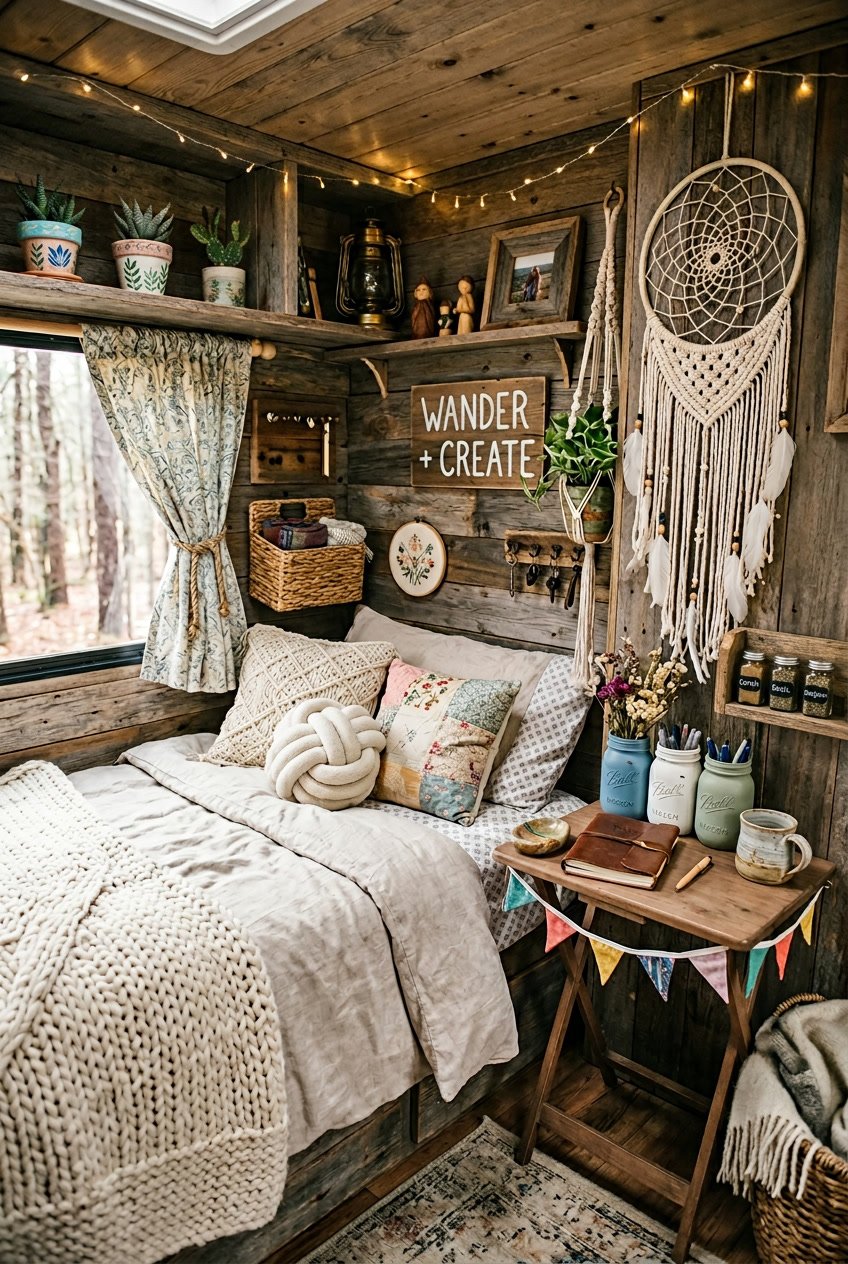
6) Woven Macramé Wall Hanging with Driftwood
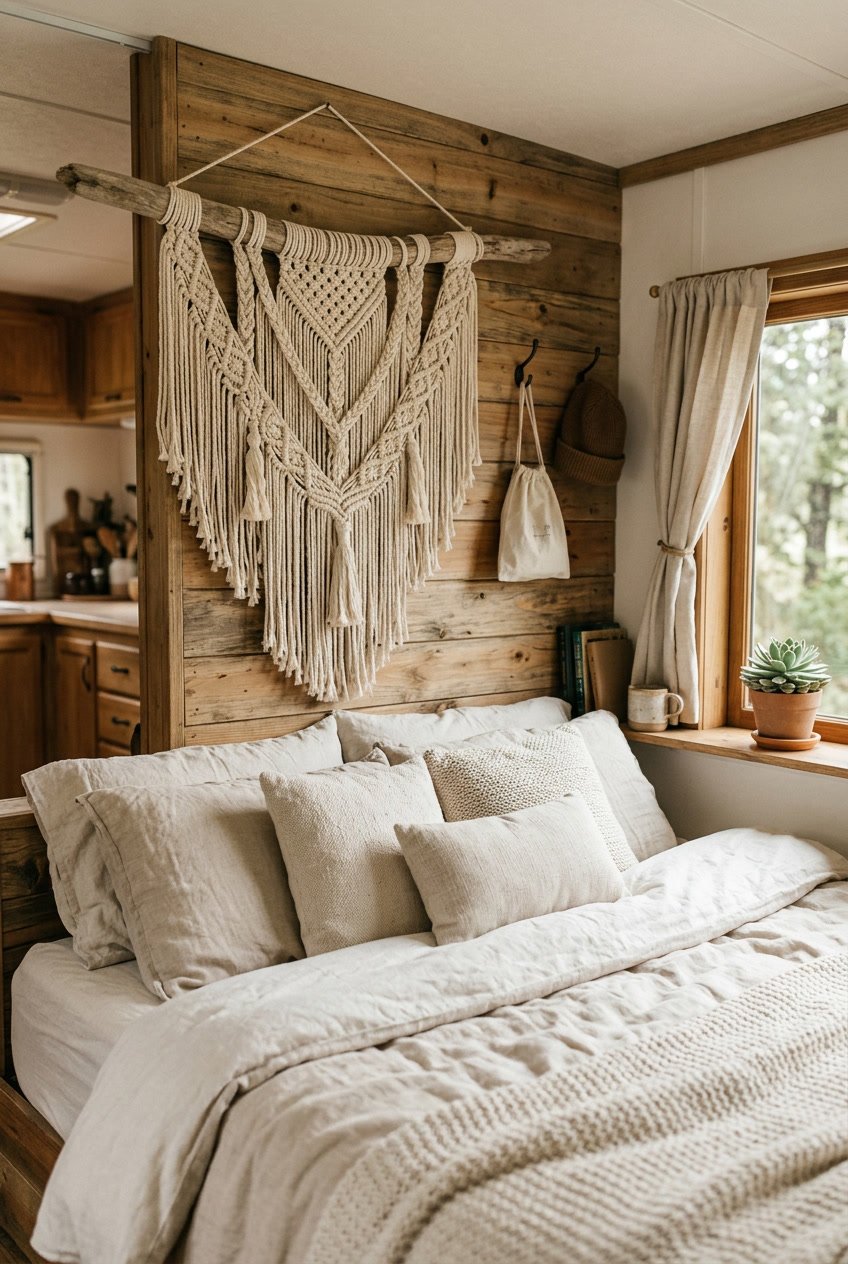
A macramé wall hanging adds soft texture and a relaxed feel to your camper bedroom. You can weave simple knots on cotton cord and tie them to a piece of driftwood for a natural look.
Choose lightweight cord and a thin driftwood branch so it hangs easily without stressing your walls. Use basic knots like square knots and half-hitches; they are quick to learn and look great when repeated.
Keep the design small to fit limited wall space in a camper. Add a few wooden beads or a short fringe to match your shabby chic palette.
PRO TIP
Hang the piece from a removable hook to avoid drilling. You can swap colors or trim the fringe to refresh the room without major work.
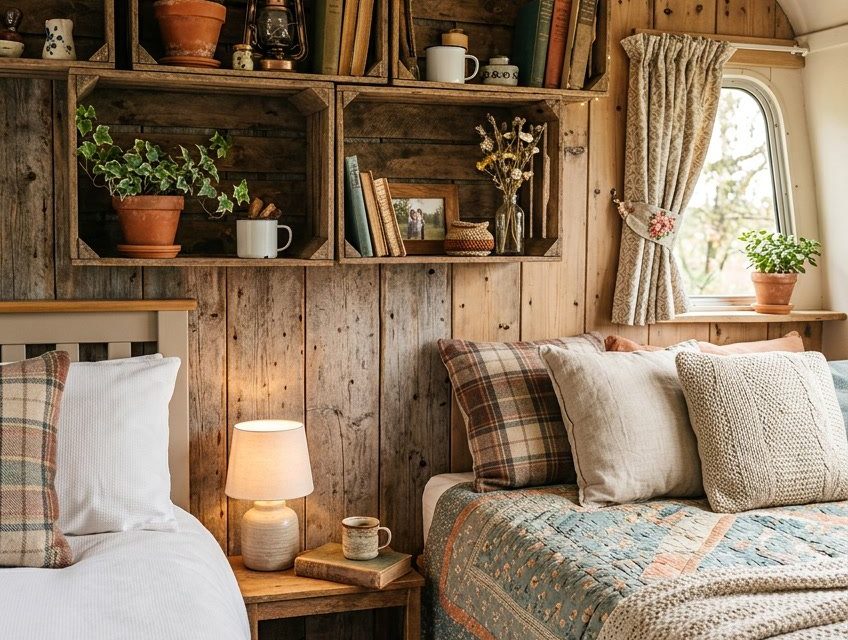
7) Repurposed Wooden Crate Shelves
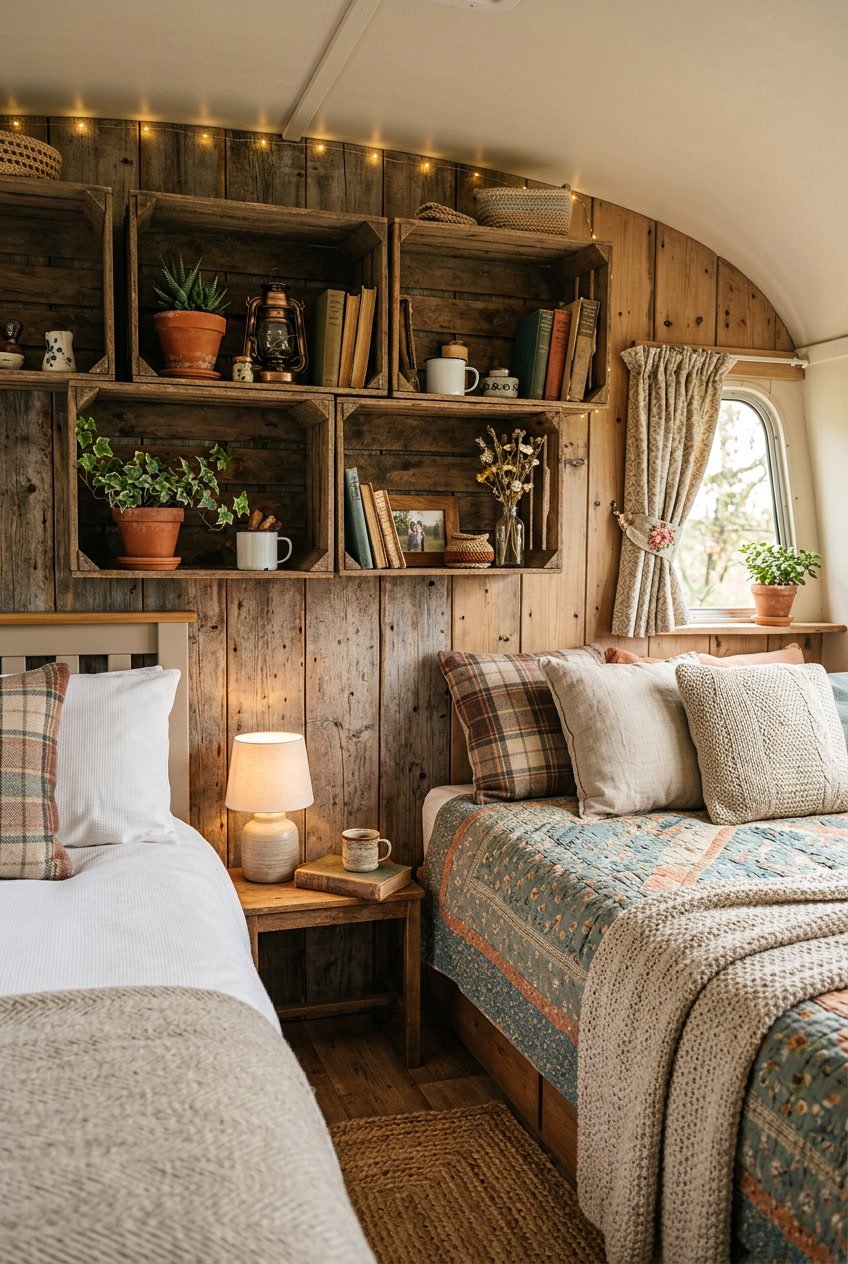
Turn old wooden crates into open shelves to add charm and storage in your camper. Sand them smooth, paint or whitewash for a shabby look, and seal to protect from moisture.
Stack crates on their sides or mount them to the wall for easy access to books, jars, and soft blankets. You can arrange different sizes for visual interest and to fit awkward spaces.
Anchor each crate securely so items don’t fall while driving. Add small felt pads or rubber strips to the bottoms to stop scratches and reduce noise.
PRO TIP
Line the back or base with fabric or wallpaper scrap to add color and hide gaps. Use lightweight items to keep weight low and balance the load across shelves.
8) Vintage Lace and Burlap Throw Pillows
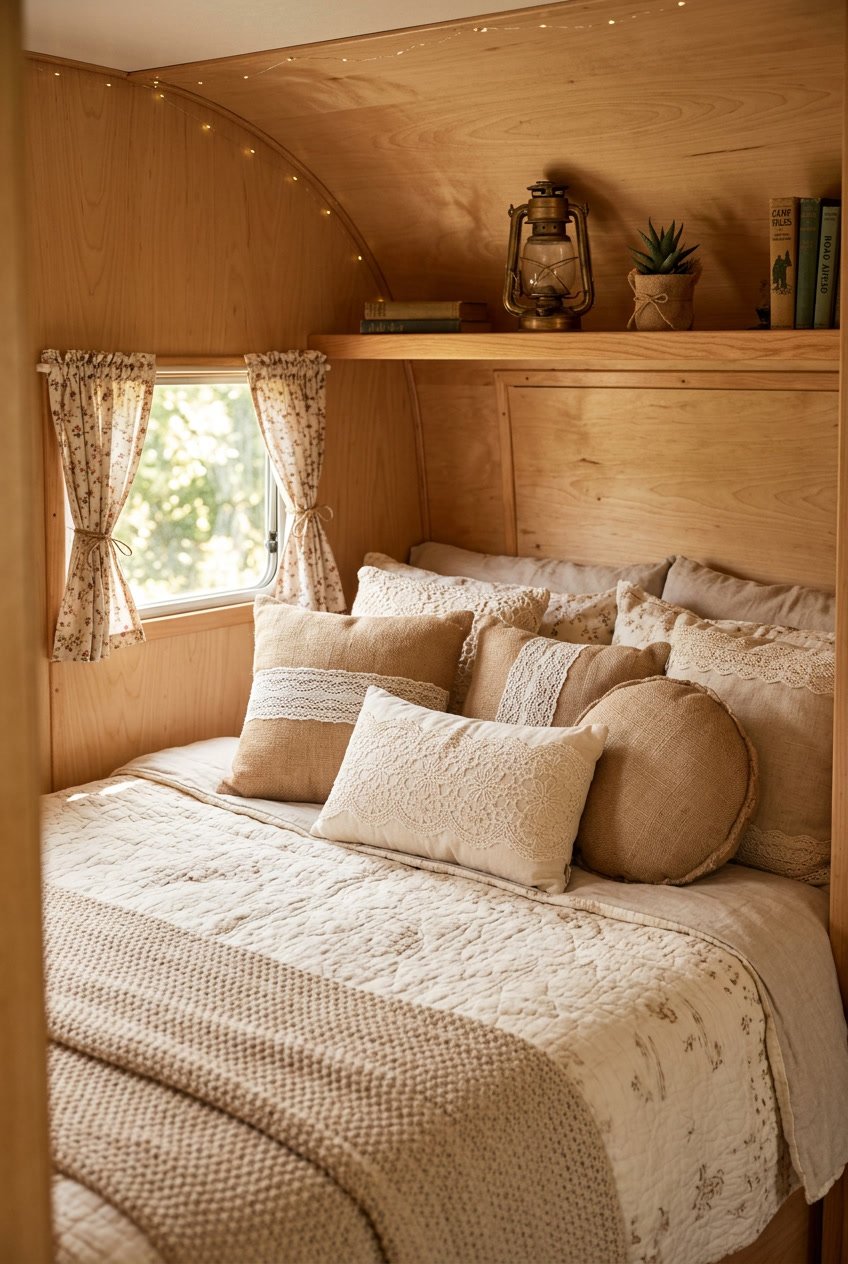
You can make pillows that feel soft and rustic with just lace, burlap, and plain fabric. Cut burlap squares for the front and a softer fabric for the back so the pillow stays comfy.
Sew lace strips across the burlap by hand or with a machine. Mix patterns and layers to add charm without making it look busy.
Use simple envelope closures so you can wash the covers. Stuff them with old cushions or new filler to get the loft you like.
PRO TIP
Pre-wash burlap to soften it and reduce fraying. Pin the lace in place before sewing to keep it straight.
9) DIY Linen Slipcovers with Button Details
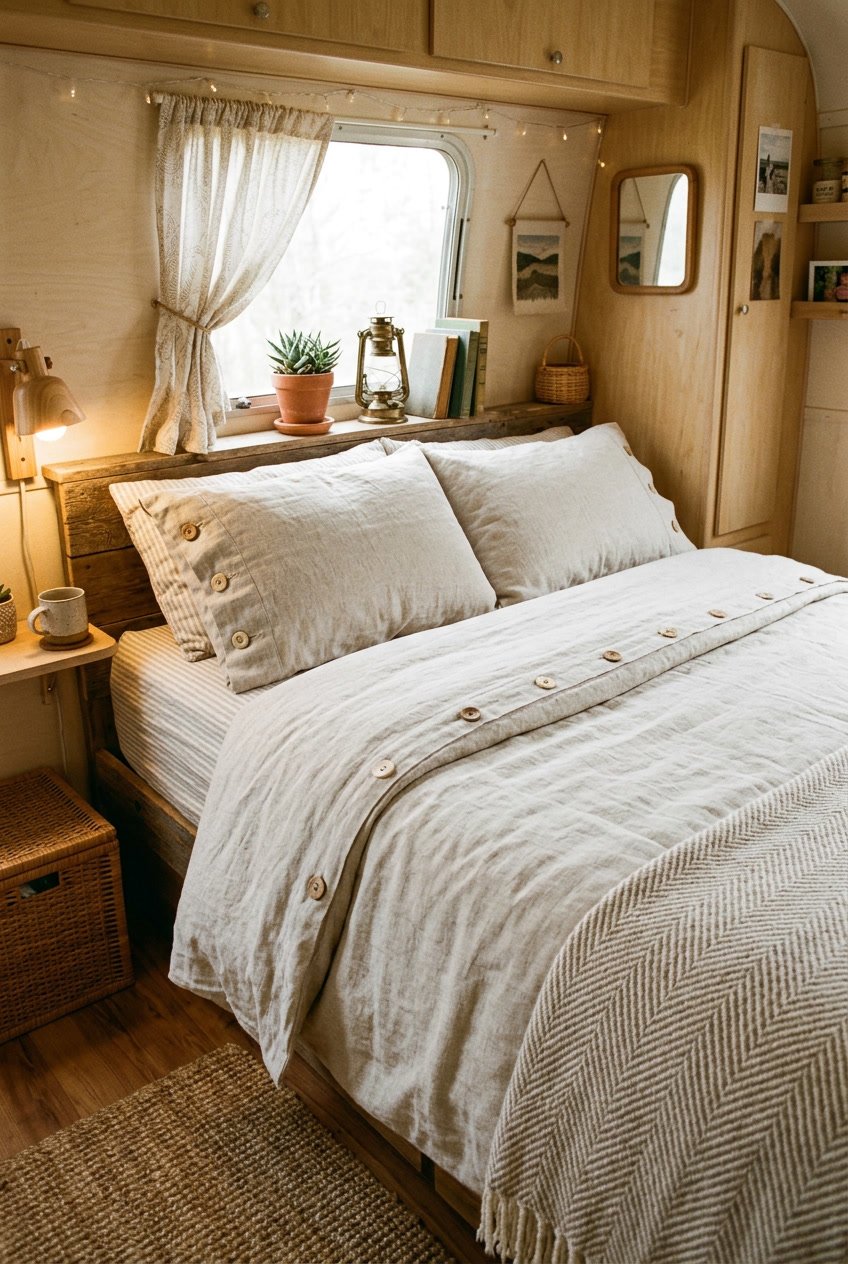
Make simple slipcovers from linen to freshen your camper bed and seating. Cut fabric to fit, sew seams with a straight stitch, and leave openings for the cushions.
Add button details along the edges for a vintage look. Sew small fabric loops or use thread shanks so buttons sit neatly and won’t snag.
Choose light, natural linen in soft colors to keep the shabby chic vibe calm and airy. Wash the fabric before sewing to soften it and prevent future shrinking.
H3 PRO TIP
Use snap closures under the buttons for easy removal when you need to wash the covers. This keeps the look neat and makes care simple.
10) Chalk-Painted Dresser with Soft Pastel Colors

Give your camper a calm, cozy look by painting a small dresser with chalk paint in soft pastels. Light blues, mint greens, and blush pinks work well to brighten tight spaces without feeling heavy.
Sand the dresser lightly, clean the surface, and apply two thin coats of paint. Chalk paint covers well and dries fast, so you can finish in a day.
Seal the paint with a clear wax or matte finish to protect it from wear. Add simple knobs or keep the original hardware for a lived-in, shabby chic feel.
PRO TIP
Distress edges with fine sandpaper for a gentle worn look. Wipe dust away before waxing to keep the finish smooth.
11) Rope Handle Storage Baskets
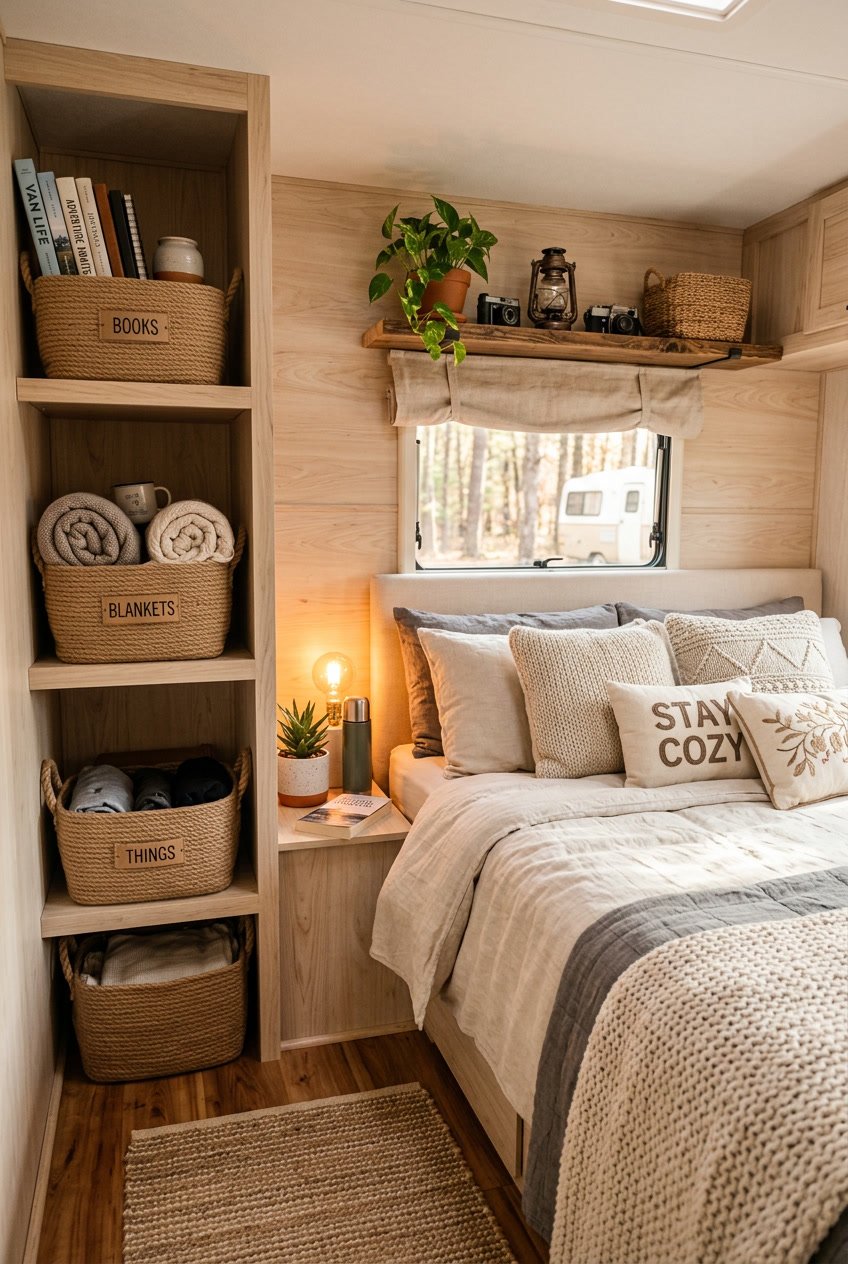
Rope handle baskets add charm and function to your camper bedroom. You can make them from wicker, wire, or recycled crates and attach thick rope handles for a cozy look.
Measure the space before you build so each basket fits under bunks or on shelves. Use knots and strong glue or screws to secure handles, and knot ends inside to hide rough edges.
Line baskets with soft fabric to protect delicate items and keep things tidy. Group a few sizes together to store blankets, books, and shoes while keeping a shabby chic vibe.
PRO TIP
Choose neutral rope and faded fabrics to match shabby chic colors. Wash fabric liners often to keep the space fresh.
12) Crocheted Doily Table Runner

A crocheted doily table runner adds soft texture and old-fashioned charm to your camper. You can use plain yarn or mix colors for a faded, shabby look that fits small spaces.
Lay the runner down the center of your bedside table or dinette to soften hard edges. It also hides scratches and gives you a pretty surface for a lamp or a small vase.
PRO TIP
Use cotton yarn for easy washing and a firm drape. If you don’t crochet, buy vintage doilies and stitch them together for a similar look that feels handmade.
13) Copper Pipe Clothes Rack
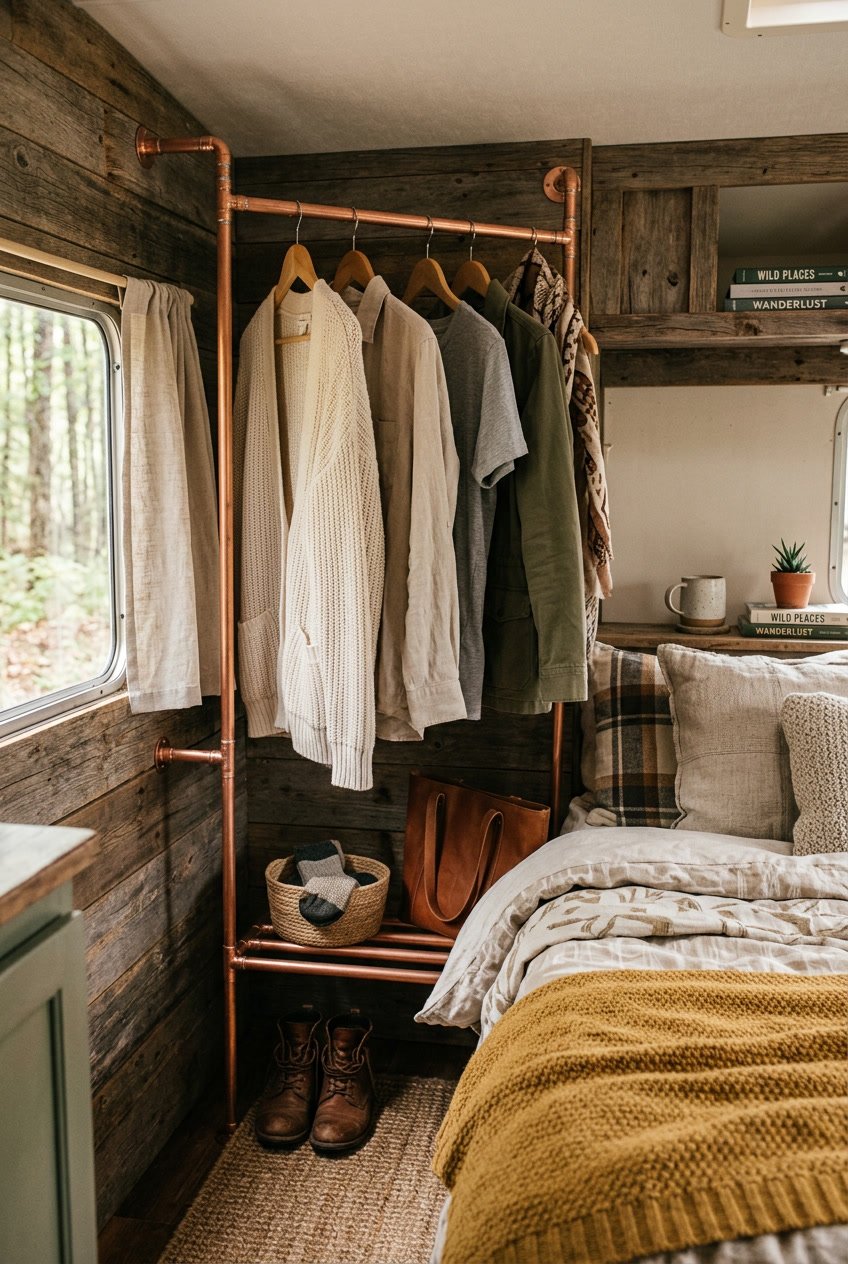
A copper pipe clothes rack adds vintage charm and saves space in your camper. You can make a simple hanging rod with two wall mounts and a straight pipe.
Measure the space first so the rack fits between walls or cabinets. Cut the pipe to size and smooth the edges. Use elbow joints or flanges to secure it.
Mount the rack at a comfortable height for hanging dresses, shirts, or scarves. The warm metal tone suits shabby chic decor and pairs well with linens and lace.
PRO TIP
Wrap twine or a thin fabric ribbon around the pipe where hangers sit to prevent slipping. You can also spray a light protective finish to slow tarnishing without losing the aged look.
14) Embroidered Pillowcases with Botanical Patterns
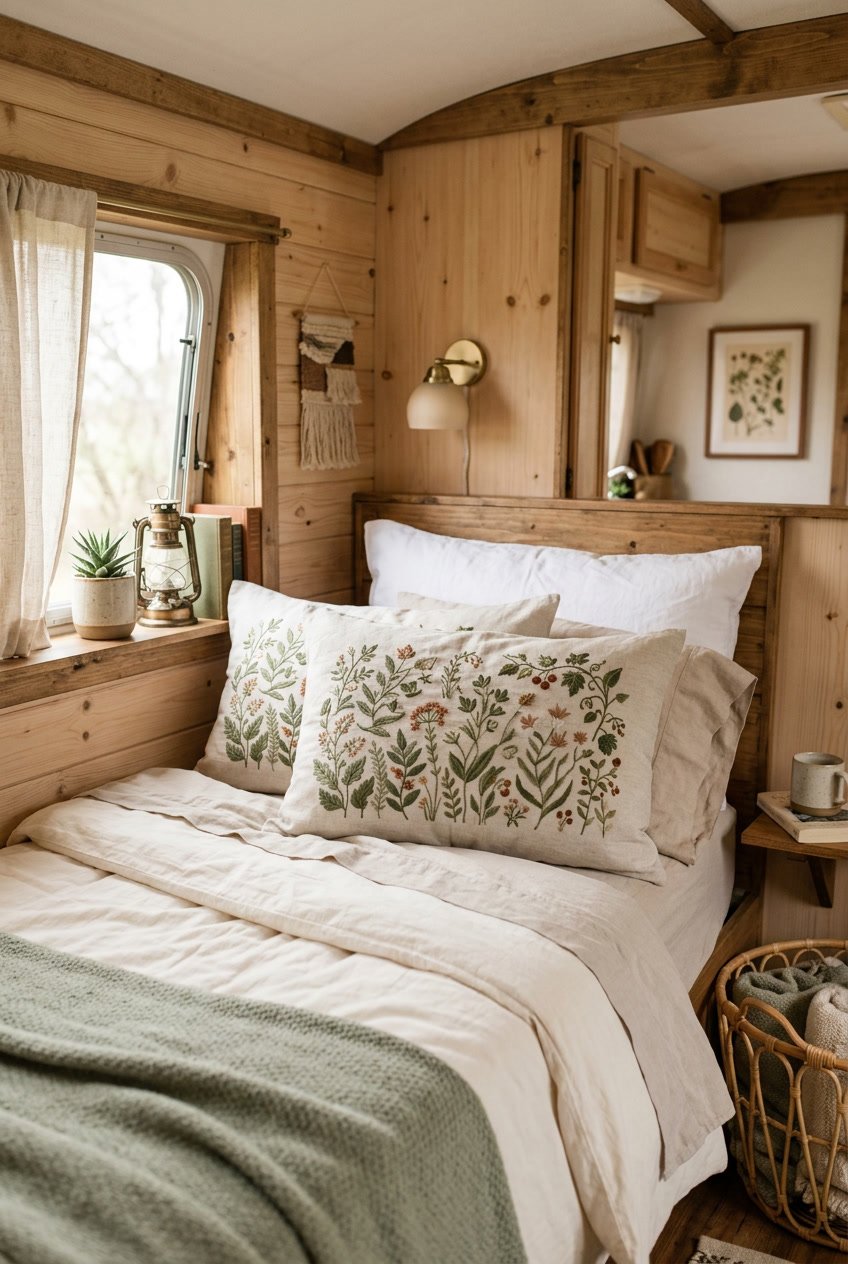
You can make simple pillowcases feel special with hand-stitched leaves, flowers, or ferns. Use light-colored fabric and green or soft pastel thread for a gentle shabby chic look.
Start with basic stitches like backstitch, satin stitch, and French knots. They are easy to learn and give neat, textured results even if you’re new to embroidery.
Work small designs near a corner or along the edge so the pattern looks delicate, not crowded. Mix tiny blooms with a few leaves to keep the design balanced and cozy.
PRO TIP
Trace a pattern onto the fabric with a removable marker so your stitches stay tidy. Wash the pillowcase gently after stitching to soften the fabric and remove any marks.
15) Tin Flower Wall Art from Old Baking Pans
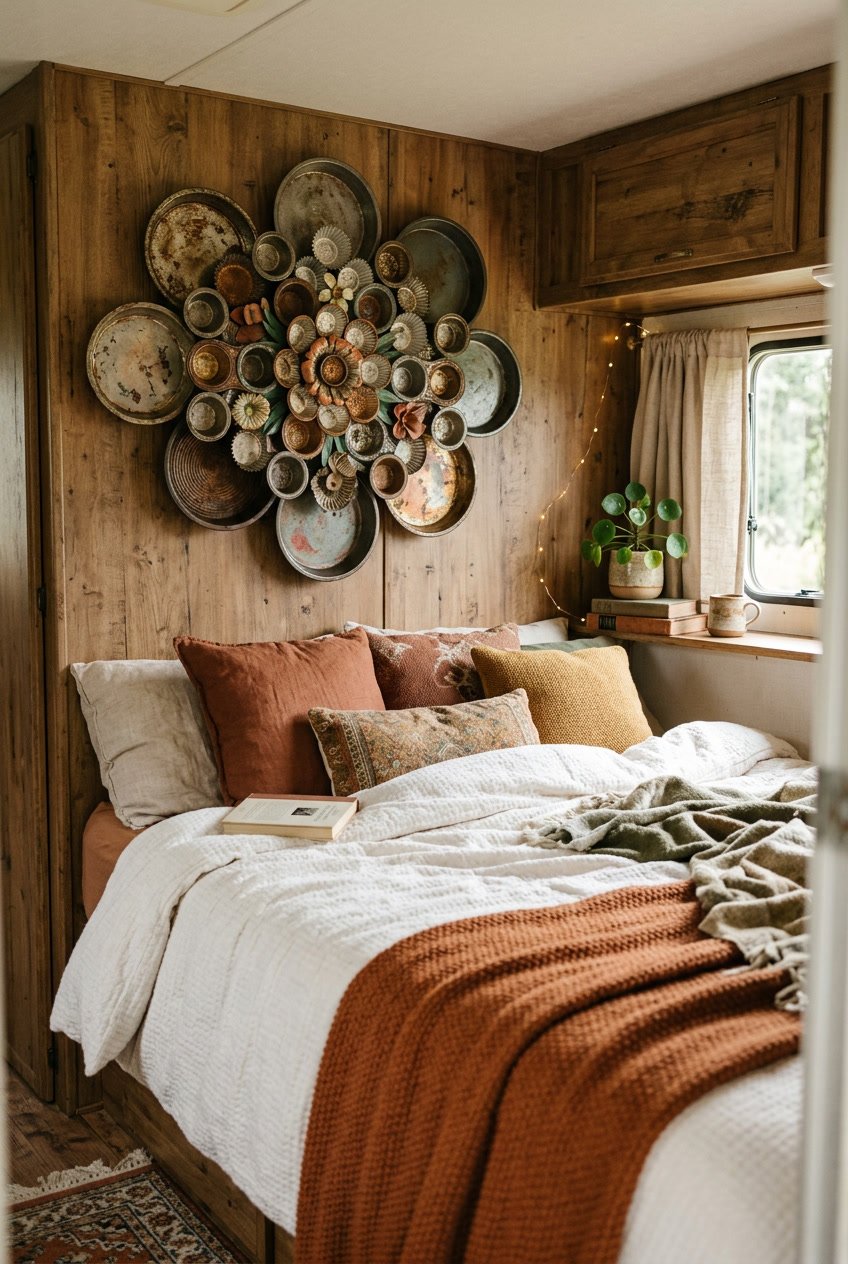
Turn old baking pans into tin flower wall art to add charm to your camper bedroom. You only need simple tools: scissors for metal, pliers, sandpaper, and paint. Cut petals from the pan, bend them for shape, and layer pieces to form a flower.
Use sandpaper to remove sharp edges and rough spots so the pieces are safe to handle. Paint each layer with soft, muted colors for a shabby chic look. Attach a small metal circle or a button-like center and glue or rivet the layers together.
Hang the flowers with picture hooks or adhesive metal strips. Group several sizes for a pretty focal point above your bed or on a narrow wall.
PRO TIP
Wear gloves and eye protection when cutting metal. Test different paint finishes on a scrap piece first.


