You can give your camper a cozy, vintage-cute look without spending much. This article shows simple, budget-friendly ideas that help you mix past charm with practical pieces so your space feels warm and fun.
Would you like to save this article?
Bold the most important sentence that provides value: You’ll learn easy, low-cost ways to add nostalgic touches—like pastel paints, enamel mugs, string lights, and repurposed suitcases—so your camper looks charming on a budget.
1) Use vintage enamelware mugs as decor
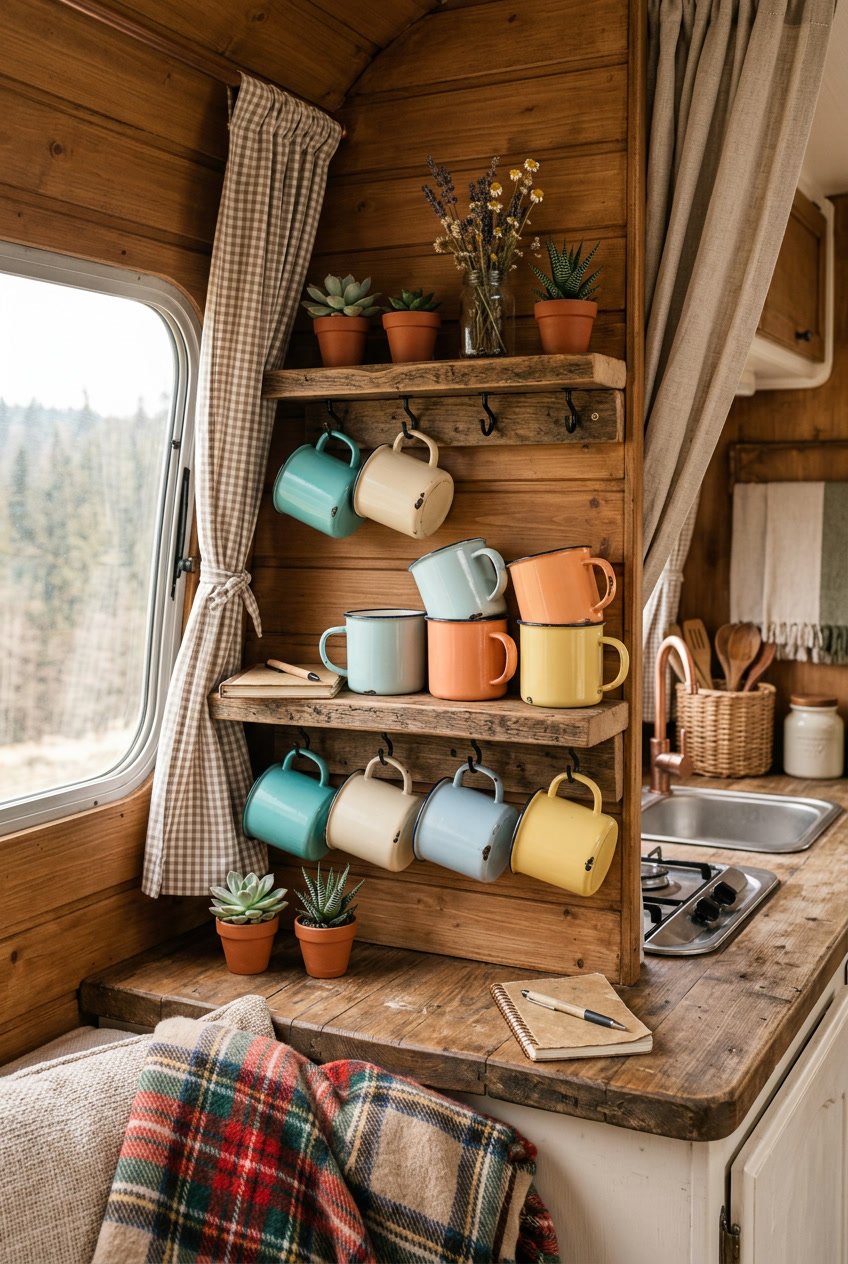
Vintage enamelware mugs add charm and color without costing much. You can display them on open shelves, hang them from hooks, or stack them by the sink. They work as planters, utensil holders, or simple cup storage.
Group mugs by color or pattern for a tidy look. Mix solids with speckled or chipped pieces to keep the style authentic. Small chips add character; avoid anything unsafe for food use.
Place a few mugs on a tray with a small vase or candle for an instant vignette. Use one to hold pens and maps on a tiny desk. They’re practical and pretty in a small camper.
PRO TIP
Look in thrift stores and flea markets for single mugs to build a set slowly. Pick items with similar tones to tie the space together.
2) Add string lights with retro bulb shapes
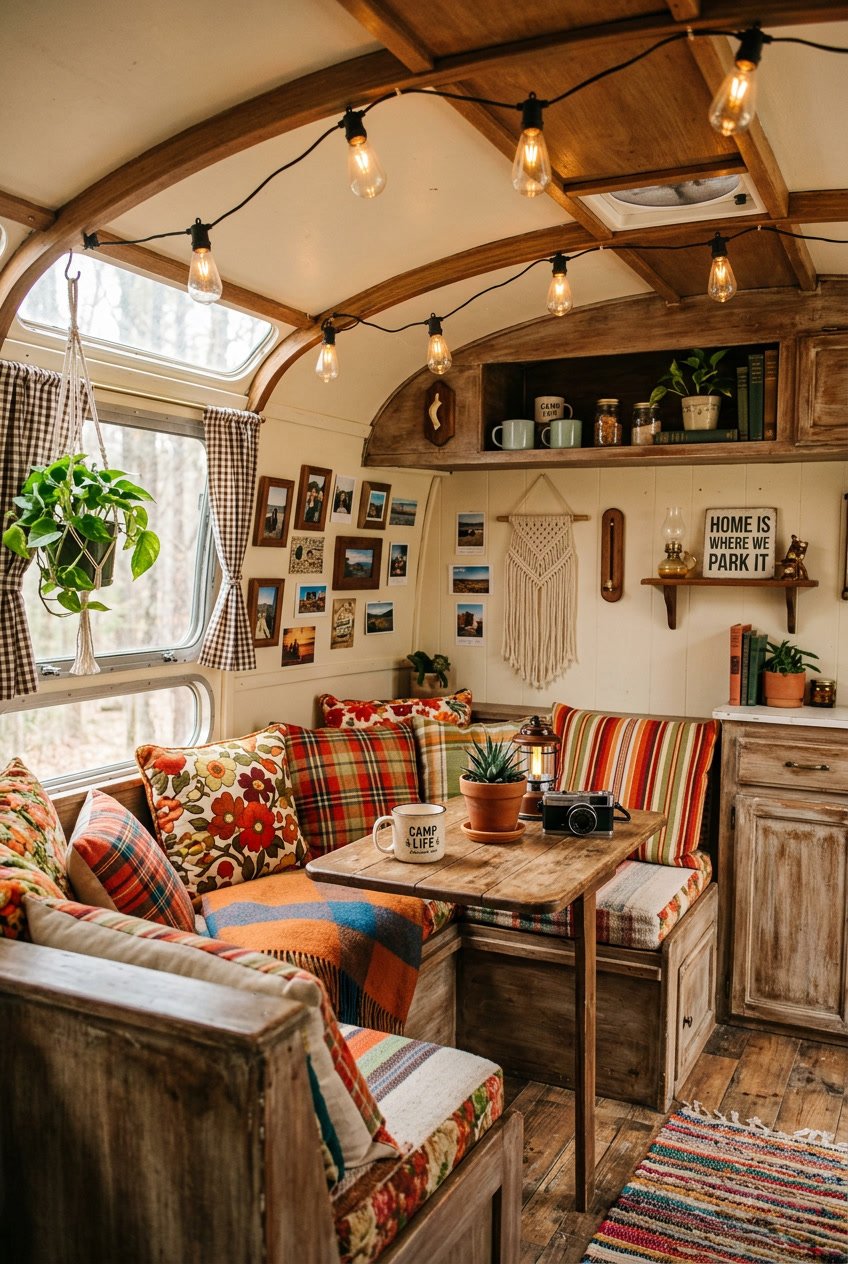
String lights with round, teardrop, or globe bulb shapes give your camper a vintage feel fast. Hang them along the ceiling, over windows, or around the dinette for soft, warm light that makes small spaces cozy.
Choose warm white or soft amber tones to mimic old bulbs. Low-voltage strands save power, so you can leave them on during evening meals without draining your battery.
Mix shapes and lengths for a collected look. Drape a few bulbs loosely, and secure others neatly for balance.
PRO TIP
Tape small clips to the trim to hang lights without nails. That keeps walls clean and lets you rearrange whenever you want.
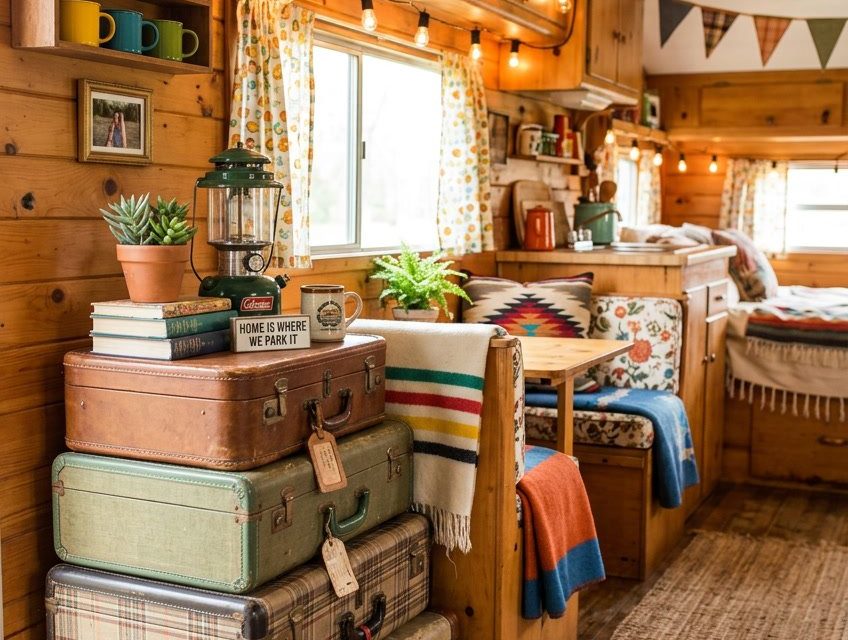
3) Repurpose old suitcases as storage
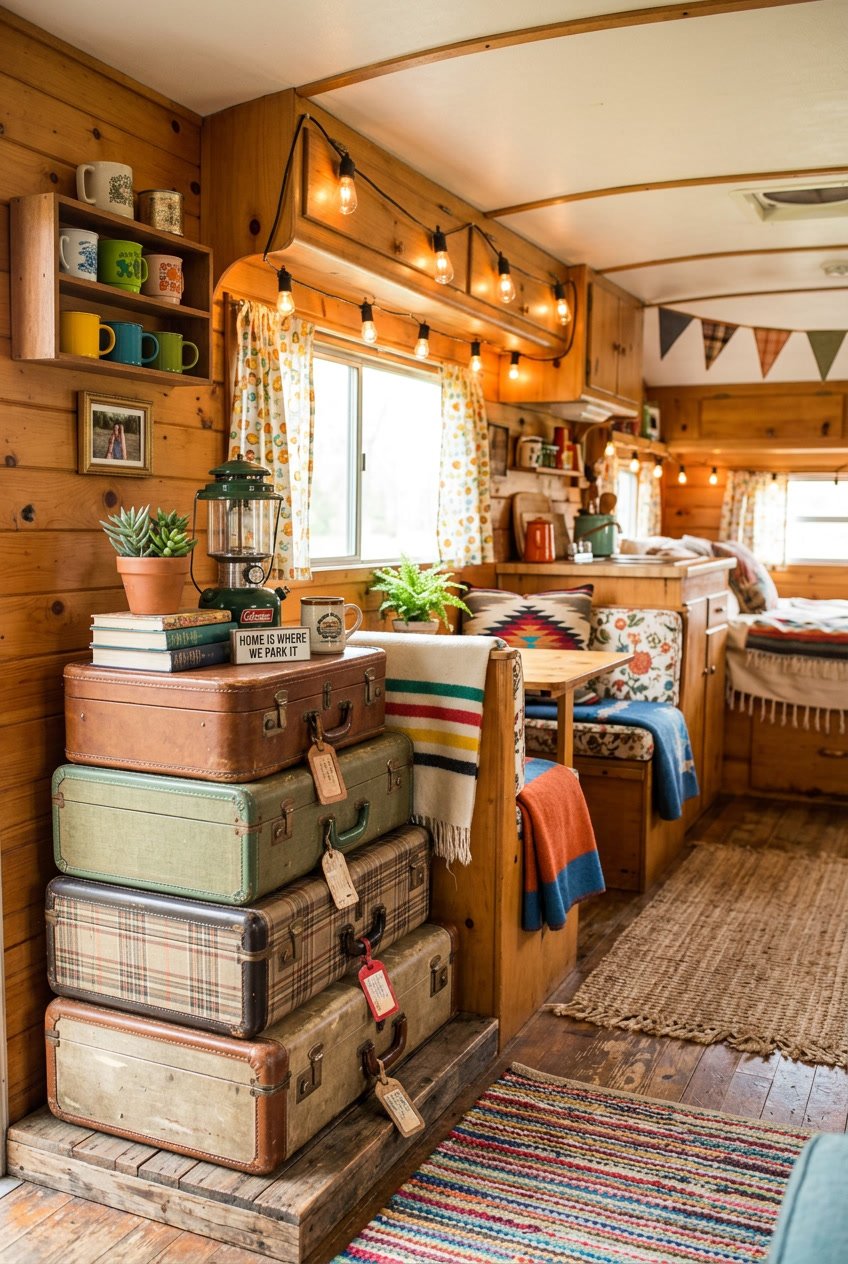
You can turn old suitcases into pretty, useful storage that fits vintage camper style. Stack a few in a corner to make a side table with hidden space for blankets and board games.
Line the inside with cheerful fabric or paper to protect items and add color. Use luggage straps or ribbon to keep lids closed while driving.
Mount one on the wall to create an open shelf with soft edges. Or place a small suitcase under the bed to slide in shoes and tools.
H3 PRO TIP
Choose suitcases with hard sides for stacking and soft ones for flexible storage. Paint the outside with matte paint for a worn, cozy look without losing structure.
4) Display classic camper license plates
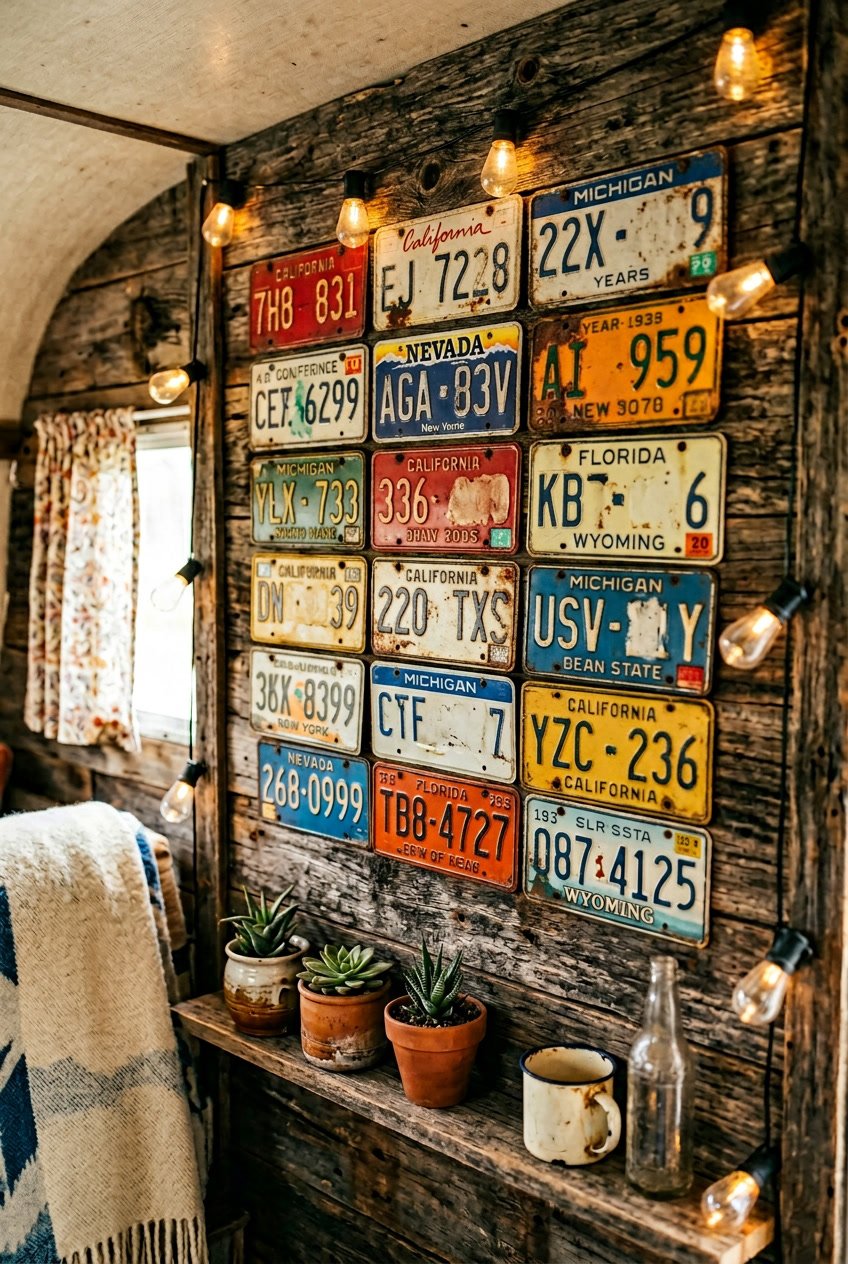
Adding old camper or state license plates gives your space instant vintage charm. You can find them at flea markets, thrift stores, or online from private sellers. Mix colors and sizes for a playful wall display.
Mount plates on a wooden board or directly on the wall using small screws or picture hangers. Space them evenly, or cluster a few for a casual look. Nails and simple frames work too if you want a cleaner edge.
PRO TIP
Look for plates with weathered paint and unique numbers to keep the look authentic. You can lightly sand edges or add a small rust patina with paint for extra age without damaging the plate.
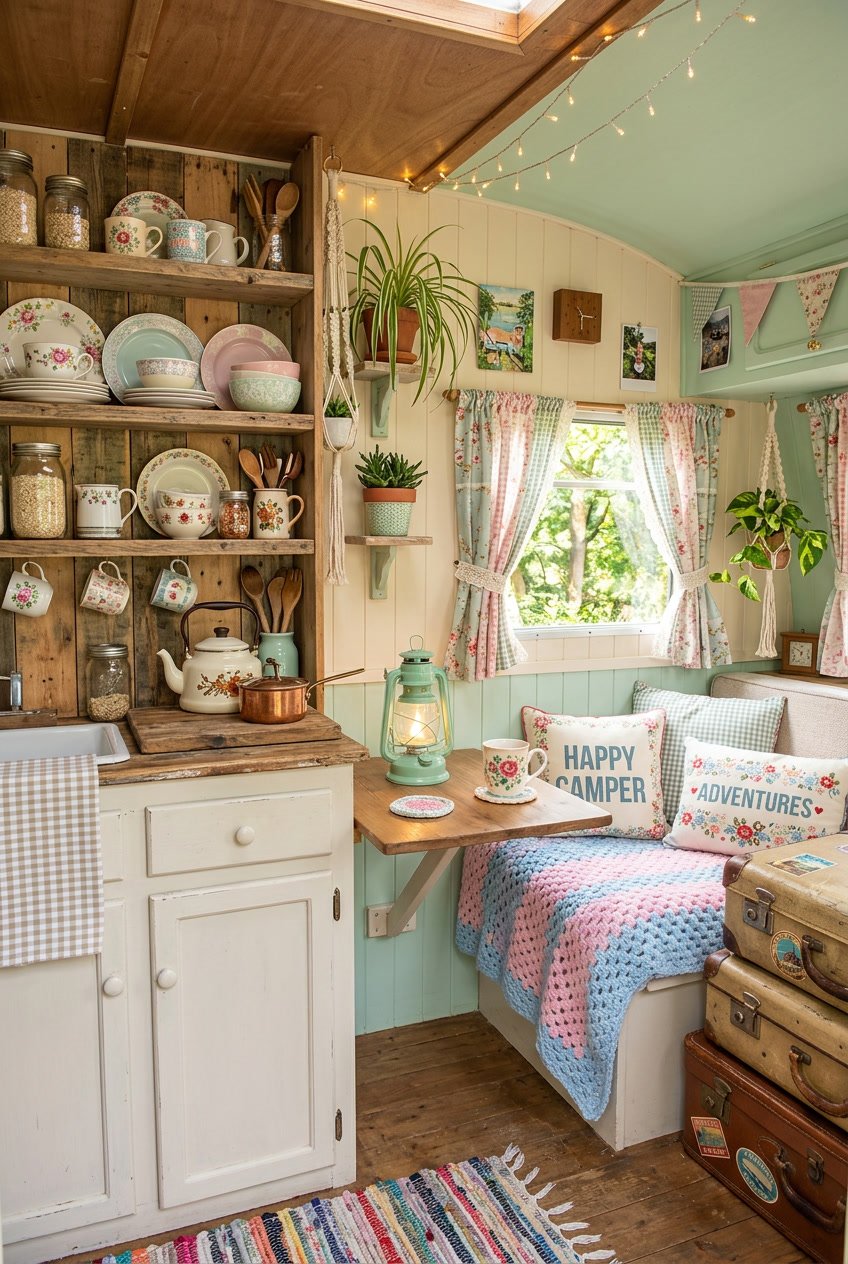
5) Use gingham fabric for curtains
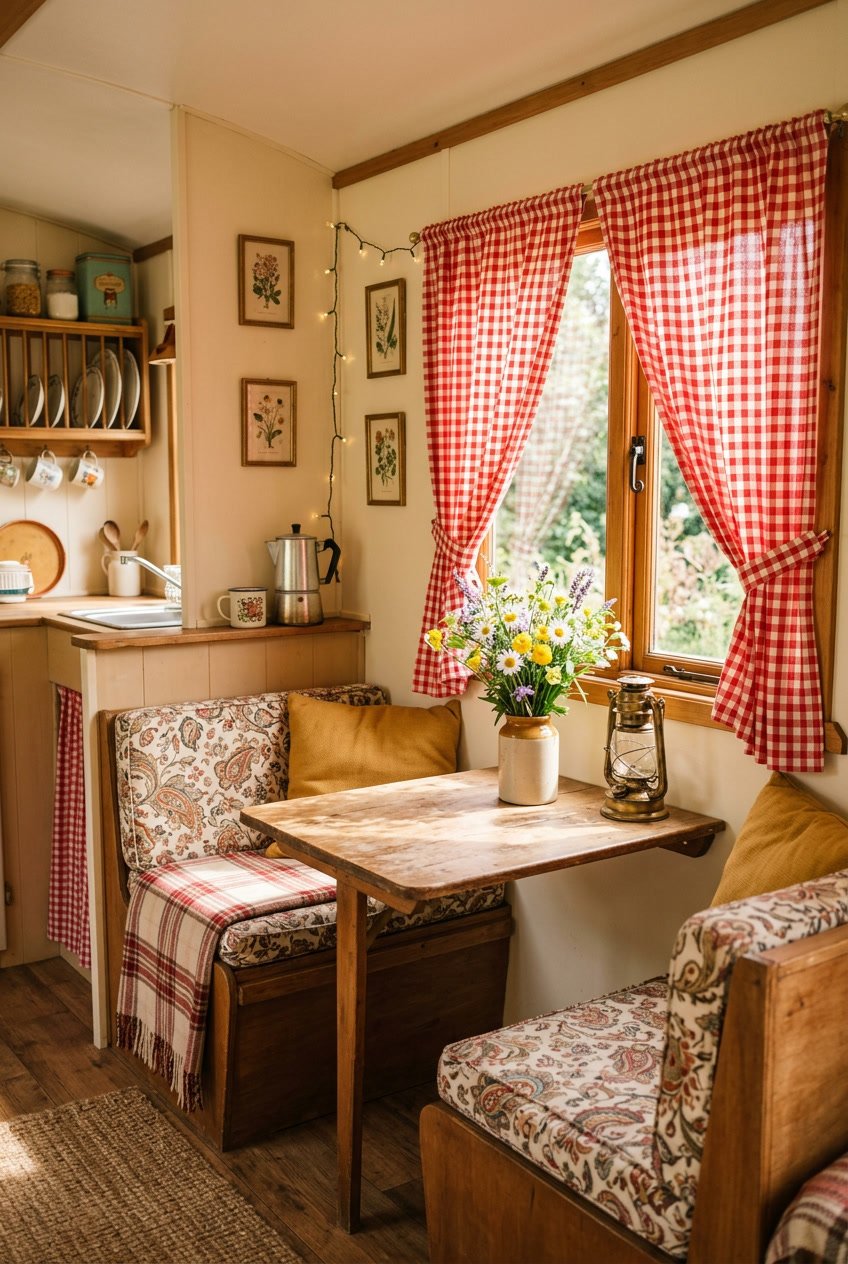
Gingham adds instant vintage charm without costing much. You can choose small checks for a delicate look or larger checks for a bolder, retro vibe.
Cut and hem gingham fabric to fit your windows. Use a simple rod pocket or clip rings so you can open and close curtains easily.
Gingham hides wrinkles and looks fresh after a quick shake. It pairs well with wood tones, enamelware, and pastel accents in your camper.
PRO TIP
Buy gingham by the yard and make matching napkins or cushion covers. This keeps your decor cohesive and saves money.
6) Incorporate a retro-style cooler
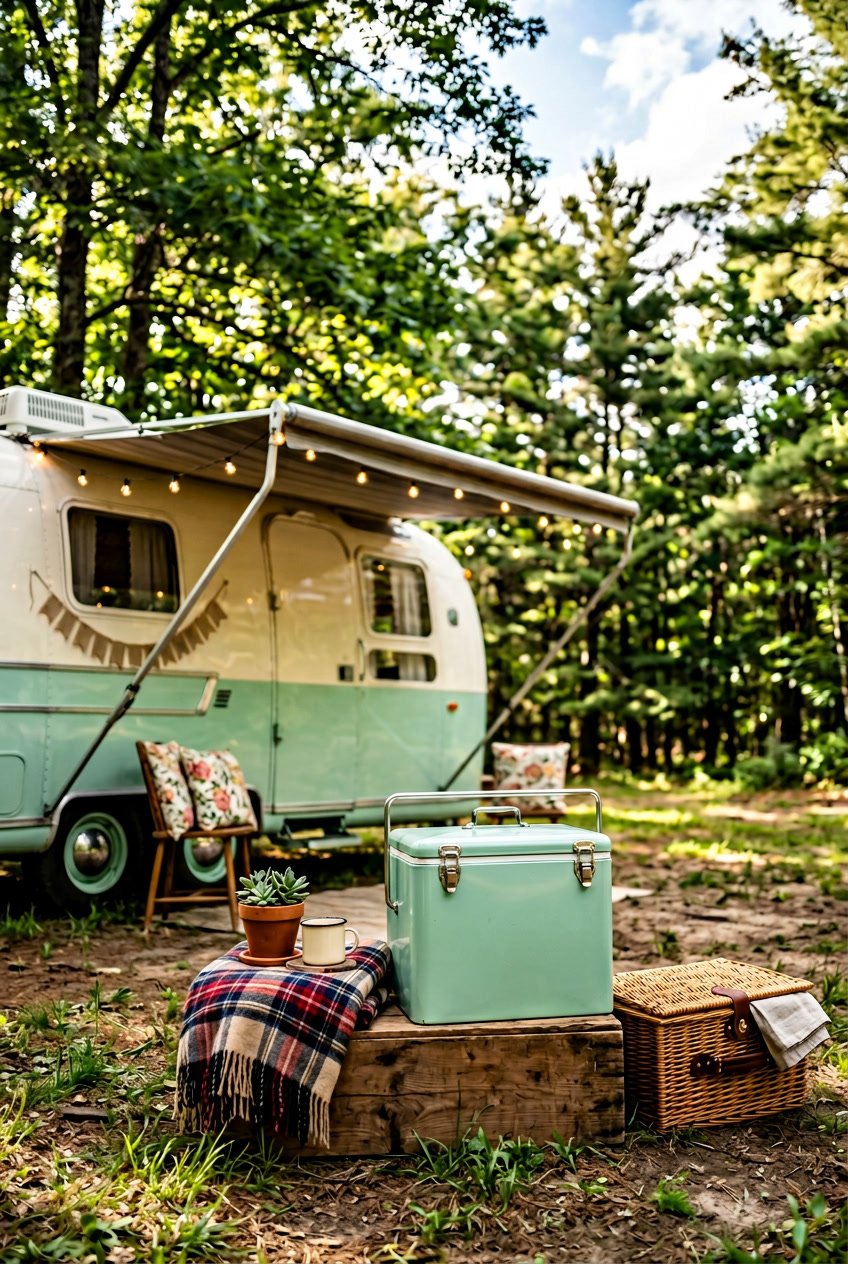
A retro-style cooler adds instant charm and helps keep food and drinks cold. Pick one with a simple color and rounded edges to match vintage camper lines.
Place the cooler where you can reach it from both inside and outside. It can double as extra seating or a small side table when closed.
Look for used coolers or repaint an old one for lower cost. Add vinyl stickers or a stenciled pattern for a vintage look without much work.
PRO TIP
Line the interior with a removable, washable pad to protect the cooler and make it more comfortable to sit on.
7) Paint furniture with pastel colors
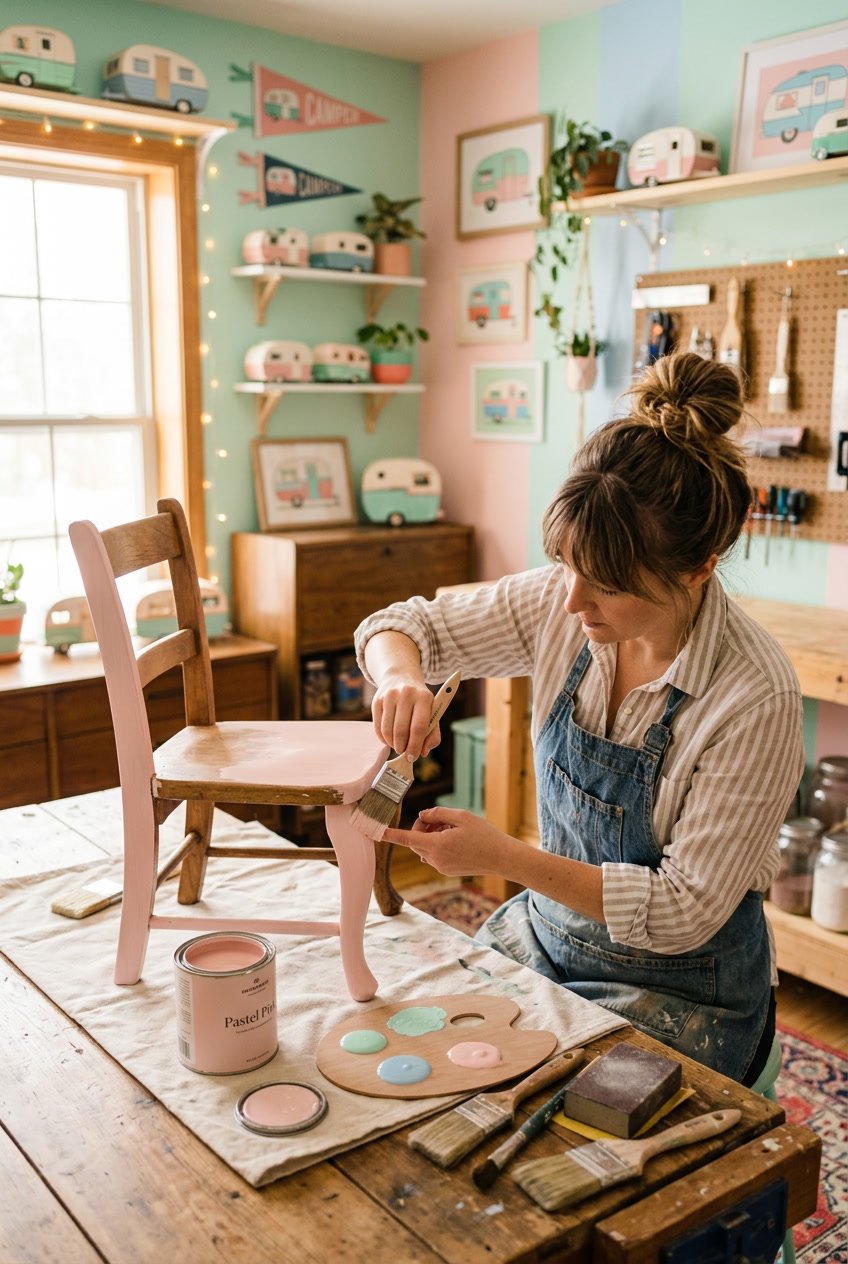
Painting old furniture in your camper gives it a fresh, vintage look without spending much money. Choose soft pastels like mint, blush, or sky blue to keep the mood light and cozy. Sand lightly, clean surfaces, then use a primer so the paint lasts.
Use chalk or milk paint for a matte, retro finish that hides wear and tear. Apply two thin coats for smooth coverage and let each coat dry fully. You can distress edges gently with sandpaper for an aged look.
Swap knobs and pulls for simple, round ones to finish the style. Small painted pieces like stools and shelves make a big visual impact.
PRO TIP
Mix a tiny bit of white into any color to soften it and match other camper decor.
8) Add a vintage-style picnic basket
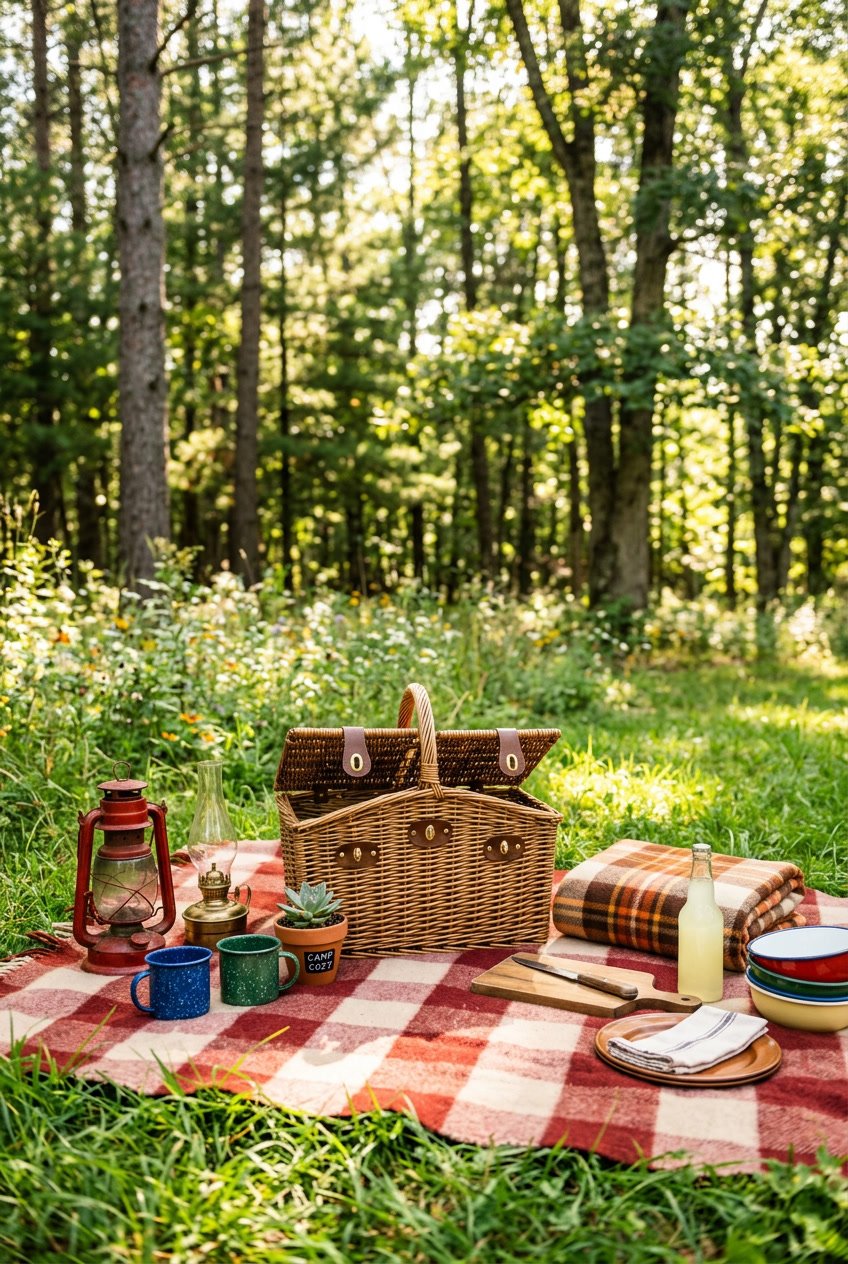
A picnic basket adds charm and storage at the same time. You can tuck blankets, napkins, or utensils inside to keep surfaces tidy.
Choose a woven or wicker basket with leather straps or a simple latch for an old-fashioned look. Scuff it up a bit with sandpaper or tea-stain the weave to make it feel gently aged.
Place the basket on a bench, table, or shelf where it fits the flow of the space. Use gingham cloth or a linen napkin peeking out to add color and pattern without clutter.
PRO TIP
If the basket has a split or loose weave, line it with fabric to protect fragile items. You can swap the lining to change the look seasonally.
9) Hang embroidered camper-themed patches
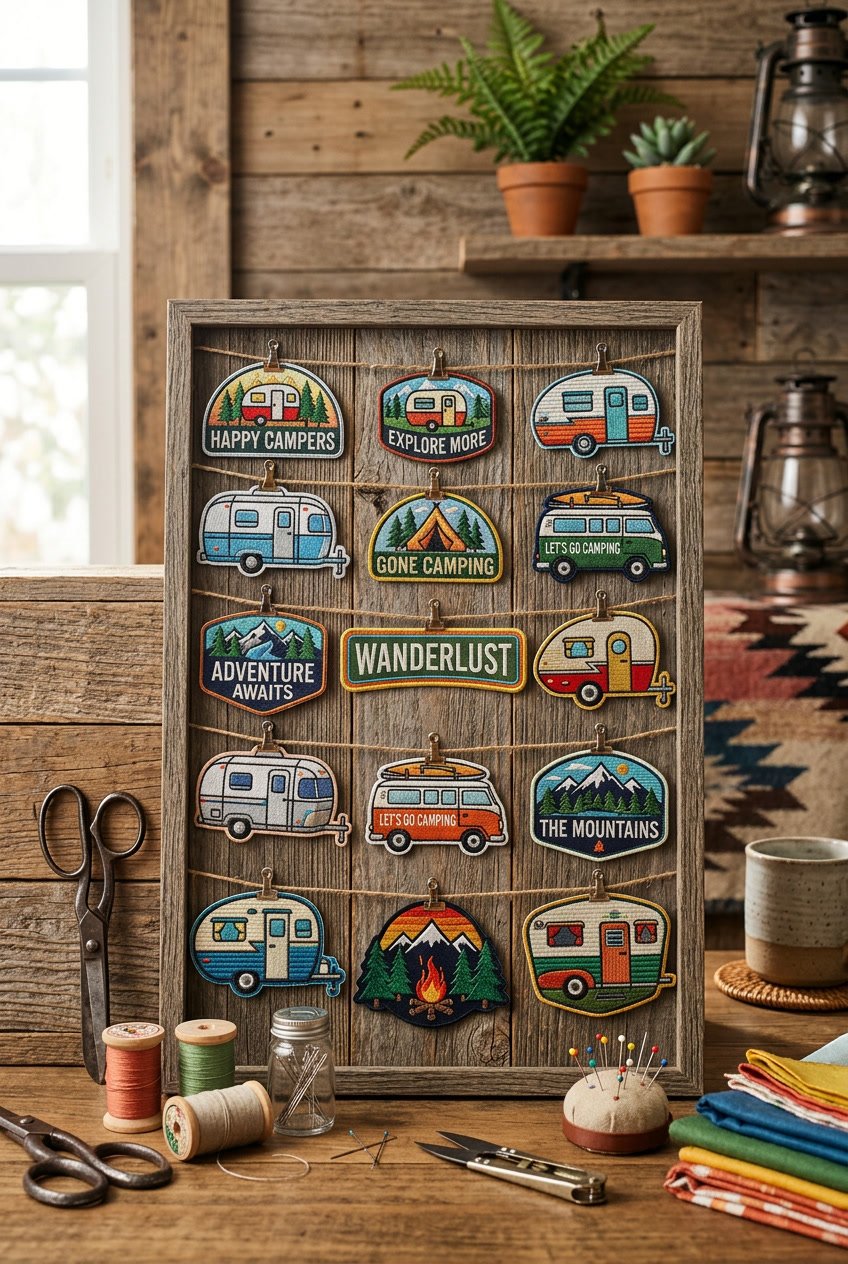
You can sew or pin embroidered patches to fabric panels, curtains, or a canvas board and hang it like a wall art piece. They add color, texture, and a nostalgic feel without costing much.
Arrange patches by size, color, or theme to make a tidy display. Use a simple wooden dowel or an inexpensive frame to hang the fabric and change patches when you want a new look.
Mix vintage-style patches with a few modern ones for balance. If you don’t want to sew, use iron-on backing or fabric-safe adhesive for an easy fix.
PRO TIP
Group patches on a small quilt or banner to create a focal point above a bed or shelf.
10) Use mason jars for organizing
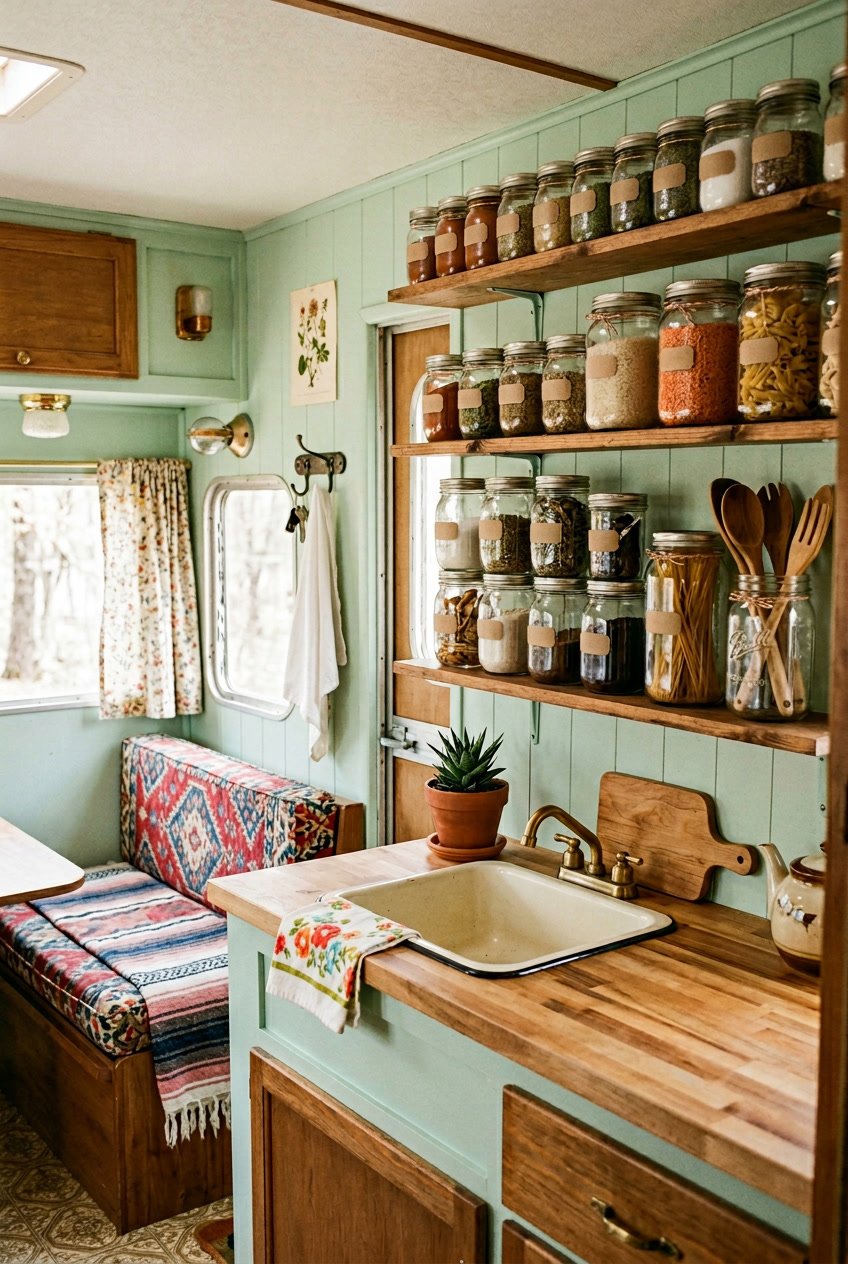
Mason jars help you keep small items neat without taking up much space. Use them for utensils, herbs, cotton swabs, or loose screws so things stay visible and easy to grab.
Attach jars to a wooden board or shelf to save counter space. You can twist lids with holes to hold brushes or straws upright.
Paint the lids or wrap jars in twine for a vintage look. Clear glass shows contents, so you waste less time searching.
PRO TIP
Label each jar with a simple tag or chalk paint. That makes it faster to find what you need while keeping the camper tidy.
11) Set up a mini vintage record player
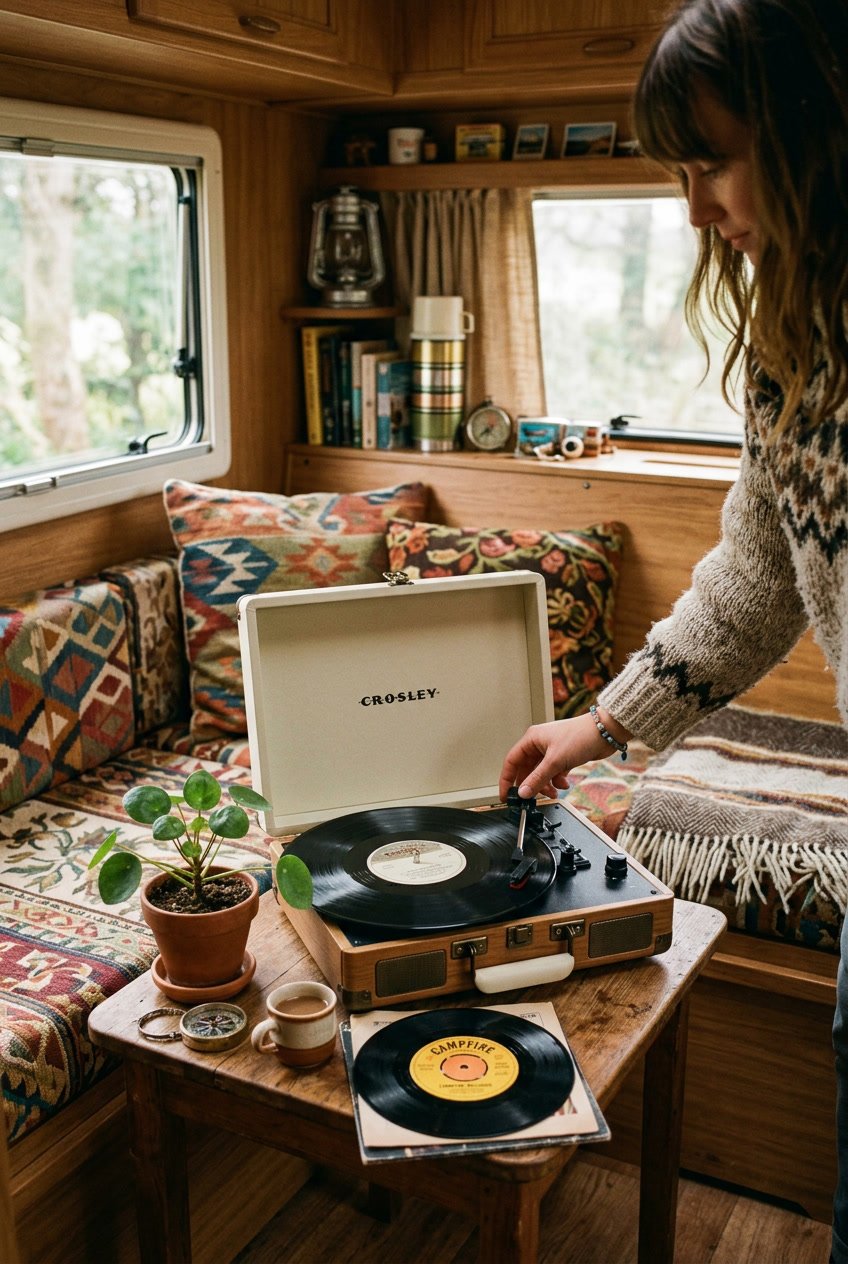
A small record player brings instant charm to your camper. Place it on a low shelf or a sturdy crate so it stays steady while you travel.
Choose a player with simple controls for easy use. Look for one that plays 33 and 45 RPM records so you can enjoy many old albums and singles.
Stack a few records nearby in a wicker basket or a slim stand. Keep a soft cloth for cleaning and a spare needle if you can find one.
PRO TIP
Start with thrifted records in genres you like; painted sleeves add color. Test the player before each trip to avoid surprises on the road.
12) Include a retro folding chair
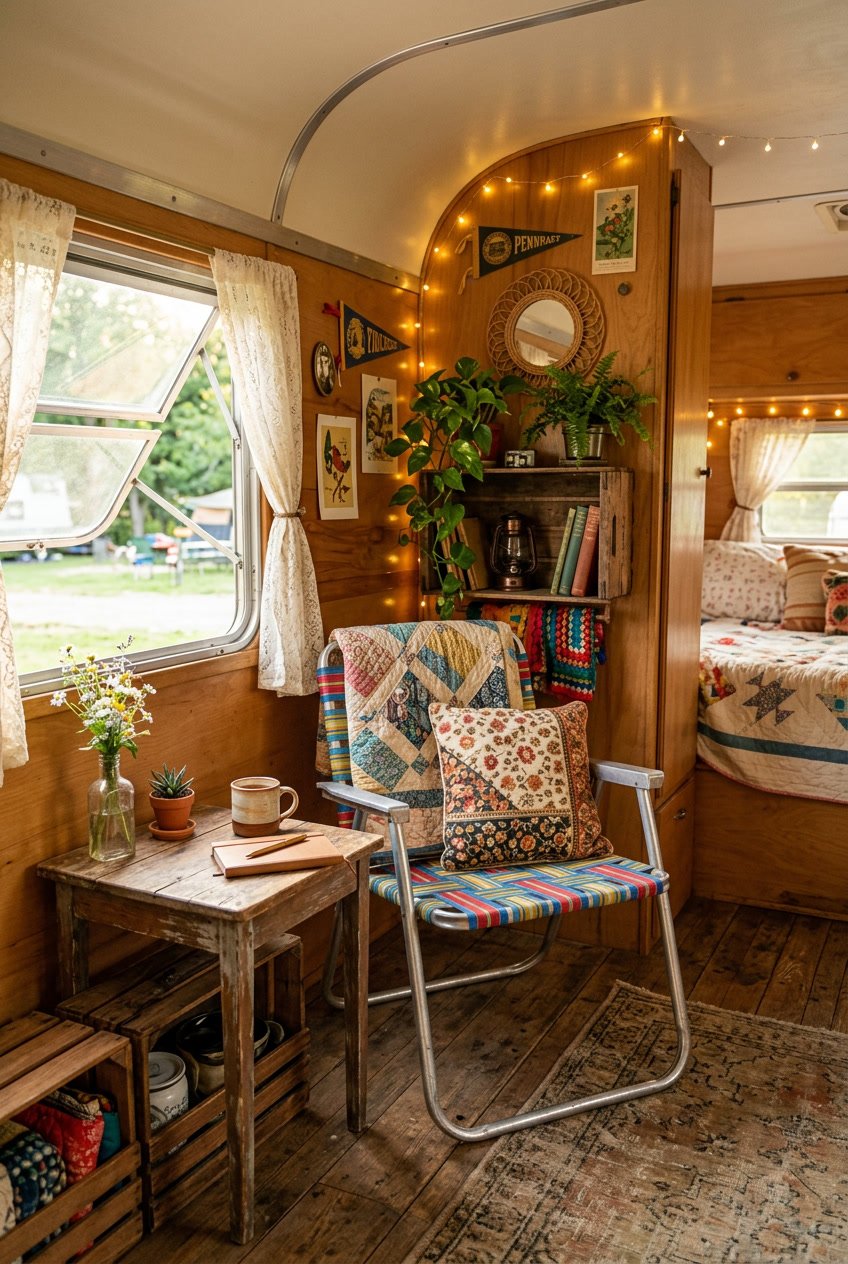
A retro folding chair adds instant charm and saves space. You can tuck it by the table or fold it away when you need room.
Look for metal frames and vinyl or woven seats for that vintage look. Scuff marks or small rust spots add character; you don’t need a perfect piece.
Use a cushion or small throw to match your color scheme and add comfort. Choose patterns like gingham, stripes, or simple florals to keep the cute vibe.
Place one by the door for a quick seat while you cook or change shoes. It also works as a bedside surface or extra table when friends visit.
PRO TIP
Paint the frame a soft pastel or matte white to freshen the chair without hiding its age.
13) Add throw pillows with camper prints
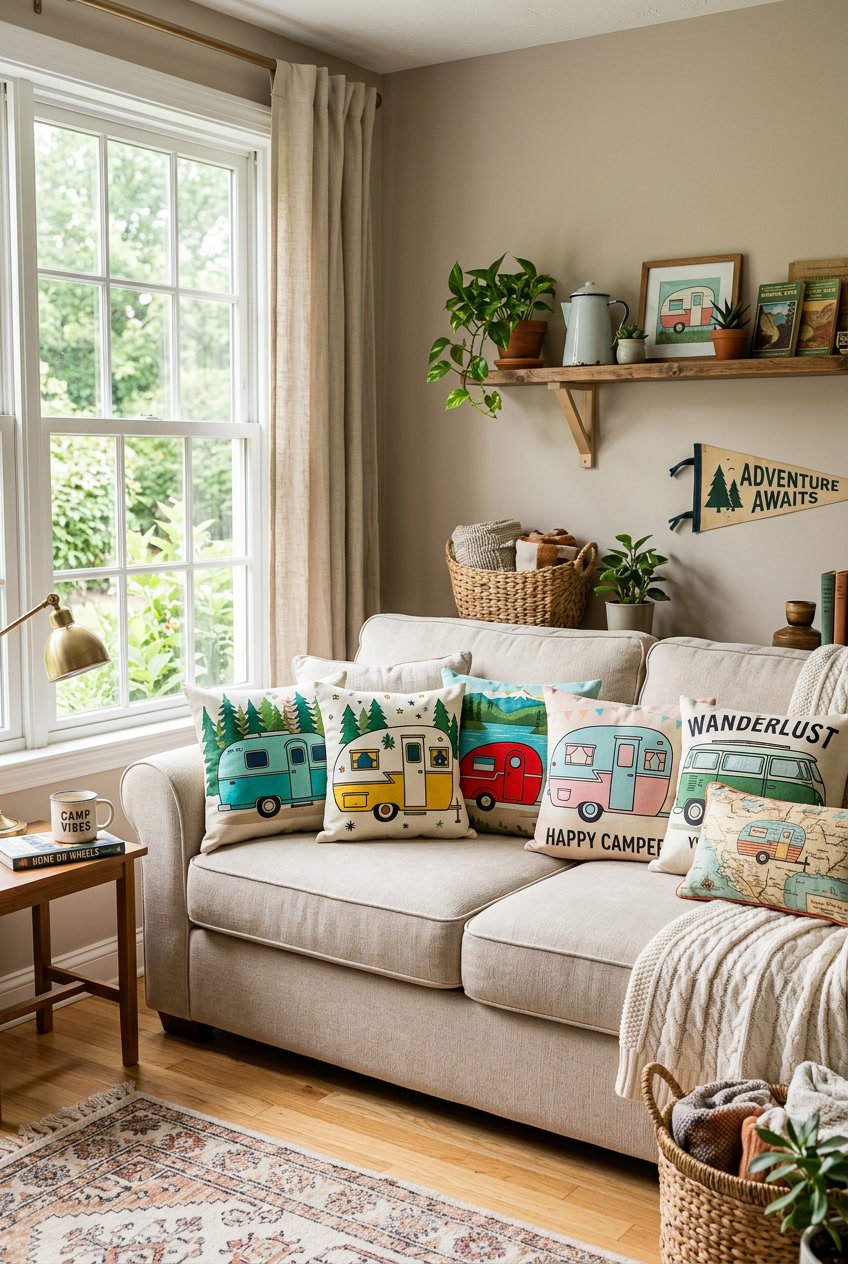
Throw pillows with camper prints give instant personality to your space. You can place them on benches, beds, or small chairs to brighten corners without spending much.
Choose prints that match your color palette. Soft pastels or muted tones keep the look vintage and cozy. Mix solid colors with one or two printed pillows to avoid a busy feel.
Look for inexpensive covers you can swap seasonally. That lets you change style without buying new pillows. You can also sew simple pillow covers if you like DIY projects.
PRO TIP
Pick fade-resistant fabric if your camper gets a lot of sun. Use pillow inserts slightly larger than the covers for a plump, polished look.
14) Use an old-fashioned thermos as a vase
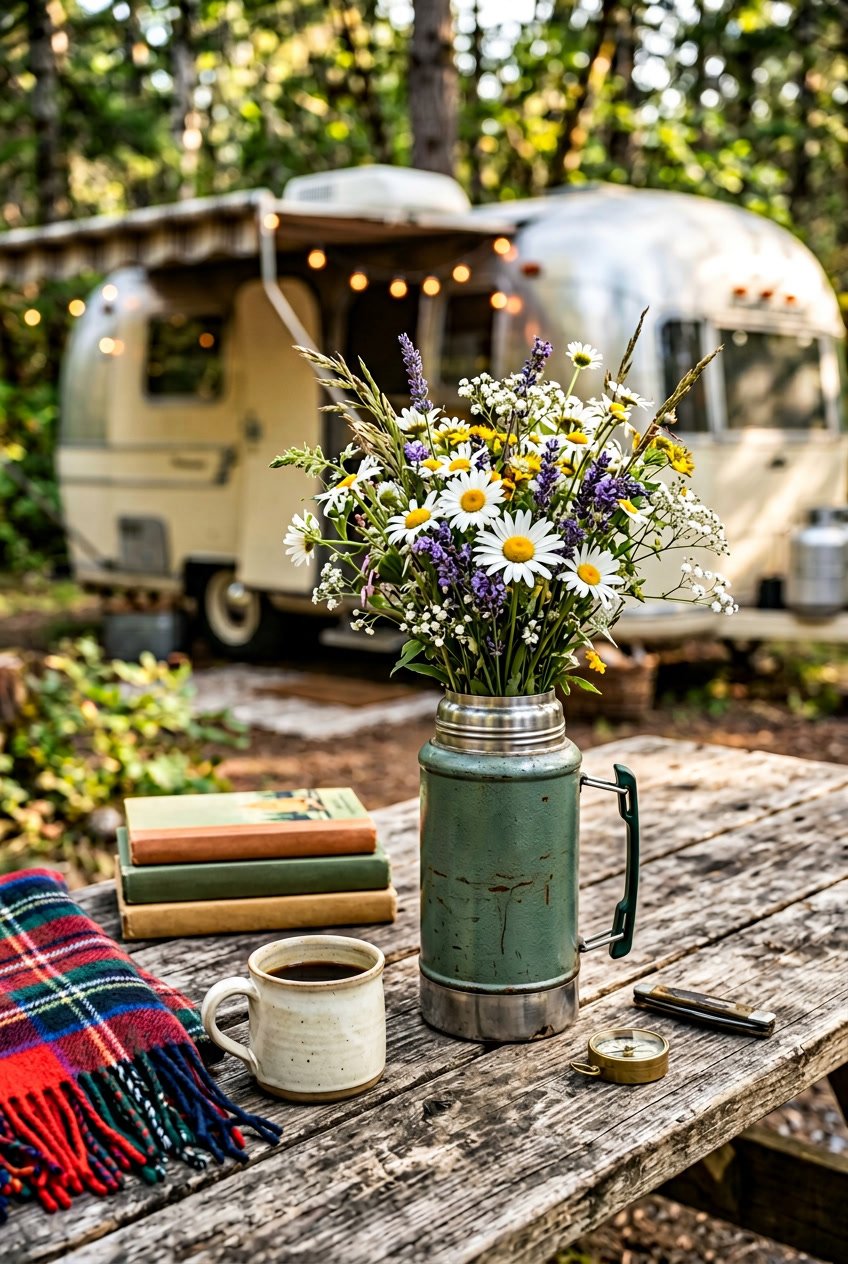
You can give a plain thermos new life as a charming vase. It adds vintage style without costing much and works well on a small table or shelf.
Clean the inside thoroughly and remove any old labels. If the exterior looks worn, sand lightly and paint with a soft color to match your camper’s palette.
Fill the thermos with water and arrange simple flowers or wild greens. Tall stems look great and the narrow neck keeps the bouquet neat.
PRO TIP
Line the thermos with a small jar or bottle before adding water to protect paint and make cleaning easy later.
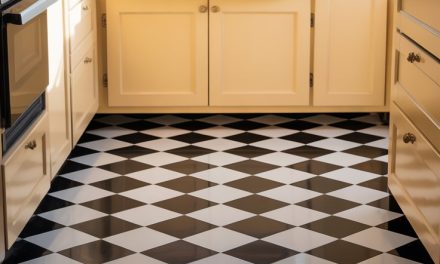
15) Install checkered floor decals
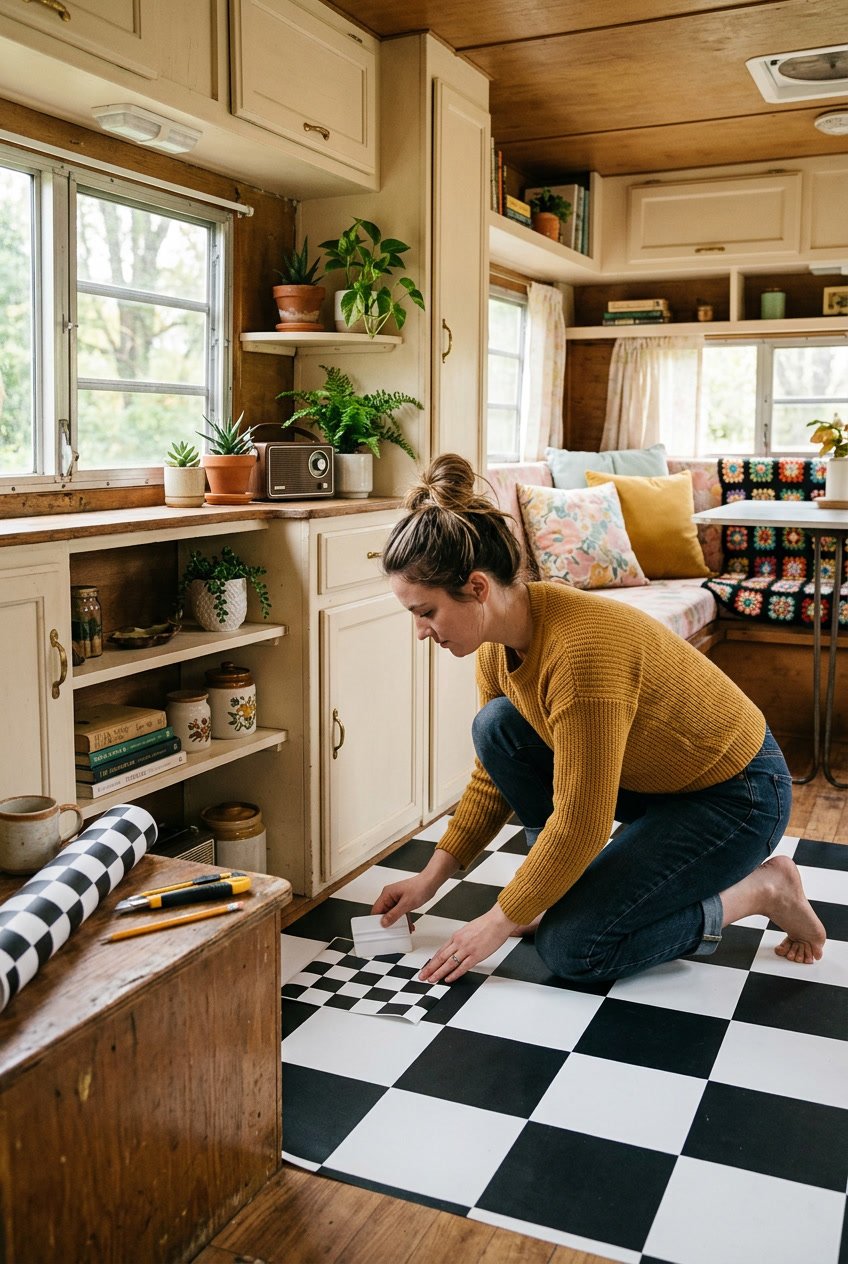
Checkered floor decals give your camper an instant vintage vibe without heavy work. You can cover worn flooring fast and create a neat, classic look that fits small spaces well.
Peel-and-stick tiles are easy to cut and arrange. Lay them in a simple black-and-white pattern, or pick softer colors to match your curtains and cushions.
You don’t need special tools. A utility knife, ruler, and a clean surface will do most jobs. Press each decal down firmly to avoid bubbles and trim along edges for a tidy finish.
PRO TIP
Start from the center and work outward for better alignment. Test a small area first to make sure the adhesive won’t damage your floor.


