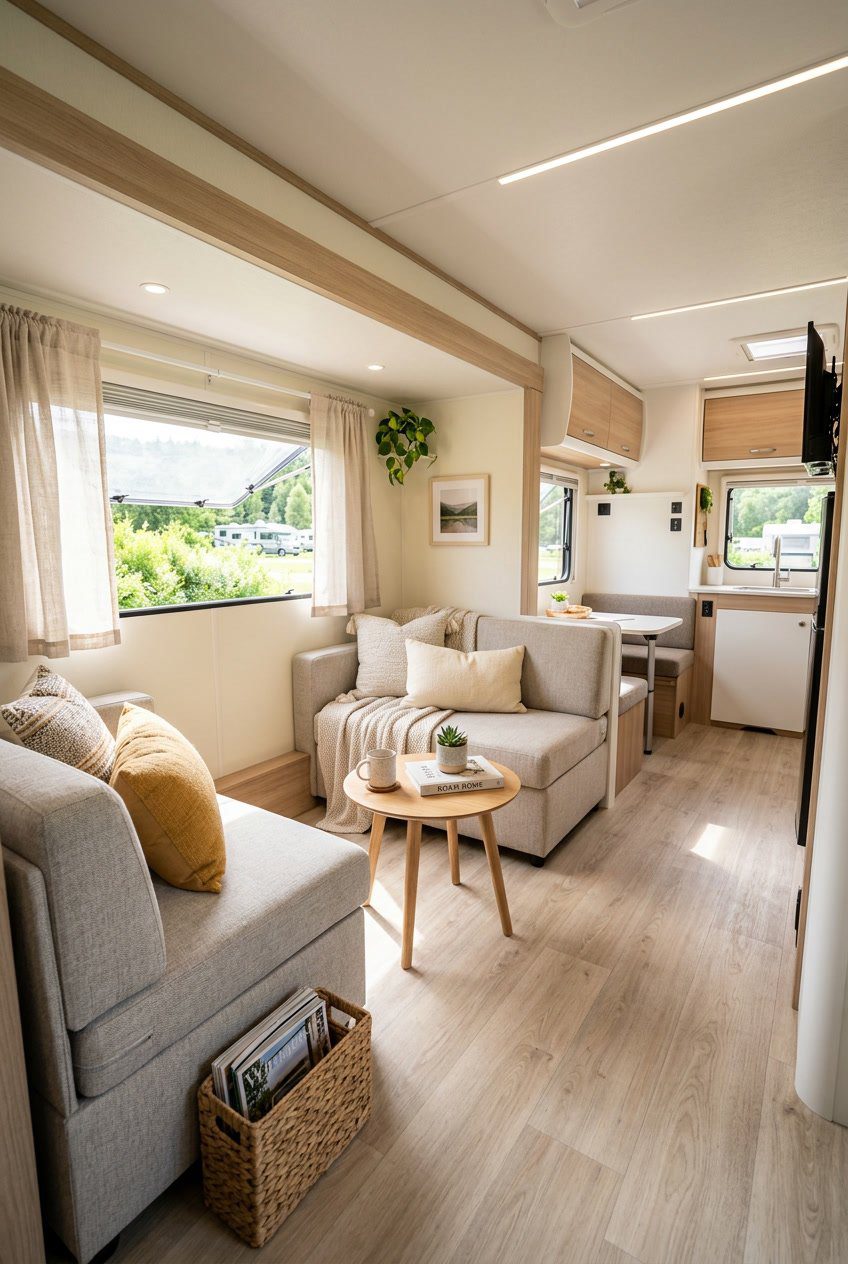
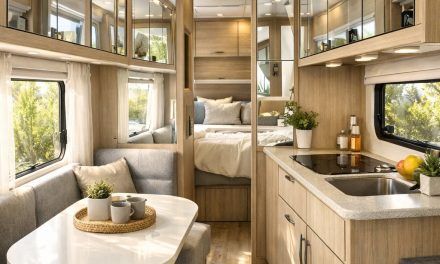
You want your small camper to feel roomy and welcoming without a major remodel. This article shows simple layout ideas and smart swaps that free floor space, boost light, and create more usable surfaces so your living area feels larger and more comfortable.
Would you like to save this article?
Bold the most important sentence providing value: You’ll learn practical, easy changes you can make to open up your RV living room and stretch your usable space without losing comfort.
1) Remove upper cabinet doors to create open shelving
Taking off upper cabinet doors makes your camper feel taller and more open. You see more of the space, and light moves around better.
Open shelving lets you display dishes, baskets, or small plants. Keep items neat and matched in color to avoid cluttered sightlines.
Use small lips or non-slip liners so things don’t slide while driving. Add a thin rod or clear clips for extra security on fragile items.
PRO TIP
Paint the inside of the cabinets a light color to brighten the space. You can also add labels or baskets to keep everything organized and easy to find.
2) Install a wall-mounted swiveling TV to save floor space
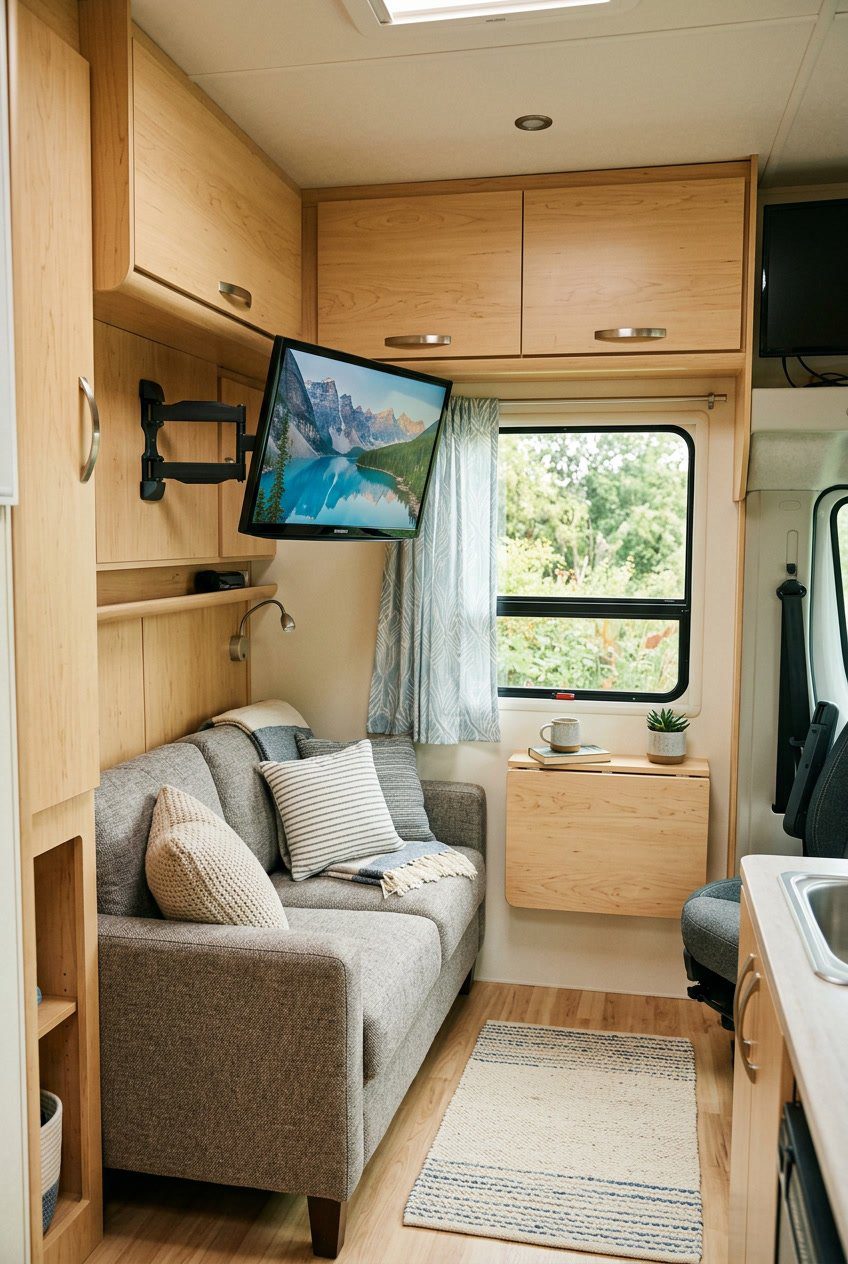
Mounting a swiveling TV frees up floor and surface space so your camper feels less crowded. You can angle the screen toward the dinette, sofa, or bed without moving furniture.
A swivel arm lets you tuck the TV against the wall when not in use. That keeps walkways clear and reduces the chance of knocking it over while driving.
Choose a low-profile mount and secure it to a stud or solid backing for safety. Use a short, neat power and antenna cable to avoid tangles and tripping hazards.
PRO TIP
Mount the TV slightly higher than eye level when seated so you get a comfortable view from different spots.
3) Use a tri-fold sleeper sofa for seating and bed combo
A tri-fold sleeper sofa works well in tight RV spaces. You get a couch by day and a bed by night without extra setup.
Pick a model that folds easily and fits your floor plan. Look for firm cushions so it feels supportive both sitting and sleeping.
Place it across from a wall-mounted table or TV to keep the center open. That clears walking space and makes the camper feel larger.
PRO TIP
Choose a sofa with built-in storage under the seat if possible. That gives you room for bedding and keeps clutter out of sight.
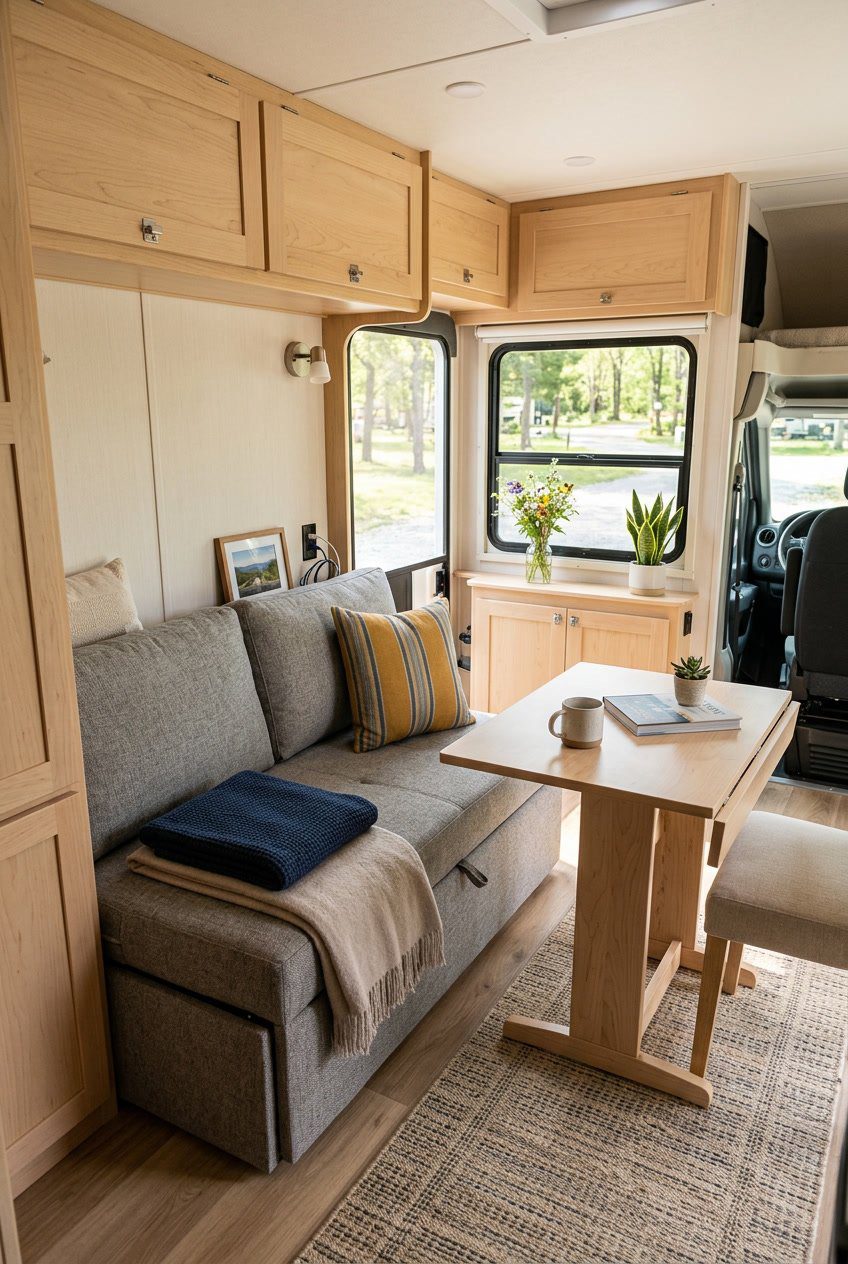
4) Replace bulky dinette with a removable pedestal table
Removing a built-in dinette frees floor space fast. You gain room to move, store gear, or add a small sofa.
A removable pedestal table gives you the table only when you need it. Drop the top into a locker or under a bed to make the space open in minutes.
Choose a light table top and a collapsible or single-post base that stows easily. Make sure the base locks securely so the table stays steady while you eat or work.
PRO TIP
Mount a female receiver in the floor and use a threaded pedestal post for quick set-up. Keep one edge of the table rounded so it fits tight against a wall or seat when installed.
5) Add mirrored backsplash behind dining area to reflect light

A mirrored backsplash makes your dining nook feel larger by bouncing natural and lamp light around. It brightens dim corners and reduces the need for extra lights.
Pick a thin, lightweight mirror or mirrored tiles that stick on and are safe for RV walls. They add depth without taking floor space.
Keep the mirror low and behind the seating so it reflects faces and the window view. Clean it often to keep reflections sharp and dust-free.
PRO TIP
Use peel-and-stick mirror panels for an easy install and remove them during longer trips to prevent vibration damage.
6) Install sliding barn doors for bathroom privacy without swing space
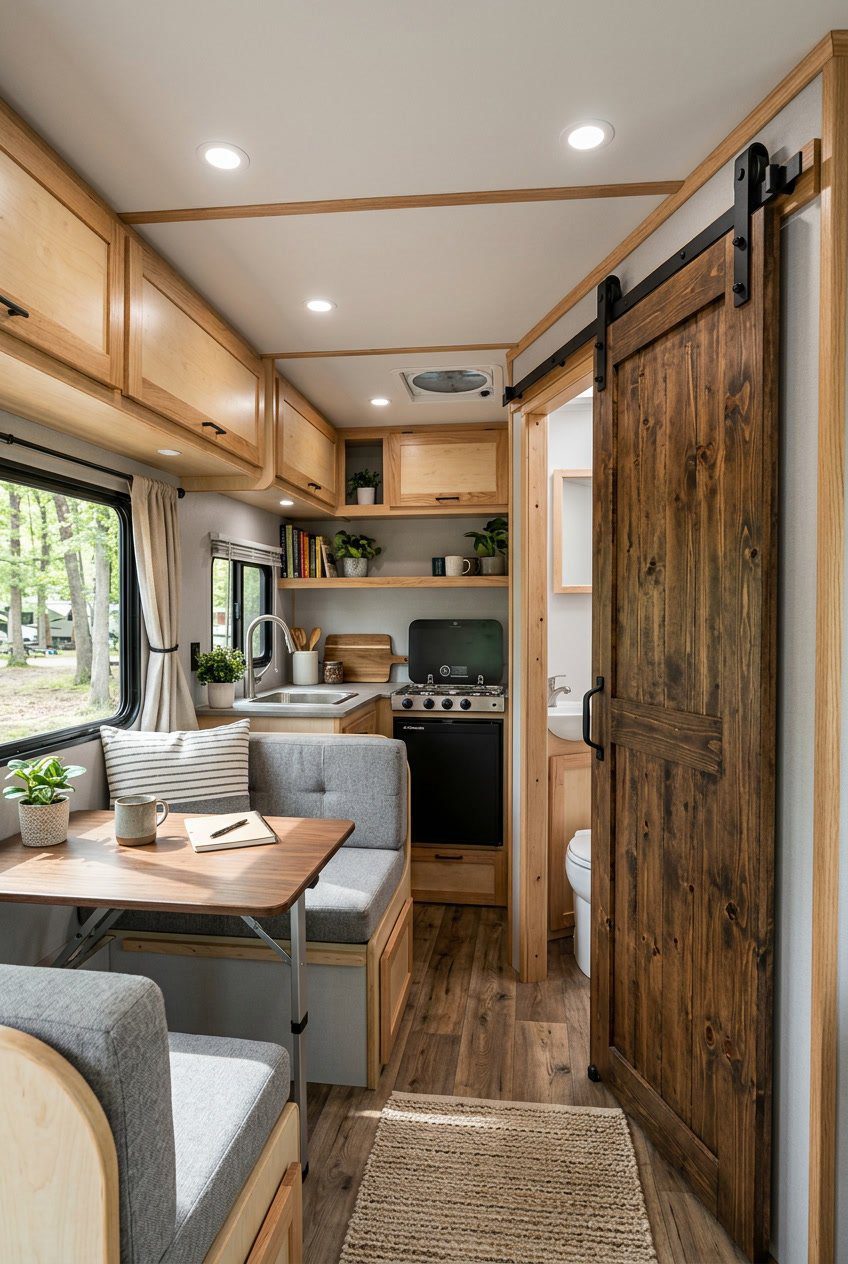
Sliding barn doors save space because they don’t need a swing arc. You can place them on a track above the doorway so the door slides flat against the wall. This keeps the walkway clear and makes tight areas feel less cramped.
You can choose a lightweight door to avoid stress on the track and hardware. Use soft-close rollers to reduce noise and bumping while you move around the RV.
PRO TIP
Mount a small bumper or stop to protect walls and cabinets from the door. If you need extra privacy, add a simple latch or magnetic catch that stays low-profile.
7) Use modular cube storage units under the bench seating
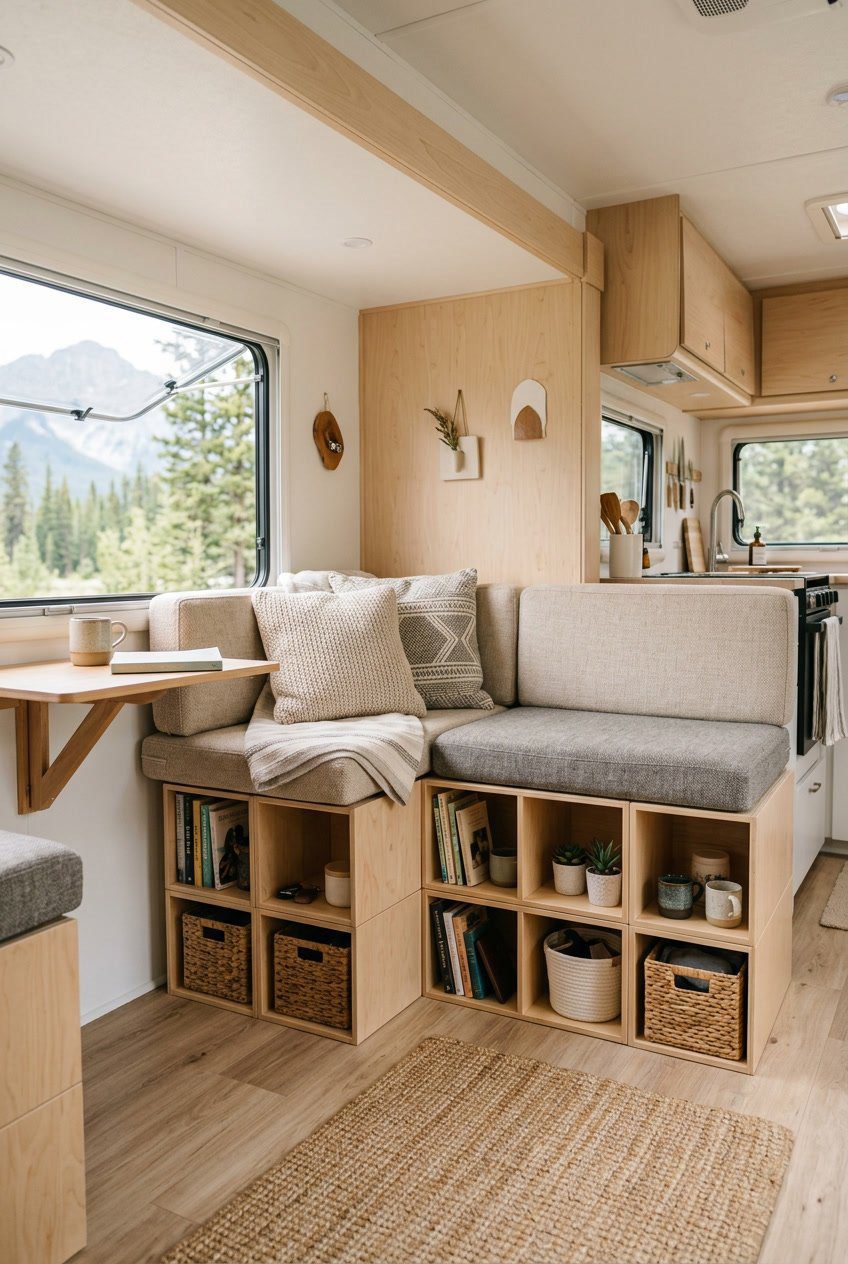
Modular cube storage fits neatly under bench seats and keeps small items tidy. You can slide cubes in and out to reach things without unstacking boxes.
Use different cube sizes for shoes, blankets, and kitchen gear. Open cubes make things easy to grab, while baskets hide clutter and keep a clean look.
Secure cubes with straps or non-slip mats so they don’t shift while driving. Removable units let you take gear out for a day trip or rearrange the layout quickly.
PRO TIP
Label the cubes so you find items fast. Clear labels save time and help keep your camper organized on the road.
8) Choose a low-profile LED ceiling light panel for visual height
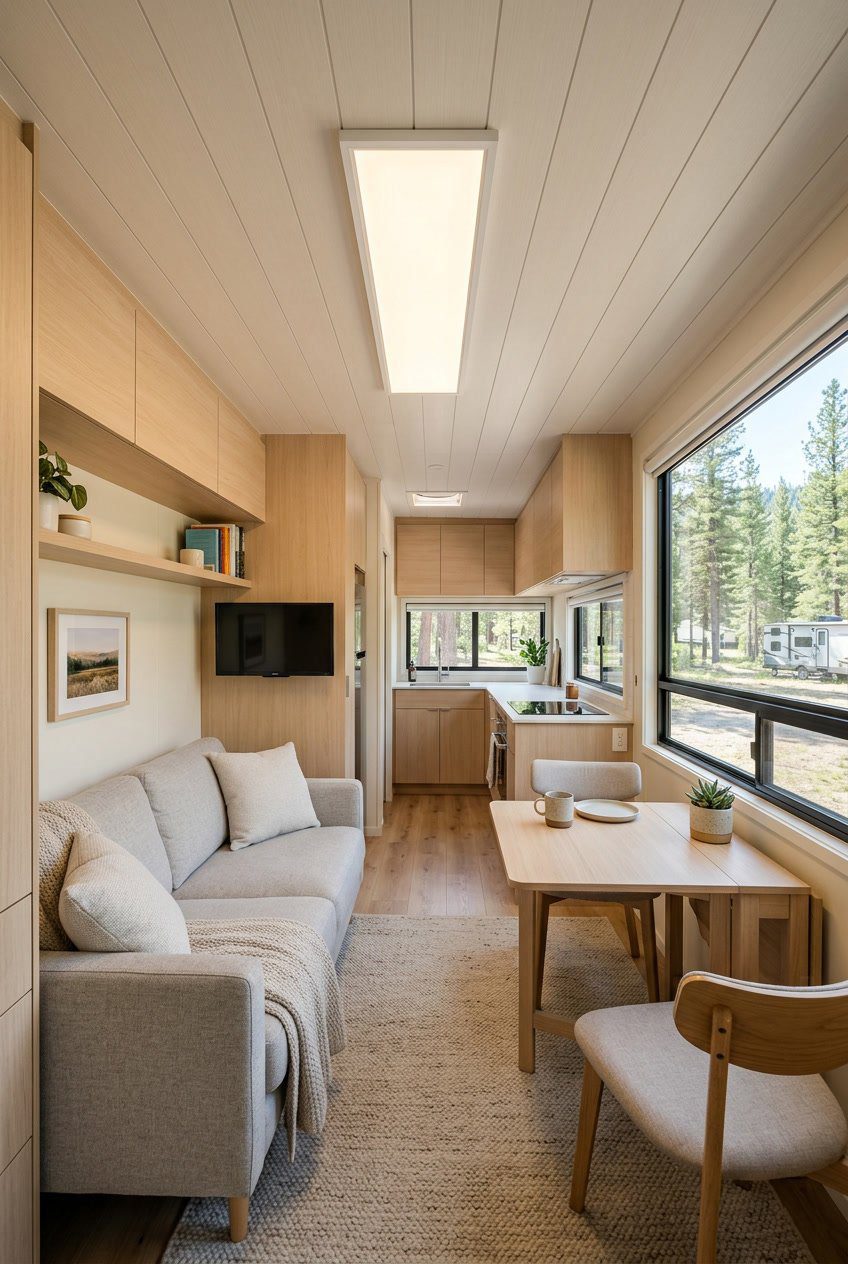
A slim LED panel sits close to the ceiling and makes the roof feel higher. You get bright, even light without bulky fixtures that eat up headroom.
Pick a panel with a thin frame and warm white color to keep the space cozy. Even light reduces hard shadows, so the room feels more open and calm.
Install the panel in the center or over the main seating area to draw the eye upward. LEDs use little power and stay cool, which matters in a small camper.
PRO TIP
Use dimmable LEDs so you can lower the light at night and create depth. A frosted cover will soften glare and keep the ceiling looking smooth.
9) Mount fold-down drop-leaf table on the wall
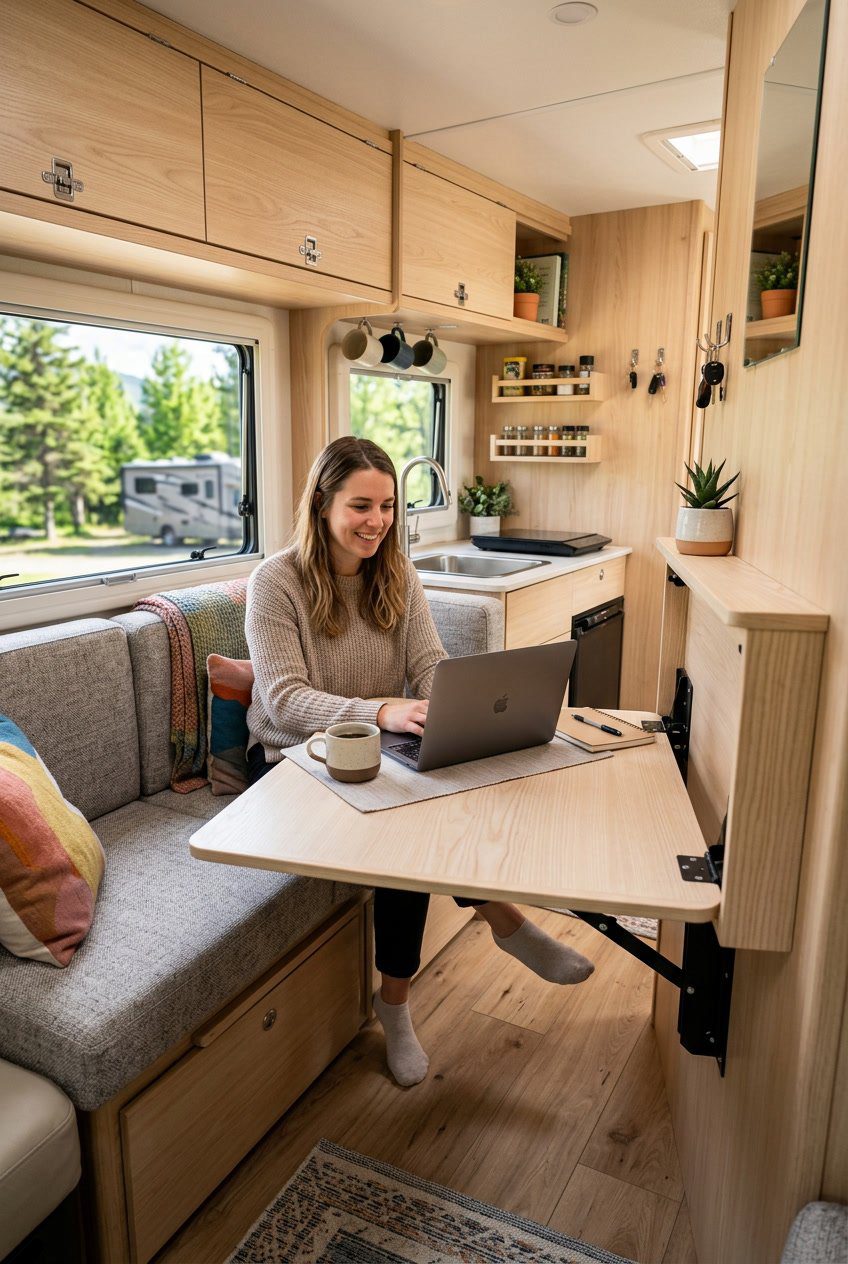
A wall-mounted fold-down table frees floor space the moment you don’t need it. You can use it for meals, work, or prep, then fold it flat against the wall to open your living area.
Pick a sturdy hinge and secure the table to wall studs or a strong backing panel. Keep the table at a comfortable height for seating, and add a simple support leg or swing-out bracket for stability when it’s open.
Choose a lightweight material so the hinge holds up over time. You can paint or cover the underside to match your RV décor and hide the hardware for a cleaner look.
PRO TIP
Install a small latch or magnetic catch to keep the table locked down while you travel.
10) Use narrow ladder-style wall shelves by the entry
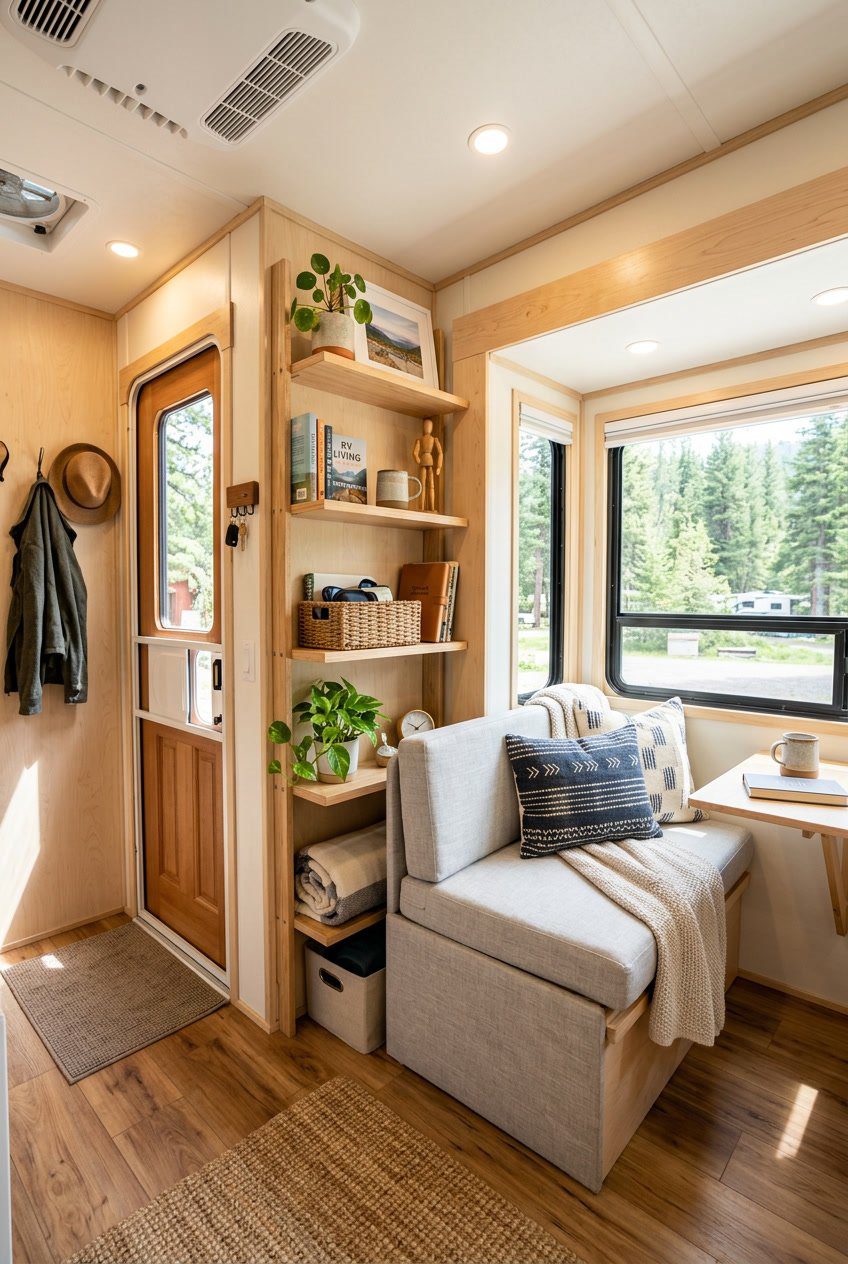
A slim ladder-style shelf fits tight spaces without blocking the door. You can store keys, sunglasses, a small plant, or mail so things stay handy when you walk in.
Mount the shelf vertically to keep floor space open. The rungs give several small storage spots without making the area feel crowded.
Pick lightweight materials so the wall holds the load. Keep heavier items low and lighter items up high for safety and balance.
PRO TIP
Use baskets or hooks on the shelves to hide clutter and stop things from shifting while you drive.
11) Swap curtains for roller shades to streamline windows
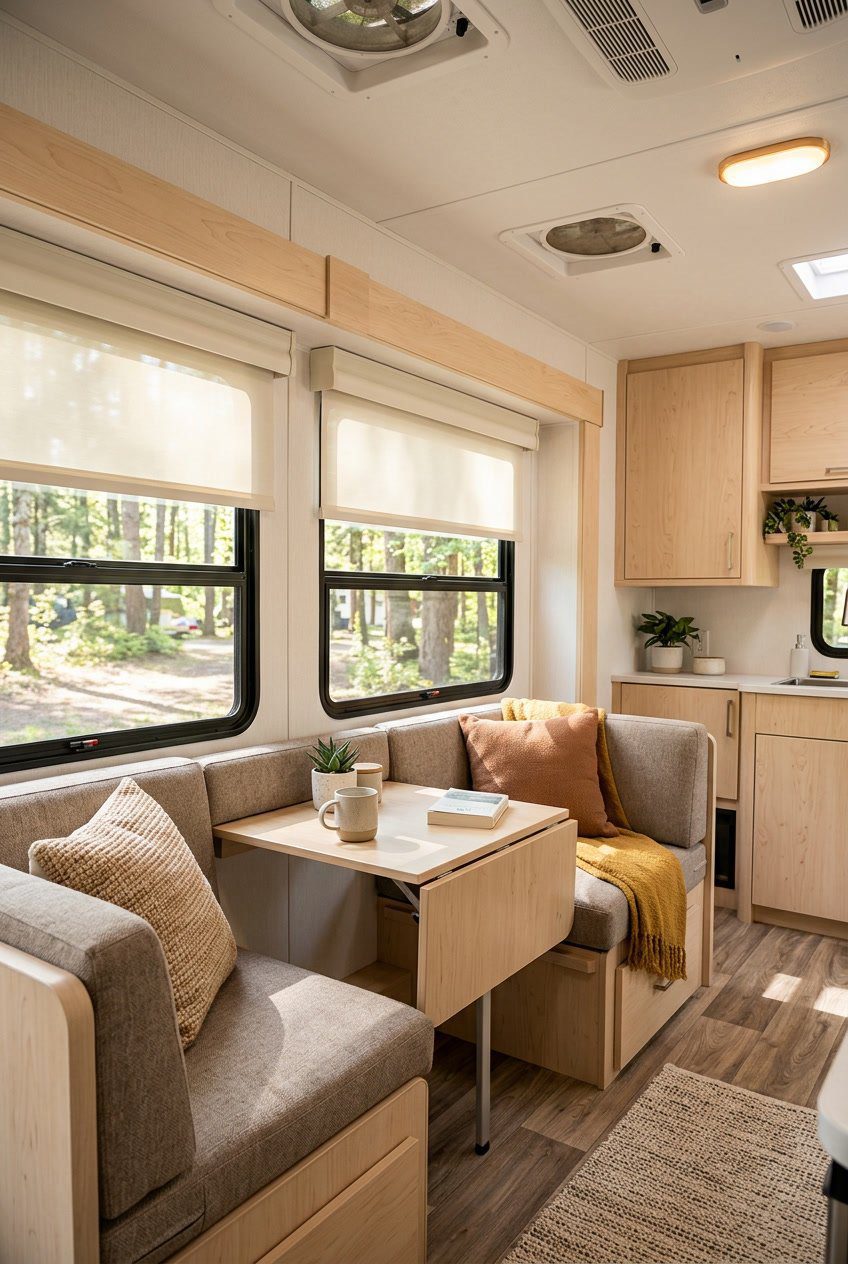
Replacing curtains with roller shades makes windows look cleaner and less busy. Shades sit flat against the glass, which opens up sight lines and lets light spread more evenly.
You’ll gain more usable space near the window. Curtains take up room and can snag on cushions, while shades free that edge for seating or storage.
Shades also give better control over light and privacy with simple up-and-down motion. Choose light-filtering fabric to keep a soft glow, or blackout material for naps and night.
PRO TIP
Measure the window frame for inside-mount shades to save space and keep a tailored look. Pick neutral colors to blend with walls and make the room feel larger.
12) Install under-seat drawers with soft-close slides
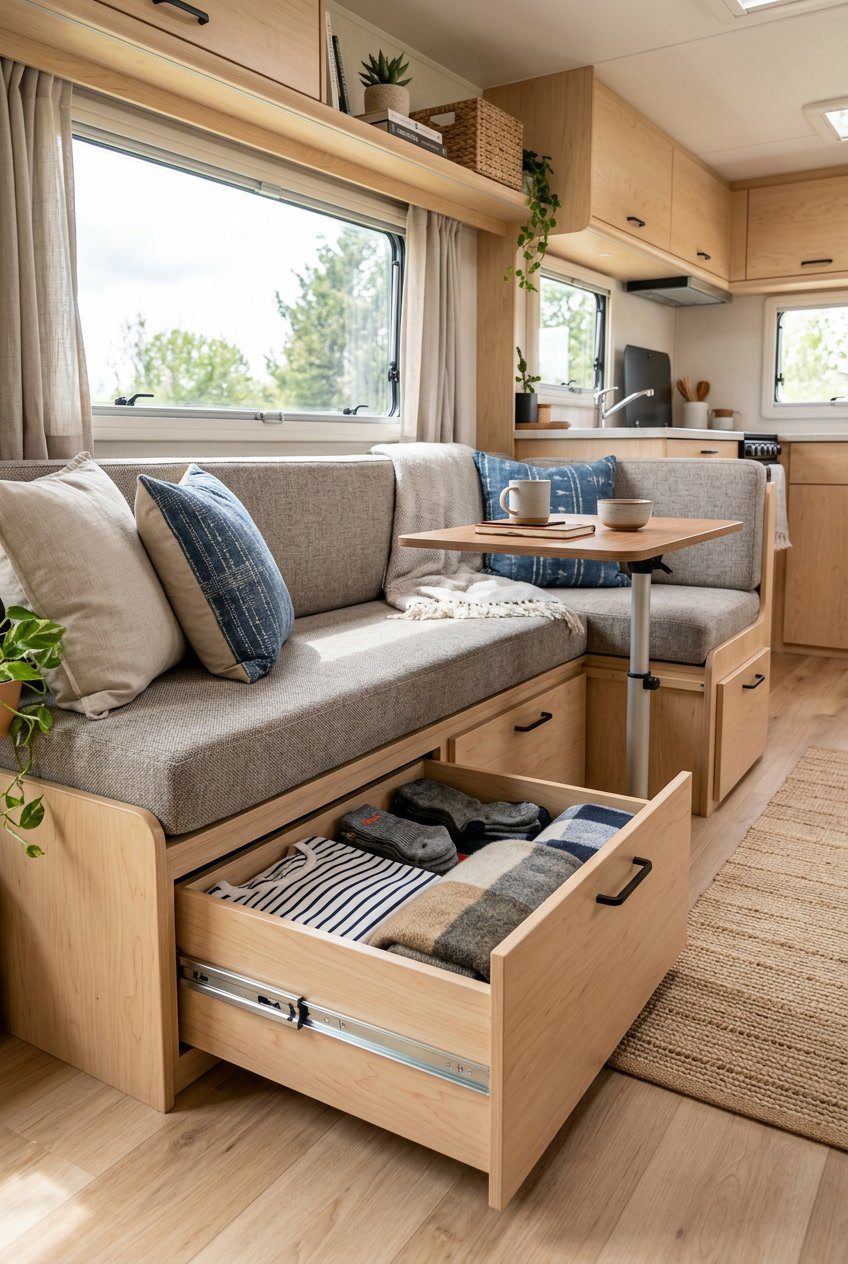
Adding under-seat drawers gives you a lot of usable space without changing the room. You can store blankets, shoes, and kitchen gear where they stay out of sight.
Soft-close slides make the drawers easy to use and reduce noise while you drive or sleep. They also protect the drawer and frame from wear.
Measure the space carefully before building or buying drawers. Make sure the slides fit the depth and weight you need.
Keep drawer fronts simple to match your camper’s look. Match the handles to other hardware so the room feels connected.
PRO TIP
Use shallow dividers inside the drawers to keep small items from shifting while you travel.
13) Use a corner pull-out pantry for efficient vertical storage

A corner pull-out pantry helps you use tight corners that usually go wasted. You slide out narrow shelves to reach items without bending or digging.
This style stores cans, spices, bottles, and small gear in a tall, compact space. Vertical storage keeps the floor clear and makes the room feel larger.
Install soft-close slides so shelves move smoothly and stay secure while driving. You can customize shelf heights to fit tall bottles or stacked containers.
PRO TIP
Mount a non-slip mat on each shelf to keep things from shifting on rough roads. Label the front edges for quick access and less rummaging.
14) Replace solid cabinet faces with glass-front or lattice doors
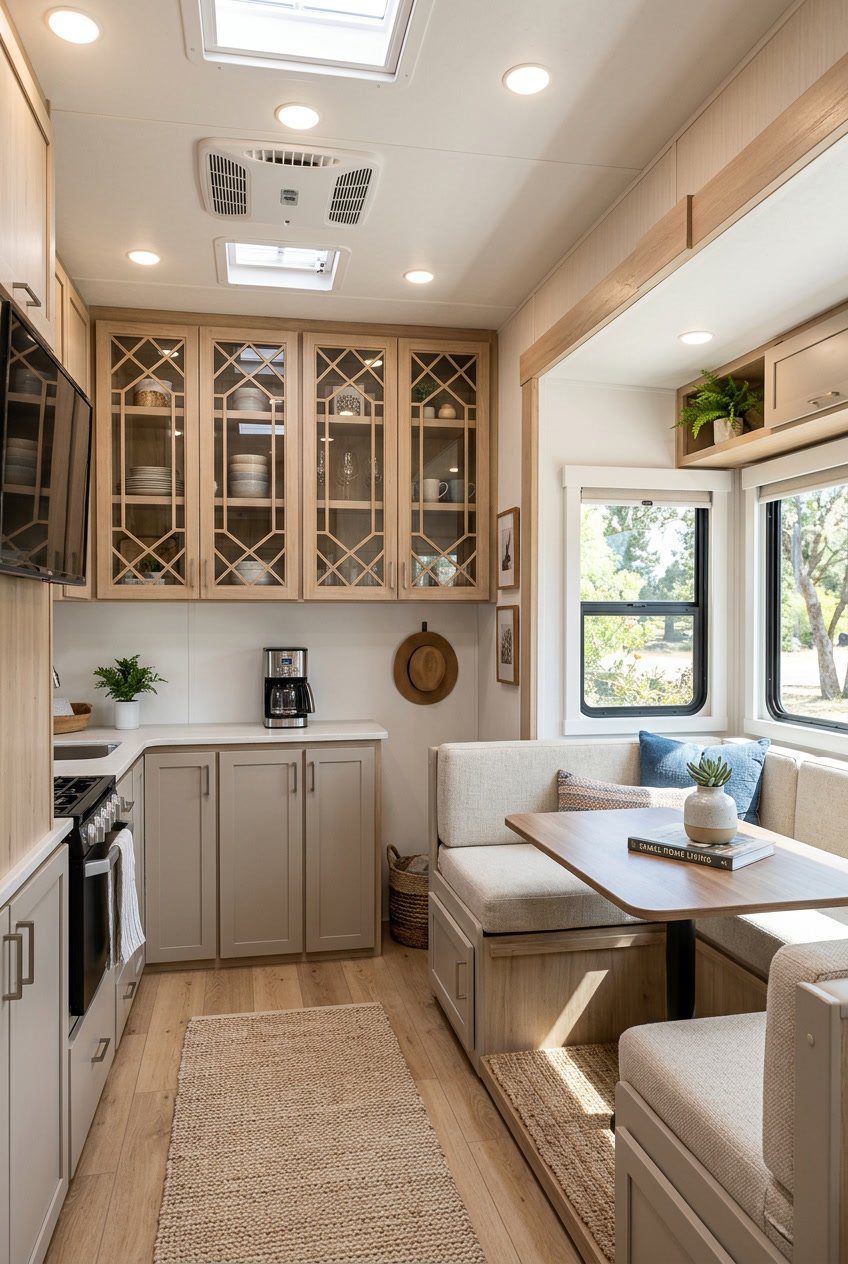
Swapping solid cabinet faces for glass-front or lattice doors makes your RV feel more open right away. You see into the cabinets, which reduces visual weight and helps light move through the space.
Glass fronts show off neat items and make storage part of the decor. Lattice doors hide clutter while still letting light and air pass, keeping a lighter look without forcing you to stay perfectly organized.
You can use clear glass, frosted glass, or thin panes to match your style. Lattice can be painted or stained to fit the interior tone and still provide texture.
PRO TIP
Use tempered or lightweight glass made for travel, or choose thin acrylic panels for safer, lighter cabinets.
15) Install recessed toe-kick lighting to visually lift cabinets
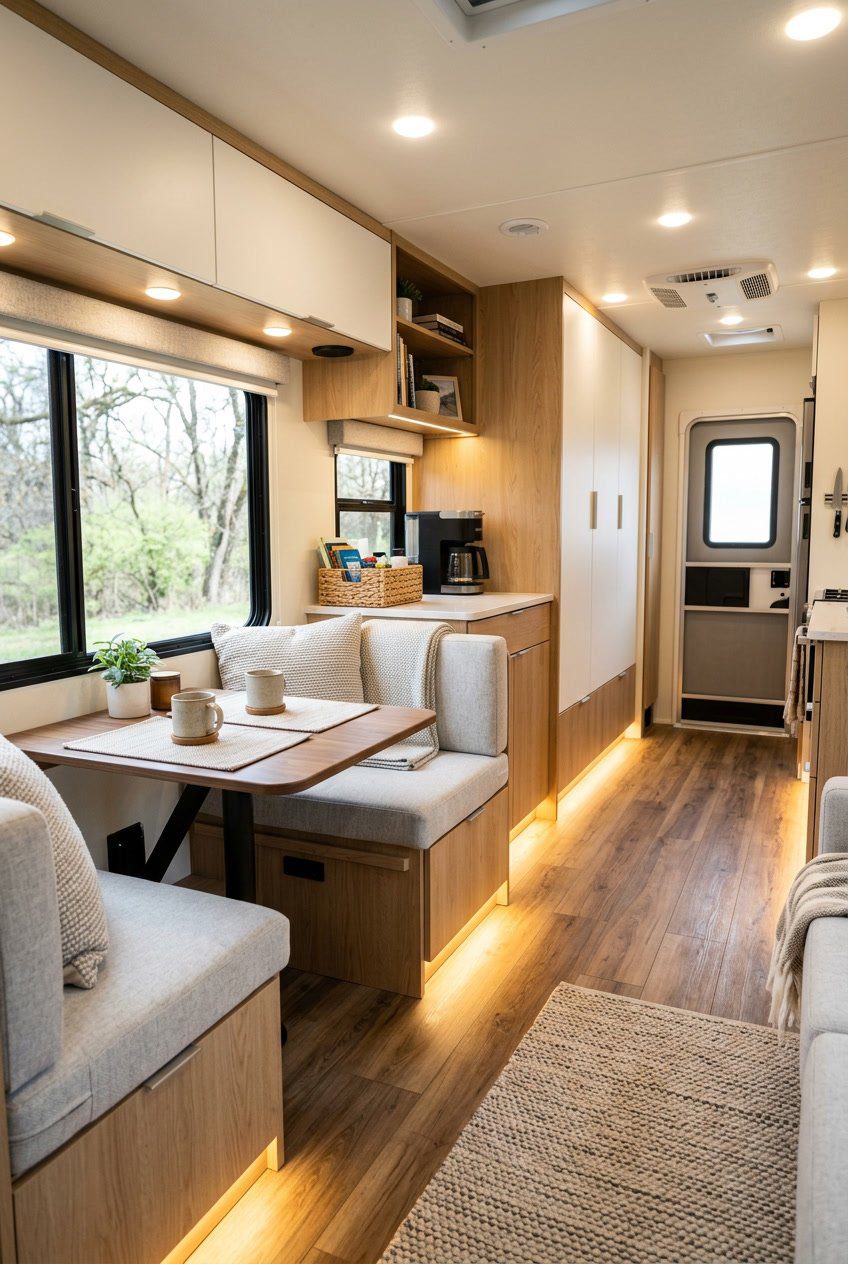
Recessed toe-kick lighting sits under your lower cabinets and casts a soft glow on the floor. It makes cabinets look like they float and creates extra depth in a small living area.
You get subtle, indirect light that brightens paths without glare. This helps the space feel larger and more open, especially at night.
Choose warm, low-profile lights that fit under the cabinet base. Install them with a dimmer or motion sensor so you control brightness and save power.
PRO TIP
Place lights toward the front edge of the toe-kick to avoid shadows. Test placement before final mounting to get an even glow across the floor.
16) Use a Murphy-style flip-up countertop extension
A Murphy-style flip-up countertop gives you extra workspace when you need it. You flip it up, use it for food prep or a laptop, then fold it down to free up walking space.
Install it on a cabinet or along a wall so it tucks away flat. Choose a hinge that locks firmly open and a lightweight top to keep operation smooth.
You can add a small supporting leg that folds under the top, or use a quick-release bracket. Either way, the extension should feel stable when you lean on it.
PRO TIP
Mount the hinge a little lower than the countertop to let the folded top sit flush. This keeps the line of the interior clean and saves inches of room.
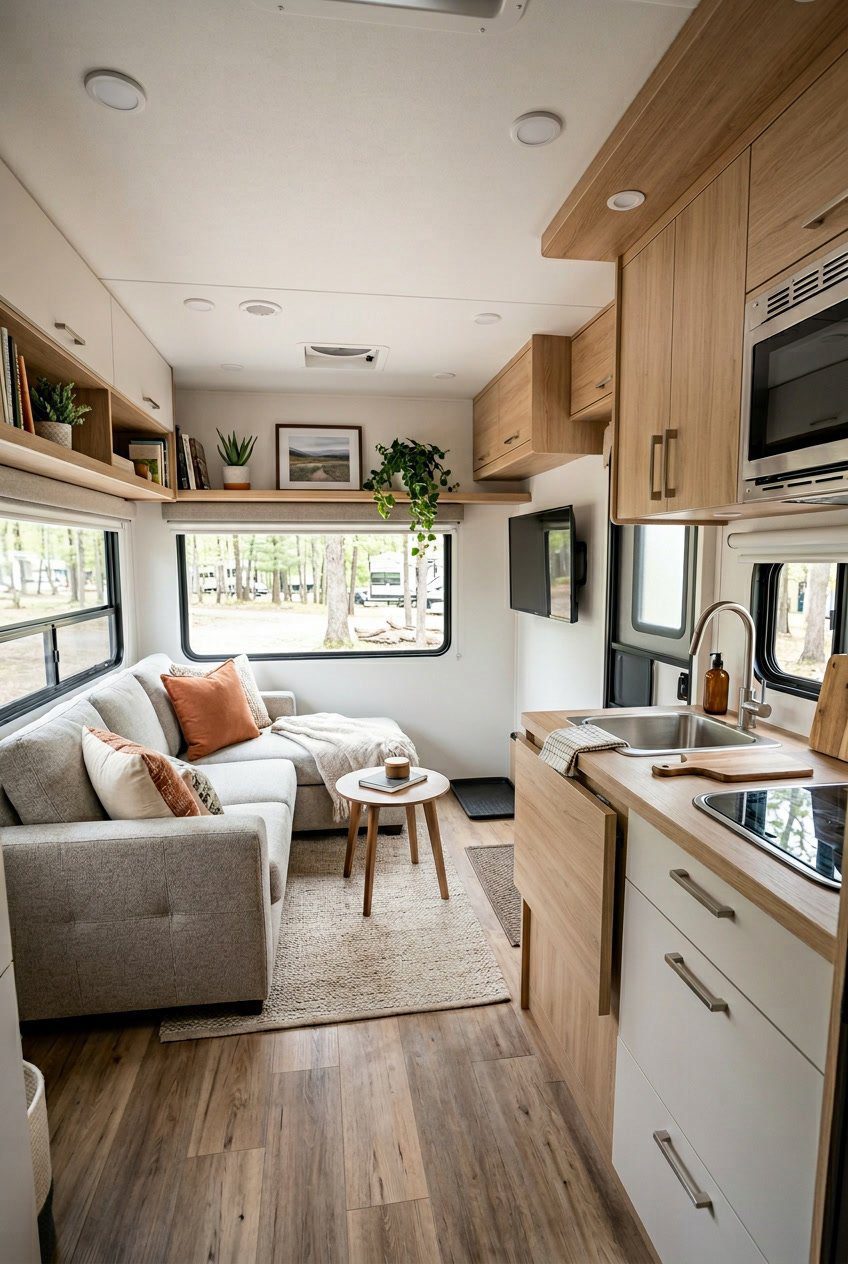
17) Opt for a light-colored vinyl plank flooring throughout
Light-colored vinyl plank flooring makes your small RV feel larger by reflecting more light. It also hides dust and light wear better than very dark floors, so your space looks cleaner between deep cleans.
Vinyl planks handle moisture and dirt well, which matters in a camper. They are thin and lay flat, keeping clearance for doors and slide-outs.
Pick a neutral grain or soft gray tone to match many decor styles. You can add a small rug to define areas without breaking the open look.
PRO TIP
Install planks running lengthwise to visually lengthen the RV. Use low-profile transitions to keep walkways smooth and safe.
18) Hang a large framed print to create depth illusion
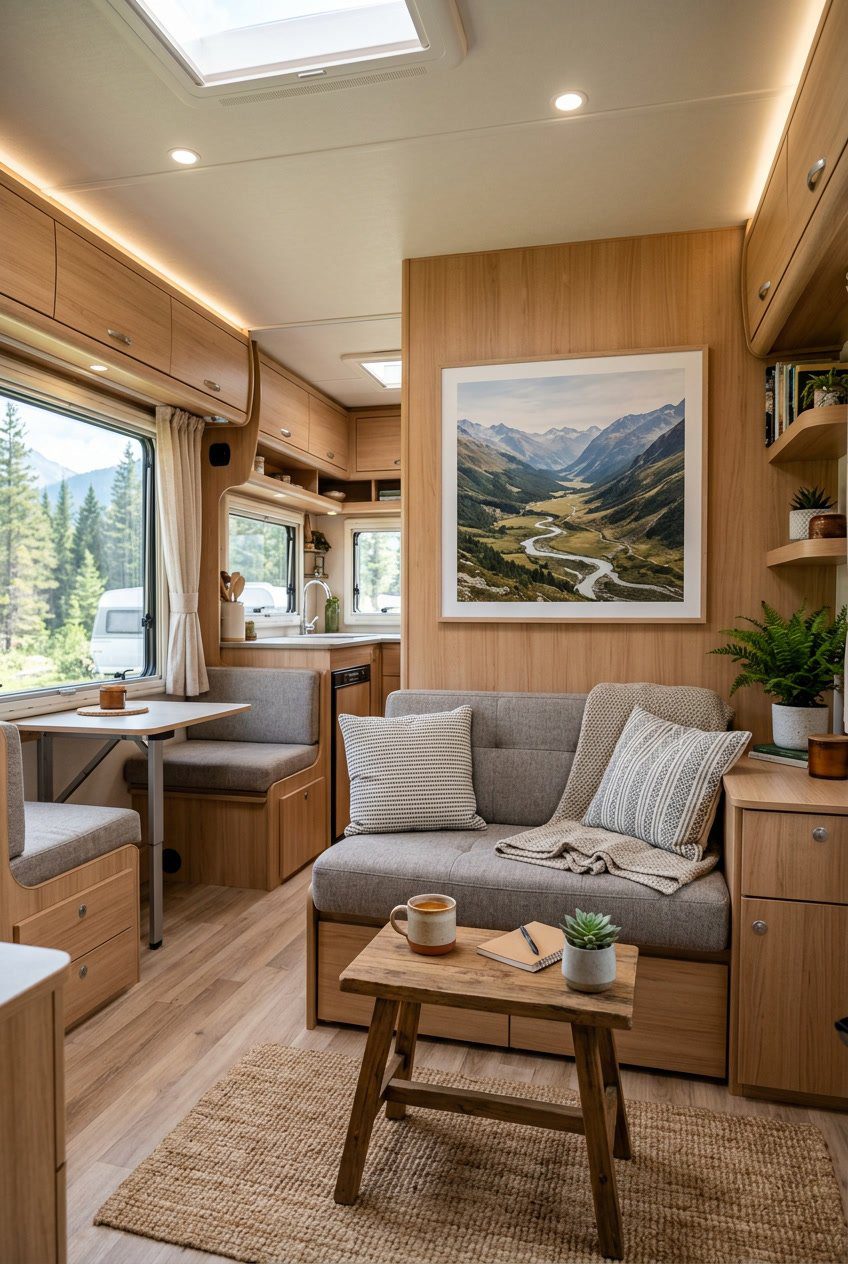
A single large framed print can make your RV feel deeper. Place it on the wall opposite seating or above a narrow table to draw the eye inward.
Choose a scene with a clear horizon or a vanishing point. Landscapes, city streets, or simple architectural photos work well to suggest more space.
Keep the frame slim and the matting minimal. Heavy frames can feel bulky in a small space and undo the effect.
Think about scale and height when hanging. Position the center of the print at eye level so it reads naturally and ties the room together.
PRO TIP
Use lightweight framing materials and secure hangers to protect walls and keep the print from shifting while you drive.
19) Use multi-functional ottomans with internal storage
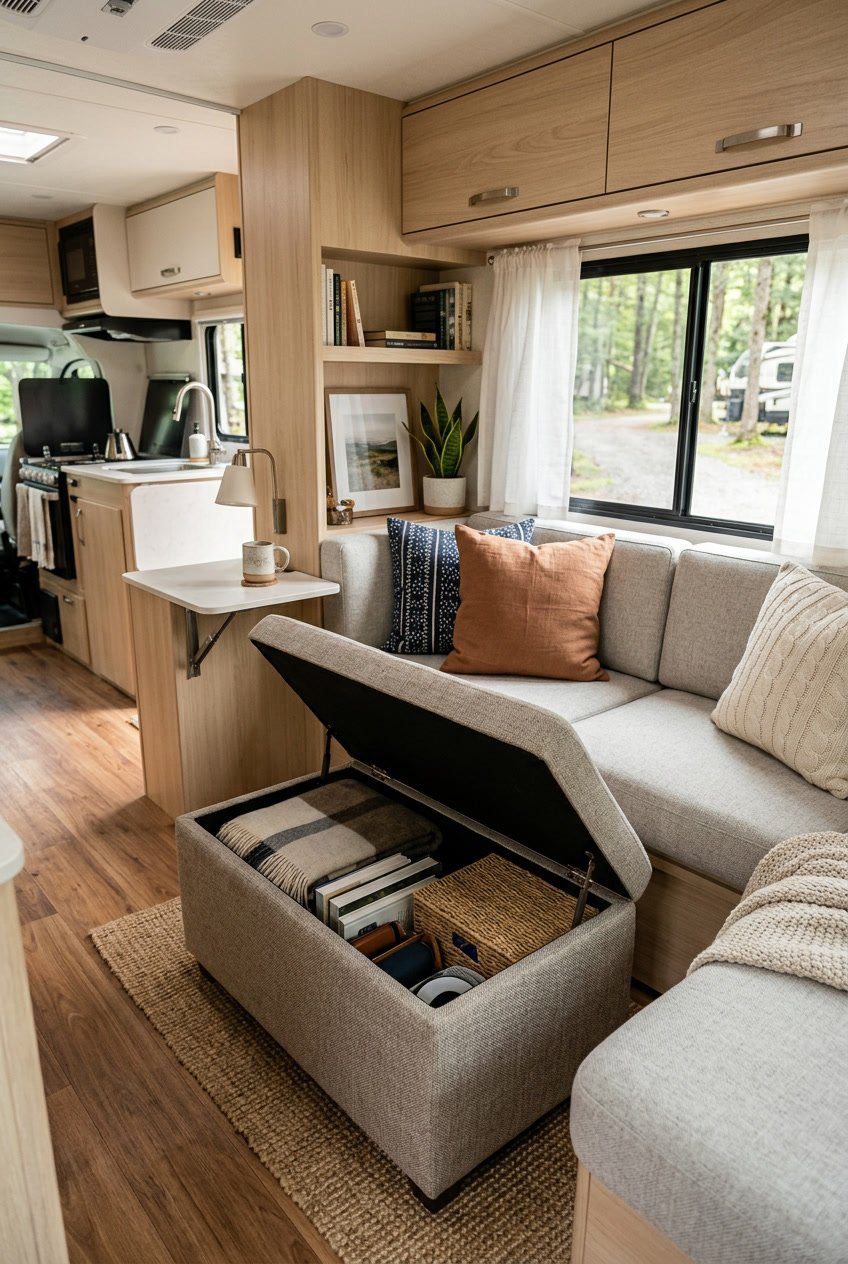
Choose ottomans that double as seating and storage to save floor space. They give you extra seats for guests and hide blankets, games, or kitchen items out of sight.
Pick shapes that fit your layout. Square or rectangular ottomans can tuck against a wall or slide under a table, while round ones soften corners.
Look for lightweight pieces you can move easily. Lids should open smoothly and close securely so items stay put while you travel.
PRO TIP
Use baskets or fabric bins inside to keep smaller things organized. Match the ottoman color to your decor to make the space feel larger and more cohesive.

