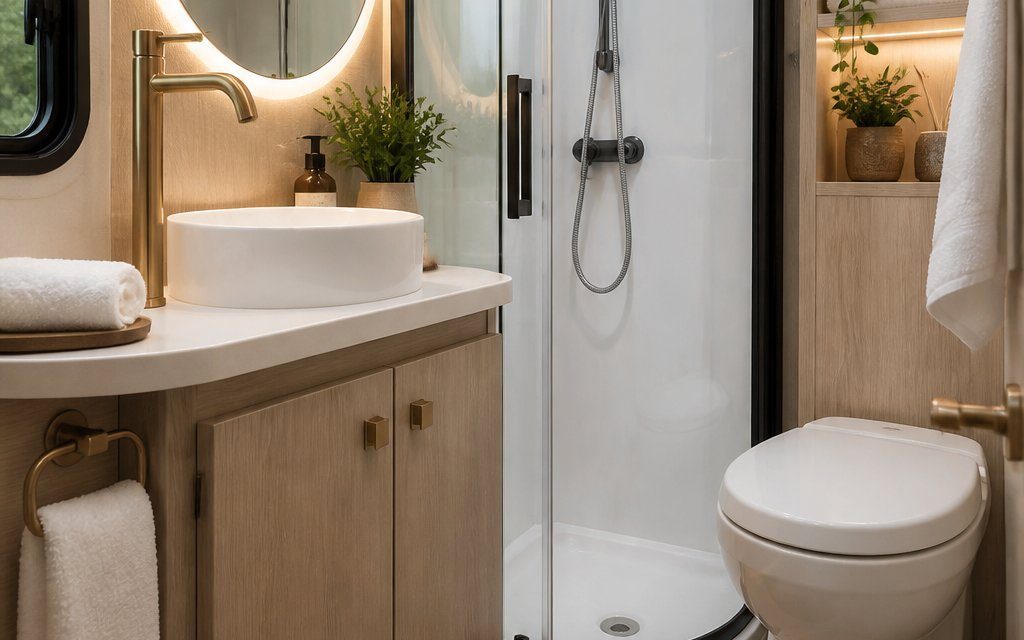
Your RV bathroom can feel calm, clean, and inviting without taking up extra space. With the right colors, lighting, storage, and moisture-resistant materials, you can create a more comfortable space for every trip.
These 30 decorating ideas help you give your RV bathroom a spa-like feel while keeping it practical, tidy, and easy to maintain. Explore simple upgrades that add comfort, style, and function to your compact bathroom.
1) Install a teak shower mat
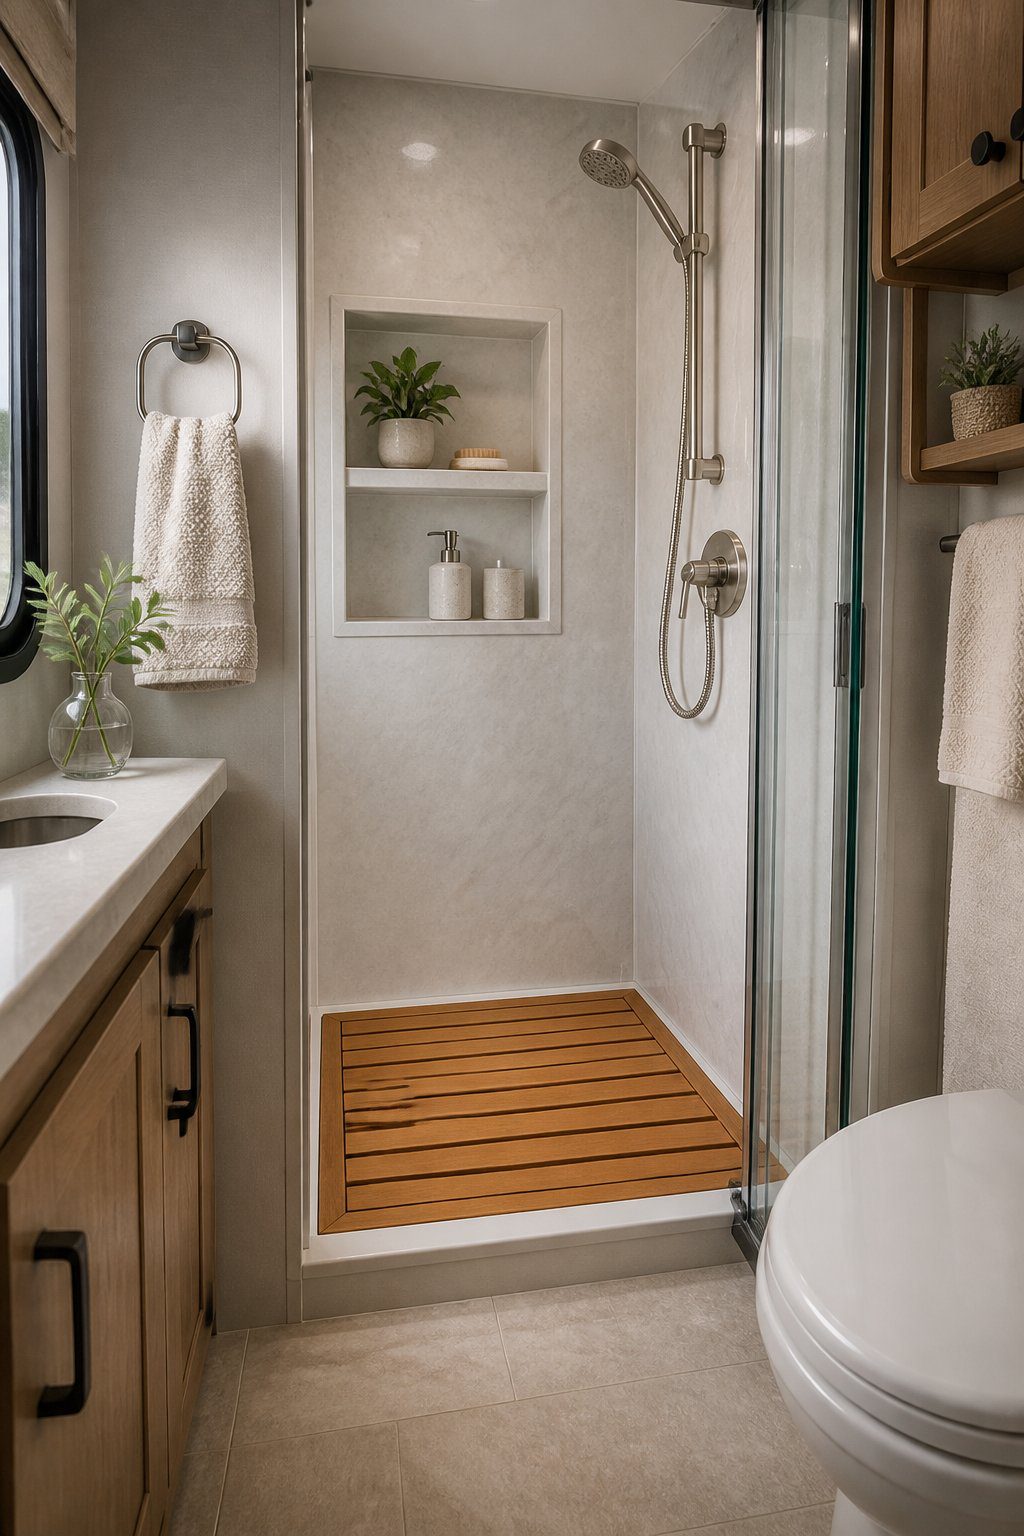
Add a teak shower mat to give your RV bathroom a warm, natural look. Its raised slats let water drain beneath your feet, which can help the floor dry faster after each shower.
Choose a mat that fits the shower floor without blocking the door or drain. Measure the space first, then select a size that leaves a small gap around the edges for cleaning and airflow.
Teak wood works well in damp spaces, but you still need to care for it. Lift the mat often, rinse away soap buildup, and let both the mat and shower floor dry fully.
PRO TIP
Place small, clear nonslip pads under the mat if it shifts during travel. Remove the mat before driving if your RV bathroom has limited floor space, and store it upright so moisture does not collect underneath.
2) Add a rainfall showerhead
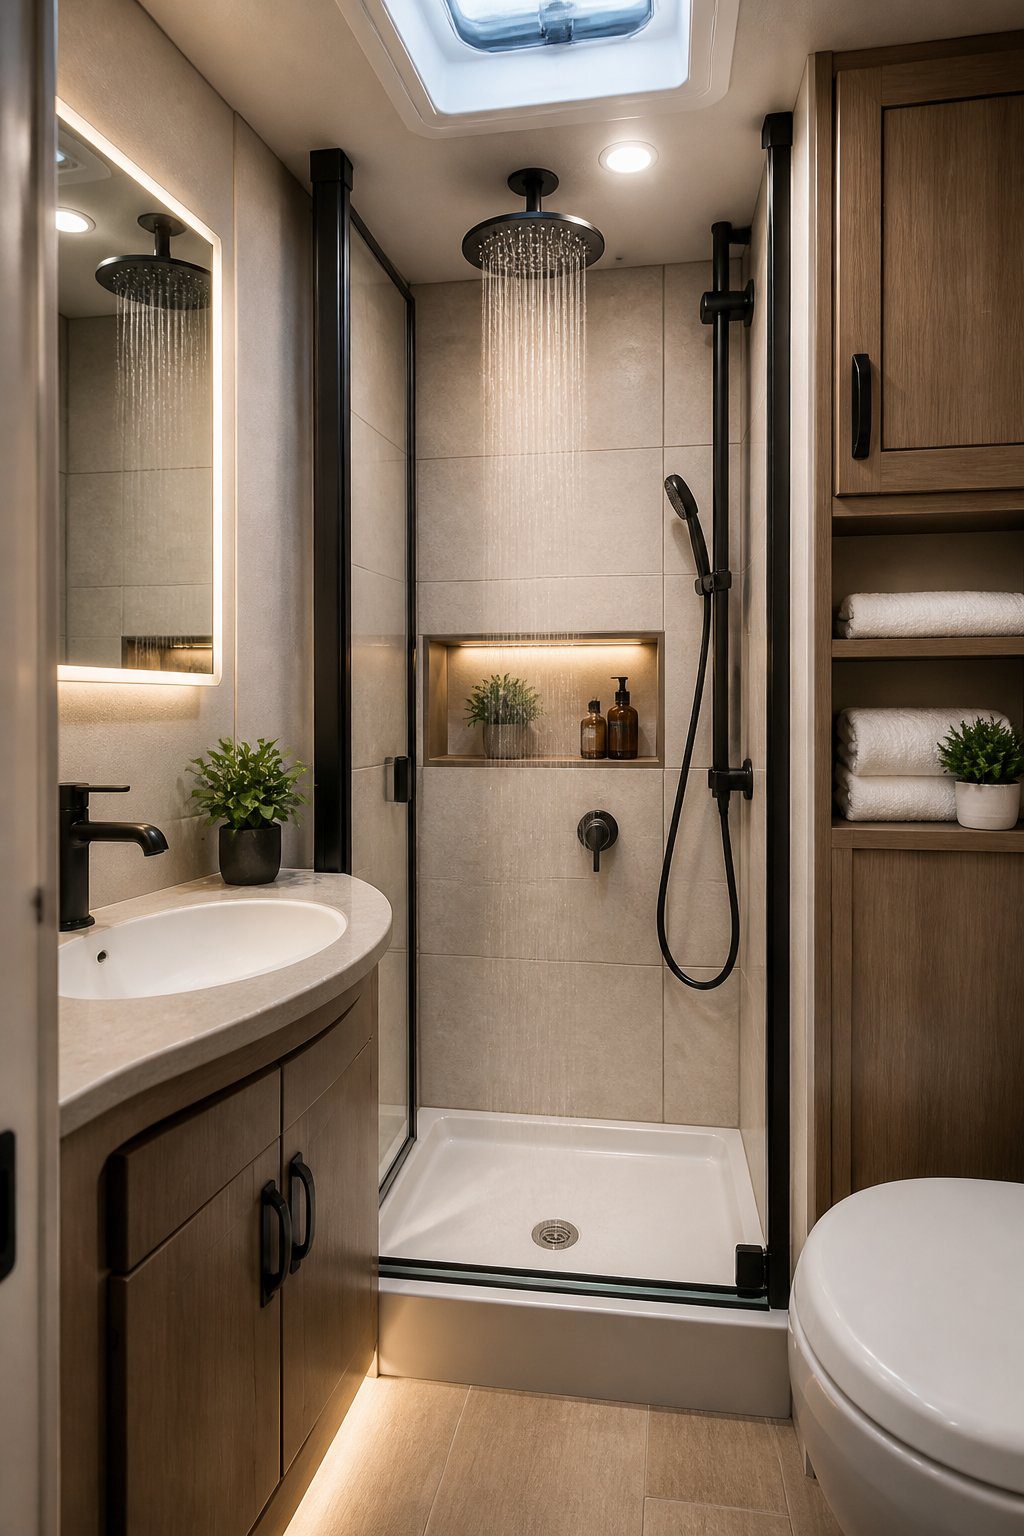
Upgrade your RV bathroom with a rainfall showerhead for a calm, spa-like touch. Its wide spray covers more of your body, making showers feel comfortable without taking up extra space. Choose a compact model that fits your existing plumbing and leaves enough room for easy movement.
Select a finish that matches your faucet, cabinet hardware, or towel bars. Brushed metal can hide water spots, while a matte finish gives the space a clean, modern look. Check the showerhead’s water use before installing it, since RV water tanks have limited capacity.
PRO TIP
Add a simple handheld shower wand beside the rainfall showerhead. You can use it to rinse the walls, clean the shower floor, or wash your hair with more control. Install a wall hook to keep it secure while your RV moves.
3) Use waterproof bamboo accessories
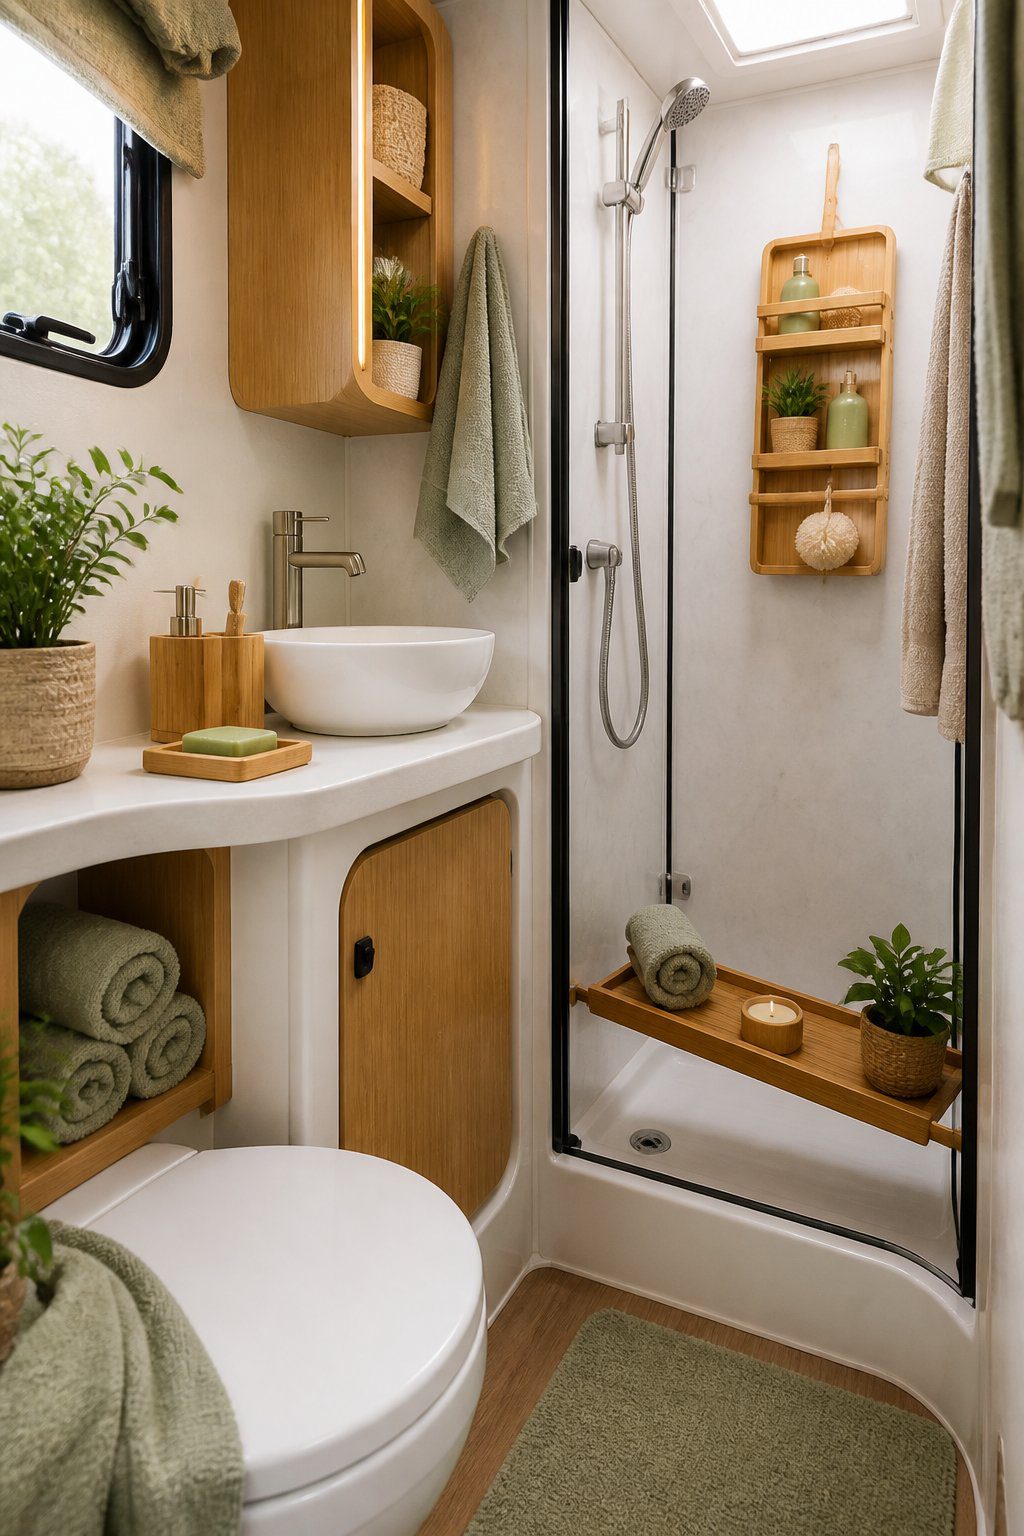
Add waterproof bamboo accessories to bring warm, natural color into your RV bathroom. Choose items such as a soap dish, toothbrush holder, bath mat, or small storage tray. These pieces can soften the look of plastic fixtures while keeping the space neat.
Select bamboo items with sealed or water-resistant finishes, and check that each piece suits damp areas. Wipe them dry after use, especially near the sink or shower, to help prevent stains, swelling, and mildew.
Use a narrow bamboo tray to group toiletries on the counter. You can also place a small lidded basket on a shelf for extra towels, hair tools, or cleaning supplies. Keep the number of accessories limited so your bathroom stays open and easy to clean.
PRO TIP
Place bamboo accessories away from standing water and improve airflow with a vent or open window when possible. This simple habit helps protect the finish and keeps your bathroom fresh.
4) Hang waffle-weave white towels
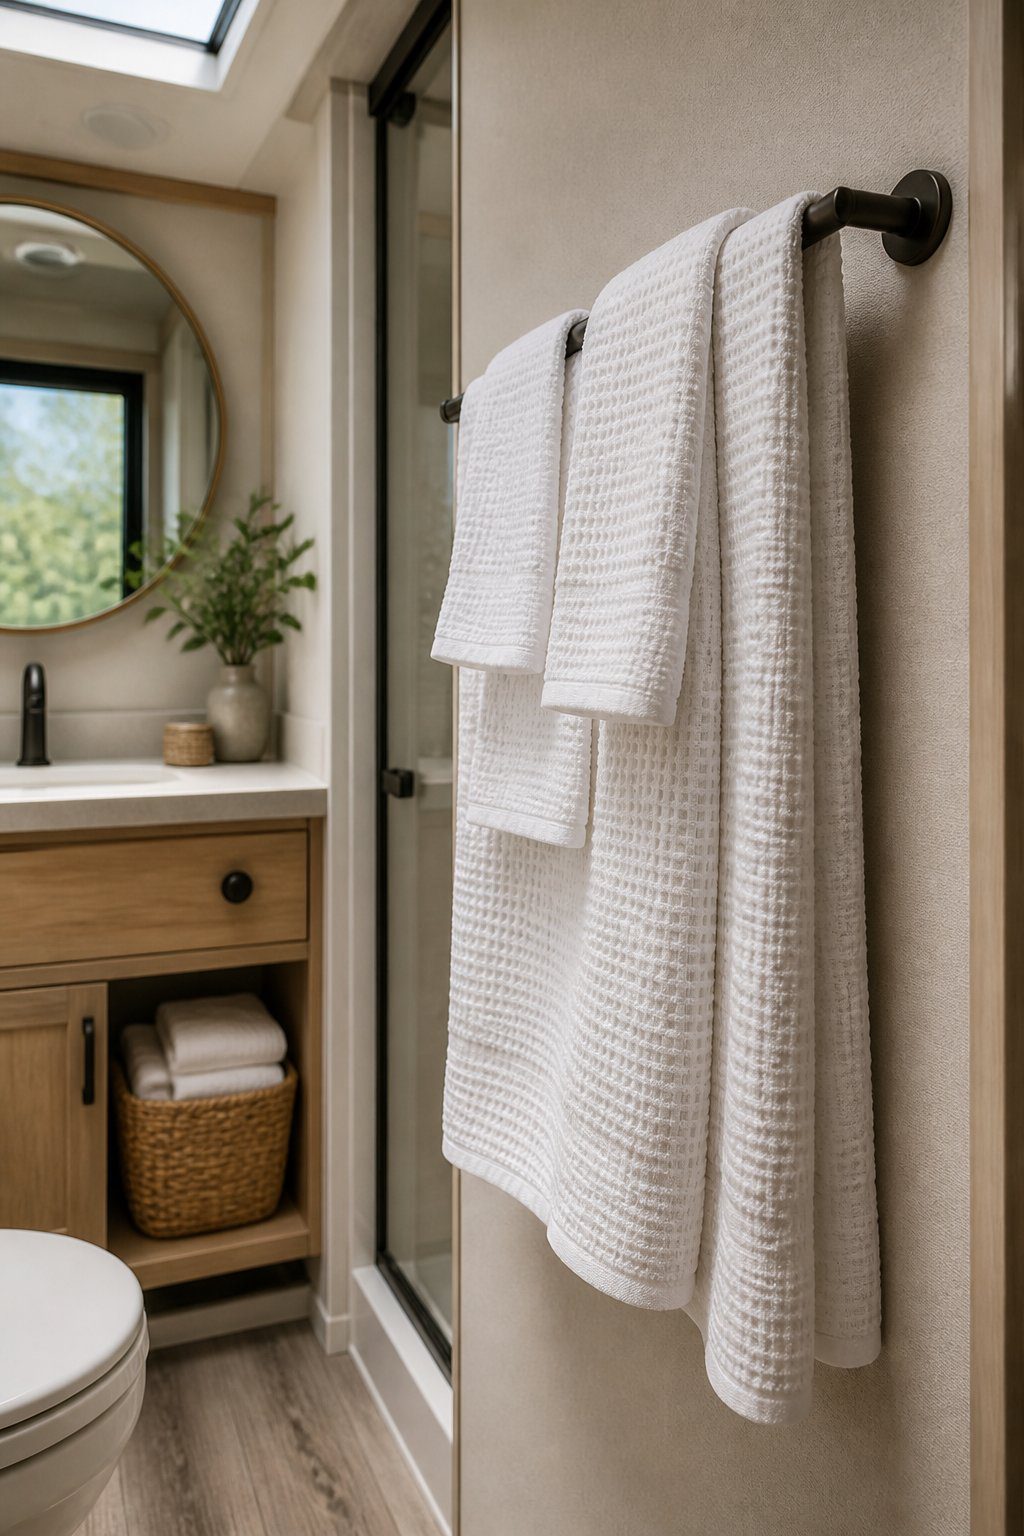
Hang waffle-weave white towels to give your RV bathroom a clean, relaxed look. Their textured pattern adds visual interest without making the small space feel busy. Choose hand towels and bath towels in matching shades for a neat, coordinated display.
Place the towels on hooks, a slim wall rack, or the back of the bathroom door. Fold larger towels into thirds so they fit neatly and stay easy to reach. White fabric also pairs well with wood, metal, glass, and other common RV finishes.
PRO TIP
Keep a small stack of fresh towels in a woven basket or cabinet. Wash them often, and avoid overcrowding the hanging space so each towel can dry properly.
5) Choose a soft spa-inspired color palette
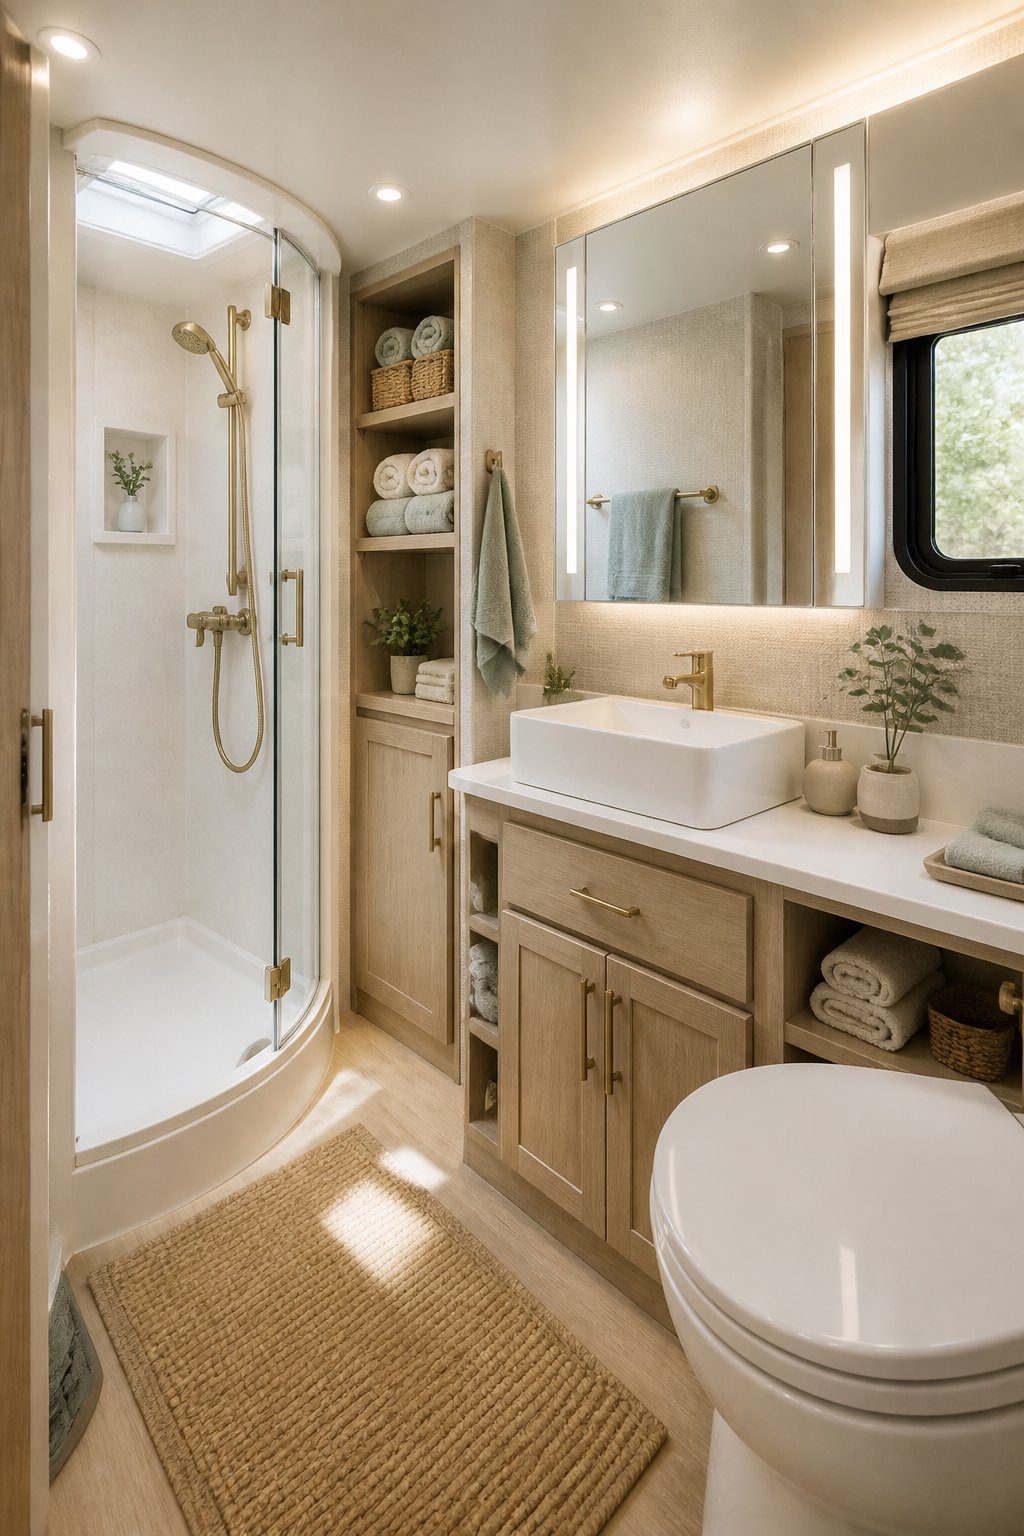
Choose calm colors that make your RV bathroom feel clean and restful. Soft white, warm beige, pale gray, muted blue, and gentle green can create a peaceful setting without making the small space feel closed in.
Use one main color on the walls or cabinets, then add one or two supporting shades through towels, curtains, and storage bins. Light colors can reflect more light, while warm tones add comfort and prevent the room from feeling too plain.
PRO TIP
Test color samples in your bathroom before committing. RV lighting can change how a shade looks, so check each sample during the day and at night. Choose washable paint and fabrics that can handle moisture, especially near the shower and sink.
6) Install dimmable LED lighting
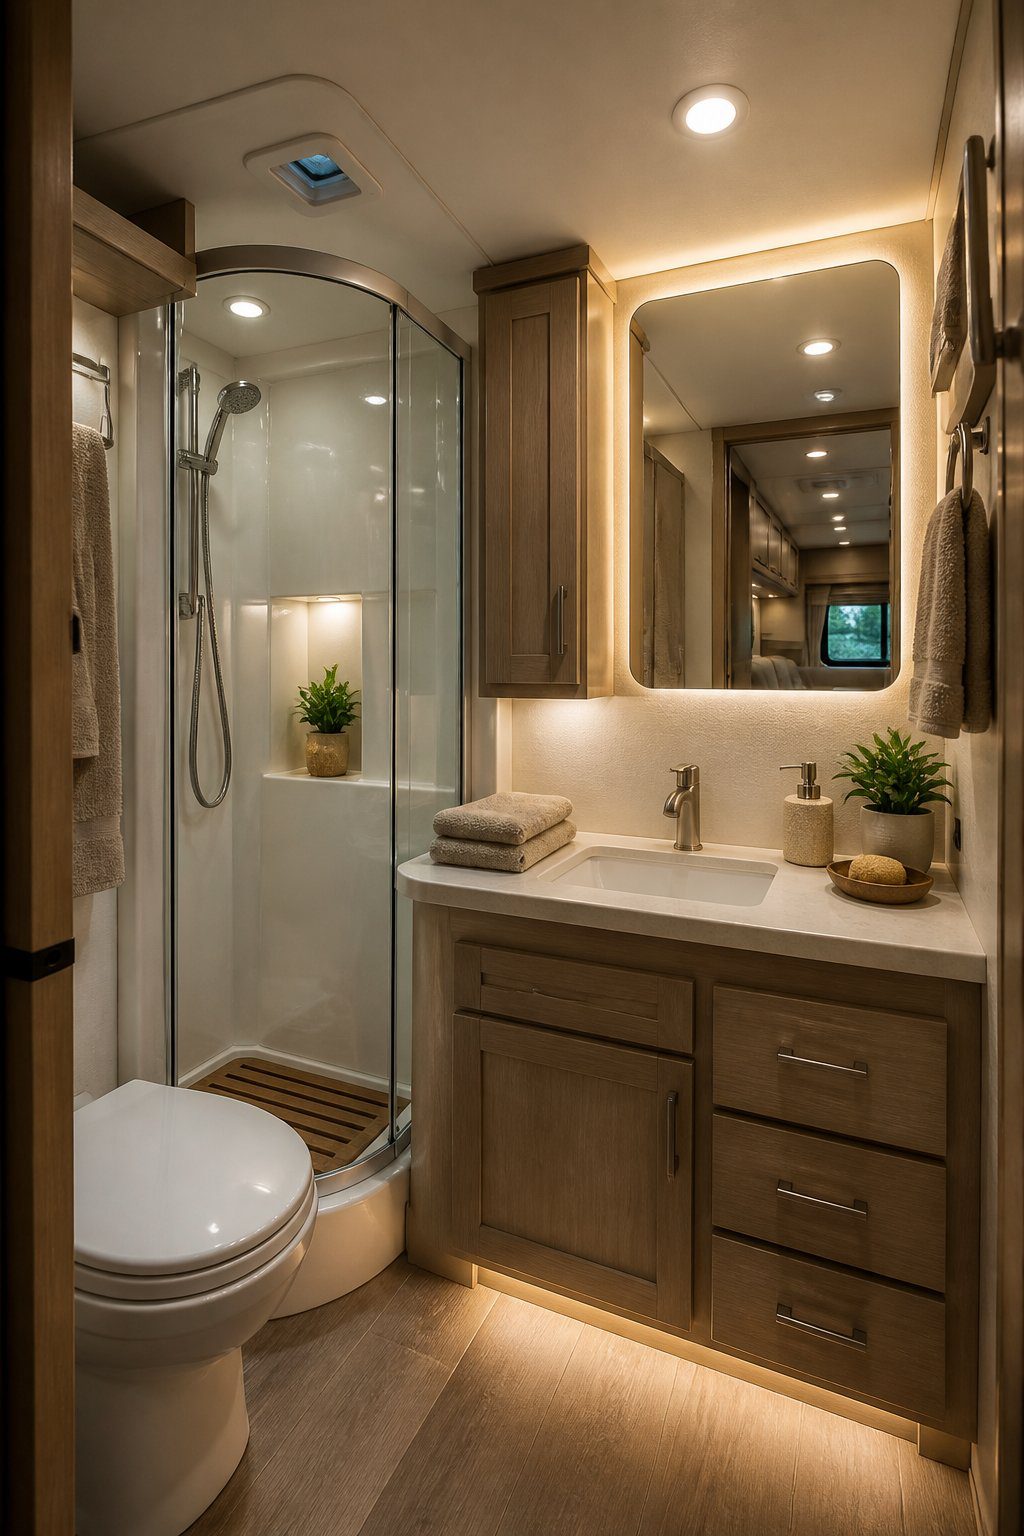
Dimmable LED lighting helps you adjust your RV bathroom’s mood and brightness. Use a soft setting during a relaxing shower, then raise the light level when you shave, apply makeup, or clean the space.
Choose fixtures with a warm white color to create a calm, spa-like feel. Recessed lights save ceiling space, while small wall lights can add gentle light near the mirror. Make sure each fixture suits damp areas and has secure wiring.
PRO TIP
Place the dimmer switch near the bathroom entrance for easy access. Test the light at different levels before you finish installing it, and avoid placing bright fixtures directly above the mirror to reduce harsh shadows.
7) Add battery-operated candles
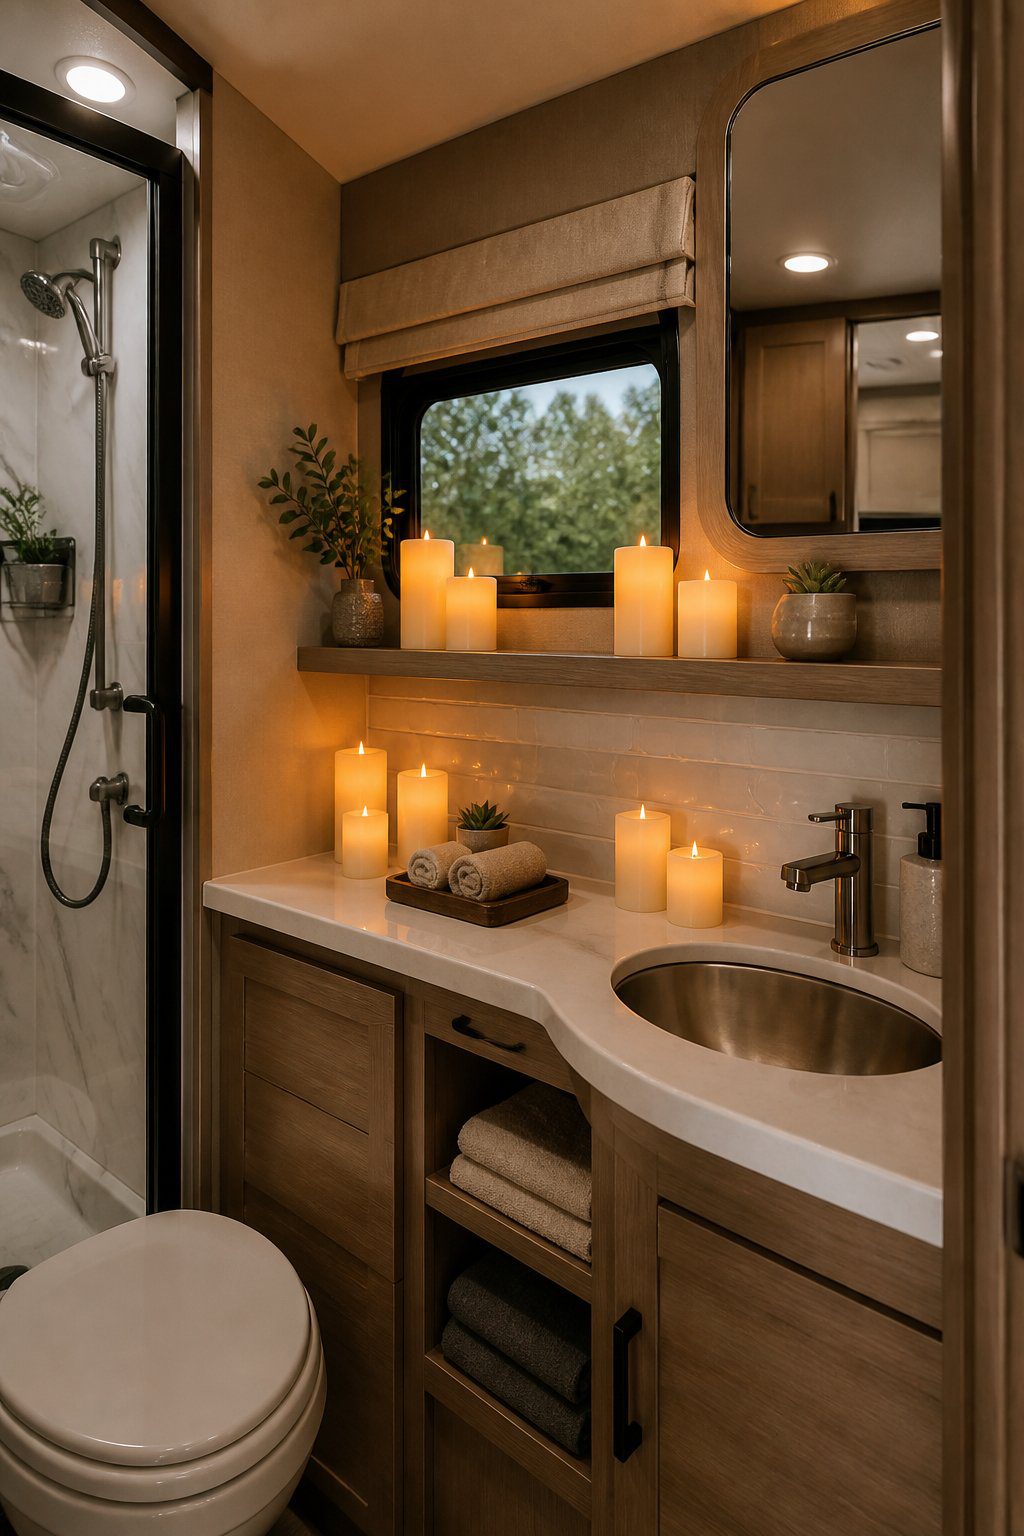
Battery-operated candles add a soft glow without taking up much space. Place one or two on a narrow shelf, beside the sink, or inside a wall-mounted holder. Choose warm white lights to create a calm, spa-like mood.
Select flameless candles with timers so you do not need to switch them on each night. Look for compact designs that fit securely in your bathroom and have a sealed exterior to help protect them from moisture.
PRO TIP
Use candles in different heights to add visual interest, but keep them away from towels, toiletries, and other items that could block their light. Store extra batteries in a dry cabinet so you can replace them quickly when needed.
8) Mount a fog-free LED mirror
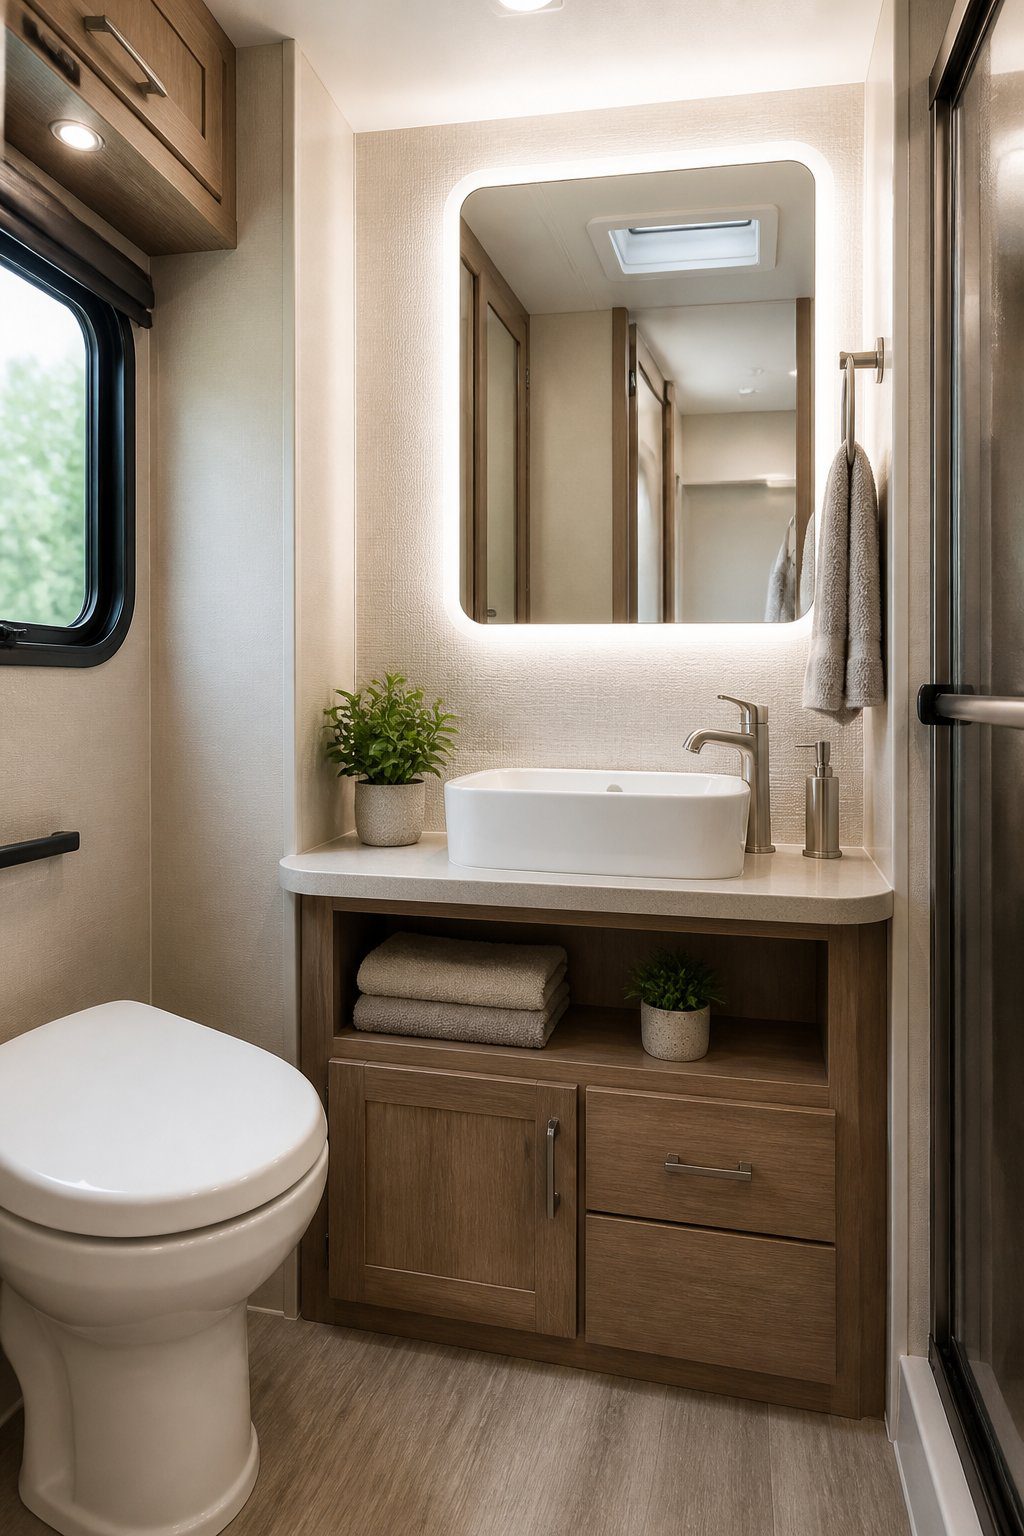
A fog-free LED mirror keeps your reflection clear after a hot shower, so you can get ready without wiping away steam. Choose a slim model that fits your RV bathroom wall and provides even light around your face.
Mount the mirror near the sink, but check the wall for wiring, plumbing, and sturdy support before drilling. Use the included hardware only when it suits your wall type, and seal any holes to help prevent moisture damage.
An adjustable light setting can help you create a softer mood or brighter task lighting. Pick a mirror with a simple frame or frameless design to keep the small space looking clean and open.
PRO TIP
Measure the wall and door swing first. Leave enough clearance for cabinet doors, faucets, and your head when you stand at the sink.
9) Use peel-and-stick botanical wallpaper
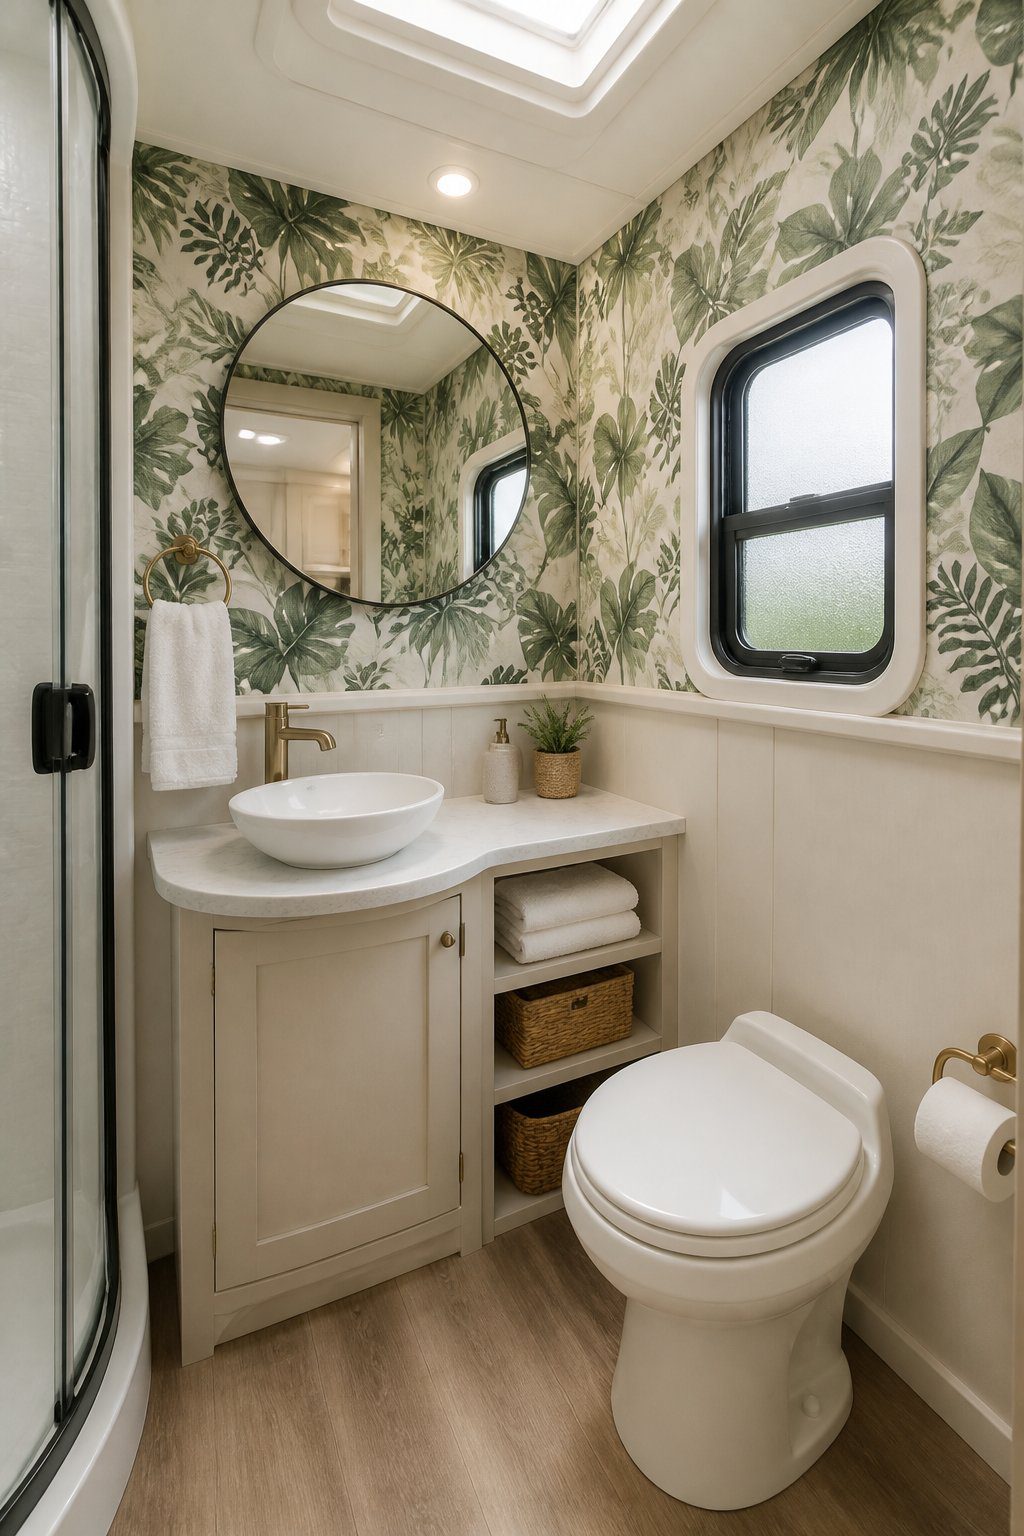
Bring a fresh, natural look to your RV bathroom with peel-and-stick botanical wallpaper. Choose a small-scale leaf or fern pattern to add interest without making the limited space feel crowded. Soft green, cream, or muted gray tones can create a calm setting.
Measure each wall before you buy the wallpaper, and check that the surface is clean, dry, and smooth. Apply one strip at a time, pressing out air bubbles with a flat tool or clean cloth. Avoid placing it over loose paint or damaged areas.
Use the wallpaper on one accent wall behind the sink or toilet. Keep the other walls simple, then add matching towels or a small plant to connect the colors. Choose a removable style if you expect to update your decor later.
PRO TIP
Leave extra wallpaper at the edges, then trim it carefully with a sharp utility knife for a clean finish.
10) Install a compact floating vanity
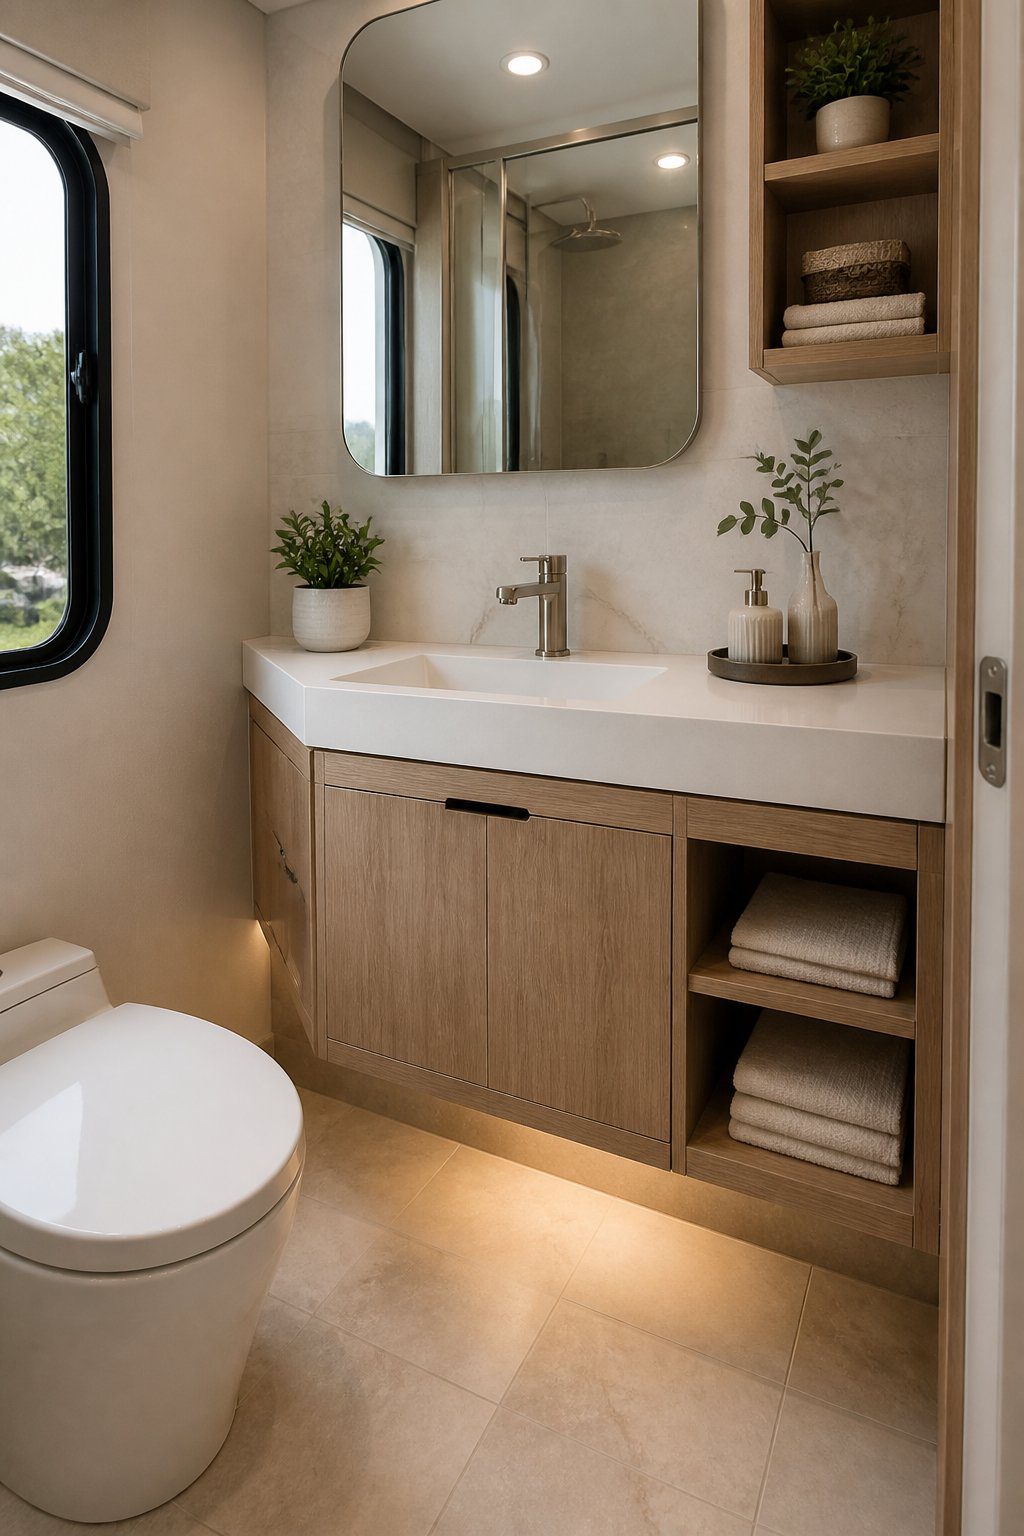
A compact floating vanity can make your RV bathroom feel more open. By attaching it to the wall, you keep the floor visible and create extra space beneath it for storage baskets or cleaning supplies.
Choose a narrow design with smooth, moisture-resistant surfaces. Measure the wall, door swing, and nearby fixtures before installation so the vanity does not block movement or access to your plumbing.
Use drawers or a shallow cabinet to store toiletries without crowding the room. Light colors can brighten the space, while a wood finish adds warmth. Pair the vanity with a small sink and a simple wall-mounted mirror to keep the design clean and practical.
PRO TIP
Secure the vanity to wall framing, not just the wall panel. This helps it handle daily use while your RV moves.
11) Add brushed-gold cabinet hardware
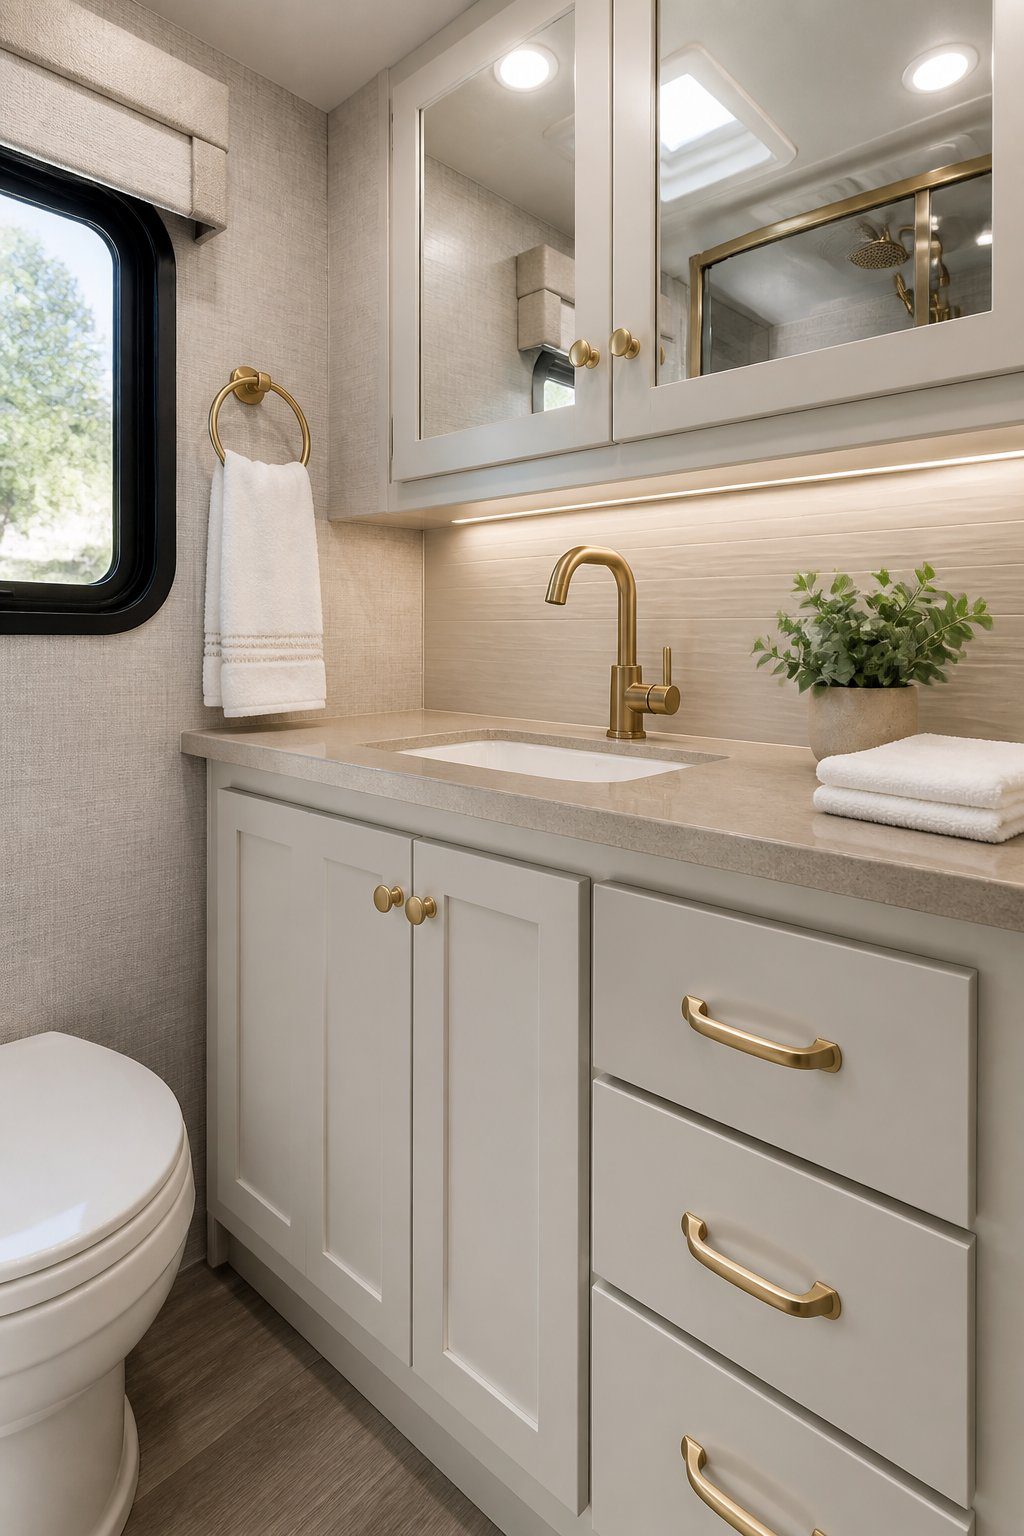
Brushed-gold cabinet pulls and knobs add a warm, polished touch to your RV bathroom. Their soft finish works well with white, cream, gray, and natural wood tones without making the small space feel busy.
Choose hardware with simple shapes to keep the room neat and modern. Before installing it, measure the existing holes so you can avoid drilling new ones or damaging the cabinet doors.
Pair the hardware with warm light bulbs, a gold-framed mirror, or a small metal soap dispenser. Keep the other finishes limited so the gold remains a thoughtful accent rather than a competing feature.
PRO TIP
Use removable samples or paper cutouts to test the hardware size and placement. This step helps you check comfort, spacing, and style before making permanent changes.
12) Choose a stone-look countertop
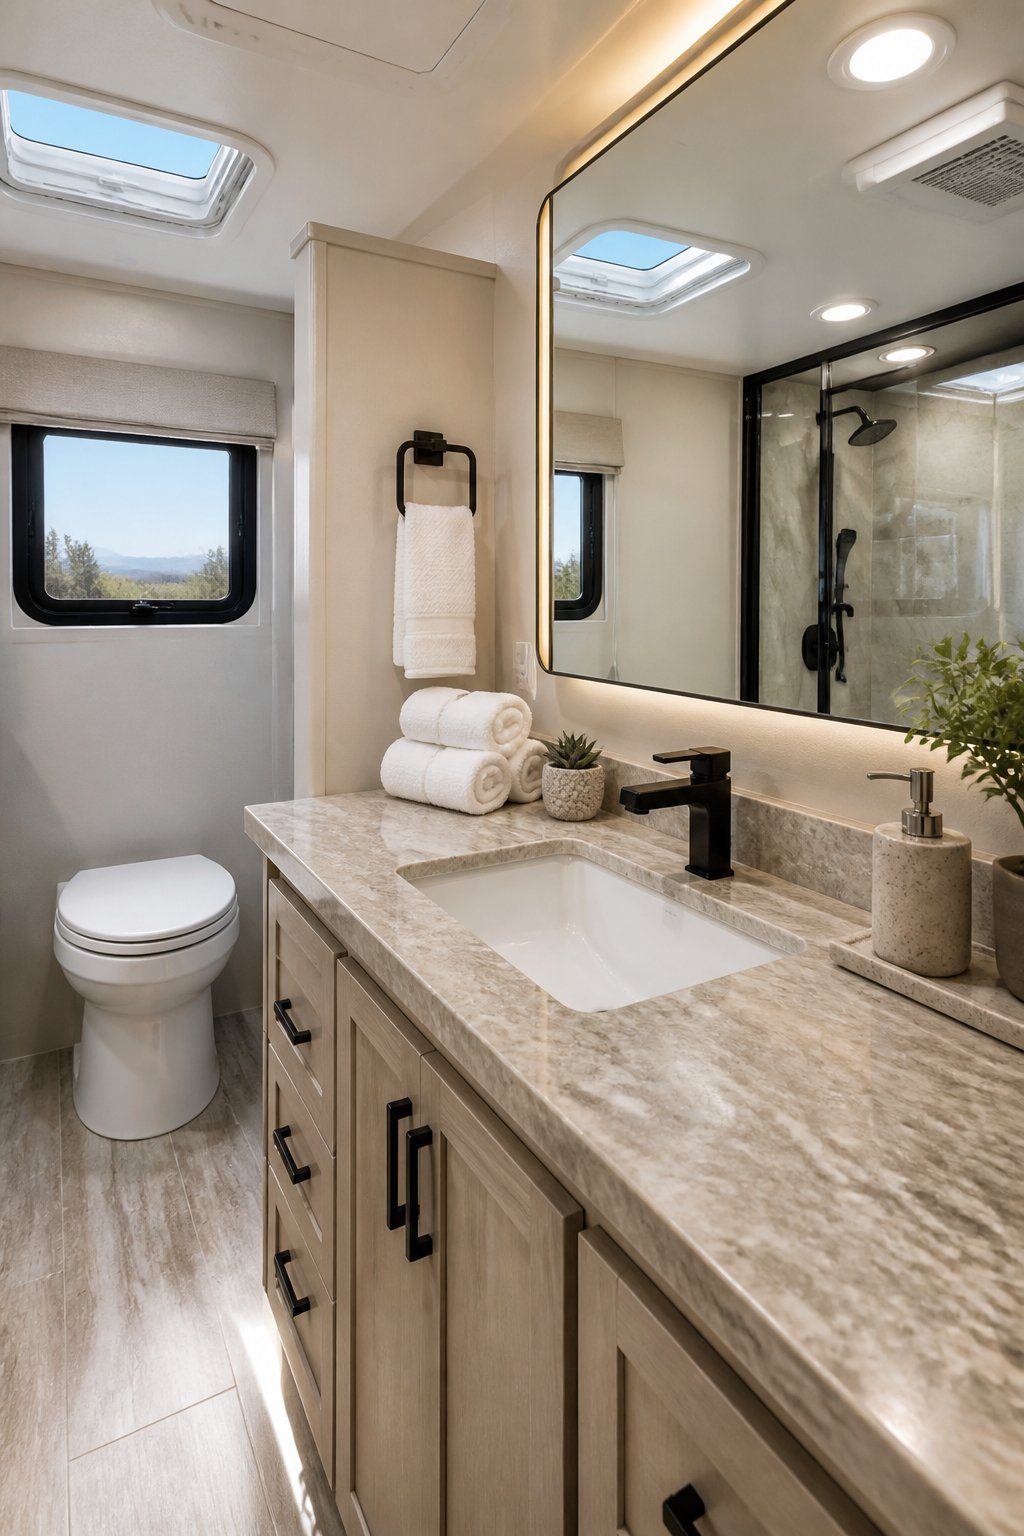
Give your RV bathroom a polished feel with a stone-look countertop. Choose a light surface with soft veining to make the space feel brighter and more open. Quartz-style laminate, solid-surface material, and lightweight composite options can offer the look of stone without adding too much weight.
Measure your vanity carefully before choosing a countertop. You need enough room for the sink, faucet, and any small items you keep nearby. A rounded edge can also improve safety in a narrow bathroom and create a smoother, more finished appearance.
Pair the countertop with simple white, beige, or light gray cabinets. Add brushed metal hardware and a matching mirror frame to connect the design. Keep the surface mostly clear so the stone pattern remains the main feature.
PRO TIP
Use a matte or lightly textured finish to hide water spots and small marks. Clean spills quickly with a soft cloth and a mild cleaner that suits the material.
13) Use clear acrylic storage bins
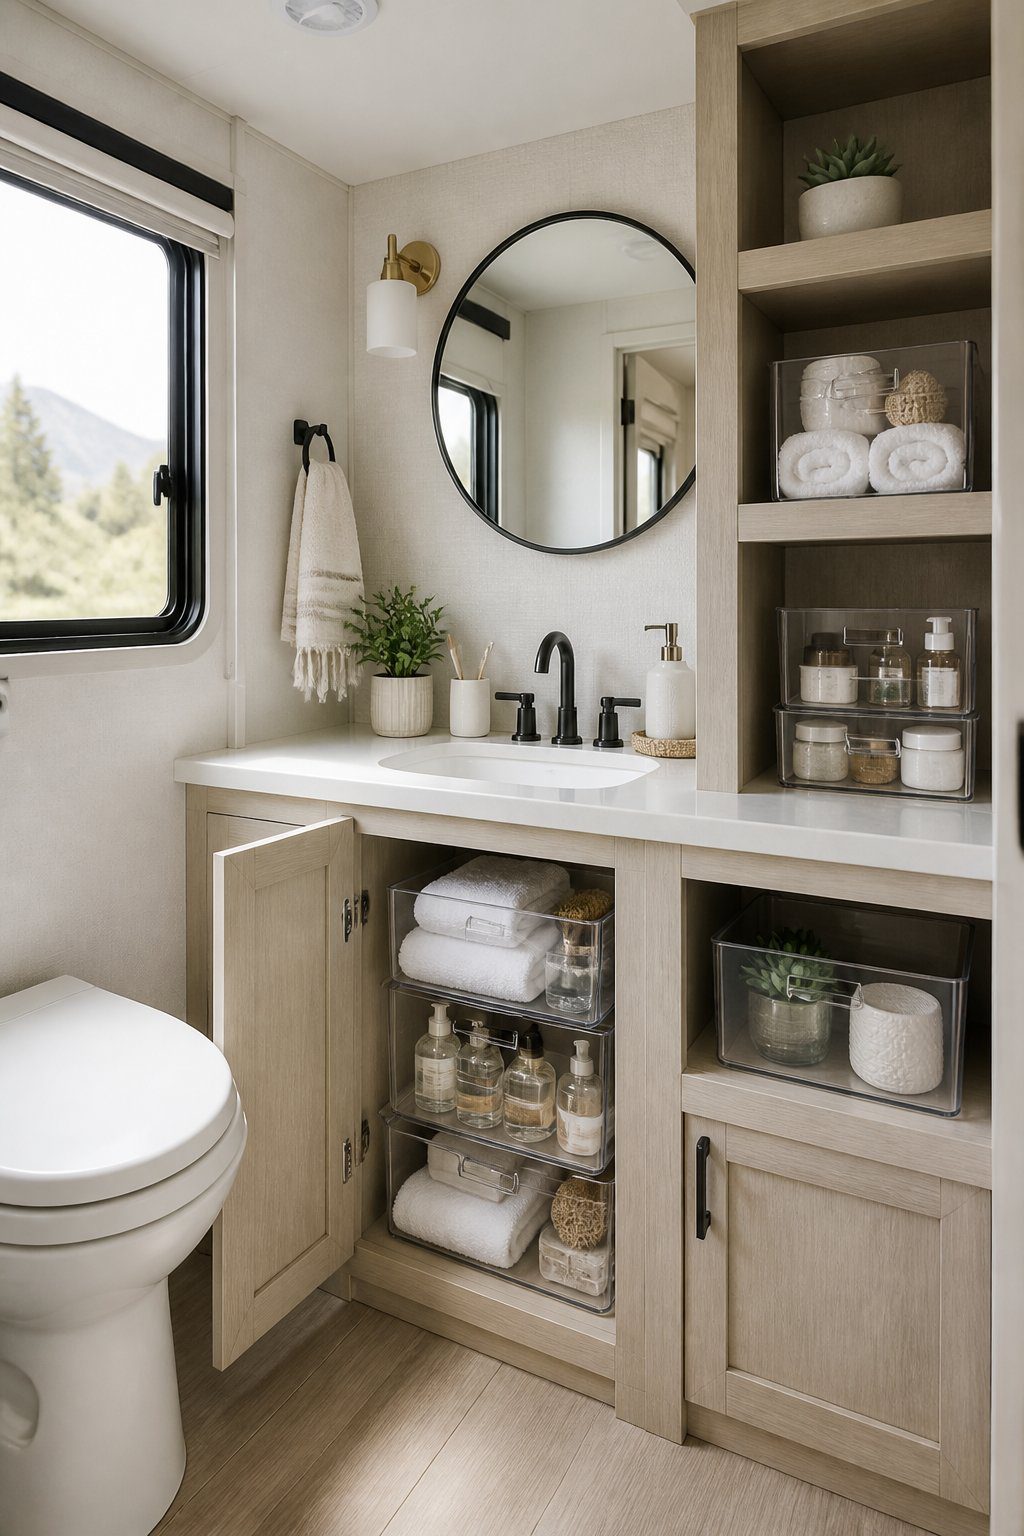
Clear acrylic storage bins help you keep toiletries visible and organized in your RV bathroom. You can quickly find soap, skincare items, towels, and cleaning supplies without opening several containers.
Choose narrow bins that fit inside cabinets, under the sink, or on open shelves. Group similar items together, such as hair products in one bin and first-aid supplies in another. Add small labels if you share the space or store many products.
Use bins with handles when possible, so you can pull them out easily in a tight bathroom. Keep heavier items on lower shelves to improve stability while your RV moves.
PRO TIP
Place a shallow acrylic bin near the sink for daily-use items. It keeps the counter neat and makes your morning routine easier.
14) Install a corner shower caddy
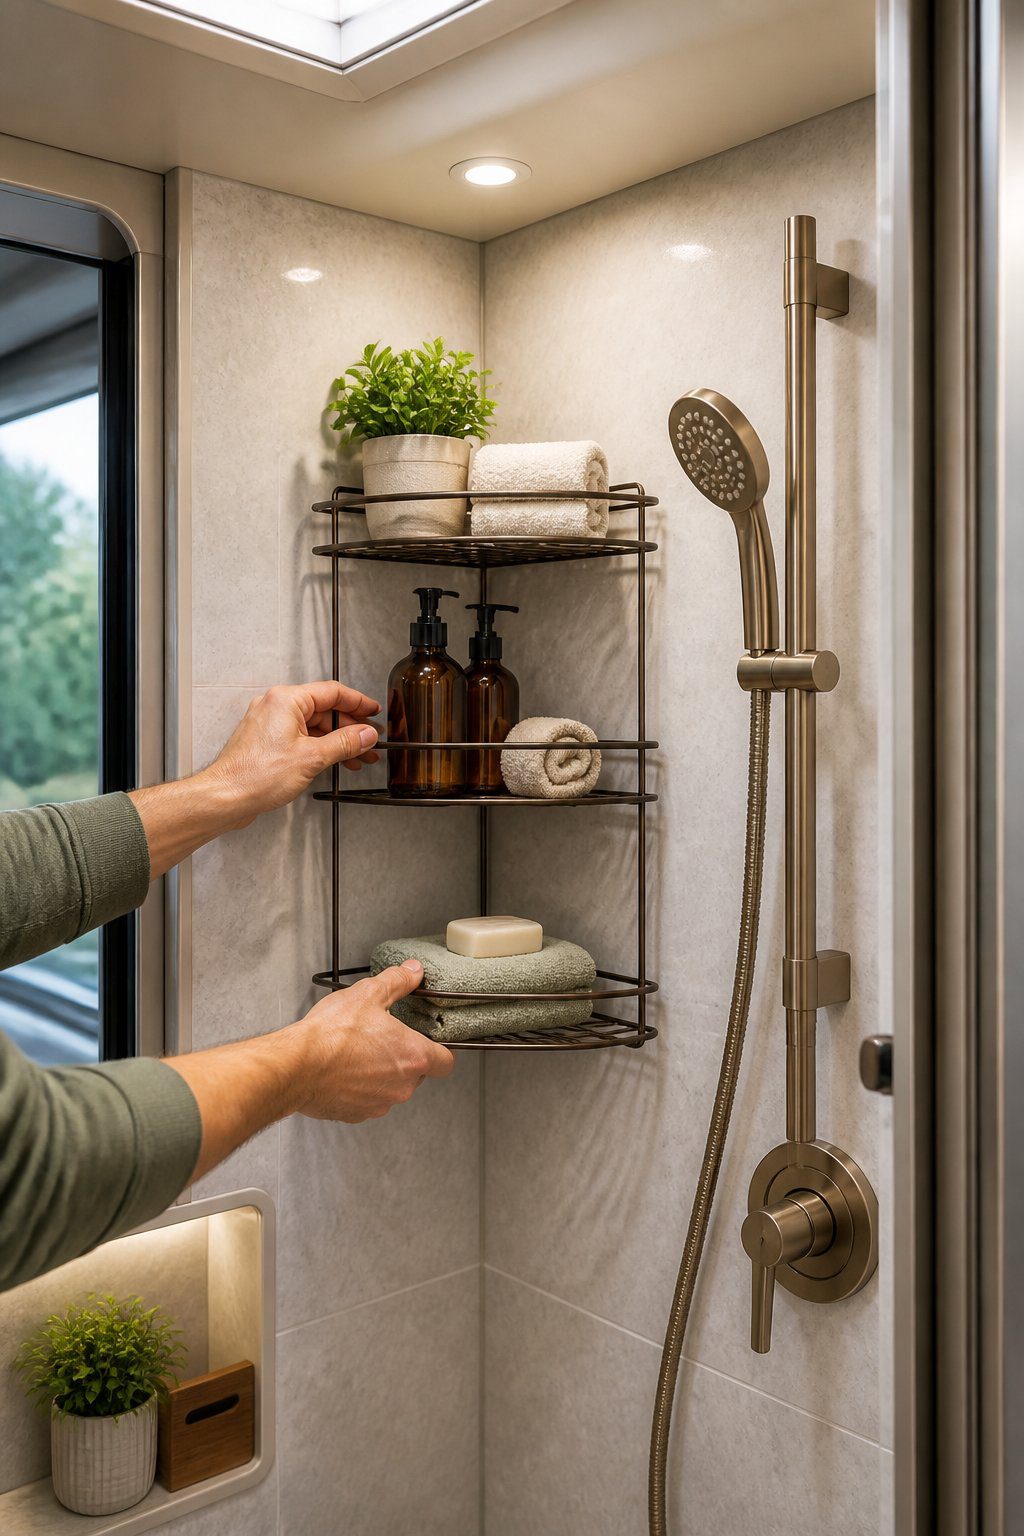
A corner shower caddy gives you extra storage without taking up much room. Choose a slim, rust-resistant model that fits securely between the walls of your RV shower. Look for open shelves so water can drain quickly and bottles stay easy to reach.
Use the caddy for shampoo, soap, conditioner, and other daily items. Keep heavier bottles on the lower shelf to improve balance, and place smaller items higher up. Avoid overcrowding the shelves, since a tidy display helps your bathroom feel more like a spa.
PRO TIP
Use removable adhesive hooks or tension supports when possible, especially if you do not want to drill into the shower wall. Check that the caddy stays firmly in place before travel, and remove loose items before moving your RV.
15) Display rolled towels in a woven basket
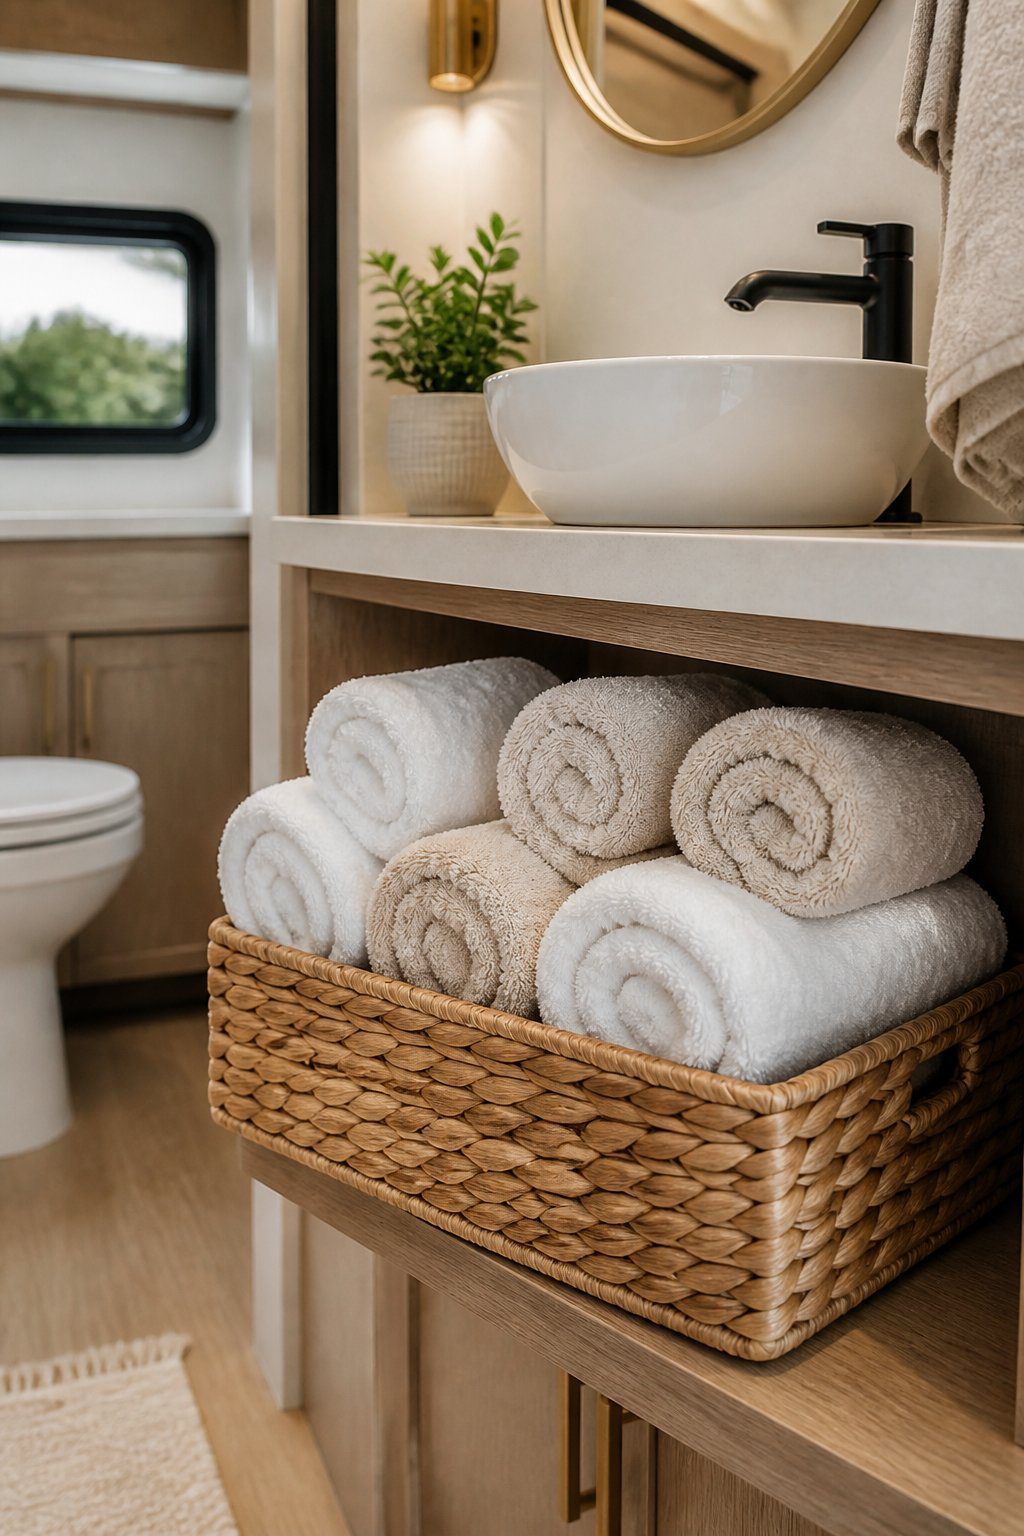
Place a woven basket on a shelf, beside the sink, or in an open cabinet. Roll two or three hand towels neatly and set them inside with the rounded ends facing outward. This keeps towels easy to reach while adding texture to your RV bathroom.
Choose a basket that fits your space without blocking doors or walkways. Natural fibers create a warm, relaxed look, while a white or gray basket gives the room a cleaner style. Use towels in soft colors to keep the small space calm and coordinated.
PRO TIP
Keep the basket away from direct splashes and allow damp towels to dry before rolling them. Line the bottom with a washable cloth to protect the basket and make cleaning easier.
16) Add eucalyptus shower bundles
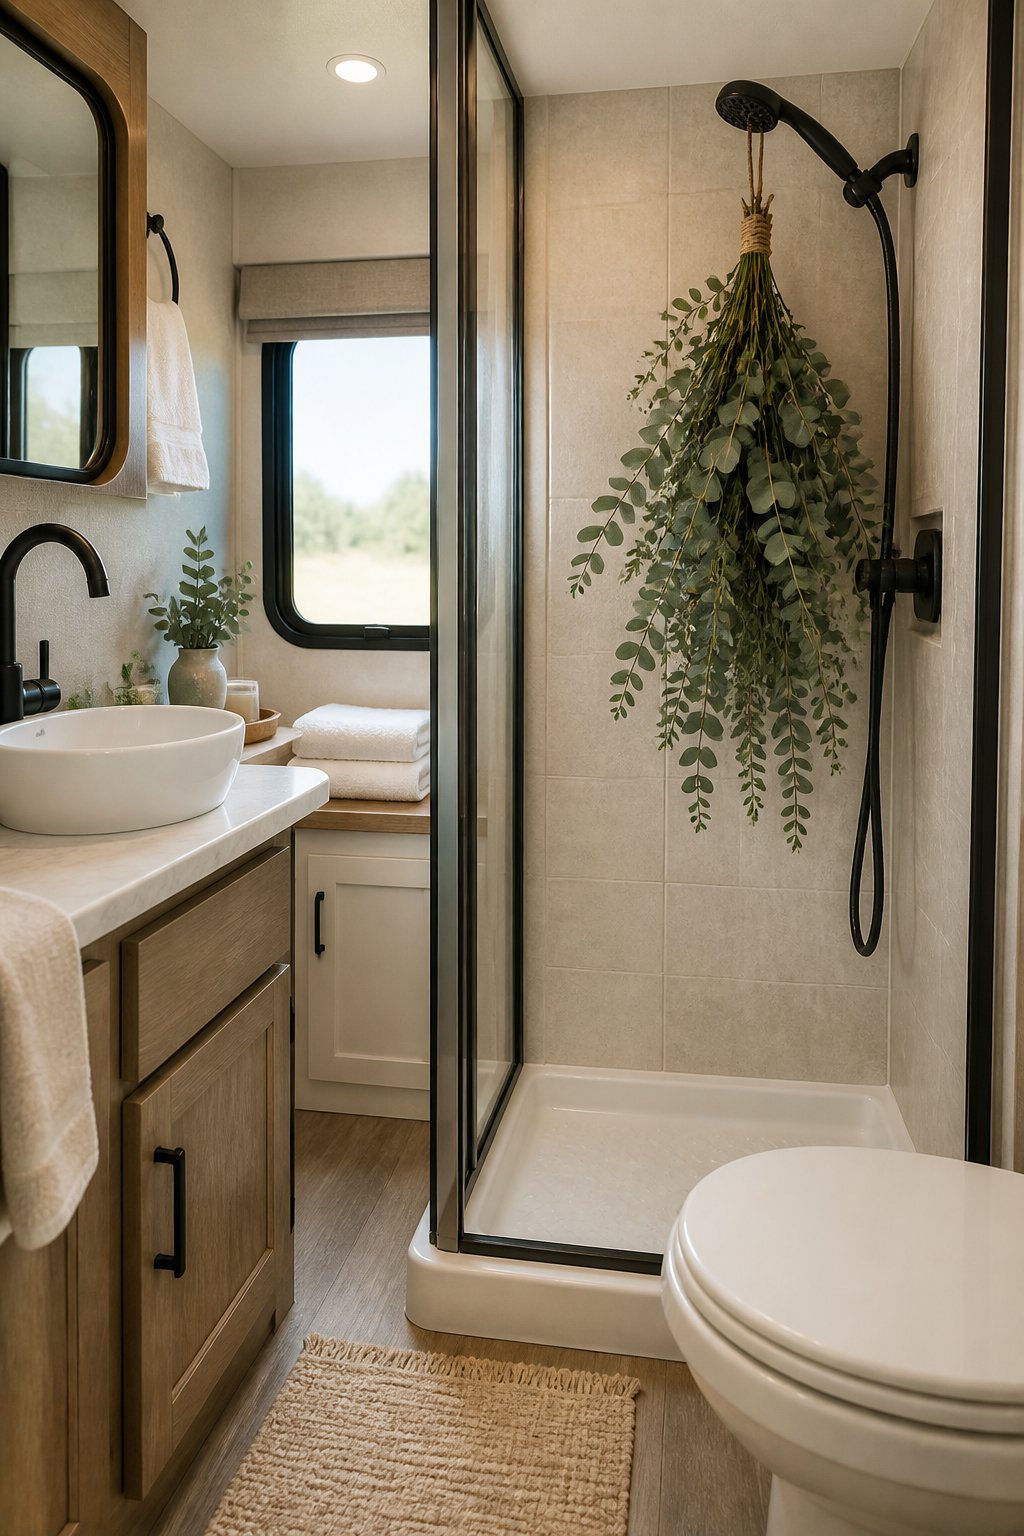
Hang a small eucalyptus bundle from your showerhead to add a fresh, natural touch to your RV bathroom. Place it above the water stream, where steam can release its scent without soaking the leaves too quickly. Use twine or a secure, water-resistant tie to keep the bundle in place.
Choose a bundle that fits your space and does not block the shower controls. Replace it when the leaves become dry, brittle, or lose their scent. If you have pets, check that eucalyptus is safe for them before bringing it into your RV.
PRO TIP
Wrap the stems in a damp cloth before tying the bundle. This can help preserve the leaves and keep the arrangement looking neat in a small shower.
17) Use moisture-resistant artwork
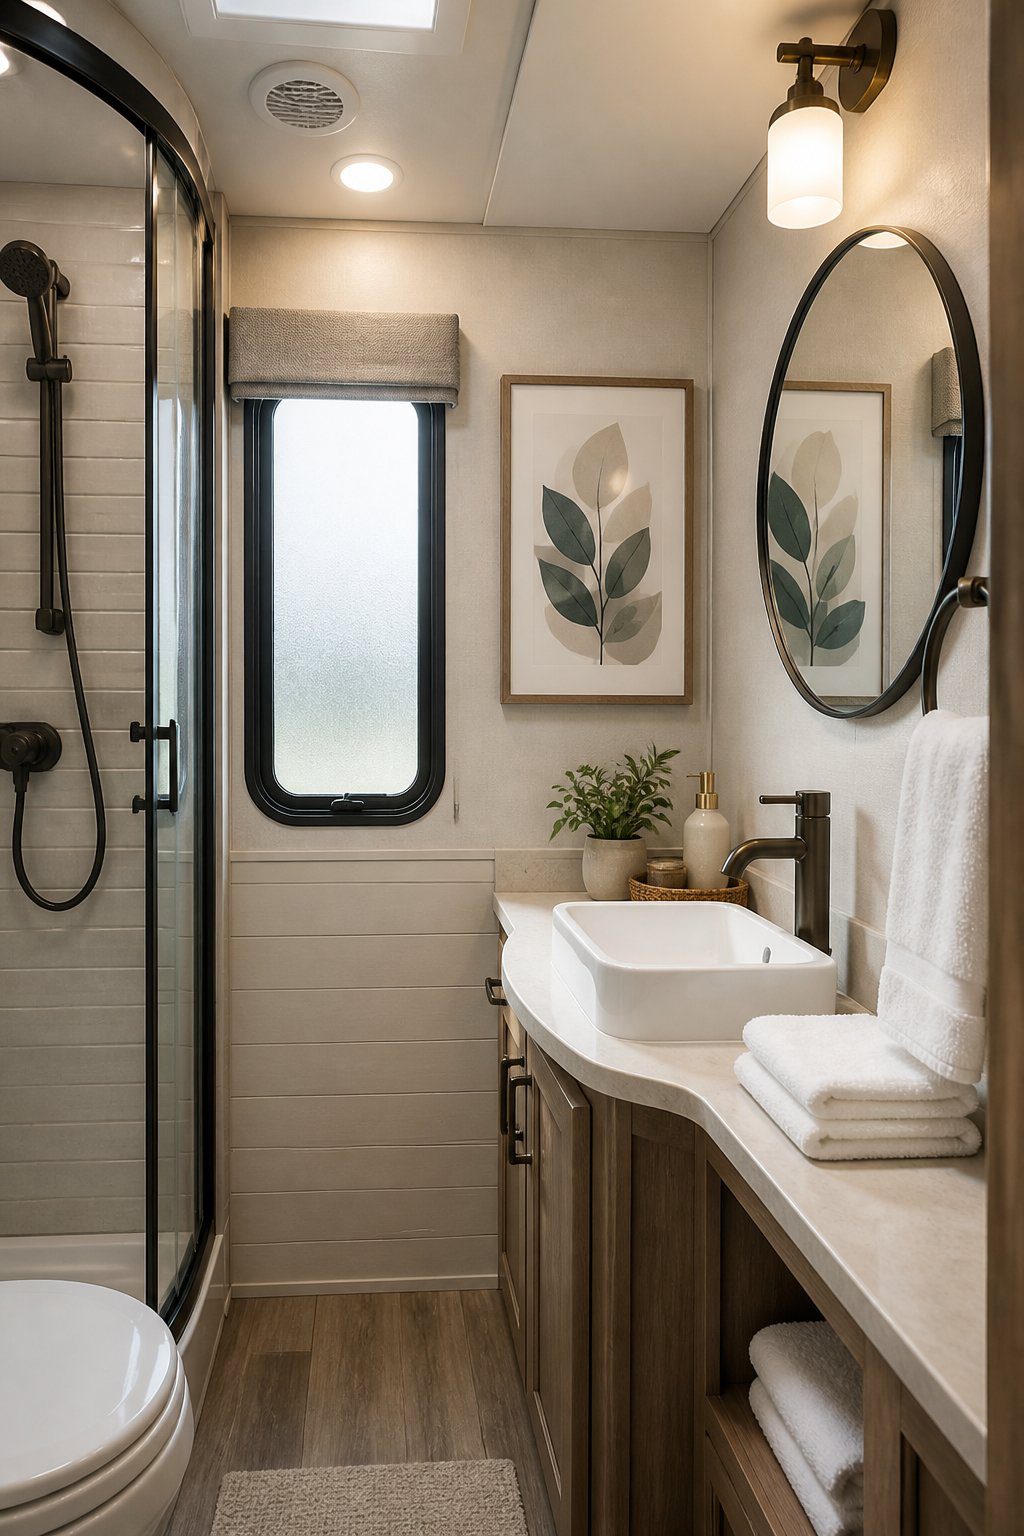
Add artwork that can handle humidity without warping, fading, or growing mold. Choose framed prints with sealed edges, acrylic panels, metal art, or canvas made for damp spaces. These materials help your bathroom look polished while standing up to daily showers.
Pick simple designs that match your RV’s colors and size limits. Small botanical prints, calm landscapes, or abstract patterns can create a spa-like mood without making the room feel crowded. Use lightweight pieces so they remain safe during travel.
PRO TIP
Secure each piece with removable mounting strips or compact hardware designed for RV use. Avoid heavy glass frames, which can fall or break when your RV moves. Leave a little space between the artwork and shower spray to reduce moisture exposure.
18) Install a towel-warmer rack
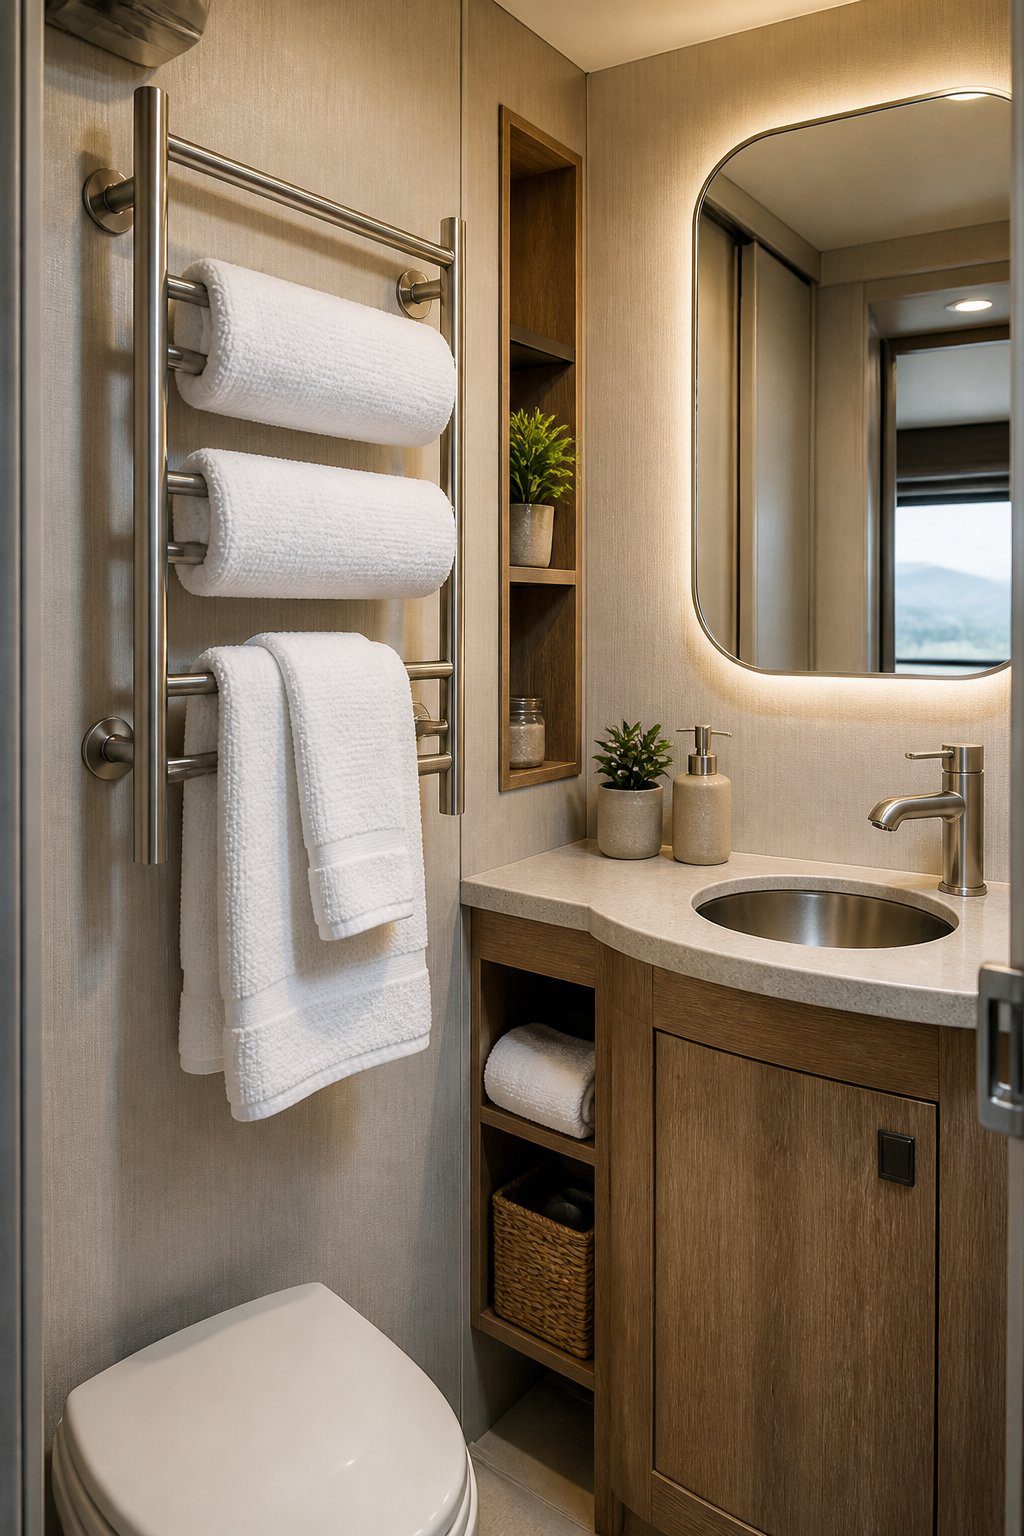
Add a towel-warmer rack to make your RV bathroom feel more comfortable and inviting. Choose a compact, wall-mounted model that fits the available space without blocking cabinets, doors, or walking areas. A slim design can provide warmth while keeping the room open.
Mount the rack near the shower, but keep it away from direct water spray. You should also check the rack’s power needs and confirm that your RV’s electrical system can support it. Follow the installation instructions, or ask a qualified professional for help.
PRO TIP
Use the rack for one or two towels at a time so air can move around them. Select light-colored towels to create a clean, spa-like look, and fold them neatly over the bars. Keep the rack dry when you are not using it.
19) Choose quick-dry microfiber bath mats
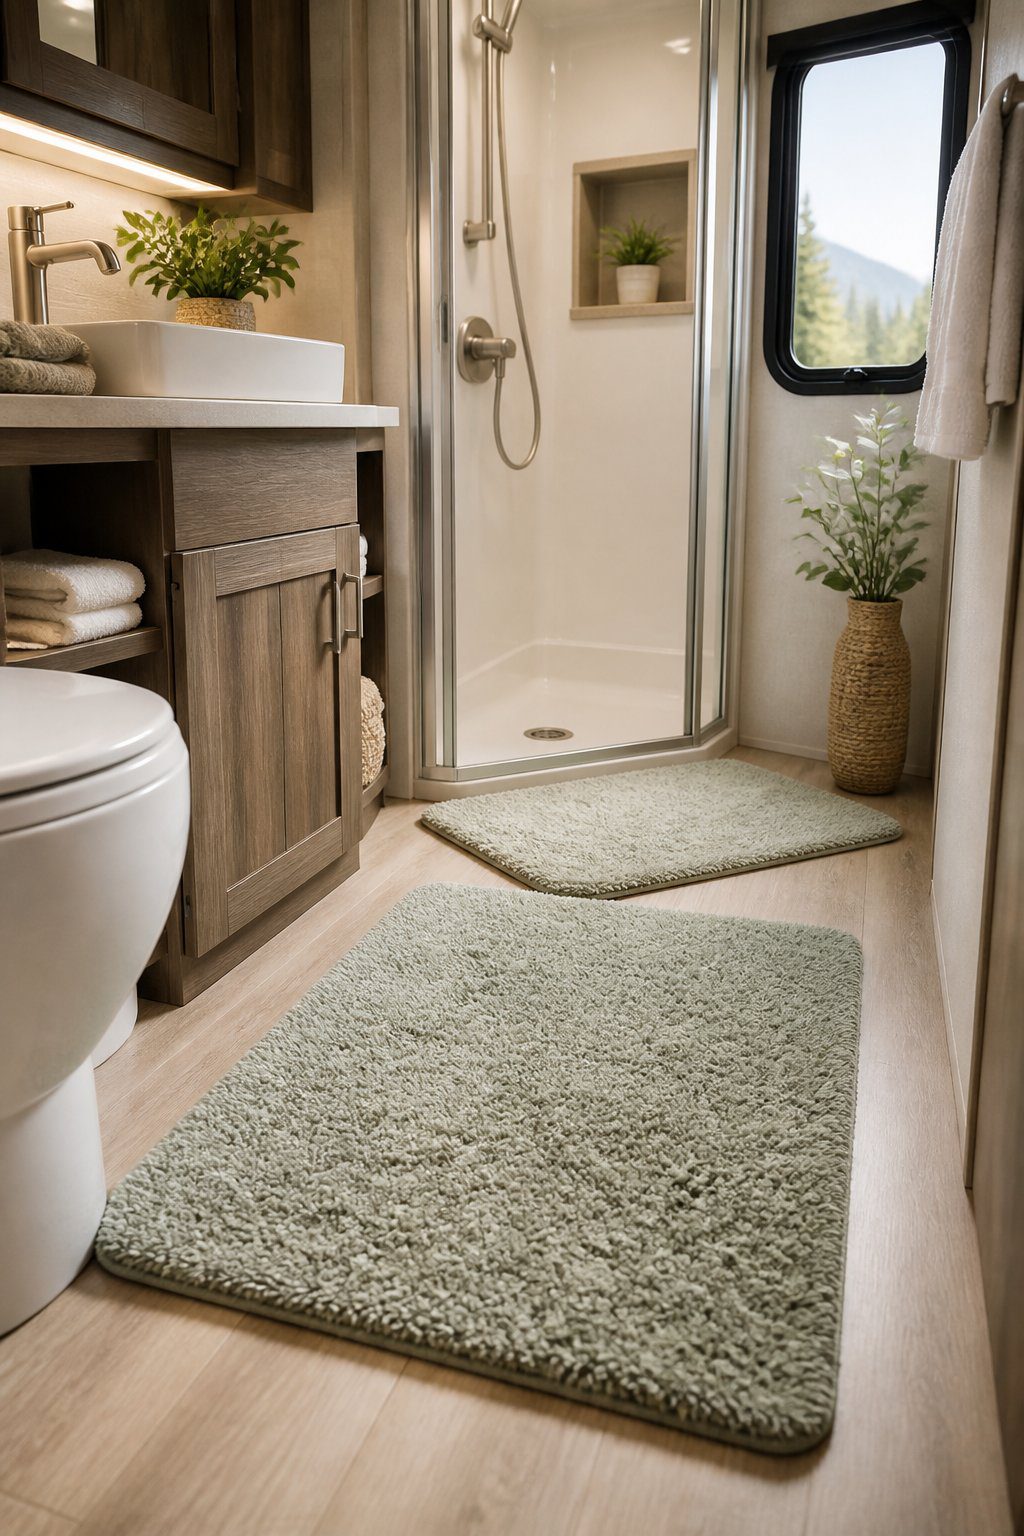
Quick-dry microfiber bath mats help keep your RV bathroom floor clean and comfortable. Their soft texture feels pleasant under your feet after a shower, while the fast-drying fabric helps limit lingering moisture in a small, enclosed space.
Choose a mat with a low profile so it fits neatly beneath the bathroom door and does not create a tripping hazard. A nonslip backing can help keep it in place, but check that the backing will not mark or damage your flooring.
Select a neutral color or a simple pattern that matches your towels and shower curtain. Wash the mat regularly, and hang it over a rail or shower door between uses to improve airflow.
PRO TIP
Pack a spare microfiber mat for longer trips. You can switch mats while one dries, helping your bathroom stay fresh without taking up much storage space.
20) Add a slim over-the-toilet shelf
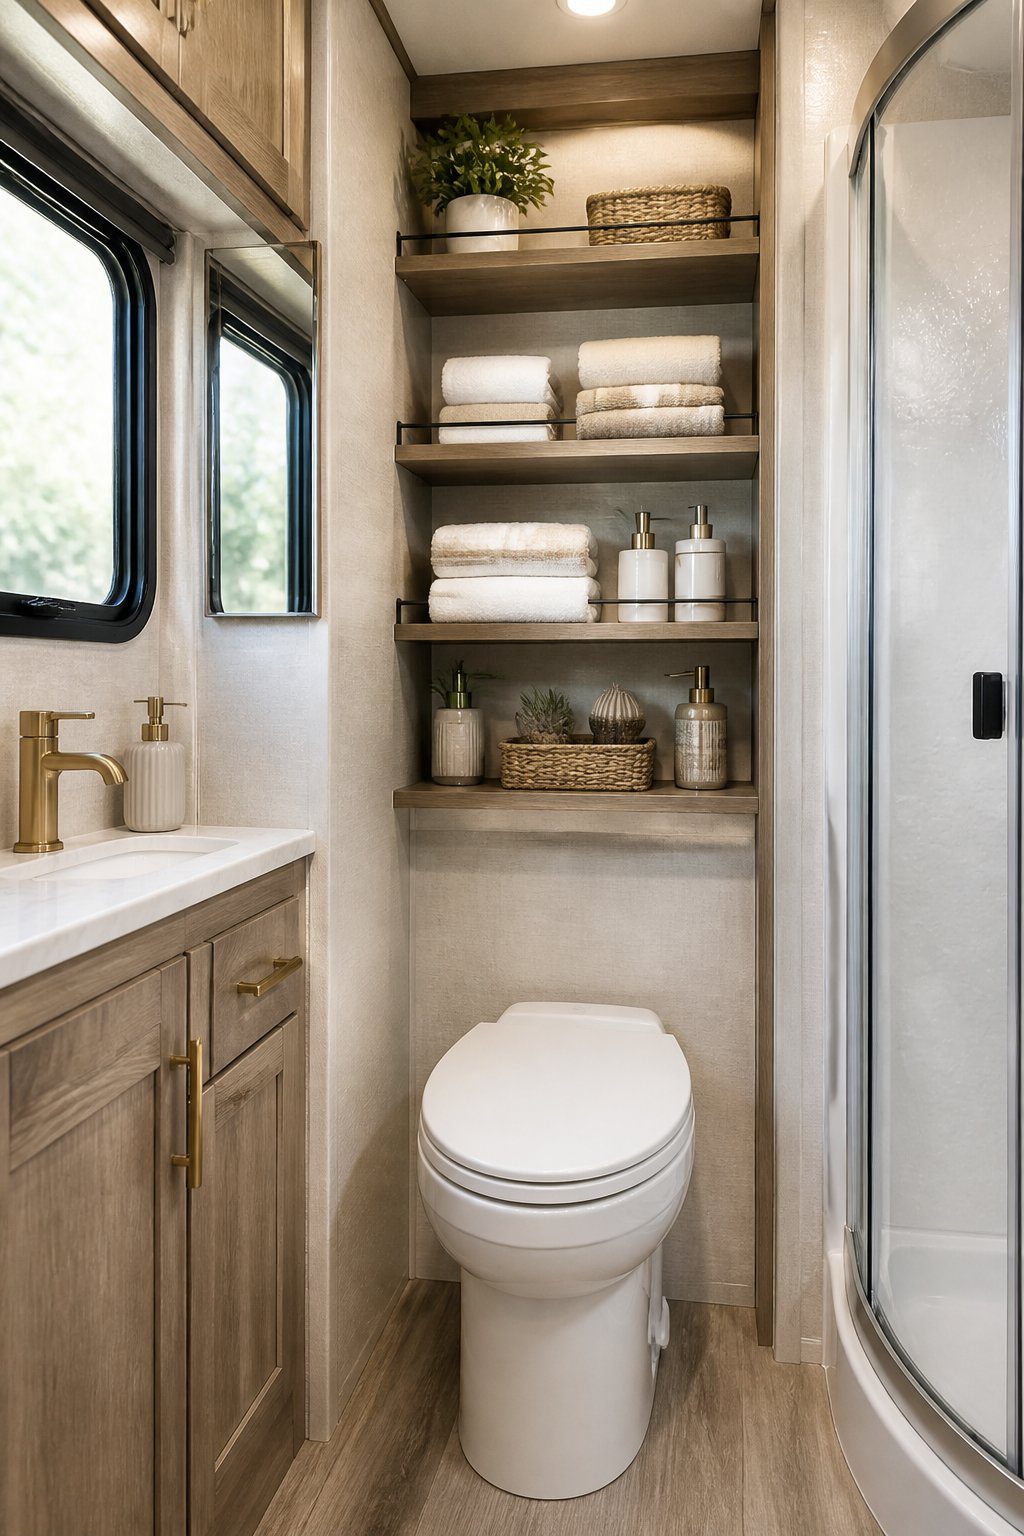
A slim over-the-toilet shelf gives you extra storage without taking up much floor space. Choose a narrow design that fits securely around your toilet and leaves enough room to lift the lid comfortably.
Use the shelves for folded hand towels, spare toilet paper, and small baskets. Keep daily items within easy reach, but avoid filling every inch. A few neatly arranged pieces will make your bathroom feel calmer and more organized.
For a spa-like touch, add a small plant, a rolled towel, or a simple container for cotton swabs. Choose moisture-resistant materials, such as sealed wood, metal, or plastic, so the shelf holds up in the changing bathroom climate.
PRO TIP
Measure the space behind your toilet before you shop. Check the shelf’s width, depth, and height to prevent blocked cabinets, vents, or windows.
21) Use matching amber soap dispensers
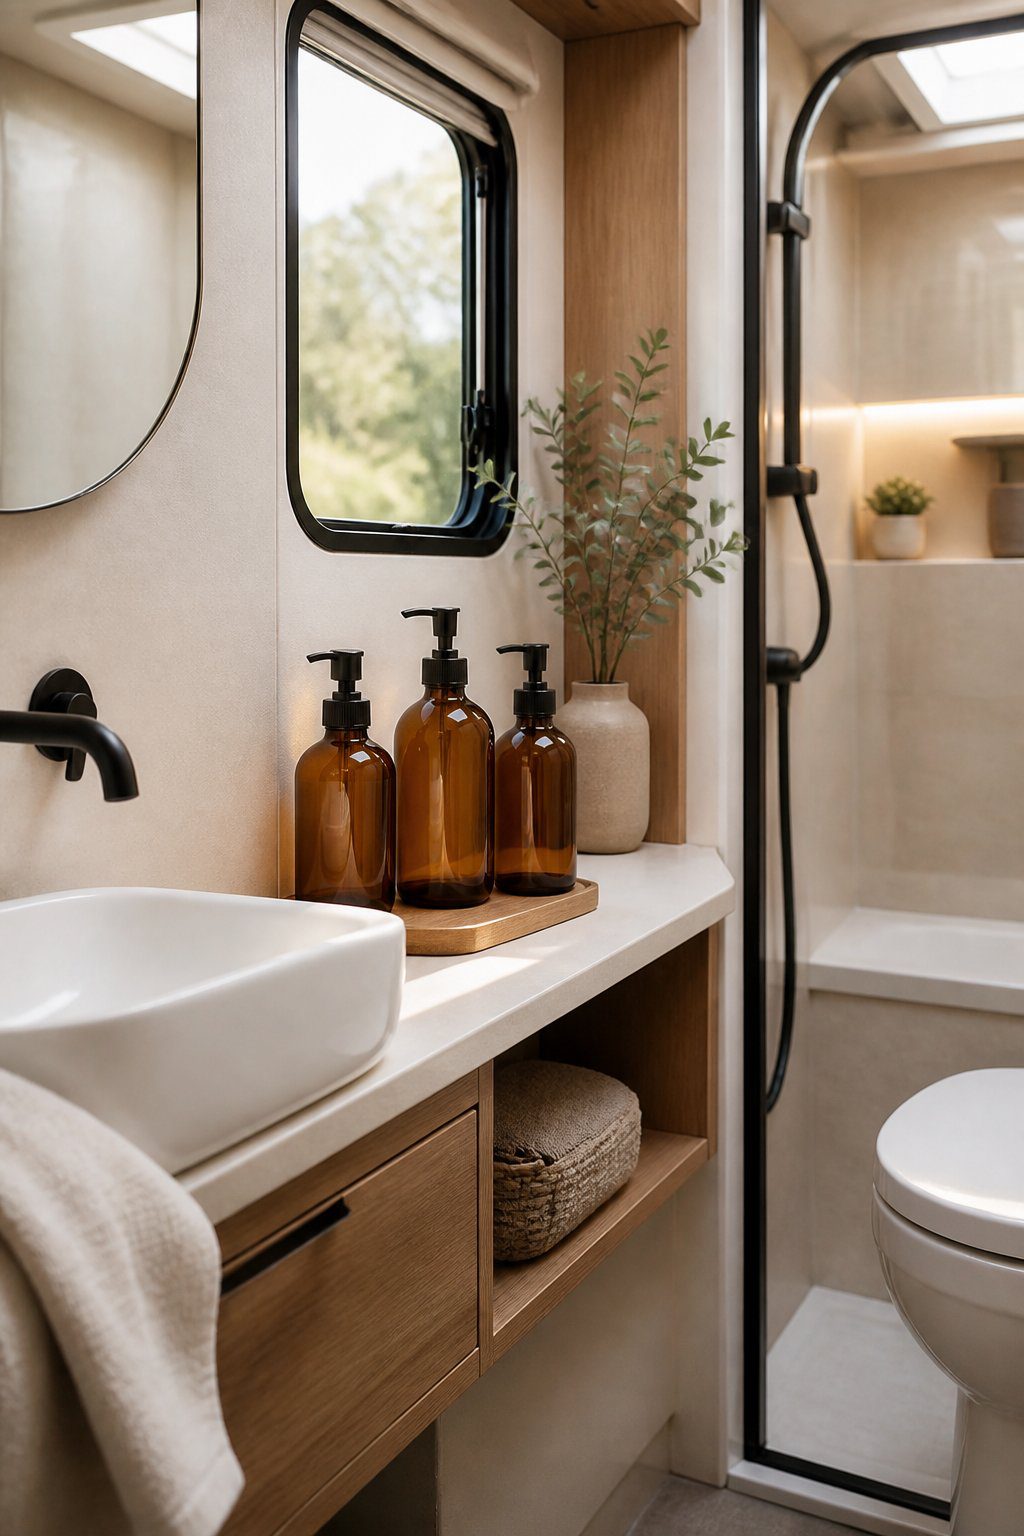
Matching amber soap dispensers can give your RV bathroom a neat, coordinated look. Choose one for hand soap and another for lotion, shampoo, or body wash. Their warm color adds a simple touch of style without taking up much counter space.
Use refillable dispensers with pumps that work smoothly and fit your sink area. Add small, waterproof labels so you can quickly identify each product. Keep the bottles on a slim tray to prevent spills and make cleaning easier.
PRO TIP
Choose dispensers with a compact shape and sturdy base. RV bathrooms have limited space, so avoid tall bottles that may tip during travel. Secure the tray with removable adhesive strips when you drive, then place it back on the counter at your destination.
22) Install under-cabinet lighting
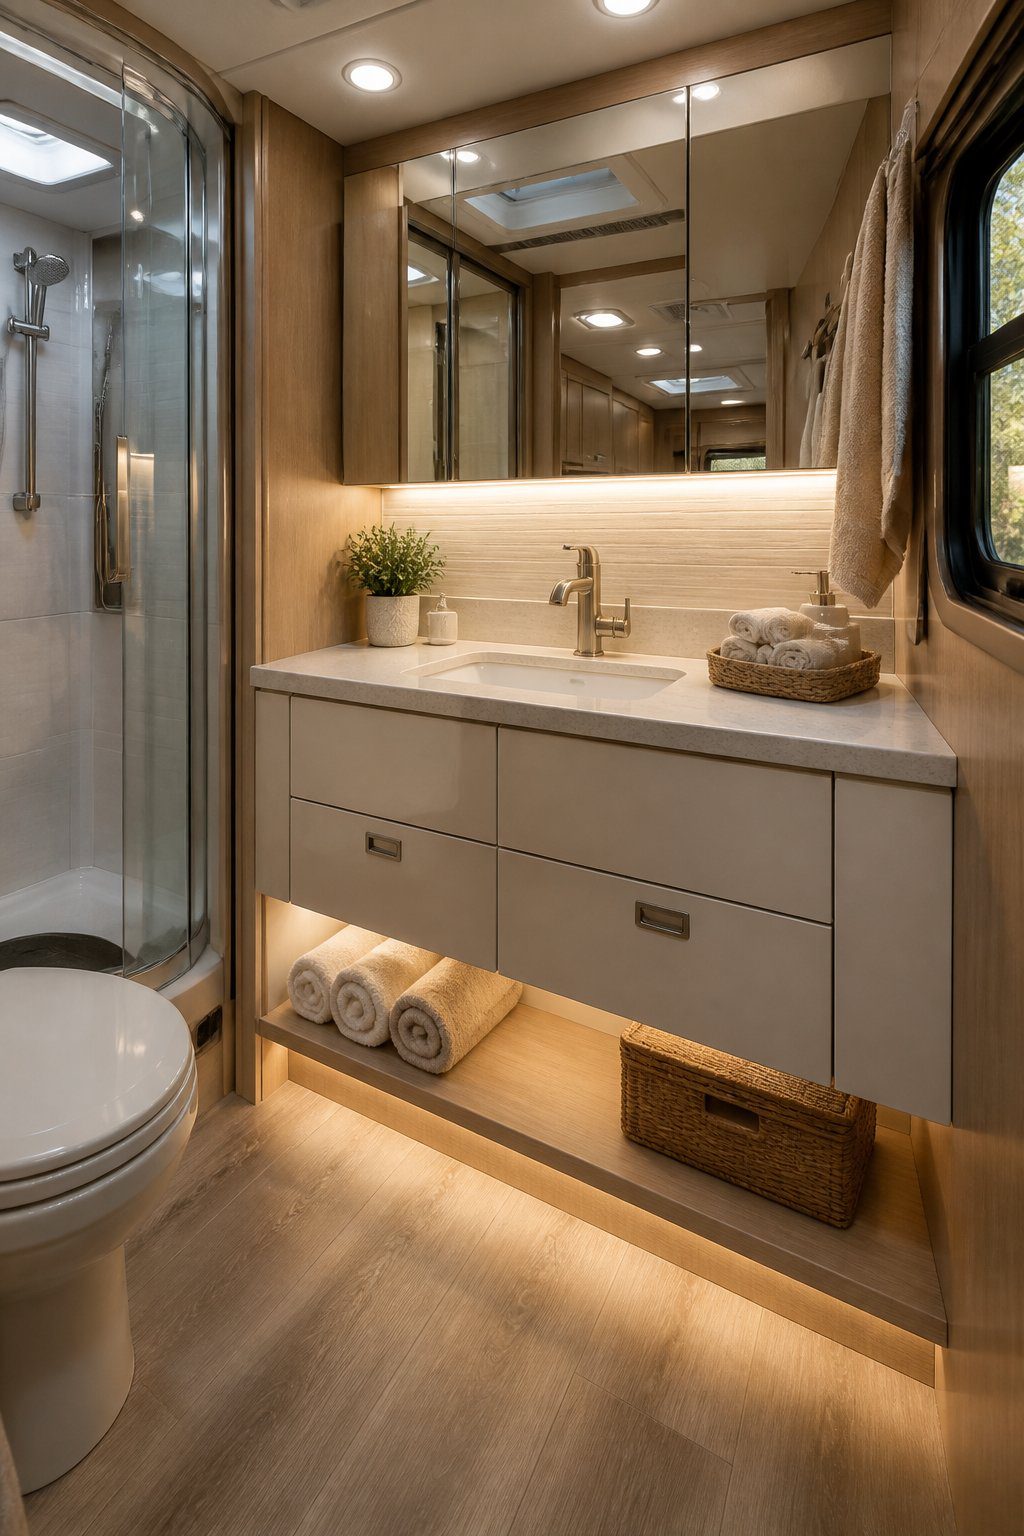
Add slim LED lights beneath your bathroom cabinets to brighten the counter without taking up valuable space. This soft layer of light helps you see toiletries, towels, and small details while keeping the room calm and inviting.
Choose warm white bulbs to create a cozy spa-like mood. Pick dimmable lights if you want more control, and use adhesive light strips or compact puck lights that fit neatly under the cabinet.
Place the lights near the front edge of the cabinet for even coverage. Hide the cord along the cabinet’s underside or behind a trim piece, and keep all connections away from water.
PRO TIP
Use motion-activated lights for nighttime visits. They turn on when you need them, so you do not have to search for a switch in the dark.
23) Add a small faux olive tree
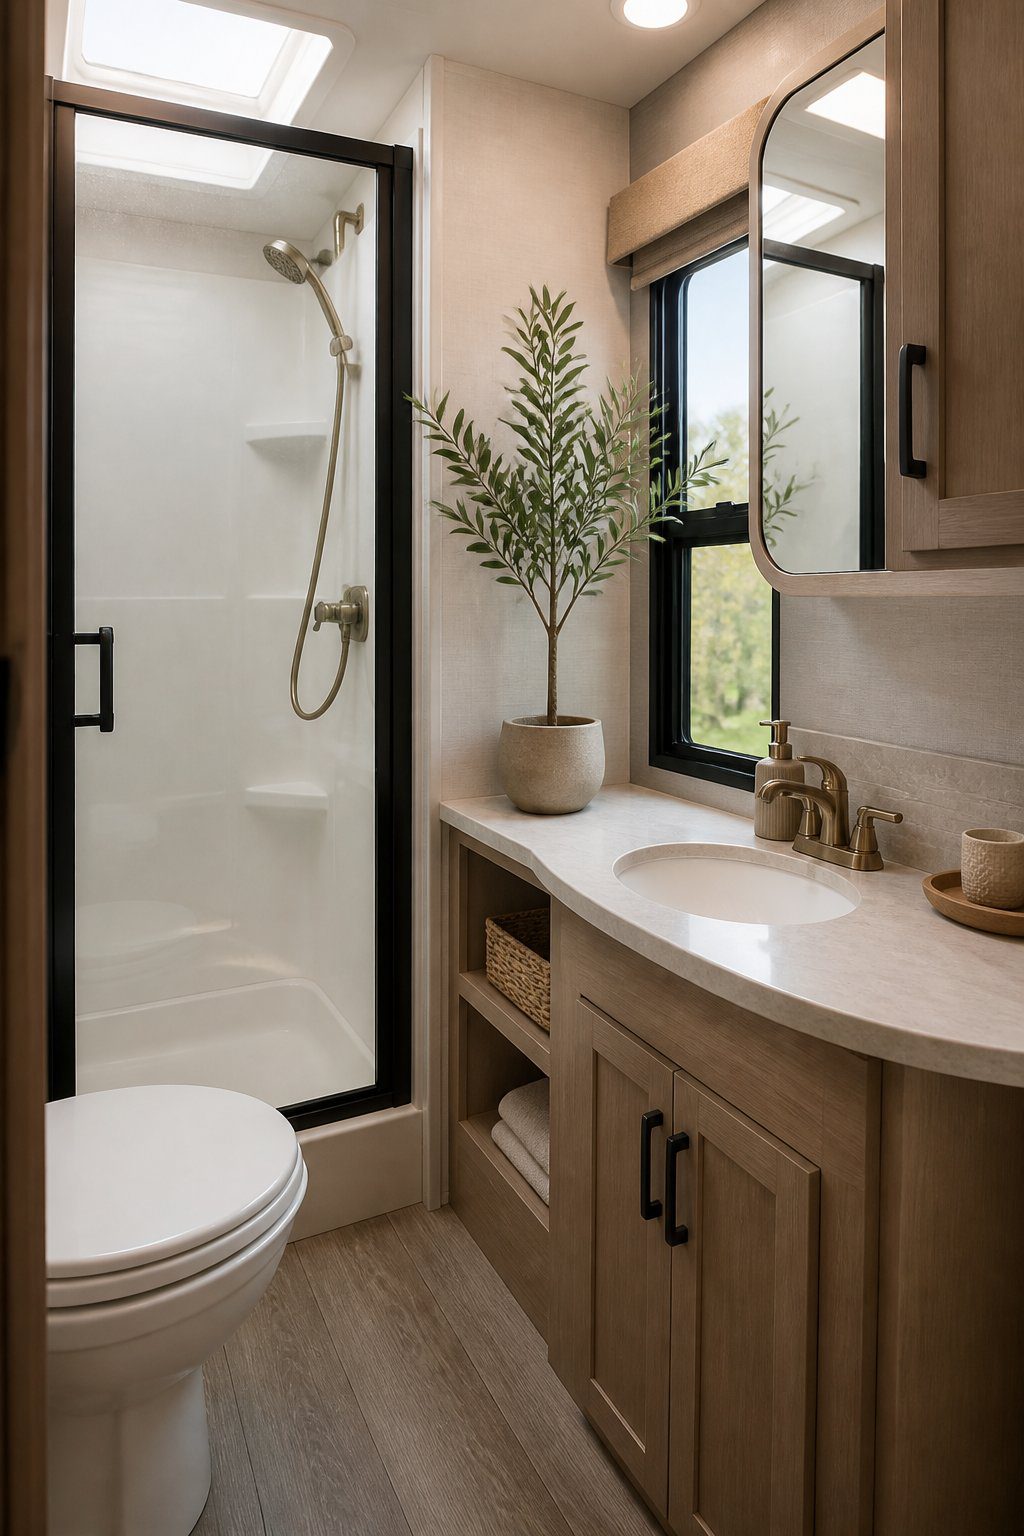
Bring a calm, natural touch to your RV bathroom with a small faux olive tree. Choose a narrow pot and a compact tree that fits beside the sink, toilet, or shower without blocking movement. Its soft green leaves can make the space feel warmer and more inviting.
Use a lightweight planter so you can move the tree when you need extra room. A pot with a simple finish, such as white, beige, or wood tones, can match many bathroom styles. Secure the planter with a nonslip mat or removable adhesive strips while you travel.
PRO TIP
Pick a faux tree with flexible branches. You can shape the leaves to fit tight corners and keep them away from mirrors, cabinets, and towel hooks.
24) Choose a curved shower curtain rod
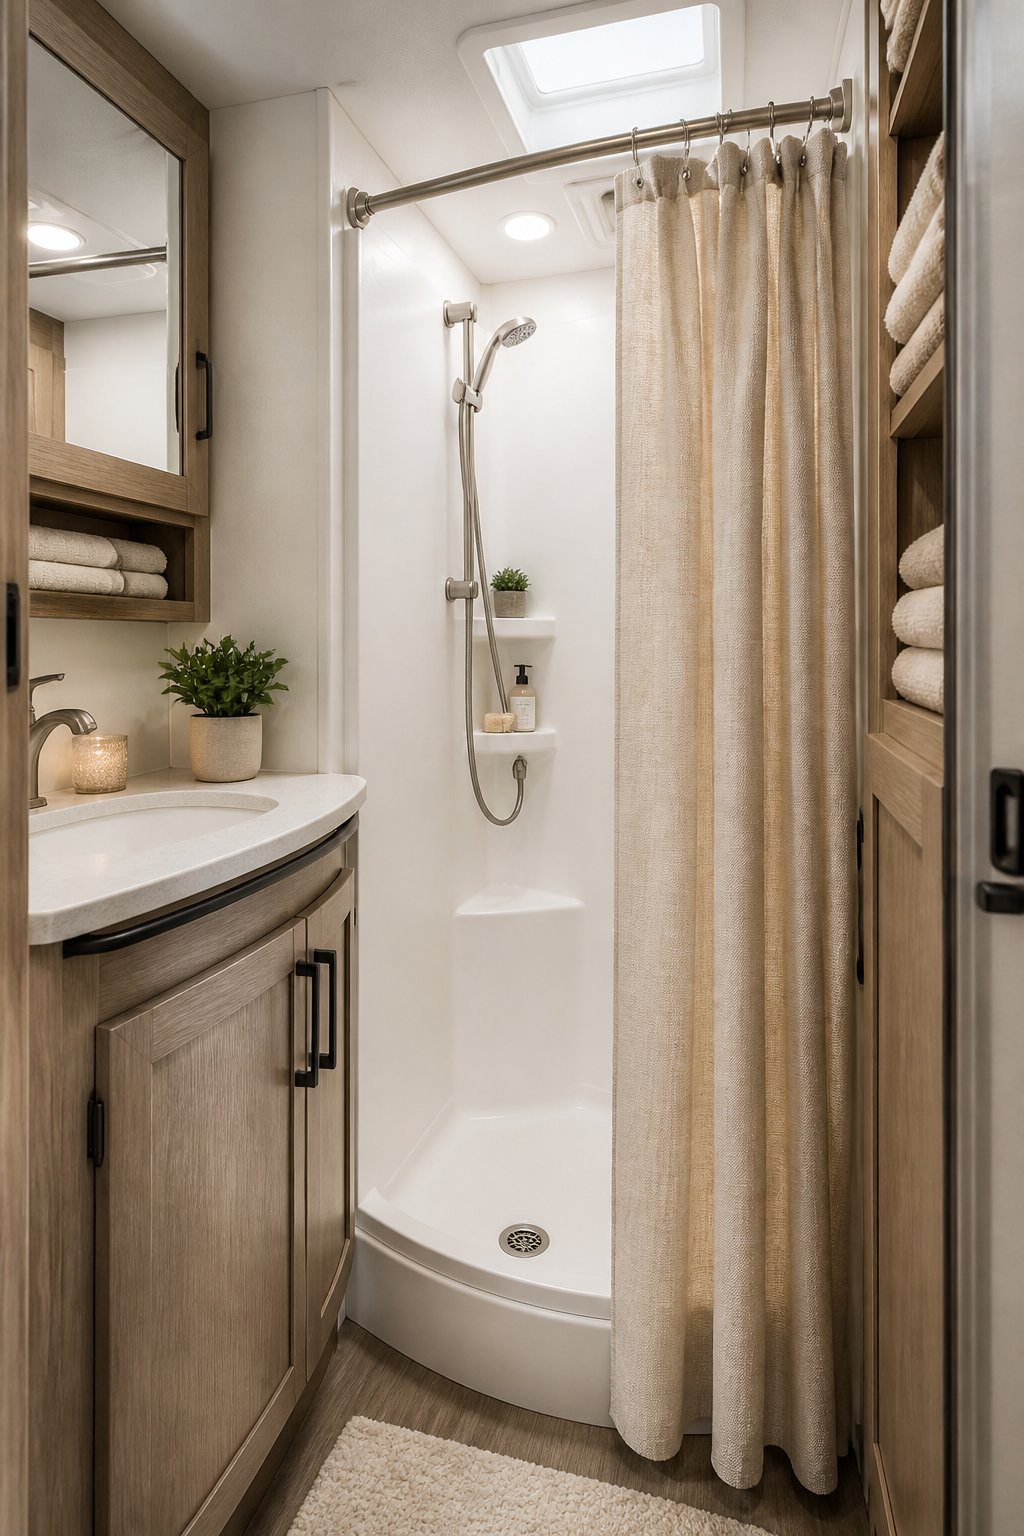
A curved shower curtain rod gives your RV bathroom a little more elbow room without requiring a major renovation. The rounded shape pulls the curtain away from your body, making the shower feel less tight while keeping water contained.
Choose a rod with a finish that matches your existing fixtures, such as brushed metal or matte black. Keep the curtain light in color to make the space feel open, or select a subtle pattern to add personality without overwhelming the small room.
A tension rod can simplify installation and avoid drilling into the walls. Measure the shower area first, and check that the rod fits securely when the slide-out or bathroom door moves.
PRO TIP
Use a fabric curtain with a waterproof liner. Wash the fabric regularly, and allow both layers to dry fully between showers to help prevent musty odors.
25) Use a linen-look shower curtain
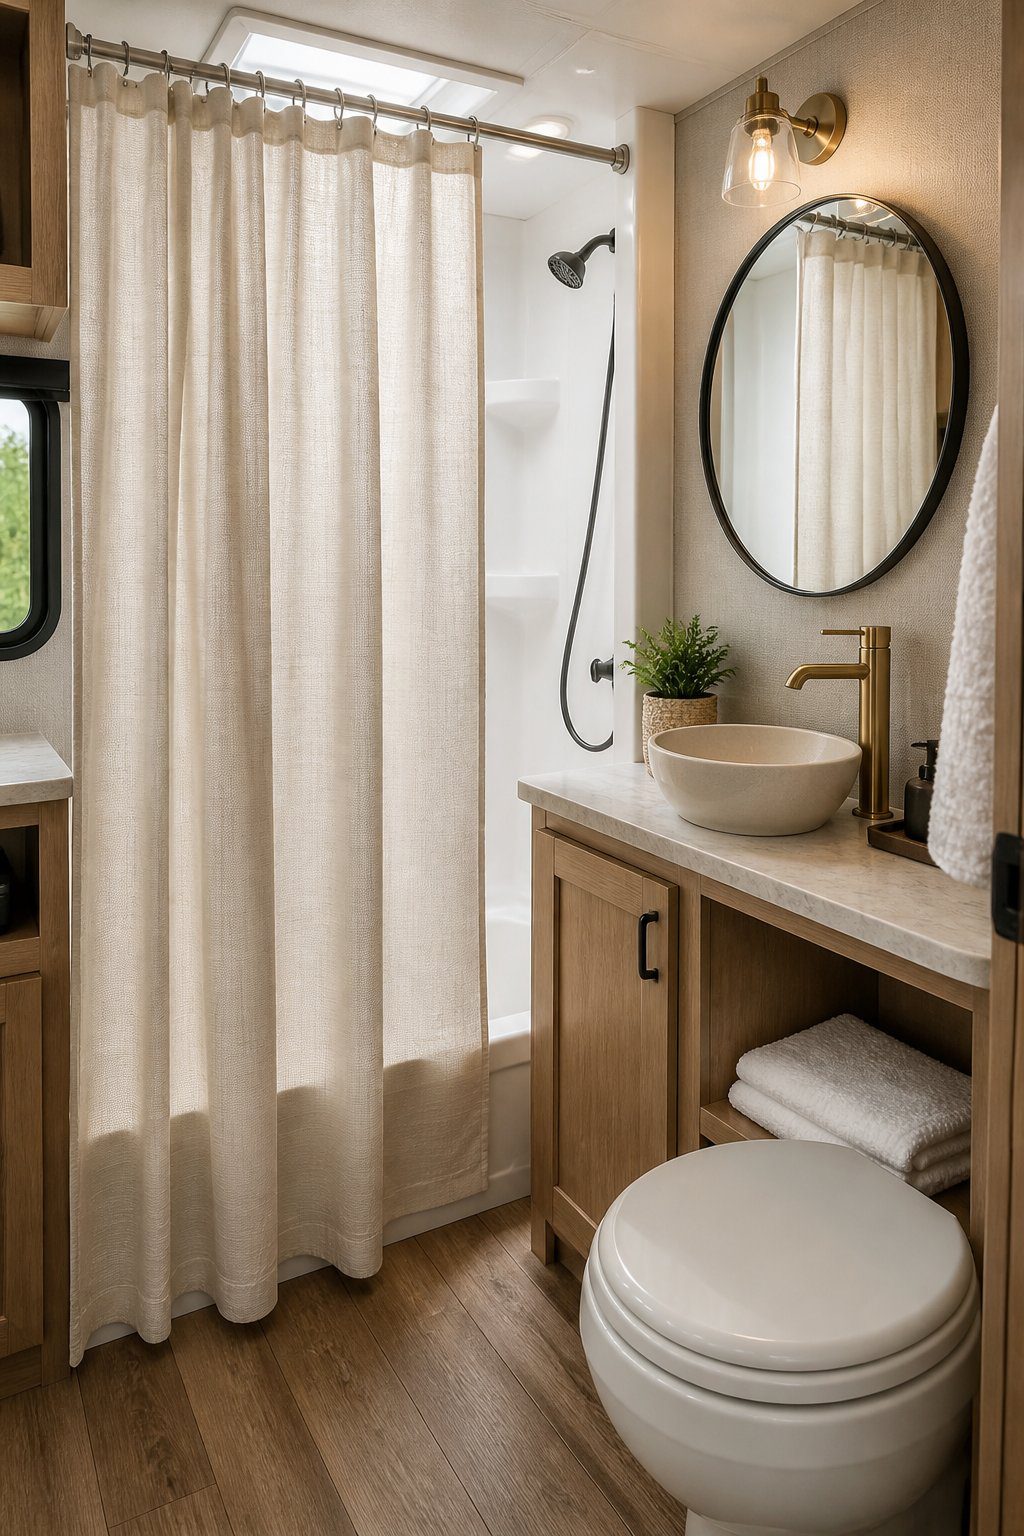
Choose a linen-look shower curtain to bring soft texture and a relaxed feel to your RV bathroom. Its woven appearance can make the space feel warmer without adding bulky decor or taking up valuable room.
Select a curtain in white, beige, light gray, or another neutral shade that works with your bathroom colors. A simple fabric pattern, such as narrow stripes or subtle checks, can add interest while keeping the small space calm and uncluttered.
Measure your shower area before buying, since RV bathrooms often use compact or unusual dimensions. Look for a lightweight curtain that dries quickly, and use a washable liner to help protect the fabric from moisture.
PRO TIP
Hang the curtain slightly higher than the shower opening if your ceiling allows it. This can make your RV bathroom look taller while keeping the design neat and balanced.
26) Install waterproof vinyl plank flooring
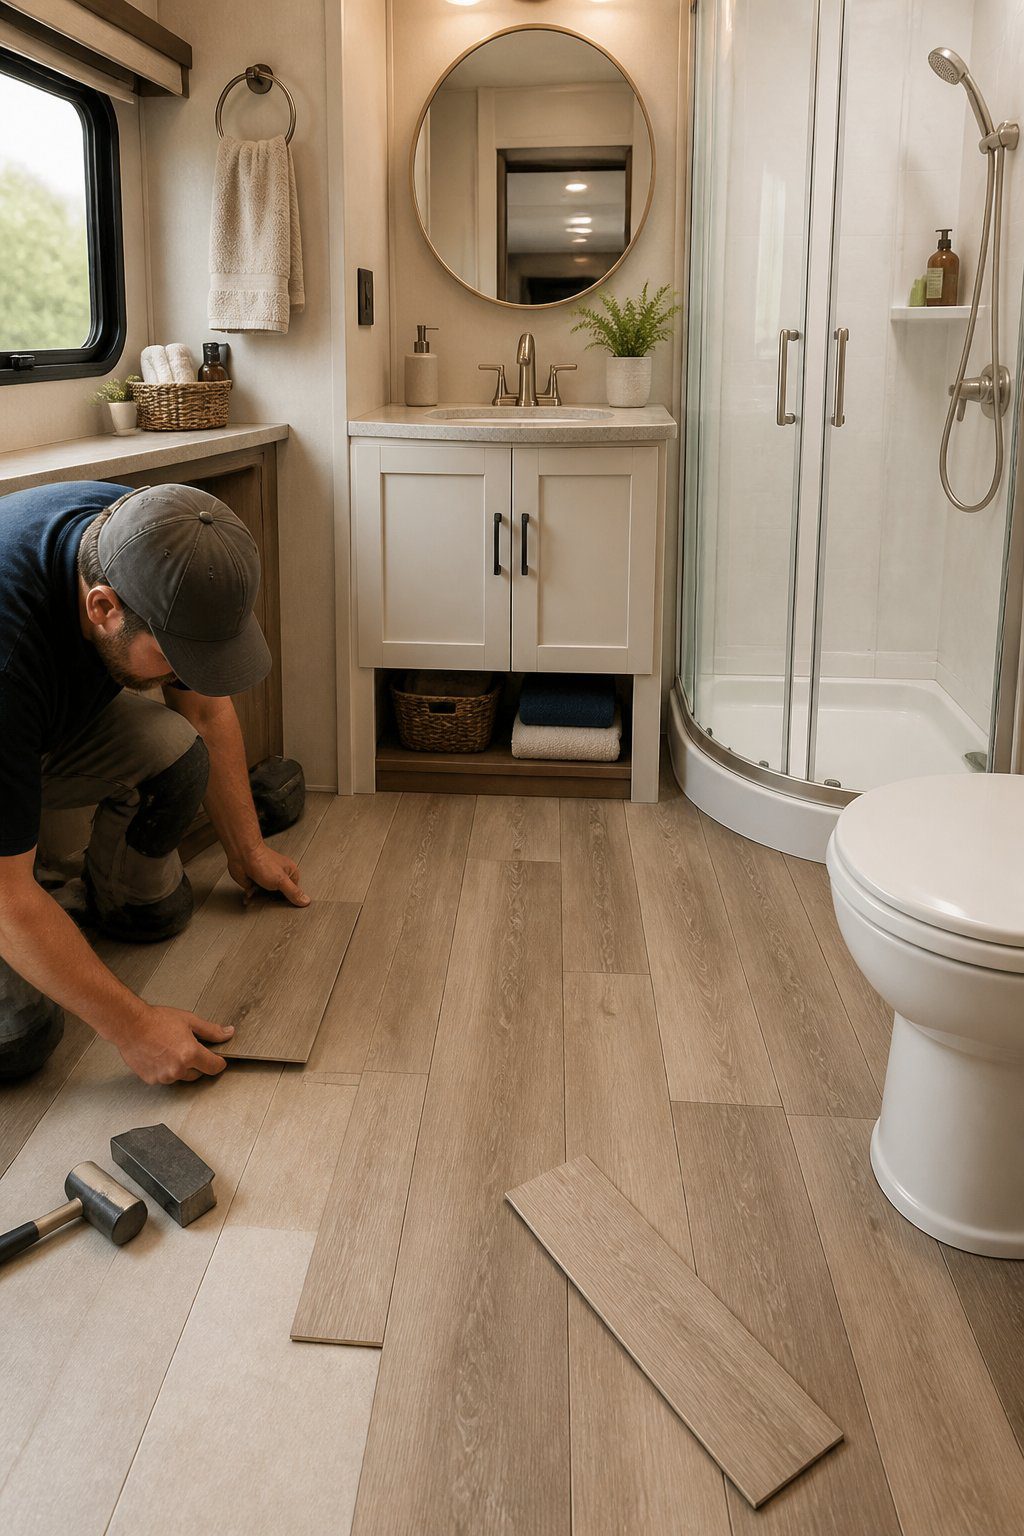
Waterproof vinyl plank flooring gives your RV bathroom a clean, finished look while helping protect the floor from splashes and humidity. Choose planks with a simple wood, stone, or tile pattern that matches your cabinets and wall colors.
Measure the bathroom carefully before buying materials. Use a utility knife to make precise cuts around the toilet base, cabinet edges, and other fixed features. Leave the recommended expansion space along the walls, then cover the edges with trim or molding.
PRO TIP
Place a small bath mat near the shower or sink to catch water and reduce slipping. Pick a low-profile mat that dries quickly and does not block the bathroom door. Clean spills promptly to help prevent moisture from reaching seams or edges.
27) Add a compact essential-oil diffuser
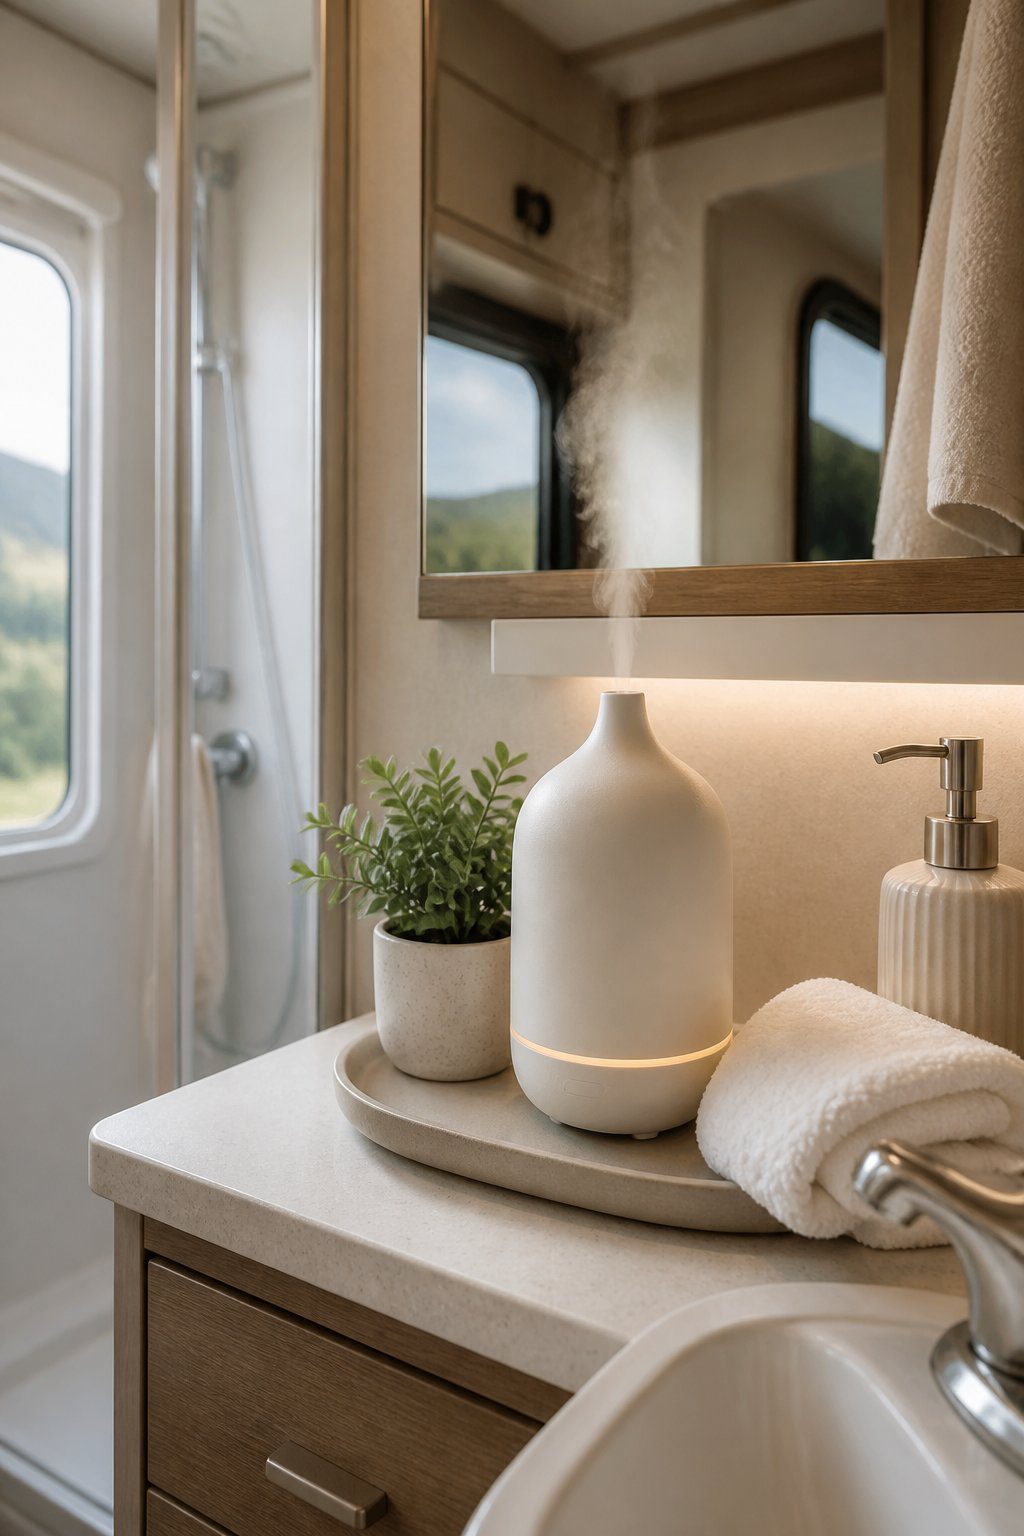
A compact essential-oil diffuser can add a gentle scent to your RV bathroom without taking up much counter space. Choose a small model with a stable base, quiet operation, and an automatic shutoff feature. Place it away from the sink, shower spray, and cabinet edges.
PRO TIP
Use only a few drops of oil and select fresh, mild scents such as lavender, lemon, or eucalyptus. Strong fragrances can feel overwhelming in a small bathroom, especially when the door stays closed. Check the diffuser’s instructions before use, and keep oils away from children, pets, towels, and finished surfaces.
Choose a color that matches your bathroom hardware or storage containers. A white, wood-toned, or matte black diffuser can blend with your decor instead of becoming a distracting object. Empty and clean the reservoir regularly to prevent residue and stale odors.
28) Display spa stones in a glass bowl
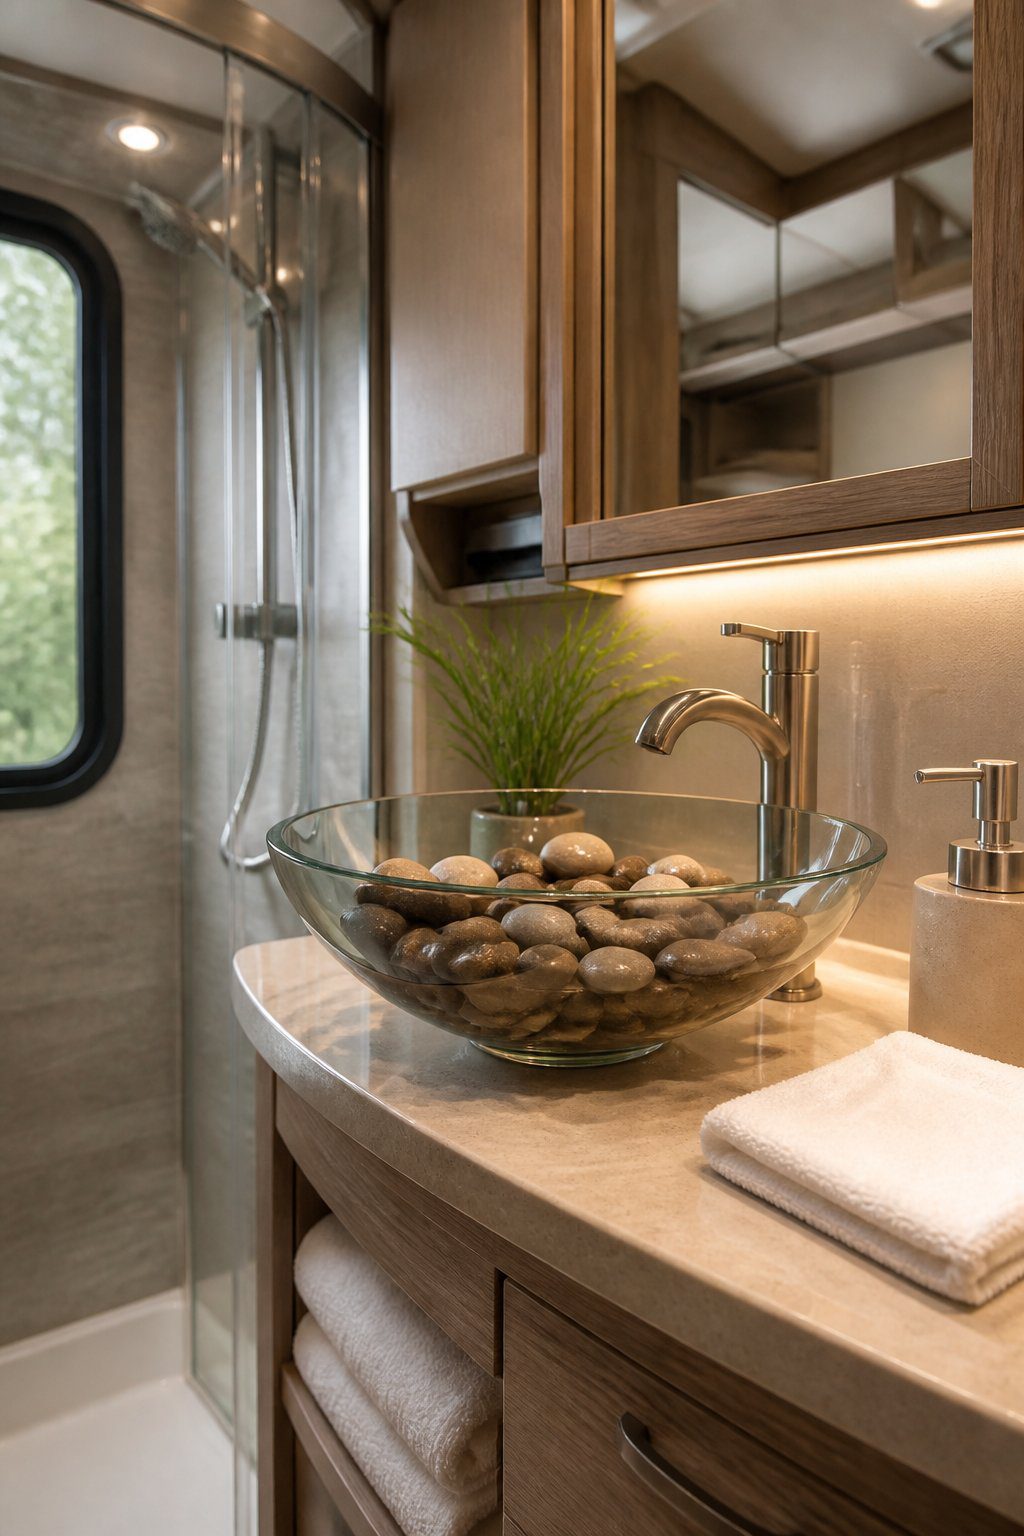
Place smooth spa stones in a clear glass bowl to add a calm, natural detail to your RV bathroom. Choose stones in soft shades of gray, white, or tan so they match your towels and other decor. A low, wide bowl works well on a small counter or shelf.
Keep the bowl near the sink, but leave enough space for daily use. You can add a small battery-powered light nearby to create a gentle glow without using an open flame. Wash and dry the stones regularly to keep the display clean.
PRO TIP
Layer a few larger stones beneath smaller ones for added texture. Use a non-slip mat under the bowl to help protect the counter and keep the display steady while your RV moves.
29) Use white subway tile decals
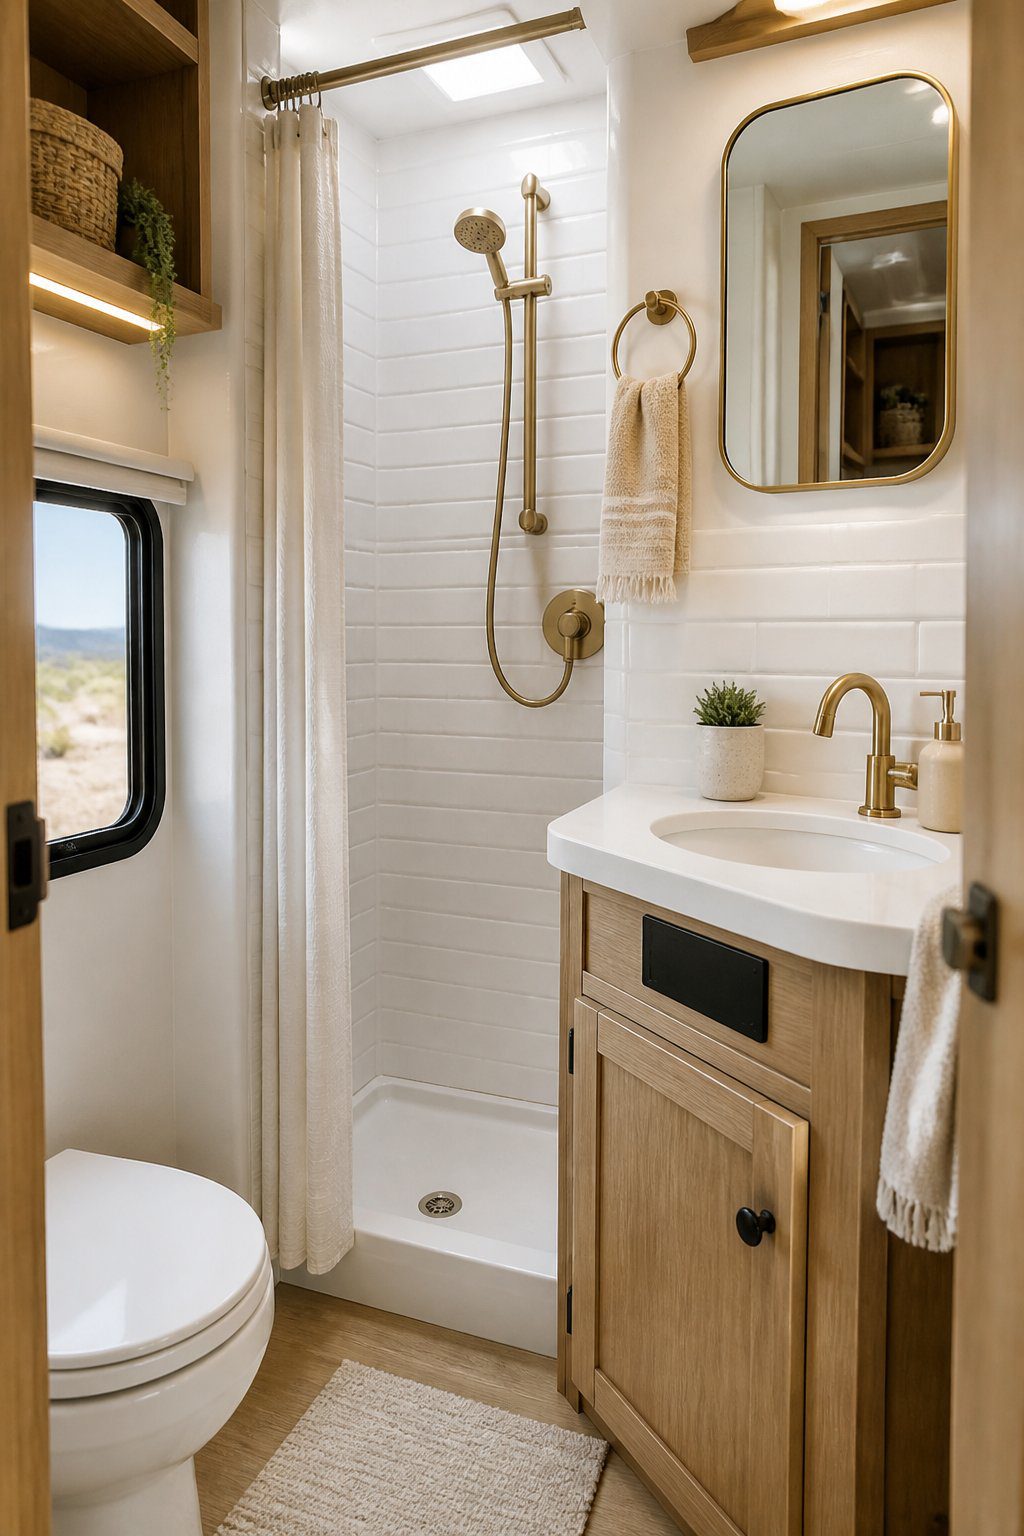
Give your RV bathroom a clean, classic look with white subway tile decals. You can place them behind the sink, along one wall, or around the shower area to create a simple tile pattern without adding heavy materials. Choose water-resistant decals made for bathrooms, and measure your wall before buying them.
Clean and dry the surface before installation so the decals stick evenly. Start at one corner, smooth each piece with a flat card, and line up the edges carefully. White decals also reflect light, which can make a small bathroom feel brighter and more open.
PRO TIP
Use light gray grout lines for a softer look, or choose bright white lines for a seamless design. Keep a few extra decals for small repairs if an edge lifts or a piece becomes damaged.
30) Add a teak bath stool
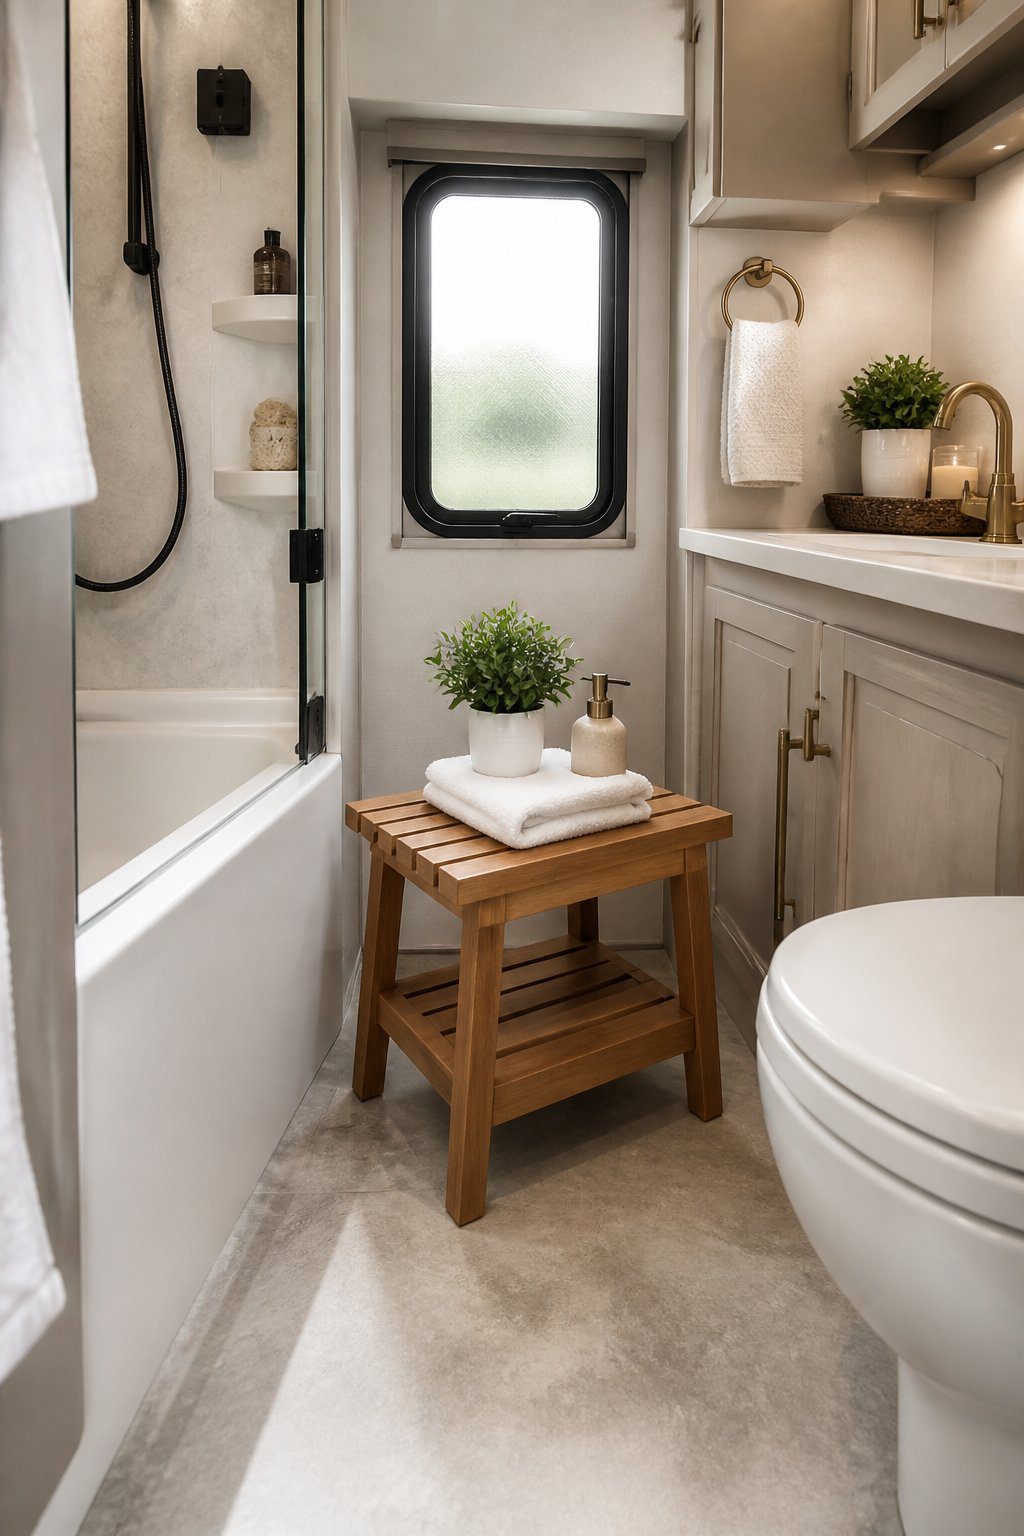
A teak bath stool adds warmth and practical seating to your RV bathroom. You can use it while washing, shaving, or reaching lower shelves. Its compact shape also fits well in narrow spaces without blocking the walkway.
Choose a stool with smooth edges and sturdy, water-resistant construction. Keep it near the shower when you need a seat, then move it beside the vanity for extra storage. You can place folded towels, soap, or a small basket on top.
PRO TIP
Apply a suitable wood protectant as needed, and wipe away standing water after each use. Choose a stool with rubber feet to help protect the floor and keep it steady when the bathroom gets wet.