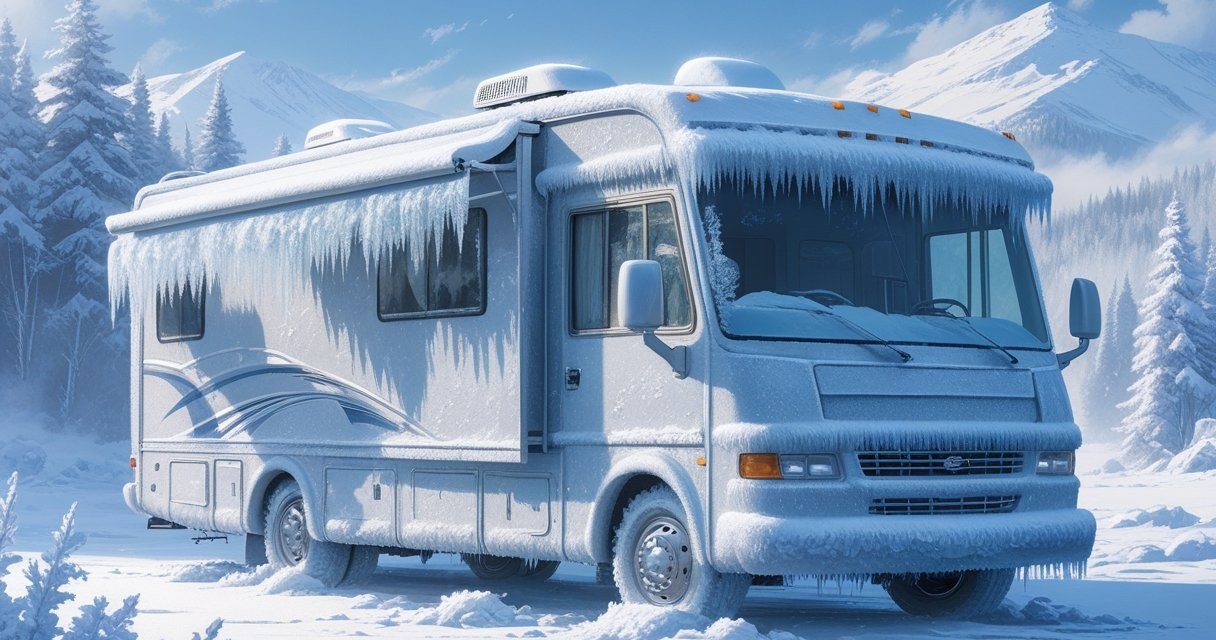
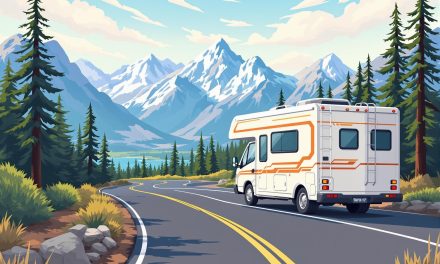
Winter camping can turn into a nightmare faster than you can say “frozen pipes.” When temperatures plummet below zero, your RV’s plumbing becomes as useless as a chocolate teapot. Whether you’re a full-time RVer or a weekend warrior caught in a cold snap, knowing how to unfreeze your pipes could save you from a very expensive insurance claim.
This isn’t just theory—these are proven steps that actually work when you’re standing in front of your sink wondering why nothing’s coming out. RVers and mobile home dwellers face the same brutal reality: pipes freeze, and when they do, you’ve got limited time to fix the problem before things get messy (or expensive). Let’s dive into the exact steps you need to thaw those stubborn pipes and get your water flowing again.
Would you like to save this article?
1. Diagnose the Problem: Find Out Which Pipes Are Actually Frozen
Before you start wielding hair dryers like a madman, you need to figure out which pipes have given up on life. Turn on all your faucets—hot and cold—to see what’s working and what’s not. If hot water flows but cold doesn’t, congratulations, you’ve narrowed down the problem significantly.
The cold water line is usually the culprit because it doesn’t benefit from the warmth of your water heater. In RVs and mobile homes, pipes run dangerously close to exterior walls where they’re practically begging to freeze. Feel along the pipes if you can access them—frozen pipes will be ice-cold to the touch while functioning ones remain relatively warm.
Here’s the thing: You’re basically playing detective with plumbing. Touch that pipe like you’re checking if your pizza rolls are cool enough to eat. If it feels like a Popsicle, you’ve found your problem child.
| Symptom | What It Means | Action Required |
|---|---|---|
| No water from any faucet | Main line is frozen | Check supply line near water source |
| Hot water works, cold doesn’t | Cold water line frozen | Focus on cold water pipes |
| One faucet dead, others fine | Individual pipe frozen | Target that specific line |
According to RV repair statistics, frozen pipes account for approximately 37% of winter RV damage claims, with repair costs averaging between $500 to $2,000 depending on whether pipes burst. The best time to catch a freeze is before it becomes a burst.
2. Open the Faucet Before You Start Thawing
This might seem counterintuitive when nothing’s coming out anyway, but trust the process. Turn that faucet to the “on” position before you begin thawing operations. When the ice starts melting, the water needs somewhere to go, and you want it flowing out the tap—not building up pressure that could burst the pipe.
Running water through a pipe, even just a trickle, also helps prevent refreezing as you work. The movement generates tiny amounts of friction heat and ensures that as ice melts, it immediately clears out instead of creating a new blockage downstream.
Think of it this way: You’re giving the water an escape route. Otherwise, you’re just creating a pressurized ice bomb that’ll explode the moment it thaws. Nobody wants to explain to their insurance company how they created their own indoor water feature.
3. Attack From the Inside: Why Interior Access Beats Freezing Your Fingers Off
Crawling under your RV in sub-zero temperatures sounds about as fun as a root canal without anesthesia. The smart move is accessing your pipes from inside the RV through cabinet panels. Most RVs have removable panels under sinks specifically for this reason—manufacturers knew you’d eventually face this nightmare.
Interior access also means you’re working in a relatively warmer environment, which helps the thawing process. Every degree counts when you’re trying to turn ice back into water. Plus, you can actually see what you’re doing instead of fumbling around in the dark with a flashlight clenched between your teeth.
Let’s be real: If your RV skirting looks like it would crumble if you breathed on it too hard (like a Nature Valley bar, as the video perfectly describes), you’re not getting under there anyway. Save yourself the frostbite and pop open those cabinet doors instead.
The U.S. Department of Energy notes that RVs lose heat 3-4 times faster than traditional homes due to thinner walls and less insulation, making interior heating strategies significantly more effective for pipe maintenance.
4. Deploy Your Weapon of Choice: Hair Dryers, Space Heaters, or Heat Tape
Your hair dryer isn’t just for bad hair days—it’s a frozen pipe’s worst enemy. A standard household hair dryer (like the Conair 9500 or literally any model gathering dust in your bathroom) works perfectly for this job. Position it near the frozen section and work slowly from the faucet downward toward the source of the freeze.
Space heaters are another excellent option if you want to set it and walk away (but never actually walk away from space heaters unattended). Point it at the open cabinet and let it blast warm air at the problem. Heat tape or heat cable is the professional solution for chronic freezing issues—wrap it around vulnerable pipes before winter hits.
Here’s the critical part: You’re not trying to win a speed contest. Slow and steady prevents thermal shock that could crack your pipes. It’s like defrosting a frozen pizza—blast it too fast and you’ll have a disaster. Take your time and let physics do its thing.
| Thawing Method | Pros | Cons | Best For |
|---|---|---|---|
| Hair Dryer | Precise control, safe, common item | Requires constant attention, arm gets tired | Localized freezes, kitchen sinks |
| Space Heater | Heats larger area, hands-free | Fire hazard if unattended, uses more power | Multiple frozen pipes, bathroom areas |
| Heat Tape/Cable | Prevents freezing, automatic | Requires installation, ongoing power use | Long-term solution, chronic problem areas |
| Warm Towels | No electricity needed, safe | Labor-intensive, towels cool quickly | Emergency backup, partial freezes |
According to the Recreation Vehicle Industry Association (RVIA), approximately 11 million households own RVs in the United States, and winter camping has increased by 22% since 2020, making freeze prevention knowledge more critical than ever.
5. Wait for the Thaw: Embrace the Boring Part Nobody Shows You
This is the part where you sit in silence questioning your life choices. After you’ve positioned your heat source, there’s nothing to do except wait. It might take 10 minutes, it might take an hour—frozen pipes don’t operate on your schedule.
Watch for the first signs of success: a few drops of water, then a trickle, then finally a proper flow. Don’t celebrate too early and shut everything off the moment you see movement. Keep the heat going for several more minutes to ensure the entire frozen section has thawed completely.
This waiting game is brutal. You’ll stand there in the cold, watching a faucet like it’s the most thrilling Netflix series ever made. RV owners call it “the lifestyle.” Mobile home owners call it “just another Tuesday.” Either way, you’re stuck there until that ice decides to cooperate.
6. Inspect for Leaks: The Victory Lap That Could Reveal a Nightmare
Once water starts flowing again, your work isn’t done—it’s inspection time. Grab some toilet paper (the RVer’s diagnostic tool of choice) and run it along every pipe connection, joint, and seam. If it comes back wet, you’ve got a leak. If it stays dry, you dodged a bullet.
Check under the sink, along the walls, and even down below if you can access your underbelly. Frozen pipes can develop hairline cracks that only reveal themselves once water pressure returns. What looks like a minor drip now could become a flood later if left unchecked.
Pro tip: Toilet paper works better than paper towels for this because it immediately shows moisture. You’re basically using your bathroom supplies as a moisture-seeking missile. If everything comes up dry, congratulations—you’ve successfully unfrozen your pipes without destroying anything.
Insurance industry data shows that water damage claims in RVs average $7,500 when leaks go undetected, with some reaching as high as $20,000 when structural damage occurs. A $0.50 toilet paper inspection could save you thousands.
7. Prevent Round Two: Keep Those Pipes From Freezing Again Tonight
You’ve won the battle, but the war continues as long as temperatures stay below freezing. Leave cabinet doors open tonight to allow warm air from your heater to circulate around the pipes. Let your faucets drip slowly—running water is much harder to freeze than stagnant water.
If the forecast shows more brutal cold (like another -6°F night), consider adding insulation to vulnerable pipes. Foam pipe insulation is cheap and effective. For chronic problem areas, install heat tape before the next cold snap hits. Your future self will thank you at 2 AM when you’re not wielding a hair dryer again.
The long-term solution: Better skirting, pipe insulation, heat tape, and maybe reconsidering your life choices about winter camping. But until spring arrives, keep those cabinets open and let your faucets drip like your water bill doesn’t matter (because frozen pipes cost way more than wasted water).
| Prevention Method | Cost | Effectiveness | Difficulty |
|---|---|---|---|
| Let faucets drip | Free (slight water cost) | High | Easy |
| Open cabinet doors | Free | Medium-High | Easy |
| Foam pipe insulation | $10-30 | High | Easy-Medium |
| Heat tape/cable | $50-150 | Very High | Medium |
| Improved skirting | $200-600 | Very High | Medium-Hard |
| Tank heaters | $30-100 | High | Medium |
The National Weather Service reports that extreme winter weather events have increased in frequency by 15% over the past decade, making winterization knowledge essential for year-round RVers and those in traditionally mild climates experiencing unusual cold snaps.
Final Thoughts: Winter RVing Doesn’t Have to Be a Frozen Nightmare
Frozen pipes are a rite of passage for anyone who lives or travels in an RV during winter. The key is catching the freeze early, thawing slowly and safely, checking for damage, and preventing it from happening again. With a hair dryer, some patience, and these seven steps, you can handle this problem without calling an emergency plumber or filing an insurance claim.
Remember: Leave those cabinets open, let your faucets drip, and maybe invest in some heat tape before the next polar vortex hits. Your pipes—and your wallet—will thank you.
SOURCES
1. How To Unfreeze Frozen Pipes In An RV Or Mobile Home – The Camping Loop
2. Recreation Vehicle Industry Association (RVIA) – RV Ownership Statistics
3. U.S. Department of Energy – RV Energy Efficiency Information
4. National Weather Service – Winter Weather Statistics
5. Insurance Information Institute – RV Water Damage Claim Data


