Most RV hookup damage comes down to nine habits: plugging in without protection, ignoring water pressure, leaving valves open, and a few more that feel harmless until the bill arrives. The costliest hookup mistakes are the ones that skip a small, cheap safeguard, such as an electrical management system, a pressure regulator, or a dedicated flushing hose. Each one has a clear failure mechanism and a simple fix.
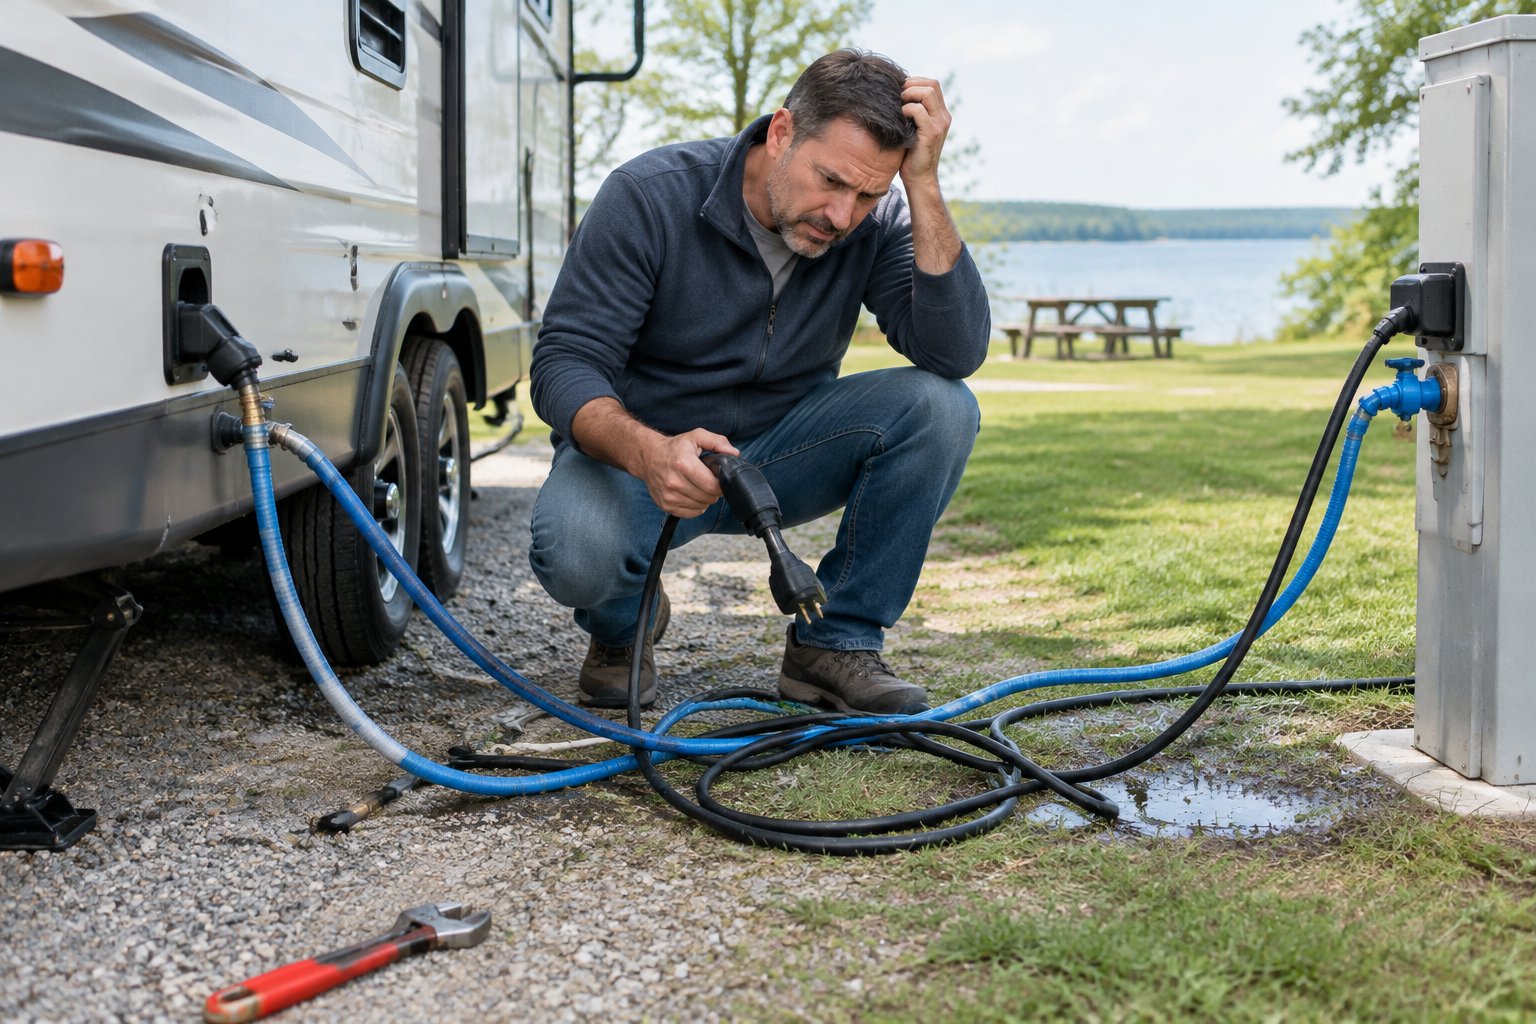
Even full-time RVers with years on the road admit they still slip up, especially after a long drive when everyone is tired and the sun is going down. Rushing to get connected and rushing to leave are when most of these errors happen. Nothing here makes you a bad camper. It just means your setup routine needs a few checkpoints.
Most campground hookups work fine, and most stays end without a single problem. The goal is to protect your rig on the rare occasion a pedestal, spigot, or sewer inlet misbehaves. Repair costs vary widely by equipment, location, and how bad the damage gets, so this list focuses on how each mistake happens and how to prevent it.
1) Connecting to Shore Power Without an Electrical Management System
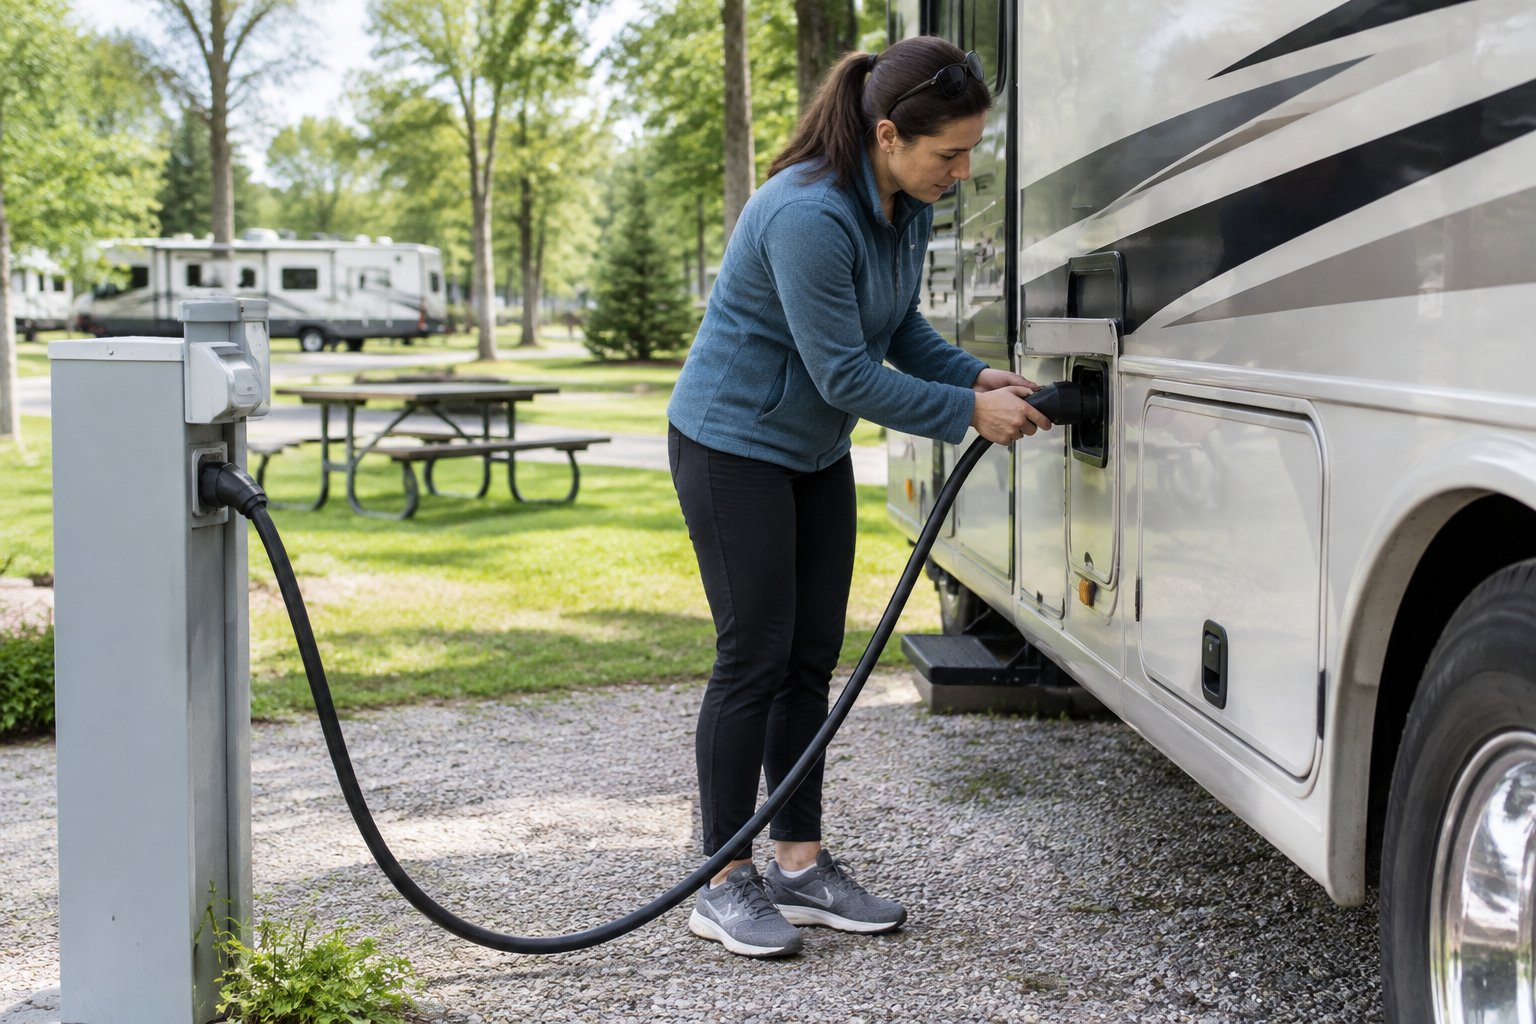
Plugging straight into a pedestal leaves your RV’s wiring and appliances exposed to whatever that pedestal delivers. A basic surge protector only guards against voltage spikes. An electrical management system (EMS) does more: it watches for low voltage, high voltage, open ground, reverse polarity, and other faults, and it cuts power to your rig when something is wrong.
That difference matters because low voltage is a quiet problem. It can stress air conditioner compressors and other motors without any dramatic spark, and you may not notice until something stops working.
Campground pedestals can be worn, overloaded on hot weekends, or wired incorrectly. A good EMS is a one-time purchase that sits between the pedestal and your cord. Choose one that matches your service (30-amp or 50-amp) and follow the manufacturer’s manual for hardwired versus portable installation.
Plug the EMS into the pedestal first, wait for it to finish its self-check, then connect your RV. If it refuses to deliver power, believe it and ask the campground for a different site or a fix.
2) Connecting City Water Without a Pressure Regulator
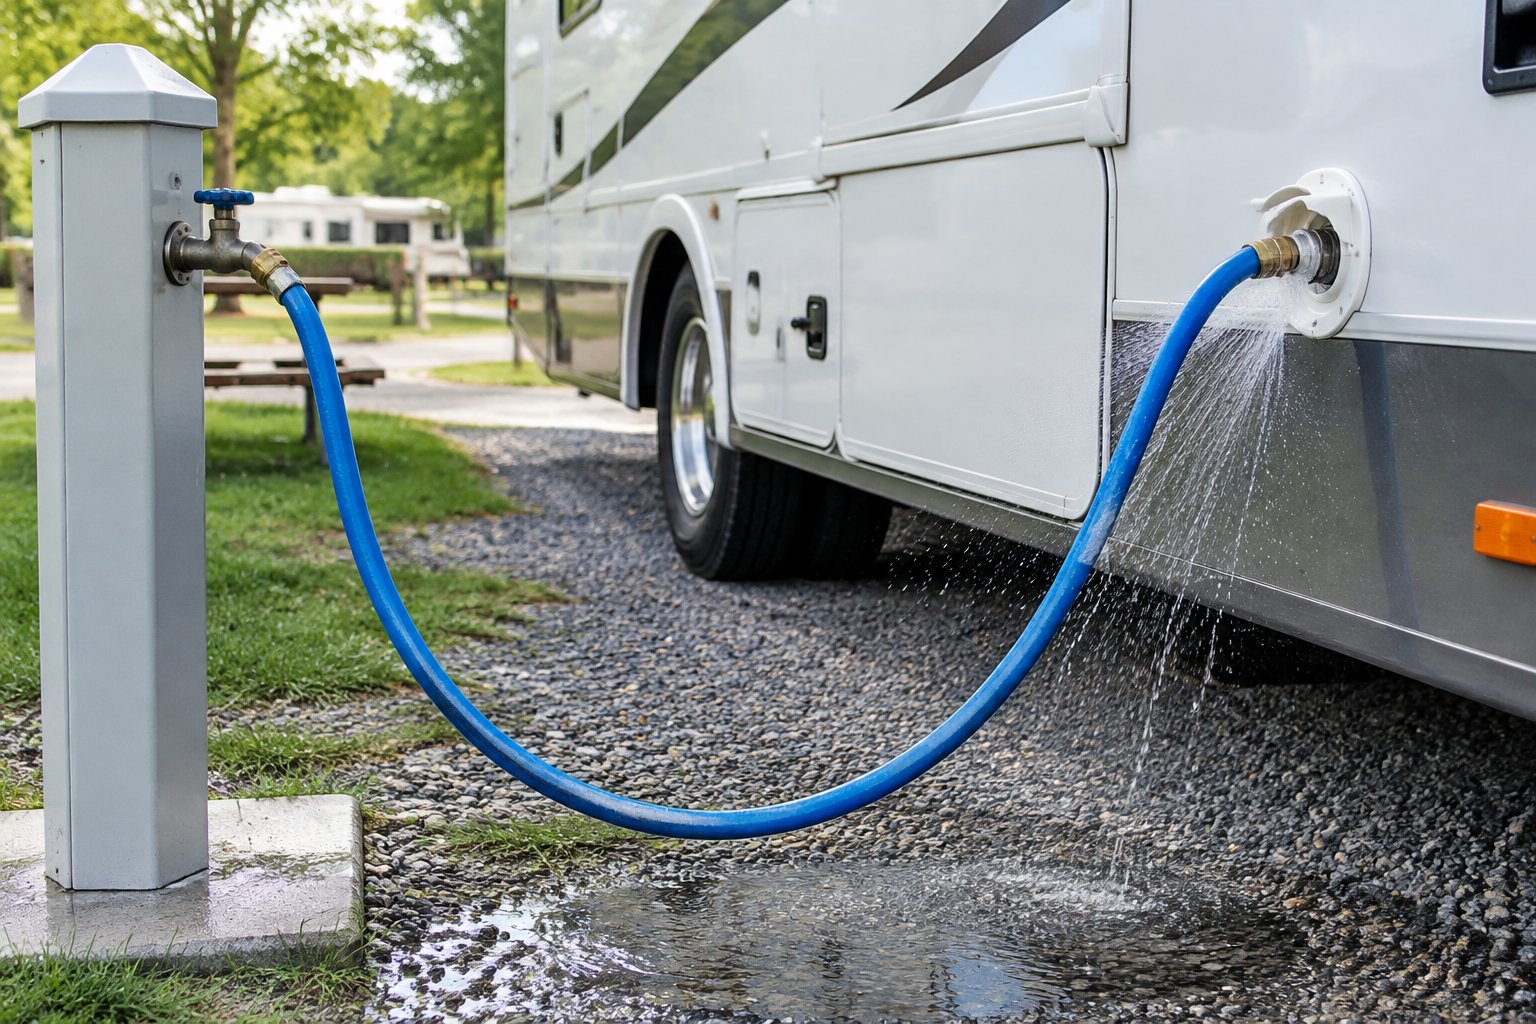
Campground water pressure can run far higher than your RV’s plumbing is built to handle. Most RV water systems are designed for modest pressure, and a spigot with no regulator can push past that limit. The result can be burst fittings, cracked lines behind walls, or a failed water heater connection.
A leak inside a wall or floor is the expensive kind. It can soak insulation and subfloor before you ever see a drip, and the cleanup often costs more than the plumbing repair itself.
A brass or stainless pressure regulator costs very little compared with that risk. Screw it onto the spigot first, then attach your hose to the regulator, so the whole hose is protected, not only the RV inlet.
Turn the water on slowly and walk around the rig. Check under sinks and around the inlet for drips. Doing this once at arrival, while you still have daylight and energy, saves you from discovering a leak at midnight.
3) Leaving the Black Tank Valve Open at a Full-Hookup Site
Leaving the black tank valve open lets liquids drain away while solids stay behind and pile up. Without enough water to carry waste out, solids can stack into a hardened pyramid that blocks the outlet and keeps your sensors reading wrong.
A clog like this can mean treatments, a professional tank cleaning, or in bad cases tank service at a shop. It also invites odors that can follow you through the whole trip.
The fix is a habit. Keep the black valve closed until the tank is about two-thirds full, then dump it so the rush of liquid pushes solids out. The gray tank valve can stay open at a full-hookup site if you like, since gray water is mostly liquid.
If your sensors never seem to read right, a thorough flush and cleaning often brings them back. Treat the black valve like a toilet flush: let it build up, then release.
4) Using a 30-Amp Adapter and Running Appliances Like You Have 50-Amp Service
A dogbone adapter changes the shape of the plug, not the amount of power available. Plugging a 50-amp rig into a 30-amp pedestal through an adapter still limits you to the 30-amp circuit behind it. Run two air conditioners, a microwave, and a space heater together and you will trip the breaker at best, or overheat cords and connections at worst.
Overloaded circuits can melt plugs and scorch pedestal receptacles. A damaged pedestal can mean a repair or replacement charge from the campground, plus a damaged cord of your own.
The prevention is simple math. On 30-amp service, run one major appliance at a time and stagger heavy loads: the air conditioner, the microwave, the electric water heater element, and the hair dryer should not all start together. Many RVers watch an in-rig power monitor or the EMS display to see how close they are to the limit.
If you need more capacity, book a 50-amp site rather than expecting an adapter to supply it. Feel the plug and cord after a few hours of heavy use; warm is expected, hot or discolored is a stop-now signal.
5) Using Your Drinking-Water Hose to Flush the Black Tank
A hose that touches sewage fittings can carry bacteria back to your fresh water supply. Using the same hose for your tank flush and your drinking water is a contamination risk, and the consequences range from a ruined hose to illness for your whole crew.
The financial hit is the replacement of hoses and possibly sanitizing the fresh water system, which takes time and supplies. The health cost is worse and not worth gambling on.
Keep two clearly different hoses. Use a white or blue drinking-water-safe hose for fresh water only, and a separate hose in another color for flushing, rinsing, and cleanup. Label them with tape or a tag so a tired guest cannot grab the wrong one.
Store each hose in its own bin or bag. Never let the fresh hose end touch the ground near the sewer inlet, and wash your hands after any dump routine.
6) Leaving Water Hoses and Connections Exposed to Freezing Temperatures
Water expands as it freezes, and that force can split hoses, crack fittings, and damage the RV’s city water inlet. A split inlet can lead to leaks inside the wall, and plumbing repairs in cold weather are rarely cheap or quick.
Campgrounds that stay open in winter often build in frost protection for their own lines, but your hose and fittings are your responsibility. Even a single cold night can do it if the hose is full and exposed.
If temperatures are dropping near freezing, wrap the spigot and hose in heat tape rated for water lines and cover it with foam insulation. A heated hose made for RV use is another option. Disconnect and drain hoses when a hard freeze is forecast, and fill from your onboard tank if needed.
Check the forecast before you set up, not after you wake up to a frozen line. Keep a few extra feet of drained hose in a warm storage bay so you always have a backup.
7) Dumping Tanks Through an Unsecured Sewer Hose Connection
A sewer hose that is not locked into the inlet can pop loose under the pressure of a dump. The result is a mess on the ground, a cleanup charge, and potentially a ban from the campground. Raw sewage on the ground is also a health hazard, so cleanup should be quick and careful.
Use a bayonet fitting or a clear elbow with a proper twist-lock, and attach a sewer hose support or donut seal so the connection is snug. Check that the other end sits firmly in the campground inlet, with a ring or rubber adapter that seals against odors.
Support the hose so it slopes steadily downhill with no sags, where waste can pool and back up. Open the valve slowly and watch the connection for the first few seconds.
Keep disposable gloves and a bottle of potable-safe cleaner handy. Wash up afterward with soap and water, and never use the fresh water hose for cleanup.
8) Pulling Away With the Power Cord or Water Hose Still Connected
Driving off with a cable or hose still attached is one of the most embarrassing mistakes, and it happens to veteran RVers who pack up in a hurry. Tearing out a power cord can destroy the pedestal receptacle and your own inlet. A yanked water hose can snap the spigot or damage your fitting.
Costs vary by the damage. A campground may bill you for pedestal repairs, and your own equipment may need replacement.
The cure is a walk-around checklist done in the same order every time. Many RVers do prep work the night before, like raising stabilizers and hooking up the tow vehicle, so the morning departure is calm. Disconnect power first, then water, then sewer, and stow each item in its bay.
Take one last lap with your eyes on the ground and the pedestal. Look under the rig and near the spigot for anything you left behind. A reminder card on the dashboard or a phone checklist works well when your brain is fried.
9) Paying for Full Hookups When a Partial-Hookup Site Meets Your Needs
A full-hookup site usually costs more, and that does not automatically make it the better value. If you are staying a night or two, carry enough fresh water, and can dump at the campground station on your way out, an electric-and-water site can cover everything you need.
Campgrounds do market full hookups hard. Many travelers want long, 50-amp, full hookup, pull-through sites, and parks price accordingly. That convenience is real, especially for longer stays, hot weather, families, and remote work, but you only need to pay for it when you will use it.
Look at your actual plans. Check your tank sizes, how many people share the rig, and whether you will run the air conditioner all day. A weekend with a small group often fits a partial-hookup site just fine.
Ask the campground what is included before you book, and compare per-night rates against what you will use. When you stay a week or more, or run heavy loads, full hookups can pay for themselves in convenience and fewer dump trips.
What to Do When a Hookup Problem Causes Damage
A calm, documented response protects both your rig and your wallet. Stop using the affected hookup, take photos before anything is moved, and notify the right people quickly.
When Should You Stop Using the Hookup and Get Professional Help?
Stop right away if you smell burning plastic, see scorch marks, feel a plug that is hot to the touch, or notice sparks or a tingling sensation when touching metal parts. Shut off the breaker on your RV, unplug only if it is safe to do so, and let the campground staff handle the pedestal.
For water, shut the spigot off at once if you see a spray, a soaked floor, or a bulge in a hose. For sewer problems, close the valves and keep people and pets away from any spill. Call a licensed RV technician or electrician before using the system again, since hidden damage can show up later.
What Photos, Receipts, and Records Should You Keep?
Take wide and close-up photos of the pedestal, plug, cord, spigot, hose, or sewer inlet, plus any damage inside your RV. Add a photo of the site number and the date. Save any messages with campground staff, and note the time and what you were doing when the problem started.
Keep receipts for repairs, replacement parts, towing, and any extra campground fees. Hold on to a copy of your reservation and the campground’s rules. Keep damaged parts if you can, since an insurer or technician may want to inspect them.
Who Should You Contact About Repairs or an Insurance Claim?
Report the problem to the campground manager first and ask for a written incident report. Then call your RV insurance company to ask whether the damage fits your policy and what your deductible is. If you carry an extended warranty, check what it covers.
Get an estimate from a certified RV repair shop or licensed electrician, and share it with your insurer before work begins when possible. If the campground’s equipment may be at fault, ask the manager about their liability coverage. Keep every conversation in writing so you have a clear paper trail.