RV delamination can feel like a major disaster when you first notice those telltale bubbles and waves in your sidewalls. This structural problem occurs when the outer fiberglass layer separates from the inner materials, creating gaps where water can enter and cause serious damage.
The good news is that catching it early gives you several repair options.
Yes, RV delamination can be fixed, but the success and cost of repairs depend heavily on how severe the damage has become. Minor delamination can often be repaired with DIY kits costing $80-150, while extensive damage may require professional repairs ranging from hundreds to thousands of dollars.
In the worst cases, complete wall replacement might be necessary.
Understanding how to spot delamination early and knowing your repair options can save you from costly headaches down the road.
Whether you’re dealing with a small bubble or considering buying an RV with delamination issues, the right knowledge helps you make smart decisions about repairs, prevention, and long-term care.
Key Takeaways
- Early-stage delamination can be repaired with DIY kits or professional services, but severe cases may require complete wall replacement
- You can identify delamination by looking for bubbles, waves, or spongy areas on your RV’s exterior walls
- Regular maintenance and proper sealing can prevent delamination from starting in the first place
Understanding RV Delamination
RV delamination happens when the layers of your RV’s walls separate from each other. This problem can start from water damage, poor manufacturing, or normal aging.
It poses serious risks to your RV’s structure and value if you don’t address it quickly.
What Is RV Delamination?
RV delamination is when the layers in your RV’s fiberglass walls come apart. Most RV walls are built using multiple layers that get bonded together with strong glue under pressure at the factory.
When this bond fails, you get delamination. The outer wall starts to bubble, warp, or separate from the inner layers.
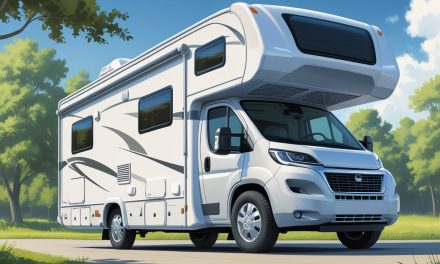
You can find delamination on any part of your RV’s exterior. RV sidewall delamination is the most common type you’ll see.
RV wall delamination can also happen on the back, front, or roof areas. The problem shows up as soft spots, bubbles, or cracks on your RV’s surface.
If you tap the wall, delaminated areas will sound hollow compared to solid sections.
Common Causes of Delamination
Water damage is the top cause of RV delamination. Water gets into small cracks or gaps in the exterior and weakens the glue holding the layers together.
Common entry points include:
- Roof seams and vents
- Window and door frames
- Exterior storage compartments
- Damaged caulking
Poor manufacturing also leads to delamination. Some RVs leave the factory with weak bonds between wall layers.
This makes them more likely to separate over time. Age plays a big role too.
The glue between layers breaks down after years of heat, cold, and moisture. Older RVs are more at risk.
Wood rot often happens alongside delamination. When water gets into the walls, it damages both the layer bonds and any wood framing inside.
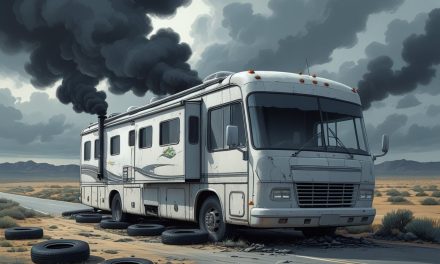
Risks and Consequences of Leaving Delamination Unaddressed
Ignoring delamination leads to bigger problems fast. Water keeps getting into the separated layers and spreads the damage.
Structural damage is the biggest risk. Your RV’s walls lose strength when the layers separate.
This can make the whole structure unstable. Wood rot gets worse over time.
The wooden frame inside your walls will decay if water keeps getting in. This can cost thousands to fix.
Your RV’s value drops significantly with delamination. Buyers see it as a major red flag.
Even small areas of delamination can cut your resale value by 20-30%. The repair costs grow the longer you wait.
Small delamination spots might cost a few hundred dollars to fix. Major damage can run into the thousands.
Delamination can spread to other parts of your RV if you don’t stop it. What starts as a small bubble can eventually cover entire wall sections.
Identifying Delamination on Your RV
Spotting delamination early can save you thousands in repair costs and prevent serious structural damage. The key is knowing what visual signs to look for and how to properly inspect your RV’s sidewalls for both surface and deeper issues.
Visual Signs of Delamination
Bubbling or bulging is the most obvious sign of RV sidewall delamination. These bubbles appear when the outer fiberglass layer separates from the underlying structure.
Look for areas where the wall surface appears uneven or wavy. These spots often feel soft when you press on them.
Temperature-related changes can reveal hidden delamination. Exterior marks may shift or become more visible when your RV sits in direct sunlight or during temperature changes.
Pay attention to texture differences between wall panels. If one section looks different from adjacent areas, this could indicate early delamination.
Check around windows, doors, and roof seams carefully. These areas are prone to water damage that can lead to both delamination and wood rot.
Physical Inspection Techniques
Start by walking around your RV and pressing gently on the sidewalls. Healthy walls should feel firm and solid under pressure.
Use the palm of your hand to check for soft spots. Press evenly across the surface and feel for areas that give or flex more than others.
Tap the walls with your knuckles. Solid areas produce a firm tapping sound, while delaminated sections sound hollow or different.
Inspect your RV in different lighting conditions. Natural sunlight can reveal subtle bubbles or irregularities that indoor lighting might miss.
Look for water stains or discoloration on interior walls. These often indicate moisture problems that cause delamination from the inside out.
Differences Between Minor and Severe Delamination
Minor delamination typically appears as small bubbles or slightly soft areas. These spots are usually less than 12 inches across and may only affect the outer layer.
You can often fix minor issues with epoxy injection. The structural integrity of your RV remains intact with small problems.
Severe delamination involves large sections of separated layers. These areas may span entire wall panels or extend across multiple feet of sidewall.
Advanced cases often include wood rot in the internal structure. You might notice a musty smell or see actual wood damage when inspecting the interior.
Severe delamination can compromise your RV’s structural strength. Large affected areas may require professional repair or complete wall replacement.
Look for multiple problem areas across different walls. This usually indicates a more serious, widespread issue that needs immediate attention.
Repairing RV Delamination: Methods and Solutions
RV delamination repair involves specific preparation steps, choosing between DIY techniques or professional services, and using the right materials like epoxy resin and specialized tools.
The success depends on proper surface preparation and selecting repair methods that match the damage severity.
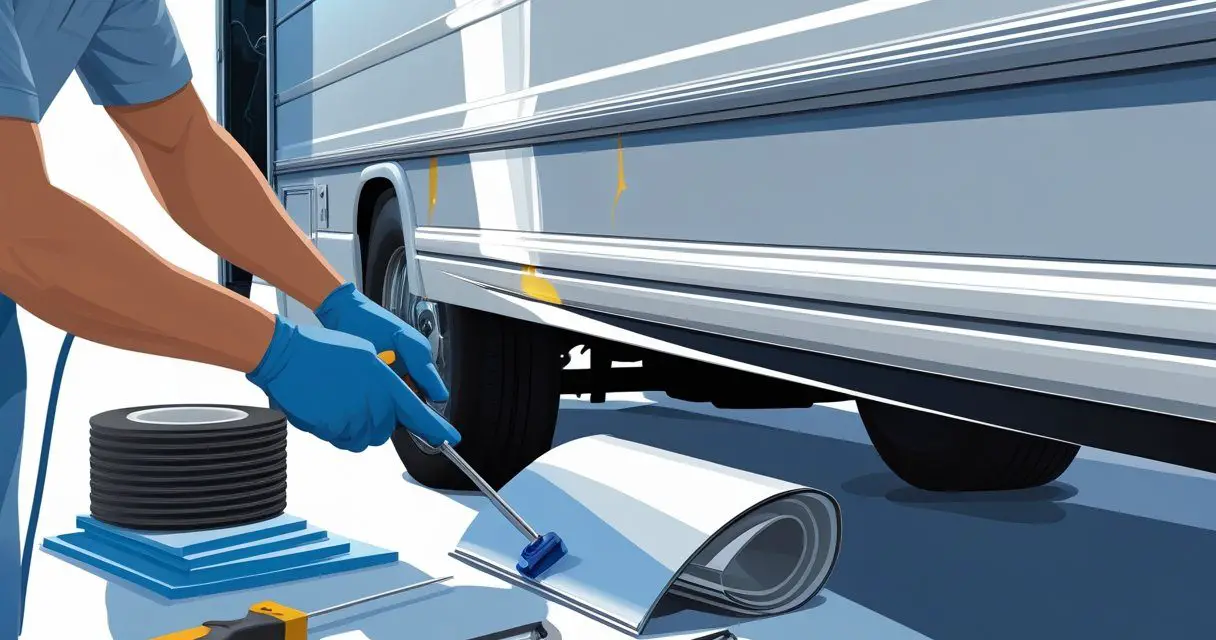
Preparing for Delamination Repair
Start by cleaning the damaged area with mild soap and water. Remove all dirt, grease, and loose paint from the surface.
Let the area dry completely before starting any repair work. Inspect the delaminated area carefully to determine the extent of damage.
Use a putty knife to gently probe bubbled sections and identify loose layers. Mark the boundaries of the damaged area with masking tape.
Sand the affected area with 80-grit sandpaper to create a rough surface for better adhesion. Remove all dust with a clean cloth.
Cut away any severely damaged material using a utility knife.
Essential preparation tools include:
- Putty knife or scraper
- Sandpaper (80-220 grit)
- Utility knife
- Masking tape
- Clean rags
Check for moisture inside the wall cavity. If water is present, allow extra drying time or use a fan to speed the process.
Proper preparation prevents future delamination issues.
DIY Repair Techniques and Products
Epoxy injection method works well for small to medium-sized delamination areas. Mix two-part epoxy resin according to manufacturer instructions.
Use an epoxy injector with plastic tubing to deliver adhesive into separated layers. Drill small holes every 6-8 inches along the delaminated area.
Insert the plastic tubing and inject epoxy slowly until it flows out nearby holes. This ensures complete coverage between layers.
RV delamination repair kits contain everything needed for basic repairs. These kits typically include epoxy resin, fiberglass cloth, mixing tools, and detailed instructions.
They cost $50-150 and handle most minor delamination issues. For surface repairs, apply epoxy resin directly to cleaned areas.
Add fiberglass cloth for reinforcement on larger repairs. Smooth out air bubbles with a squeegee or roller.
Popular repair products:
- West System Epoxy
- 3M Marine Adhesive Sealant
- Evercoat Fiberglass Resin
- TotalBoat Epoxy Resin
Allow 24-48 hours for full curing before sanding and painting. DIY repairs work best on areas smaller than 2 square feet.
Professional Repair Options
Professional delamination repair services use advanced injection systems and industrial-grade materials. They can handle extensive damage that covers large wall sections or multiple panels.
Professionals use specialized equipment like pneumatic injectors and moisture meters. They inject adhesive under controlled pressure to ensure complete penetration.
This method preserves the original finish better than DIY approaches. Mobile repair services come to your location and complete repairs on-site.
They bring all necessary tools and materials. This option saves time and eliminates the need to transport your RV to a shop.
Professional repairs typically cost $300-600 for minor issues and $1,000-5,000 for extensive damage. The higher cost includes warranties and guaranteed results.
Advantages of professional repair:
- Advanced injection techniques
- Industrial-grade adhesives
- Warranty coverage
- Structural integrity assessment
- Color matching expertise
Choose professional repair for delamination larger than 4 square feet, structural damage, or when DIY attempts have failed. Professionals also handle complex areas around windows and doors more effectively.
Prevention, Insurance, and Long-Term Care
Would you like to save this article?
Smart prevention steps can save you thousands in repair costs, while understanding your insurance limits helps you make informed decisions about protection and maintenance.
How to Prevent RV Delamination
Regular sealing is your best defense against delamination. Use lap sealant on all horizontal seams at least once per year.
Critical areas to seal include:
- Windows and doors
- Roof vents and air conditioning units
- Slideout seals
- Exterior light fixtures
Check your RV’s exterior monthly for small cracks or gaps. Water damage starts small but grows quickly inside your walls.
Park in covered areas when possible. UV rays weaken the bonds between your RV’s layers over time.
Avoid low-hanging branches and debris that can impact your sidewalls. Even small dents can create air pockets that lead to separation.
Temperature matters too. Extreme heat and cold cause materials to expand and contract at different rates. This puts stress on the bonds between layers.
Clean your RV gently. High-pressure washing can force water into tiny gaps and worsen existing problems.
RV Insurance Considerations for Delamination
Most RV insurance policies do not cover delamination repairs. Insurance companies view this as a maintenance issue rather than an accident.
Your policy may even face rate increases if delamination creates safety problems. This makes prevention even more important for your wallet.
Coverage typically excludes:
- Gradual deterioration
- Maintenance-related damage
- Water damage from poor sealing
Some policies might cover delamination if it results from a covered event like hail damage. Read your policy carefully and ask specific questions about coverage.
Consider setting aside money each year for potential repairs. Professional delamination fixes can cost thousands of dollars.
Document your RV’s condition with photos before problems start. This helps with any insurance claims and tracks changes over time.
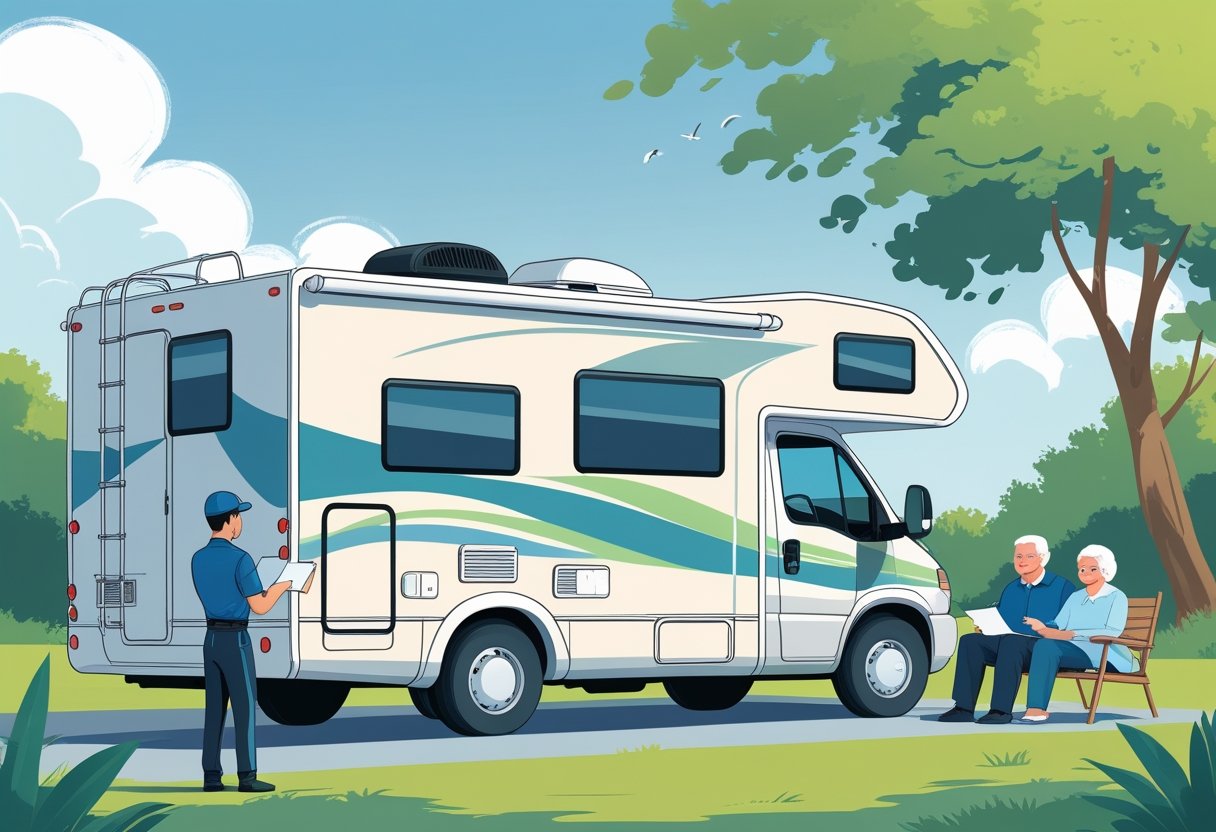
Ongoing Maintenance and Inspection Tips
Walk around your RV before and after each trip. Look for bubbles, waves, or soft spots in the sidewalls.
Press gently on suspicious areas with a plastic tool. Spongy spots indicate separation between layers.
Monthly inspection checklist:
- Check all sealants for cracks
- Look for new bubbles or waves
- Test suspicious areas for softness
- Inspect around windows and vents
Pay attention to sounds when you knock on the sidewalls. Hollow sounds mean air pockets have formed inside.
Temperature changes make delamination easier to spot. Check your RV in shade after it has been in direct sunlight.
Keep detailed records of all maintenance and repairs. This helps you track problem areas and plan future work.
Replace worn sealants immediately. A $35 tube of sealant can prevent thousands in repair costs.


