Yes, glass in an RV window can be replaced, and many RV owners successfully complete this repair themselves. Whether the window is cracked, broken, or simply needs an upgrade, replacing the glass is often more cost-effective than buying an entirely new window unit.
The replacement process varies depending on the type of RV window and whether only the glass needs changing or the entire frame requires attention. Most RV windows use either replacement kits, custom-cut glass pieces, or complete frame assemblies. The key is identifying which type of window system the RV has and gathering the right tools before starting the project.
While replacing RV window glass requires patience and careful attention to detail, it’s a manageable DIY project for most people. The process involves removing old glass and sealant, measuring accurately for replacements, and properly sealing the new glass to prevent leaks and ensure a secure fit.
Key Takeaways
- RV window glass can be replaced using replacement kits, custom-cut pieces, or complete window assemblies
- The replacement process requires removing old glass, cleaning the frame, and installing new glass with proper sealant
- Accurate measurements and quality replacement glass are essential for a successful installation that prevents leaks
Understanding RV Window Glass Replacement
Would you like to save this article?
RV window glass comes in different materials and configurations, each with specific replacement requirements. Glass damage from weather, impacts, or age often requires full replacement rather than repair to maintain safety and performance.
Types of RV Window Glass
Most RVs use three main types of window glass materials. Tempered glass is the most common choice for side windows. It breaks into small, safe pieces when damaged.
Laminated glass consists of two glass layers with a plastic film between them. This type stays intact when cracked and provides better security. Many newer RVs use laminated glass for front windshields.
Acrylic and polycarbonate are plastic alternatives to traditional glass. These materials are lighter and less likely to shatter completely. They scratch more easily than glass but cost less to replace.
The thickness varies from 1/8 inch to 1/4 inch depending on the window size and location. Larger windows typically use thicker glass for added strength.
Common Causes of RV Window Glass Damage
Road debris creates the most frequent damage to RV windows. Flying rocks, gravel, and tree branches can crack or chip the glass while driving or camping.
Weather conditions cause significant window problems. Hail storms can shatter glass completely. Temperature changes make existing chips spread into larger cracks.
Vibration damage occurs from normal RV movement. The constant shaking loosens seals and puts stress on the glass. This leads to cracks starting from the edges.
Vandalism and accidents also damage RV window glass. Break-ins often target side windows as entry points. Backing into objects or low branches breaks rear windows.
Age-related deterioration affects older RVs. The glass becomes more brittle over time. Seals fail and allow moisture to enter between dual-pane windows.
When to Replace RV Window Glass Instead of Repair
Complete replacement is necessary when cracks are longer than 3 inches. Large chips bigger than a quarter also require new glass. Multiple damage points make repair unsafe and ineffective.
Any damage in the driver’s line of sight needs immediate replacement. Safety regulations require clear visibility through windshields and side windows.
Laminated glass with internal damage between layers cannot be repaired properly. The plastic film separation requires full window replacement to restore structural integrity.
Edge damage always needs replacement because it weakens the entire window. Cracks starting from the frame area will continue spreading regardless of repair attempts.
Cost considerations sometimes favor replacement over repair. Multiple small repairs often cost more than one complete replacement in the long run.
Process of Replacing Glass in an RV Window
RV glass replacement involves evaluating damage severity, gathering proper tools, and following specific steps to remove old glass and install new panels. The process requires careful measurement, proper sealing techniques, and deciding whether professional help is needed based on window type and damage extent.
Assessing the Extent of Damage
Before starting any RV window replacement project, owners must examine the damage carefully. Small cracks or chips may only require glass replacement, while extensive damage might need a complete window assembly replacement.
Key damage indicators include:
- Cracks extending across the entire pane
- Broken or damaged window frames
- Failed seals causing fogging between glass layers
- Loose or missing mounting hardware
Newer RVs often allow for easier glass-only replacement. Older models may require removing the entire window to take accurate measurements before ordering replacement glass.
Frame condition plays a major role in determining repair scope. If the frame remains intact and properly sealed, glass replacement alone may suffice. Damaged frames require more extensive camper window replacement work.
Steps for DIY RV Glass Replacement
The RV glass replacement process begins with gathering necessary tools and materials. Essential items include replacement glass, sealant, screwdrivers, razor blades, and cleaning supplies.
Step-by-step replacement process:
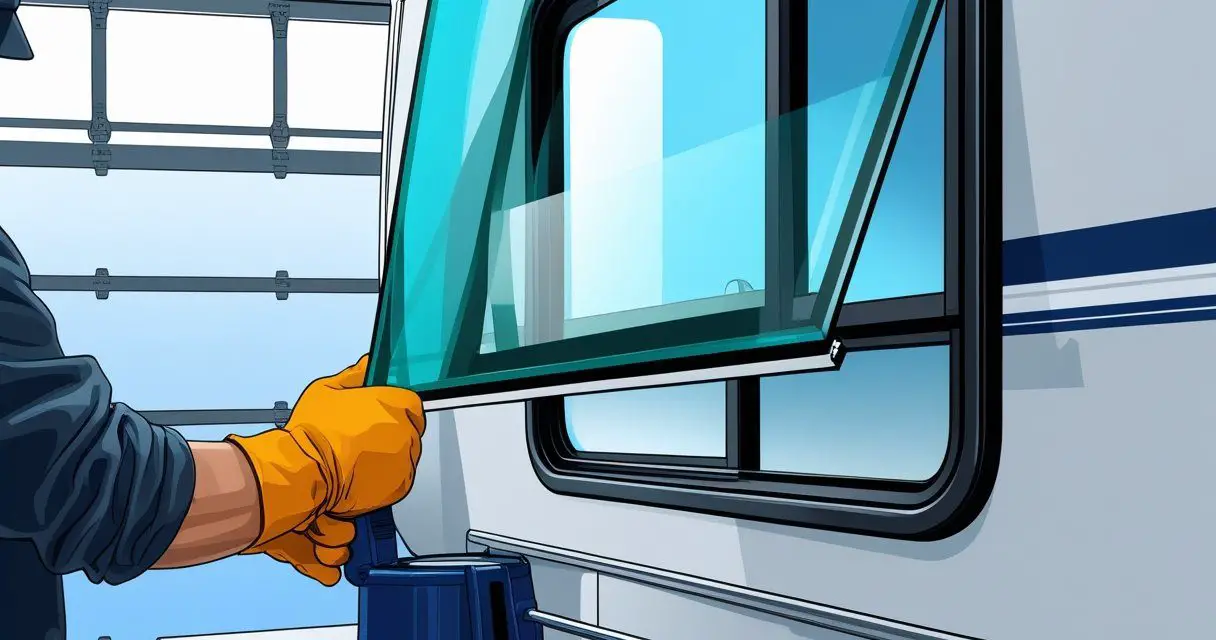
- Remove old glass carefully – Use a razor blade to cut through old sealant around window edges
- Clean the frame thoroughly – Remove all old adhesive and debris from mounting surfaces
- Take precise measurements – Ensure replacement glass matches exact dimensions
- Install new glass panel – Press firmly into place with fresh sealant
- Replace mounting hardware – Tighten screws enough to prevent leaks without cracking glass
- Install trim pieces – Replace plastic trim and rubber seals as needed
Each step requires patience and attention to detail. Rushing the process can lead to improper sealing or glass breakage. Working on one window at a time prevents confusion and reduces accident risk.
Choosing Between Professional and DIY Replacement
DIY rv window replacement works well for simple glass-only projects on standard rectangular windows. Complex window shapes, curved glass, or extensive frame damage typically require professional installation.
Consider professional help when:
- Working with windshields or large panoramic windows
- Frame replacement is necessary
- Window has unusual shapes or custom dimensions
- Structural modifications are needed
Cost factors influence this decision significantly. Professional installation costs more upfront but includes warranties and proper tools. DIY replacement saves money but requires time investment and carries risk of mistakes.
Skill level matters greatly in this choice. Experienced RV owners with basic tool knowledge can handle straightforward glass replacement projects. First-time repairs benefit from professional guidance to avoid costly errors.
Selecting the Right Replacement Glass and Installation Tips
Choosing the right replacement glass requires careful measurement and understanding of different glass types available for RVs. Proper installation techniques and sealing methods ensure long-lasting results and prevent common issues like leaks and drafts.
How to Measure and Source New RV Window Glass
Accurate measurements are critical for successful RV window glass replacement. Start by measuring the height, width, and depth of the existing window opening using a tape measure.
Measurement Steps:
- Measure width at the top, middle, and bottom
- Measure height on the left, center, and right sides
- Record the smallest measurements to ensure proper fit
- Note the glass thickness using calipers
Most RV side window glass comes in standard thicknesses of 1/8 inch or 3/16 inch. Check the original glass for any markings that indicate specifications.
Glass Type Options:
- Laminated glass: Offers better acoustic insulation and safety
- Tempered glass: Provides strength and safety when broken
- Dual-pane units: Better insulation but heavier
Contact RV glass suppliers or dealers with your measurements and RV model information. Many suppliers can match existing window glass based on your RV’s make and year.
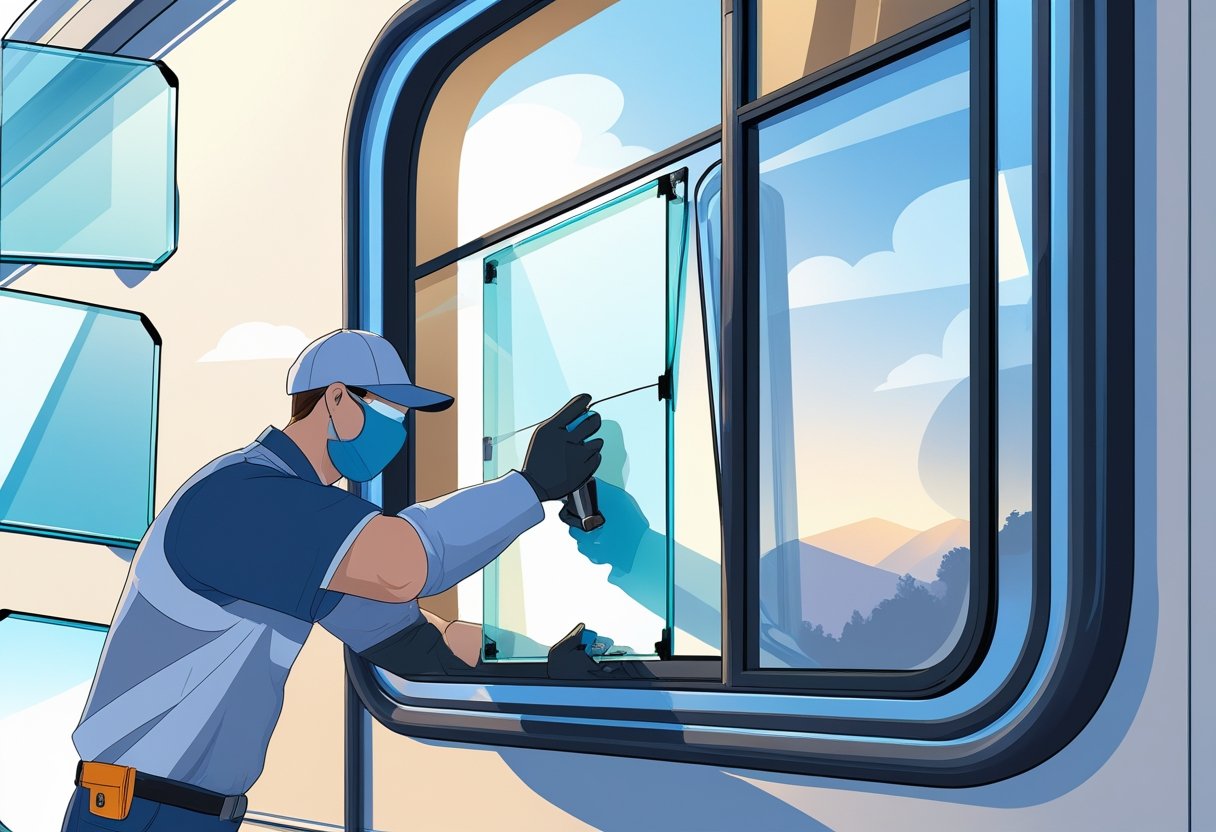
Tips for Proper Installation and Sealing
Proper installation starts with removing the old glass carefully. Wear safety glasses and gloves when handling broken or cracked glass pieces.
Installation Process:
- Clean the window frame completely
- Apply weatherstrip adhesive to the frame
- Position the new glass carefully
- Install trim pieces or gaskets
Use high-quality sealants designed for RV applications. Butyl tape works well for creating watertight seals around rv windows.
Sealing Best Practices:
- Apply sealant in continuous beads without gaps
- Use proper curing time before exposure to weather
- Check for air bubbles or missed spots
- Test the seal with water before final installation
The glass should sit flush against the frame without forcing or over-tightening hardware. Proper alignment prevents stress cracks and ensures the window operates smoothly.
Common Challenges and How to Overcome Them
Glass breakage during removal is a frequent issue when replacing window glass. Use a heat gun to soften old sealant before attempting removal.
Challenge Solutions:
- Stuck glass: Apply heat and use plastic tools to avoid scratches
- Wrong measurements: Always double-check before ordering
- Seal failure: Use RV-specific sealants rated for temperature changes
Weather can affect installation timing. Avoid installing during rain or extreme temperatures when sealants may not cure properly.
Finding exact replacement glass for older RV models can be difficult. Custom glass shops can often cut replacement pieces to match original specifications.
Troubleshooting Tips:
- Keep old glass pieces as templates if possible
- Take photos before removal for reference
- Test fit new glass before applying final sealant
Professional installation may be worth considering for large or complex rv windows to avoid costly mistakes.


