Yes, RV slide outs can be adjusted using basic tools and following proper safety procedures. Most RV owners can make these adjustments themselves with the right knowledge and equipment.
The process involves checking alignment, tightening bolts, adjusting cables, and ensuring smooth operation of the slide out mechanism.
RV slide outs add valuable living space but can develop problems over time. They may become misaligned, stick during operation, or fail to seal properly.
These issues can lead to water damage, uneven wear, and costly repairs if left untreated. The adjustment process varies depending on whether the slide out uses electric, hydraulic, or cable systems.
Key Takeaways
- RV slide outs can be adjusted by owners using common tools like wrenches, levels, and screwdrivers
- Regular maintenance and lubrication prevent most slide out problems and extend system life
- Proper adjustment ensures smooth operation and prevents water damage from poor sealing
Understanding RV Slide Outs
RV slide outs are movable room extensions that expand living space when parked. They use different mechanical systems to operate smoothly and safely.
These systems provide extra room for dining, sleeping, and storage. They maintain the RV’s road-worthy dimensions during travel.
What Is a Slide-Out?
A slide-out is a section of an RV’s interior that extends outward from the main body to create additional living space. The slide-out moves on rails or tracks built into the RV’s frame.
Most slide outs extend 2 to 4 feet beyond the RV’s original walls. They contain furniture, appliances, or open floor space that becomes accessible when extended.
Key components include:
- The slide-out room or box
- Operating mechanism (motor, cables, or hydraulics)
- Support rails and tracks
- Weather sealing system
- Control switches or panels
The slide-out retracts completely when preparing to travel. This keeps the RV within legal width limits for highway driving.
Benefits and Purpose of RV Slide Outs
Slide outs transform cramped RV interiors into spacious living areas. A 30-foot RV can gain 60 to 80 square feet of extra space with just one slide-out.
The extra room makes daily activities more comfortable. Families can move around freely without bumping into each other or furniture.
Primary benefits include:
- Expanded dining areas – Room for larger tables and seating
- Bigger bedrooms – Space to walk around beds
- Kitchen workspace – Counter space and storage access
- Living room comfort – Space for recliners and entertainment centers
Multiple slide outs can nearly double an RV’s interior space. This makes full-time RV living much more practical and enjoyable.
Common Types of Slide-Out Mechanisms
RV manufacturers use three main slide-out system types, each with different operating methods and adjustment points.
Through-frame slides use mechanical gears and motors mounted underneath the RV. The motor turns gears that move the slide-out on heavy-duty rails.
These systems are very reliable but require regular greasing.
Cable slides operate with steel cables and pulleys inside the RV. Motors wind the cables to extend or retract the room.
The cables must maintain equal tension to prevent binding or tilting.
Hydraulic slides use fluid pressure to power rams that push the room in and out. A pump and reservoir supply pressurized fluid to the cylinders.
These systems move smoothly but need proper fluid levels and seal maintenance.
Each slide-out mechanism requires different tools and techniques for adjustments and repairs.
Can RV Slide Outs Be Adjusted?
Yes, RV slide outs can be adjusted, but the process requires careful attention to manufacturer specifications and safety procedures. Most adjustments involve minor tweaks to alignment, while major repairs should be handled by professionals.
When Adjustment Is Necessary
RV owners need to adjust slide out systems when several warning signs appear. Uneven gaps around the slide-out edges indicate alignment problems that require immediate attention.
Difficulty extending or retracting the slide-out signals potential track or motor issues. Strange noises during operation often point to loose components or insufficient lubrication.
Common adjustment triggers include:
- Water leaks around seals
- Visible sagging or tilting
- Binding during movement
- Loose screws from road vibration
Ground conditions also affect slide-out performance. Parking on uneven surfaces can strain the slide-out mechanism and create alignment issues over time.
Electric slide-outs may develop motor problems, while hydraulic systems can experience pressure irregularities. Manual tip-out models in older RVs often need cable adjustments due to stretching.
Manufacturer Guidelines and Recommendations
Each RV manufacturer provides specific instructions for their slide-out systems. These guidelines vary significantly between electric, hydraulic, and manual tip-out models.
The owner’s manual contains crucial information about adjustment procedures and safety precautions. Following these instructions prevents warranty violations and ensures proper operation.
Key manufacturer recommendations:
- Use only approved lubricants for tracks
- Check motor connections regularly
- Maintain proper hydraulic fluid levels
- Inspect seals and gaskets monthly
Most manufacturers recommend professional service for major adjustments. DIY repairs should focus on basic maintenance like tightening loose screws and cleaning tracks.
Some systems include adjustment points that owners can safely modify. Others require specialized tools and expertise that only certified technicians possess.
Potential Risks of Poor Adjustment
Improper slide-out adjustments can cause expensive damage to the RV’s structure and mechanisms. Water damage represents the most serious risk when seals fail due to misalignment.
Poor adjustments strain motors and hydraulic pumps, leading to premature failure. Bent tracks or damaged rollers require costly replacements that could have been prevented.
Major risks include:
- Complete system failure
- Structural damage to RV walls
- Electrical system damage
- Safety hazards during operation
Attempting complex adjustments without proper knowledge can worsen existing problems. Over-tightening cables or incorrectly positioning components may render the slide-out inoperable.
Professional repairs become more expensive when DIY adjustments go wrong. Simple maintenance tasks can quickly escalate into major overhauls requiring specialized parts and labor.
Preparing to Adjust an RV Slide Out
Proper preparation prevents damage to the slide out mechanism and ensures safe, accurate adjustments. Having the right tools and a level foundation makes the difference between a successful repair and costly mistakes.
Essential Tools and Safety Precautions
RV owners need specific tools before starting any slide-out adjustment work. A socket wrench set handles most bolt adjustments on the slide out mechanism.
A tape measure ensures precise alignment checks. A flashlight helps locate adjustment points in dark areas under the RV.
Safety comes first when working on slide-out systems. Owners must disconnect shore power and turn off the battery before touching any electrical components.
This prevents accidental activation during adjustment work. Protective gloves protect hands from sharp edges and moving parts.
The owner’s manual contains vital information about torque specifications and system type. Each RV slide-out uses different mechanisms—cable, hydraulic, or mechanical systems.
Knowing which type helps identify the correct adjustment points and methods.
Leveling the RV Before Adjustment
An unlevel RV throws off all slide-out measurements and adjustments. The entire coach must sit level before any work begins on the slide out mechanism.
Leveling blocks work well for most RVs. Place them under the low side wheels until a bubble level shows the RV sits flat front to back and side to side.
Automatic leveling systems make this job easier. They adjust all jacks at once to achieve a level position quickly.
Uneven foundations cause false readings during adjustment work. What looks like a slide-out problem might just be the RV sitting crooked.
A level RV ensures accurate measurements and proper alignment of all moving parts.
How to Adjust Electric Slide Outs
Electric slide-out systems require proper motor inspection and rail maintenance to function correctly. Most adjustments involve tightening connections, lubricating components, and making minor alignment changes through the control system.
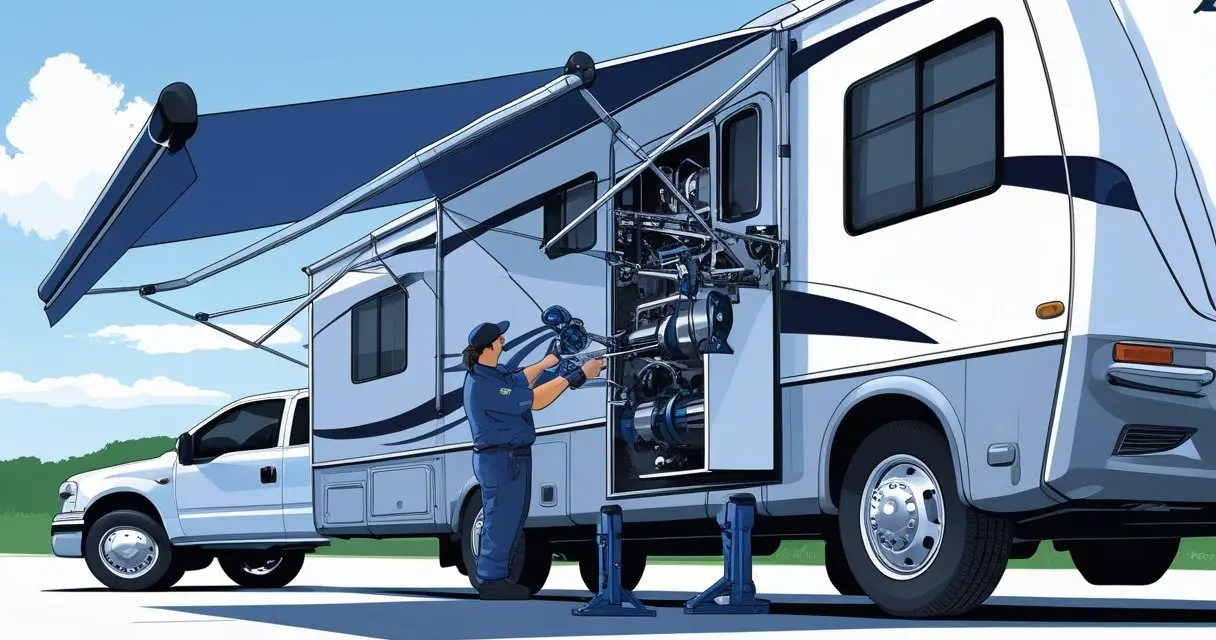
Identifying Electric Slide-Out Components
The electric slide-out system consists of several key parts that work together. The slide out motor powers the mechanism and is typically located near the slide-out frame.
This motor connects to drive cables or gears that move the room in and out. The control panel sits inside the RV, usually on a wall near the slide-out.
It contains buttons or switches to extend and retract the slide. Some RVs have individual controls for each slide, while others use one master panel.
Rails or tracks guide the slide-out room during movement. These metal channels require regular lubrication to prevent binding.
The rails often have adjustment points where technicians can fine-tune alignment. Wiring harnesses connect all electrical components.
These cables carry power from the RV’s electrical system to the motor and control panel. Loose connections in the wiring can cause operation problems.
Adjusting Slide-Out Motors
Motor adjustments focus on electrical connections and mechanical alignment. Start by turning off the RV’s main power before working on any electrical components.
This prevents accidental activation during maintenance. Check all wire connections at the motor housing.
Loose wires cause poor performance and potential damage. Tighten any loose screws on wire terminals using the appropriate screwdriver.
Inspect the motor mounting bolts to ensure they remain secure. Vibration from travel can loosen these connections over time.
Tighten mounting hardware as needed to prevent motor misalignment. Most electric motors have limit switches that stop movement at full extension and retraction.
These switches may need adjustment if the slide-out stops too early or extends too far. Consult the manufacturer’s manual for specific limit switch procedures.
Step-by-Step Electric Adjustment Process
Begin by stabilizing the RV with leveling jacks to create a solid work platform. An unlevel RV can cause binding during slide-out operation.
Extend the stabilizers before starting any adjustment work. Locate the manufacturer’s manual for specific adjustment procedures.
Different brands use varying methods for fine-tuning the slide-out system. The manual provides torque specifications and adjustment limits.
Apply slide-out lubricant to all rails and moving parts. Use products designed specifically for RV slide-outs rather than general-purpose lubricants.
Work the slide in and out several times to distribute the lubricant evenly. Make small adjustments to alignment screws if the slide appears crooked or binds during operation.
Turn adjustment screws in quarter-turn increments only. Test the slide movement after each adjustment to avoid over-correcting the problem.
Check the slide-out seals for proper contact when fully extended. Gaps in the seals allow water and air infiltration.
Minor motor adjustments can improve seal compression without professional service.
How to Adjust Cable and Hydraulic Slide Outs
Cable and hydraulic slide-out systems require different adjustment approaches to maintain proper operation. Cable systems need tension adjustments and bracket alignment, while hydraulic systems focus on pressure regulation and cylinder positioning.
Adjusting Slide-Out Cables
Cable slide-out systems use tensioned cables to extend and retract the room. The cables connect to adjuster brackets that control movement.
Locating Cable Components
Find the cable adjustment brackets underneath the RV. These brackets have threaded rods that control cable tension.
The cables pass through pulleys and attach to the slide-out frame.
Tension Adjustment Process
Turn the adjustment nuts on the threaded rods to increase or decrease cable tension. Tighten cables evenly on both sides to prevent binding.
Make small quarter-turn adjustments at a time. Test the slide-out movement after each adjustment.
The room should move smoothly without jerking or stopping.
Cable Safety Considerations
Sagging cables create serious safety risks. Loose cables can interfere with each other during operation.
Keep cables properly tensioned to maintain their travel paths. Replace frayed or damaged cables immediately.
Worn cables can snap and cause slide-out failure.
Hydraulic Slide-Out Adjustment Basics
Hydraulic slide-out systems use pressurized fluid and cylinders to move the room. These systems require pressure checks and cylinder alignment.
System Preparation
Check hydraulic fluid levels before making adjustments. Low fluid causes poor performance and potential damage.
Ensure all hydraulic lines are secure and leak-free. Position the slide-out fully extended or retracted before starting work.
This provides a stable reference point for adjustments.
Pressure Adjustment
Use a pressure gauge to check system pressure at the cylinders. Compare readings to manufacturer specifications.
Adjust pressure using the system’s relief valve or pump controls.
Cylinder Alignment
Check that hydraulic cylinders extend and retract evenly. Uneven movement indicates misalignment or internal cylinder problems.
Adjust cylinder mounting points to correct alignment issues. Replace hydraulic seals if cylinders leak or lose pressure during operation.
Tips for Proper Alignment and Tension
Proper alignment prevents premature wear and ensures smooth slide-out operation. Both cable and hydraulic systems need precise alignment.
Measurement and Leveling
Use a level to check slide-out alignment during extension. The room should remain level throughout its travel.
Measure gap distances around the slide-out perimeter to verify even positioning.
Adjustment Sequence
Make small adjustments in stages rather than large changes. Test operation after each adjustment to avoid over-correction.
For cable systems, adjust tension equally on both sides. For hydraulic systems, check that both cylinders move at the same rate.
Maintenance Schedule
Lubricate cable pulleys and pivot points monthly. Check hydraulic fluid levels every three months.
Inspect cable condition and hydraulic seals during regular maintenance. Keep adjustment tools accessible for minor corrections during travel.
Document successful adjustment settings for future reference.
Troubleshooting Common Slide-Out Issues
Most slide-out problems stem from misalignment, mechanical wear, or debris buildup that prevents smooth operation.
Slide-Out Misalignment Solutions
Misalignment occurs when the slide-out mechanism shifts from its proper position. This creates uneven gaps around the slide and can cause binding during operation.
Signs of misalignment include:
- Uneven gaps between the slide and RV wall
- Doors or drawers that won’t open properly
- Water leaks around seals
- Difficulty extending or retracting
Owners should first level the RV completely before making any adjustments. An unlevel RV can make alignment issues appear worse than they actually are.
For through-frame slides, adjustment bolts are located underneath the slide or behind trim panels. Small quarter-turn adjustments to these bolts can correct horizontal and vertical positioning.
Cable slide systems require adjusting cable tension through nuts inside cabinetry. Equal tension across all cables prevents binding and ensures smooth movement.
Hydraulic slides need linkage bolt adjustments near the hydraulic ram. These systems respond quickly to small changes, so minimal adjustments work best.
Fixing Stuck or Noisy Slide Outs
Stuck or noisy slide-outs usually result from debris, lack of lubrication, or worn components.
Common causes and solutions:
| Problem | Cause | Solution |
|---|---|---|
| Grinding noise | Debris in tracks | Clean tracks thoroughly |
| Squealing sound | Dry components | Lubricate moving parts |
| Binding motion | Bent rails | Inspect and straighten |
| Complete stoppage | Electrical failure | Check fuses and connections |
Would you like to save this article?
Regular cleaning prevents most mechanical problems. Owners should remove leaves, dirt, and debris from tracks monthly.
Proper lubrication keeps components moving smoothly. Use manufacturer-recommended lubricants on rails, cables, and pivot points every three months.
Bent or damaged rails require immediate attention. Continued operation with damaged components can cause expensive motor or frame damage.
When to Consult a Professional
Some slide-out problems require professional expertise and specialized tools.
Professional help is needed when:
- Multiple systems fail simultaneously
- Hydraulic fluid leaks appear
- The slide tilts significantly during operation
- Motor replacement becomes necessary
- Structural damage is visible
Electrical problems beyond basic fuse replacement should be handled by certified technicians. RV electrical systems can be complex and dangerous for untrained individuals.
Frame damage or severely bent components need professional assessment. These repairs often require specialized equipment and welding expertise.
Cost considerations favor professional repair for major issues. Improper DIY repairs can void warranties and create safety hazards that exceed initial repair costs.
Maintenance Tips for Long-Lasting Slide Outs
Regular maintenance keeps slide-out systems running smoothly and prevents costly adjustments.
Monthly inspections, proper lubrication, and basic cleaning protect the mechanisms from premature wear and misalignment issues.
Routine Inspection Practices
RV owners should inspect their slide-out systems monthly to catch problems early. Start by examining all rubber seals around the slide out mechanism for cracks, drying, or gaps that could allow water intrusion.
Check the slideout tracks and rails for debris buildup. Leaves, dirt, and small stones can jam the system or cause uneven movement.
Clean these areas with a soft brush or small vacuum. Look for signs of water damage around seal edges and corners.
Dark stains or soft spots indicate moisture problems that need immediate attention.
Key inspection points include:
- Seal condition and flexibility
- Track cleanliness and alignment
- Motor housing for unusual heat
- Hydraulic fluid levels (if equipped)
- Electrical connections for corrosion
Test the slide-out system’s movement during each inspection. It should extend and retract smoothly without jerking or stopping mid-cycle.
Uneven movement signals potential alignment issues.
Lubrication and Cleaning Recommendations
Proper lubrication every three months keeps the slide-out system operating smoothly. Use only silicone-based or dry-film lubricants designed for RV applications.
Oil-based products attract dirt and can damage rubber components. Apply lubricant to all moving parts including gears, tracks, and pivot points.
Wipe away excess product to prevent dust accumulation. Clean the entire slide out mechanism with mild soap and water monthly.
Remove all debris from the roof area before retracting the slide to prevent seal damage.
Recommended cleaning supplies:
- Mild soap and microfiber cloths
- Non-abrasive degreaser
- Silicone spray lubricant
- Rubber seal conditioner
Condition rubber seals with specialized products designed for RV use. This prevents cracking and maintains proper sealing capability.
Never use petroleum-based cleaners or lubricants on the slide-out system. These products can degrade rubber seals and plastic components.
Preventing Future Adjustment Problems
Level the RV completely before operating any slide out mechanism. Uneven ground puts stress on the system and can cause misalignment over time.
Always check for obstructions inside and outside the RV before extending or retracting slides. Even small items can jam the system or damage seals.
Operate the slide-out system with steady, continuous pressure on the control switch. Avoid rapid on-off movements that can strain the motor and gears.
Prevention best practices:
- Keep slides retracted during travel
- Use slideout covers when parked long-term
- Schedule annual professional inspections
- Address minor issues immediately
Store the RV with slides retracted to prevent weather damage.
If storing long-term, extend and retract the slides monthly to keep seals flexible and mechanisms lubricated.
Replace worn seals promptly before they fail completely. Small seal repairs prevent major water damage and structural problems.


