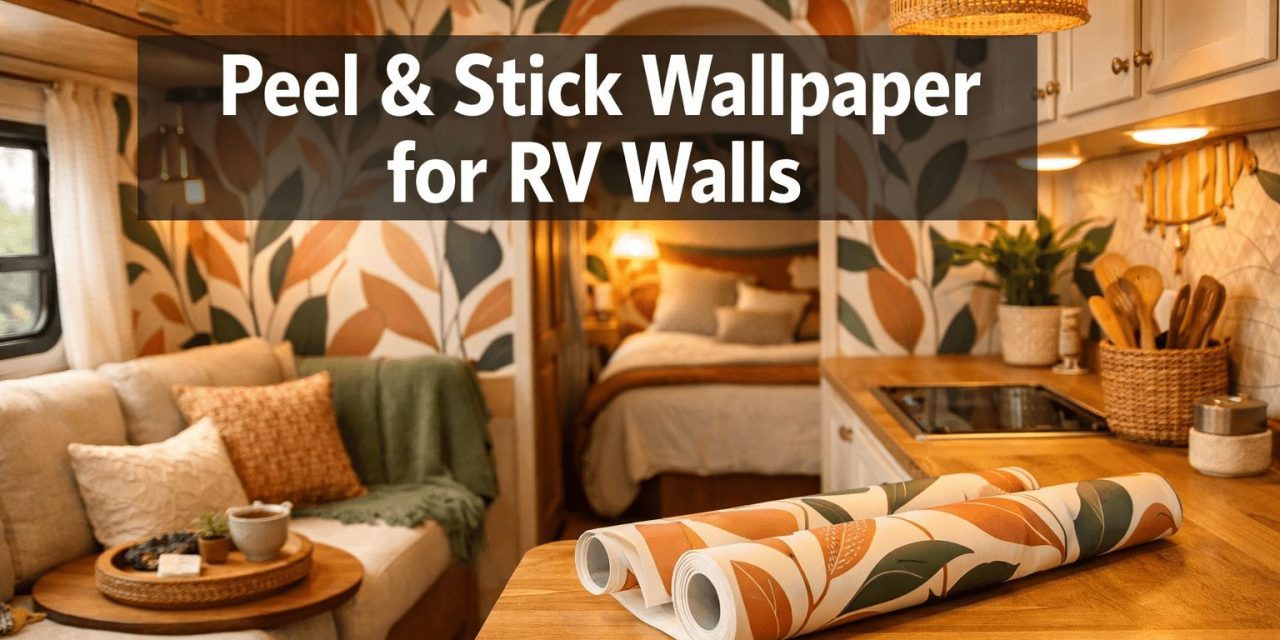
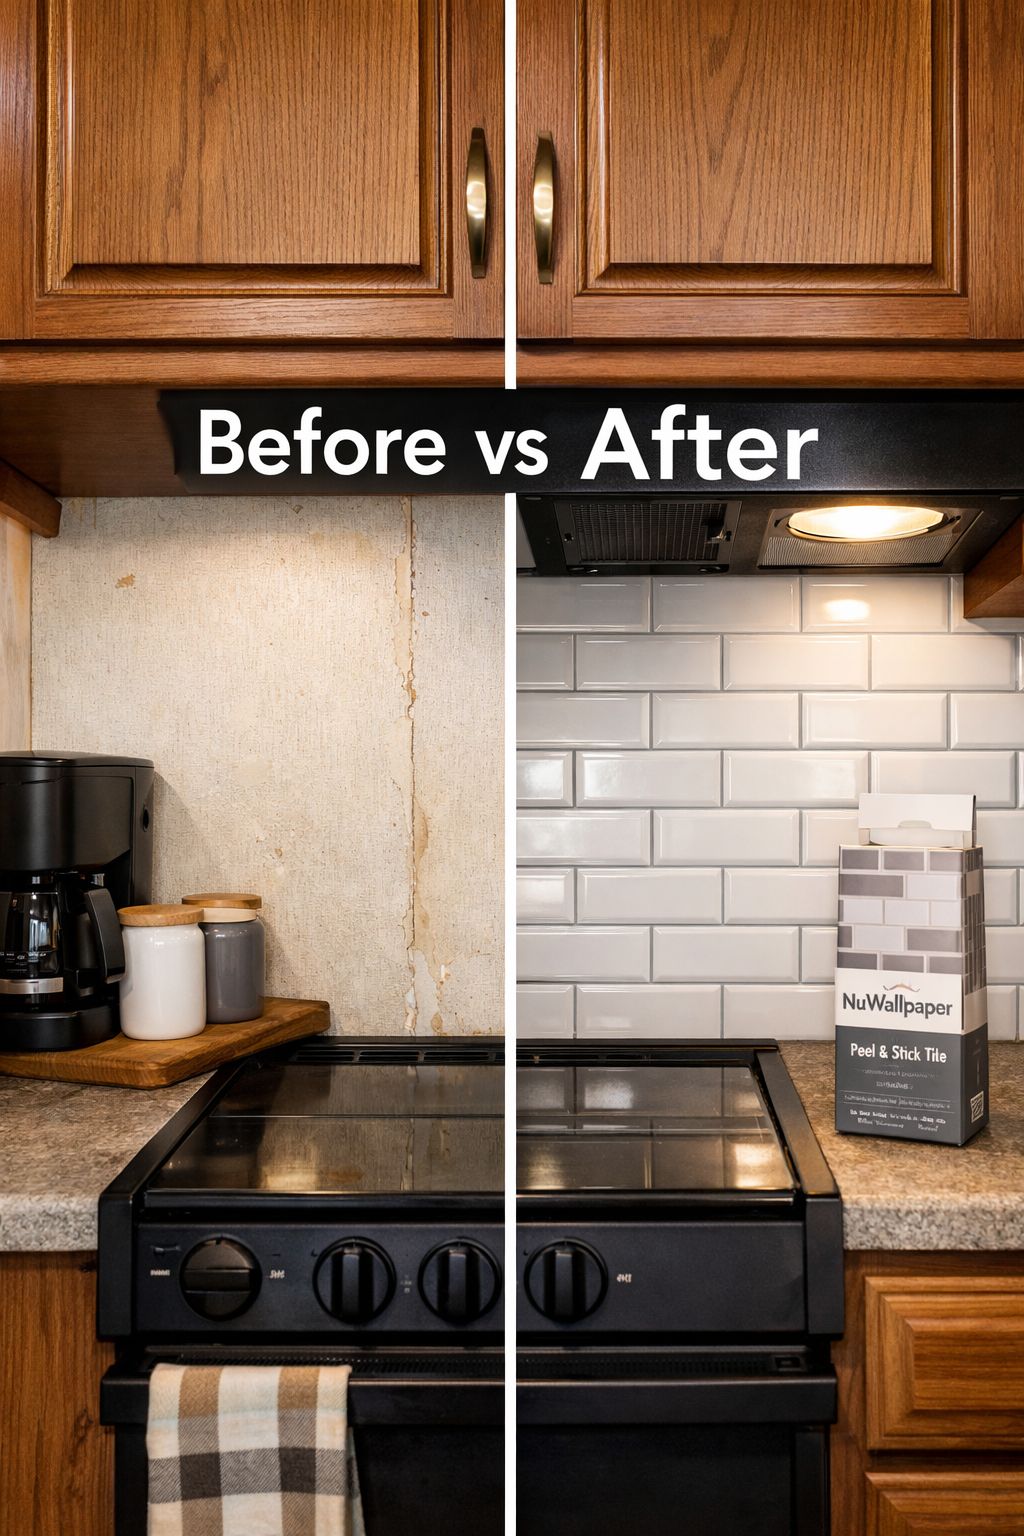
Dreaming of a fresh, stylish RV interior without a messy, expensive renovation? Here’s the good news: peel and stick wallpaper is a total game-changer for RV lovers — and yes, you absolutely can use it on RV walls! Whether you’re updating a tired backsplash or transforming an entire living space on wheels, the question of can you use peel and stick wallpaper on RV walls? has a resounding, enthusiastic answer. Let’s break down everything you need to know to do it right. 🚐✨
Key Takeaways
- ✅ Peel and stick wallpaper is the most popular and beginner-friendly option for RV renovations
- 🌡️ Temperature and humidity can weaken standard adhesives — extra adhesive products are often recommended
- 🛠️ Brands like NuWallpaper and Revive are top picks among RV owners for quality and ease of use
- 💧 Some premium options allow water-mist repositioning, making installation forgiving and stress-free
- 🎨 High-quality vinyl peel and stick wallpaper covers surface imperfections and transforms dated RV walls fast
Why Peel and Stick Wallpaper Works So Well on RV Walls
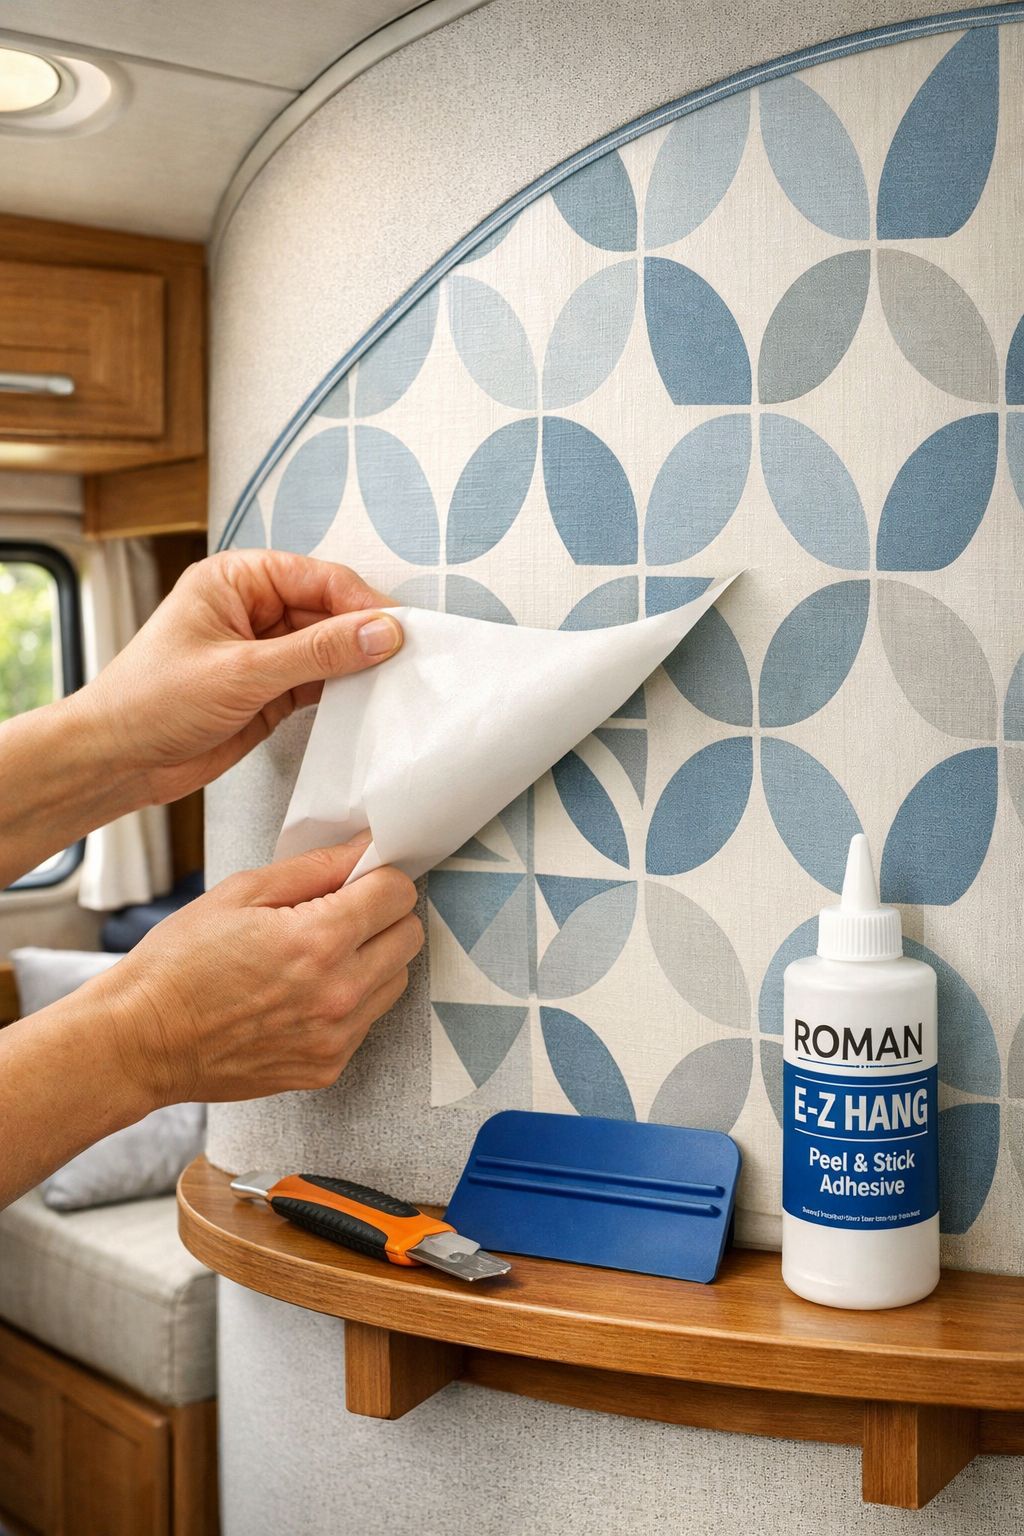
When it comes to RV renovations, peel and stick wallpaper is “generally the easiest to do” and “seems to be the most common and often preferred option in RV renovations” because it’s forgiving and allows repositioning if mistakes are made [2]. That flexibility is a huge deal when you’re working in a tight, curved RV space!
The Unique Challenges of RV Walls
RV walls aren’t like your home’s drywall. They’re often made from:
- Luan plywood (thin and flexible)
- Fiberglass panels
- Vinyl-covered surfaces
- Curved or irregular shapes
These surfaces can make traditional wallpaper tricky. Peel and stick vinyl, however, smooths over cosmetic flaws, seams, and dated wall finishes, giving you a cleaner, more finished surface without tearing your rig [3]. That means you can skip the sanding and patching and go straight to the fun part — decorating! 🎉
Top Peel and Stick Wallpaper Brands for RVs
| Brand | Key Feature | Where to Buy |
|---|---|---|
| NuWallpaper | Leaves no sticky residue on removal | Amazon, specialty retailers |
| Revive | Water-mist repositioning feature | etrailer.com |
| Etsy custom designs | Unique RV-specific patterns | Etsy marketplace |
| Camping World options | RV-focused backsplash tiles | Camping World stores/online |
NuWallpaper is highlighted as “a neat option for RVers available on Amazon and elsewhere” with peel-and-stick installation that “leaves no sticky residue behind if you remove it” — making it a top pick for those who like to redecorate often [2]. Many RV owners consider it the best peel-and-stick wallpaper for RV renovations.
💡 Pro Tip: For backsplash and wall applications, high-quality vinyl is recommended “to give you a wide range of design choices to match your taste.” [1] Don’t skimp on quality — it pays off in the long run!
Can You Use Peel and Stick Wallpaper on RV Walls? Solving the Adhesive Problem
Here’s where many RV owners run into trouble. Standard peel and stick wallpaper adhesives may fail in extreme weather conditions, particularly “in Florida’s humidity or when an RV is stored outdoors for the winter in a Northern climate” [2]. Your RV experiences wild temperature swings — hot summers, freezing winters, and everything in between. That stress can cause corners to peel and seams to lift.
How to Make Peel and Stick Wallpaper Stay Put in an RV
The good news? There are proven solutions! 🔧
1. Use a Wallpaper Helper Product
Experts recommend using Roman’s E-Z Hang Peel-and-Stick Wallpaper Helper “to make sure your wallpaper stays stuck to the walls and doesn’t all come down” [2]. This product boosts adhesion without making removal a nightmare later.
2. Add Extra Adhesive for Durability
Since typical peel-and-stick options may not withstand RV temperature variations, it’s advisable to use “extra adhesive for added durability,” including:
- Basic wallpaper paste for vinyl backsplash from a roll
- Small amounts of construction adhesive on the edges of peel-and-stick tiles [1]
3. Choose Seam-Tape Technology
Quality kits include “seam tape [that] bridges the gaps, helping each section blend” and “flexes when you’re applying it, then locks in place to hold through temperature swings and life in motion” [3]. This is a must-have feature for any RV wallpaper kit.
4. Take Advantage of Water-Mist Repositioning
Quality RV peel-and-stick wallpaper like the Revive brand allows “a quick mist of water” to “buy you time to adjust, or even readjust, before it settles in for good” [3]. This feature alone can save a beginner from costly mistakes.
Step-by-Step: How to Install Peel and Stick Wallpaper in Your RV
Ready to transform your rig? Here’s a simple, beginner-friendly installation guide:
What You’ll Need 🛒
- Peel and stick wallpaper (high-quality vinyl recommended)
- Roman’s E-Z Hang or similar adhesive helper
- Utility knife
- Smoothing tool or credit card
- Level or chalk line
- Seam tape (if not included in kit)
Installation Steps
- Clean the walls thoroughly — Remove dust, grease, and any loose material. A clean surface = better adhesion.
- Find your centerline — Use a level to mark a vertical centerline on your wall. This keeps everything straight and aligned.
- Peel and position — Start peeling the backing and carefully position the wallpaper against your centerline.
- Smooth as you go — Press firmly from the center outward to eliminate bubbles or crinkles [3]. Premium kits are specifically designed to smooth these out.
- Slowly remove remaining backing — “Slowly remove the remaining backing while firmly pressing the tile onto the wall” for best results [1].
- Trim the edges — “Grab a utility knife to trim the excess vinyl backsplash and tackle tricky areas like outlets, cabinets, or corners” for a professional finish [1].
- Apply seam tape — Use included seam tape to blend sections and reinforce joints against movement.
🚨 Watch Out: Always apply wallpaper in moderate temperatures (ideally 60–80°F). Extreme heat or cold during installation can affect adhesion from day one.
Best Places to Use Peel and Stick Wallpaper in Your RV
Not sure where to start? Here are the most popular spots RV owners are transforming in 2026:
- 🍳 Kitchen backsplash — Peel and stick tiles are perfect here; use construction adhesive on edges for extra hold
- 🛏️ Bedroom accent wall — Create a cozy focal point with a bold pattern
- 🚿 Bathroom walls — Choose moisture-resistant vinyl for this area
- 🛋️ Living area feature wall — Great for covering dated paneling or seams
- 🪟 Slide-out walls — Use flexible vinyl that can handle movement
Common Mistakes to Avoid
❌ Skipping surface prep — Dirty or oily walls will cause peeling fast
❌ Ignoring temperature warnings — Don’t install in extreme heat or cold
❌ Using low-quality wallpaper — Cheap options won’t handle RV vibration and movement
❌ Forgetting extra adhesive — Standard peel-and-stick alone often isn’t enough for RV conditions [1][2]
❌ Rushing the alignment — Take your time with the centerline; crooked wallpaper is hard to fix
Conclusion: Transform Your RV Walls With Confidence 🚐🎨
So, can you use peel and stick wallpaper on RV walls? Absolutely — and with the right preparation, it’s one of the most satisfying and affordable upgrades you can make to your rig in 2026. The key is choosing high-quality vinyl, boosting adhesion with products like Roman’s E-Z Hang, and selecting wallpaper designed to handle the unique demands of life on the road.
Your Actionable Next Steps:
- Measure your walls and calculate how much wallpaper you’ll need
- Choose a quality brand like NuWallpaper or Revive for best results
- Stock up on adhesive helpers — don’t skip this step!
- Watch installation tutorials on YouTube before you begin [5]
- Shop RV-specific options at Camping World, Etsy, or Amazon for the best selection [4][7]
Your dream RV interior is closer than you think. Grab a roll, peel back that backing, and start creating! ✨
References
[1] How To Install Peel And Stick Wallpaper In Your Rv – https://www.rvlock.com/blogs/on-the-road/how-to-install-peel-and-stick-wallpaper-in-your-rv
[2] Top 8 Places To Buy Rv Wallpaper – https://rvinspiration.com/renovate/top-8-places-to-buy-rv-wallpaper/
[3] Gr26fr – https://www.etrailer.com/RV-Wallpaper/Revive/GR26FR.html
[4] Rv Peel And Stick Wallpaper – https://www.etsy.com/market/rv_peel_and_stick_wallpaper
[5] Watch – https://www.youtube.com/watch?v=YnJMqQbunio
[7] Backsplash Wallpaper – https://www.campingworld.com/c/rv-kitchen-bath-laundry/renovation-diy/backsplash-wallpaper