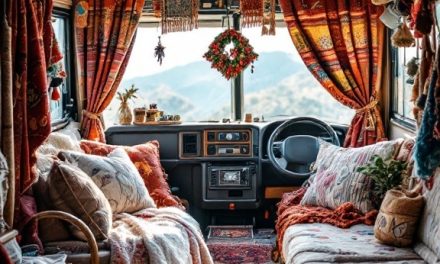
Remodeling your RV interior might seem overwhelming at first, but with the right plan and approach, it can be one of the most rewarding DIY projects you’ll ever tackle. Whether you’re looking to update an outdated camper or personalize a pre-owned RV to match your unique style, this comprehensive guide will walk you through each essential step of the transformation process.
The key to a successful RV remodel is careful planning, realistic budgeting, and taking things one step at a time. Unlike traditional home renovations, RV interiors present unique challenges including limited space, weight considerations, and the need for materials that can withstand constant movement and vibration. However, these constraints also offer opportunities for creative problem-solving and innovative design solutions.
By following these seven fundamental steps, you’ll learn how to approach your RV makeover methodically, avoid common pitfalls that trip up first-time renovators, and create a beautiful, functional living space that truly feels like home on wheels.
1. Plan Your RV Remodel Vision
Would you like to save this article?
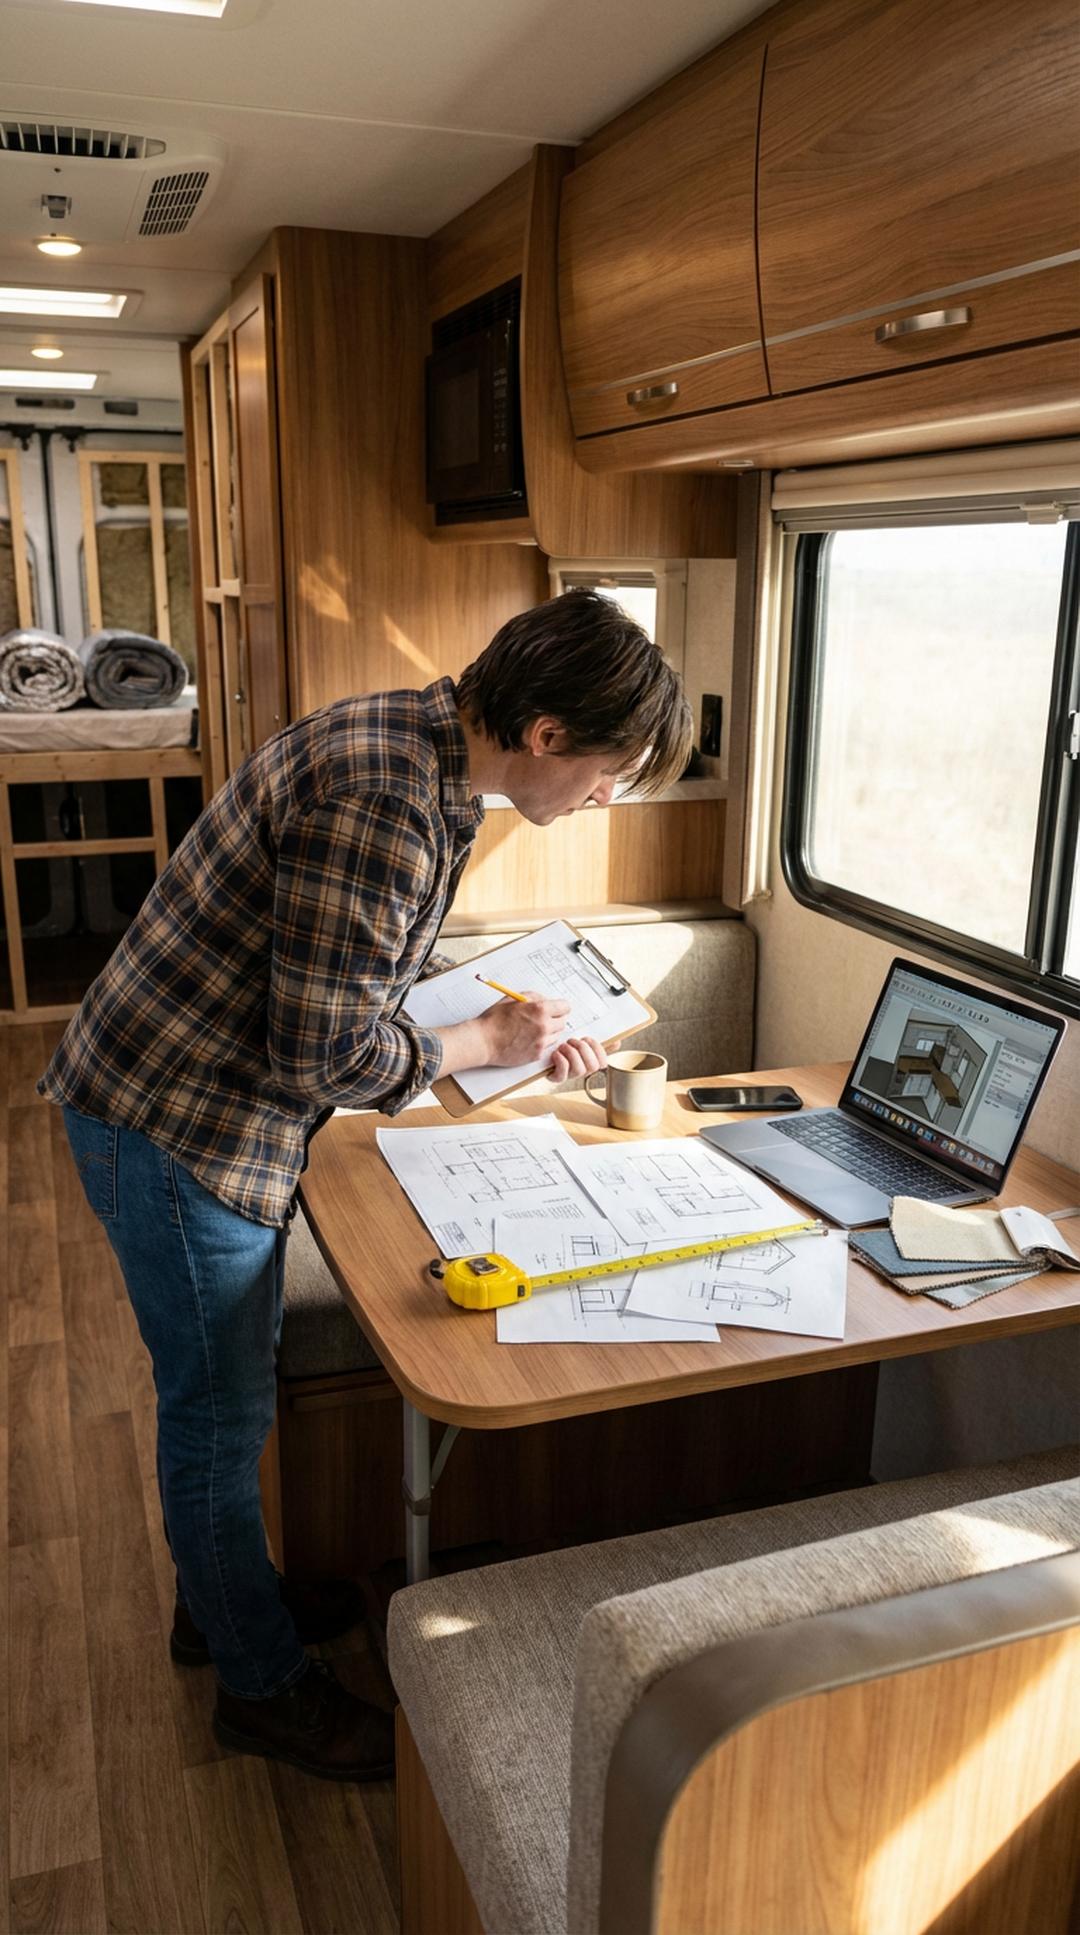
Before you pick up a single tool or purchase any materials, the most critical step is developing a clear vision for your RV remodel. Start by spending time in your RV and identifying what works and what doesn’t in the current layout. Take detailed measurements of every space, photograph the interior from multiple angles, and create a simple floor plan sketch. Consider how you actually use your RV—are you weekend warriors who need quick-setup solutions, or full-time travelers requiring maximum functionality? Browse RV renovation blogs, Pinterest boards, and Instagram accounts to gather inspiration, but remember to stay realistic about what’s achievable within your space and skill level.
Create a priority list that ranks projects from must-have to nice-to-have, and think through the logical order of renovations. Some projects, like flooring or painting, will affect everything else, so they should be tackled first. Consider the weight implications of your changes, as RVs have strict weight limits that affect safety and drivability. Document everything in a renovation journal or digital folder where you can save inspiration photos, measurement notes, and project ideas. This planning phase might take several weeks, but it’s time well spent that will save you from costly mistakes and help ensure your remodel stays on track and within budget.
PRO TIP: Create a digital mood board using free tools like Pinterest or Canva to visualize your design scheme before committing. Include photos of color palettes, furniture styles, and finished RV renovations that inspire you. This visual reference will help you maintain a cohesive design throughout the project and make it easier to communicate your vision when shopping for materials or asking for advice in RV renovation communities.
2. Set a Realistic Budget
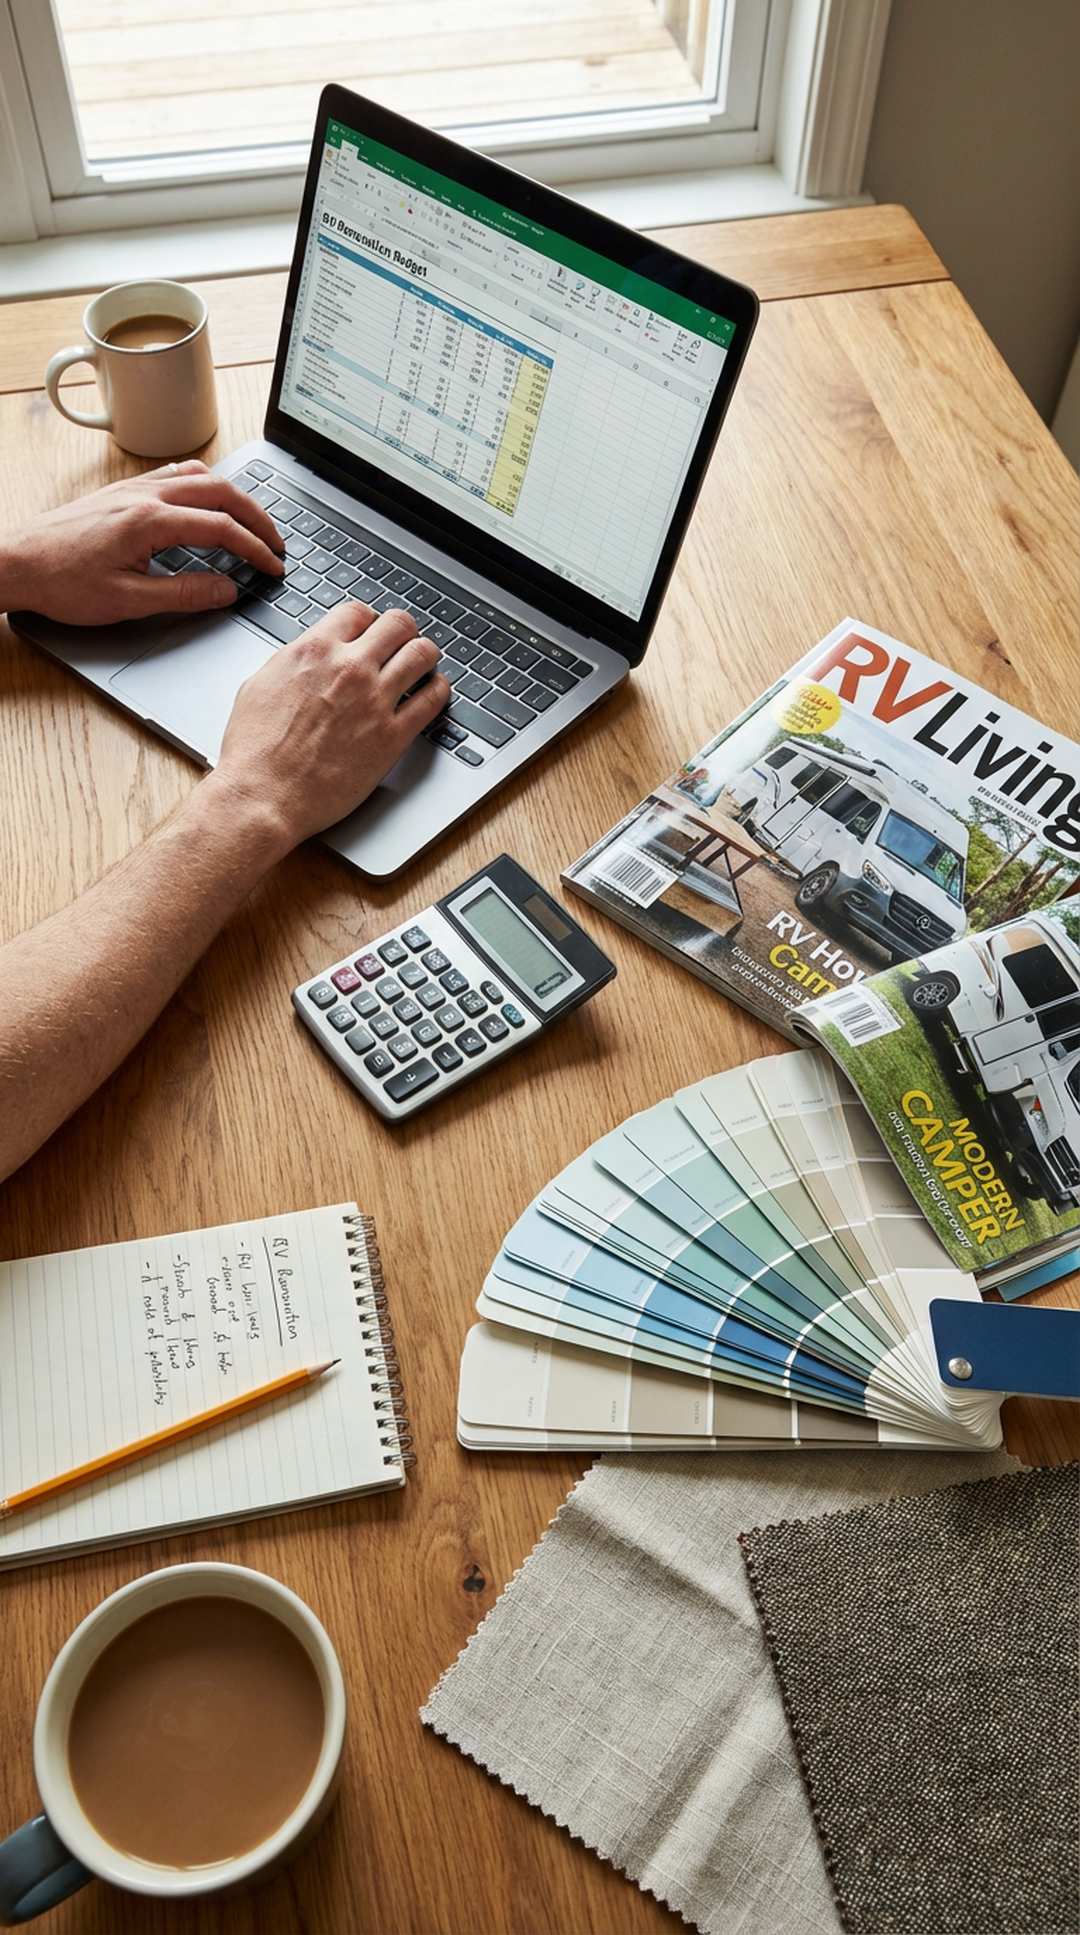
One of the biggest mistakes first-time RV renovators make is underestimating costs and timeline. Creating a detailed, realistic budget is essential for keeping your project on track and preventing financial stress. Start by researching the cost of materials you’ll need—flooring, paint, fabrics, hardware, and fixtures—and get actual quotes rather than guessing. Many RVers report that their renovations cost 20-30% more than initially estimated, so build in a cushion for unexpected expenses and those inevitable “while we’re at it” upgrades. Break your budget down into categories: structural repairs, cosmetic updates, new furnishings, and tools or equipment you’ll need to purchase. Don’t forget to factor in disposal fees for old materials and the cost of any professional help you might need for specialized tasks like electrical or plumbing work.
Consider taking a phased approach if your dream renovation exceeds your current budget. Prioritize structural and functional improvements first, then tackle cosmetic updates in later phases as funds allow. Track every expense meticulously using a spreadsheet or budgeting app, and save all receipts for warranty purposes and potential tax deductions if you use your RV for business. Remember that quality materials often cost more upfront but can save money in the long run by lasting longer and requiring less maintenance. Research RV-specific products versus standard home renovation materials, as sometimes the specialized items are worth the premium for their durability and weight-saving benefits.
PRO TIP: Set aside 25-30% of your total budget as an emergency fund for unexpected repairs or hidden damage you discover during demolition. Older RVs often have water damage, rot, or electrical issues lurking behind walls that won’t be apparent until you start removing fixtures. Having this financial cushion prevents your project from stalling when surprises inevitably arise and keeps you from having to compromise on necessary repairs.
3. Gut and Remove Old Components
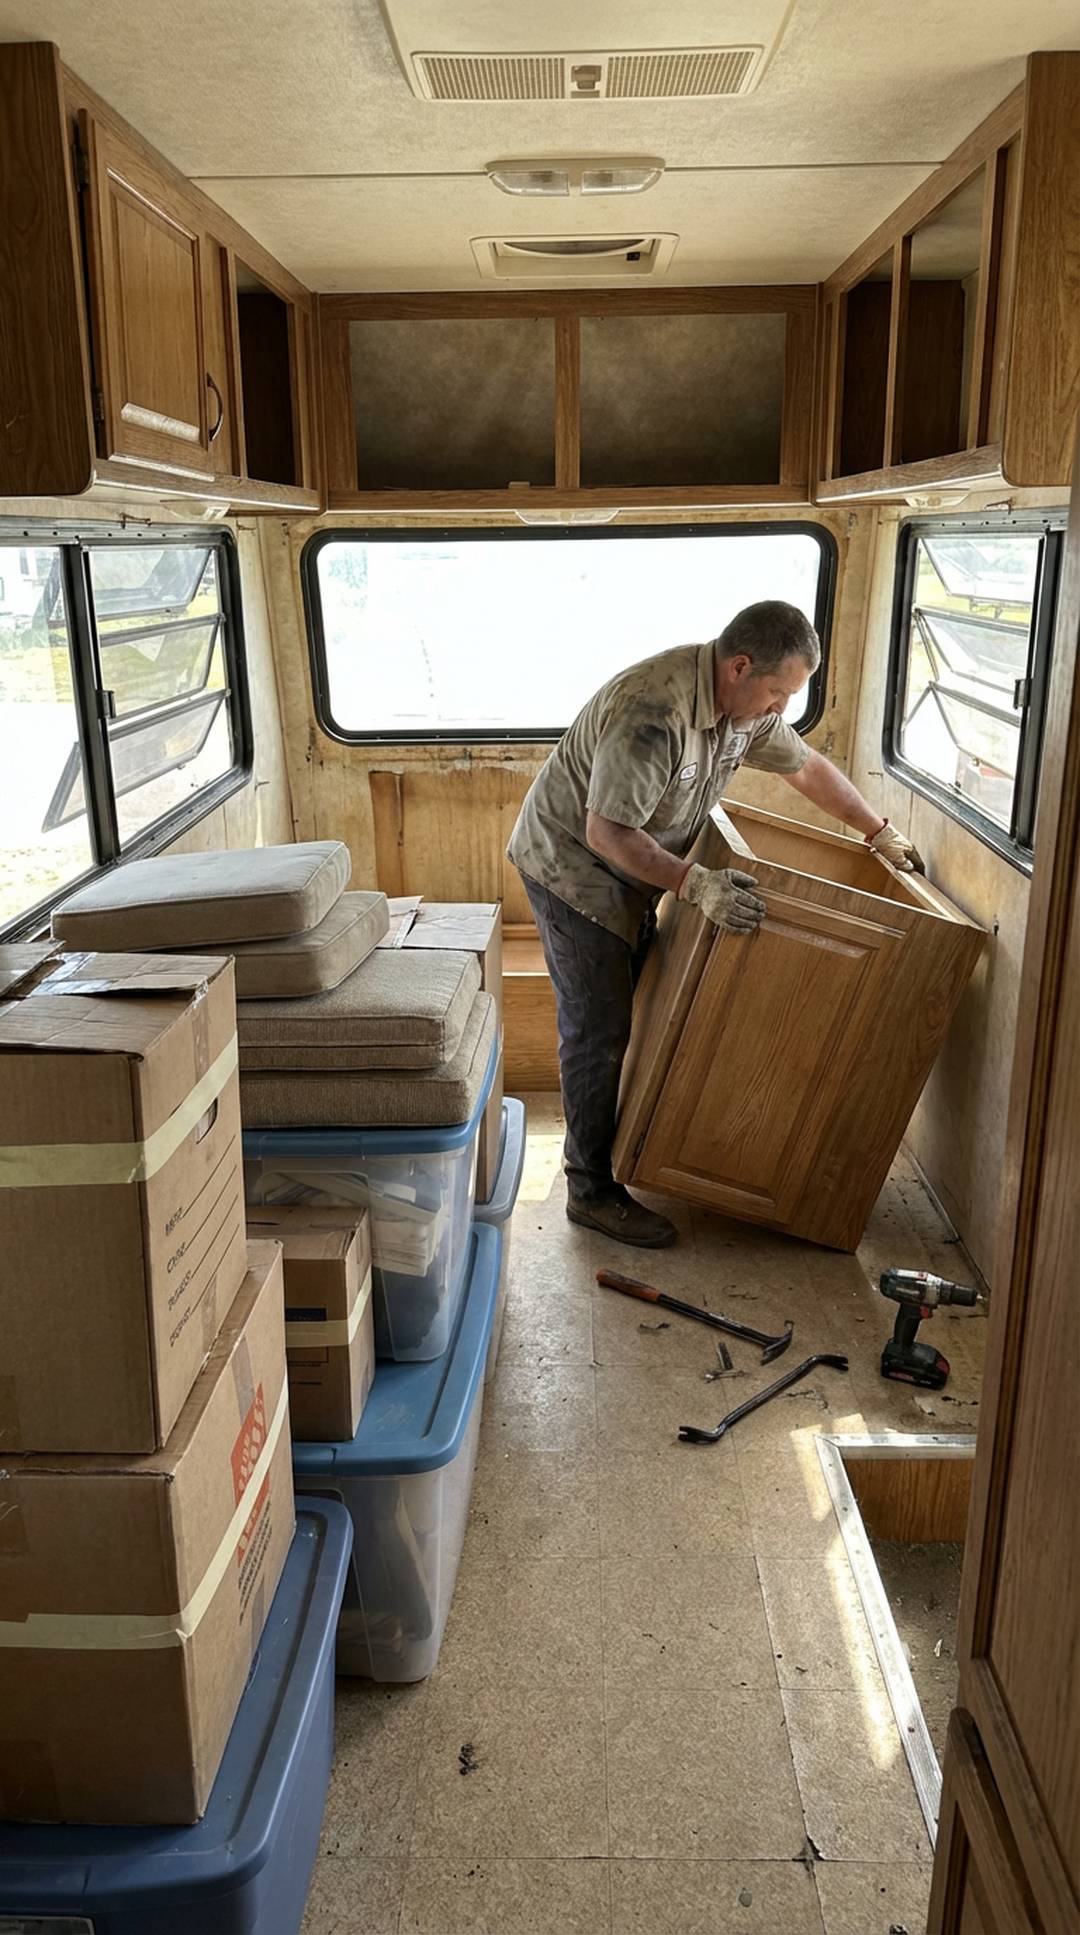
Once your plan is solid and budget is set, it’s time to start the exciting (and messy) demolition phase. Begin by completely emptying your RV of all personal belongings, and set up a clean workspace outside where you can stage items you’re removing. Take photographs of everything before you start dismantling, especially electrical connections, plumbing configurations, and how components fit together—these photos will be invaluable during reassembly. Work methodically from top to bottom, removing curtains, cabinet doors, light fixtures, and decorative elements first. Label everything you remove with masking tape and marker, noting where each piece came from, and save all screws and hardware in labeled bags. This organized approach might seem time-consuming, but it prevents frustration when you’re ready to reinstall or need to reference how something was originally configured.
As you remove larger components like furniture, cabinets, and appliances, inspect the walls, floors, and ceiling for any signs of water damage, rot, or structural issues that need addressing. This is your opportunity to access areas that are normally hidden and make necessary repairs before covering them back up. Be gentle when removing fixtures from RV walls, as they’re often much thinner than residential walls and can be easily damaged. Have a plan for disposing of old materials responsibly—some components like appliances or furniture in good condition can be sold or donated, while damaged items may need to go to a landfill or recycling center. Wear appropriate safety gear including gloves, safety glasses, and a dust mask, especially when removing old insulation or working in spaces that might have mold.
PRO TIP: Before removing any furniture or cabinets, trace their footprint on the floor and walls with painter’s tape or a pencil. This outline shows you exactly where mounting holes and connections are located, making it much easier to patch holes precisely and ensuring your new installations will cover any imperfections. It also helps you visualize the space and confirm that replacement items will fit properly before you’ve committed to removing everything.
4. Paint and Update Surfaces
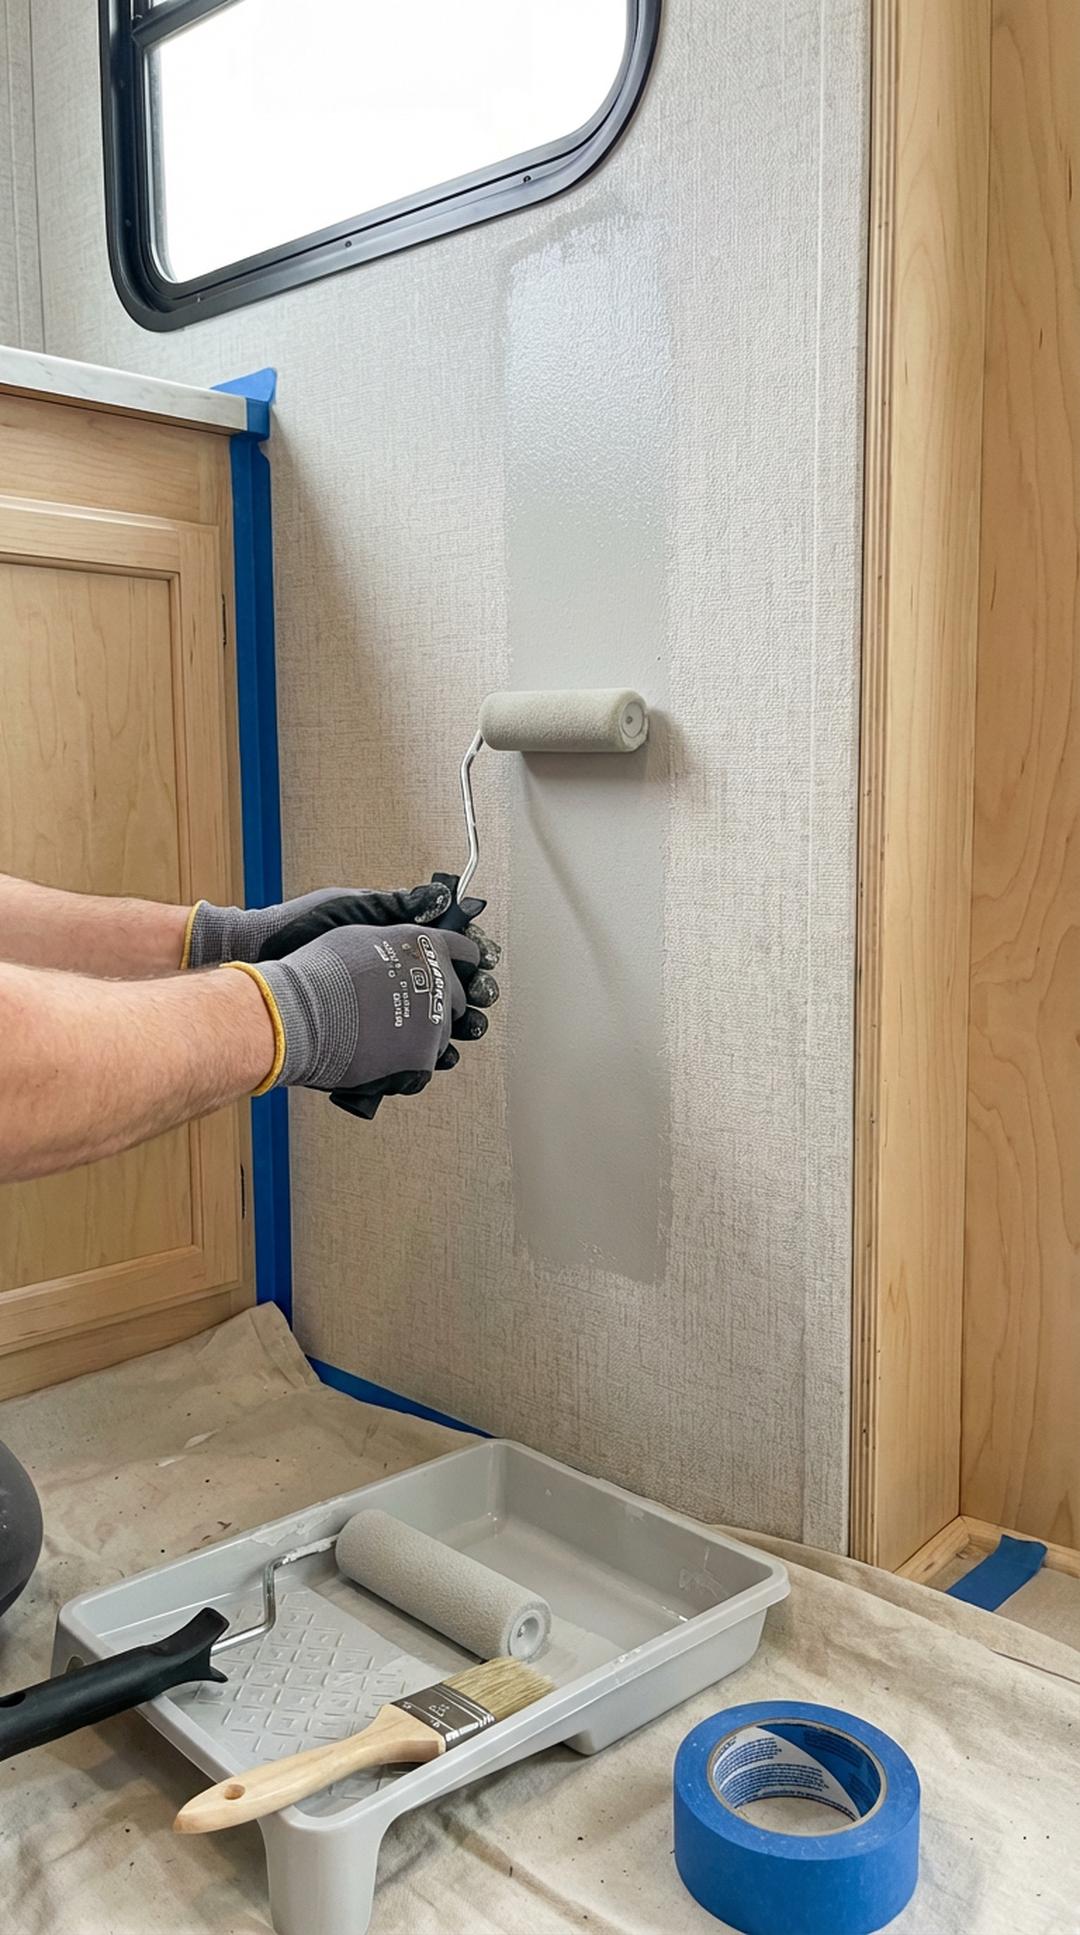
Fresh paint is one of the most impactful and budget-friendly updates you can make to your RV interior. Before painting, thoroughly clean all surfaces with a degreaser, as RV walls can accumulate cooking oils and grime that prevent paint from adhering properly. Lightly sand glossy surfaces to create tooth for the paint, and use a quality primer designed for the specific material you’re painting—whether it’s wood paneling, laminate, or fiberglass. Choose paint colors carefully, keeping in mind that RV interiors tend to be darker than traditional homes, so lighter colors can make the space feel more open and airy. Consider using paint with built-in primer for better coverage and fewer coats, and opt for low-VOC or zero-VOC paints since you’re working in an enclosed space. Use small foam rollers and angled brushes to navigate the tight spaces and unique angles typical of RV interiors.
Don’t limit yourself to just walls—painted cabinets can completely transform your RV’s look without the expense of replacement. Remove cabinet doors and drawer fronts, clean them thoroughly, sand lightly, and apply a bonding primer before painting with a durable cabinet paint or furniture paint. Consider painting your ceiling a bright white to reflect light and make the space feel larger. For added durability in high-traffic areas, apply a clear protective topcoat once your paint is fully cured. Work in sections and allow proper drying time between coats, even if it means the project takes longer—rushing the painting process leads to drips, uneven coverage, and paint that chips or peels prematurely. Proper ventilation is crucial, so work with windows and doors open, use fans, and take breaks if you start feeling lightheaded from fumes.
PRO TIP: Instead of traditional paint, consider using chalk paint or mineral paint for cabinets and furniture pieces—these specialty paints require minimal prep work, provide excellent coverage with fewer coats, and create a durable finish that’s perfect for RV life. They adhere well to various surfaces without extensive sanding or priming, and many brands offer built-in topcoats that protect against chips and scratches, making them ideal for spaces that experience constant movement and use.
5. Install New Flooring
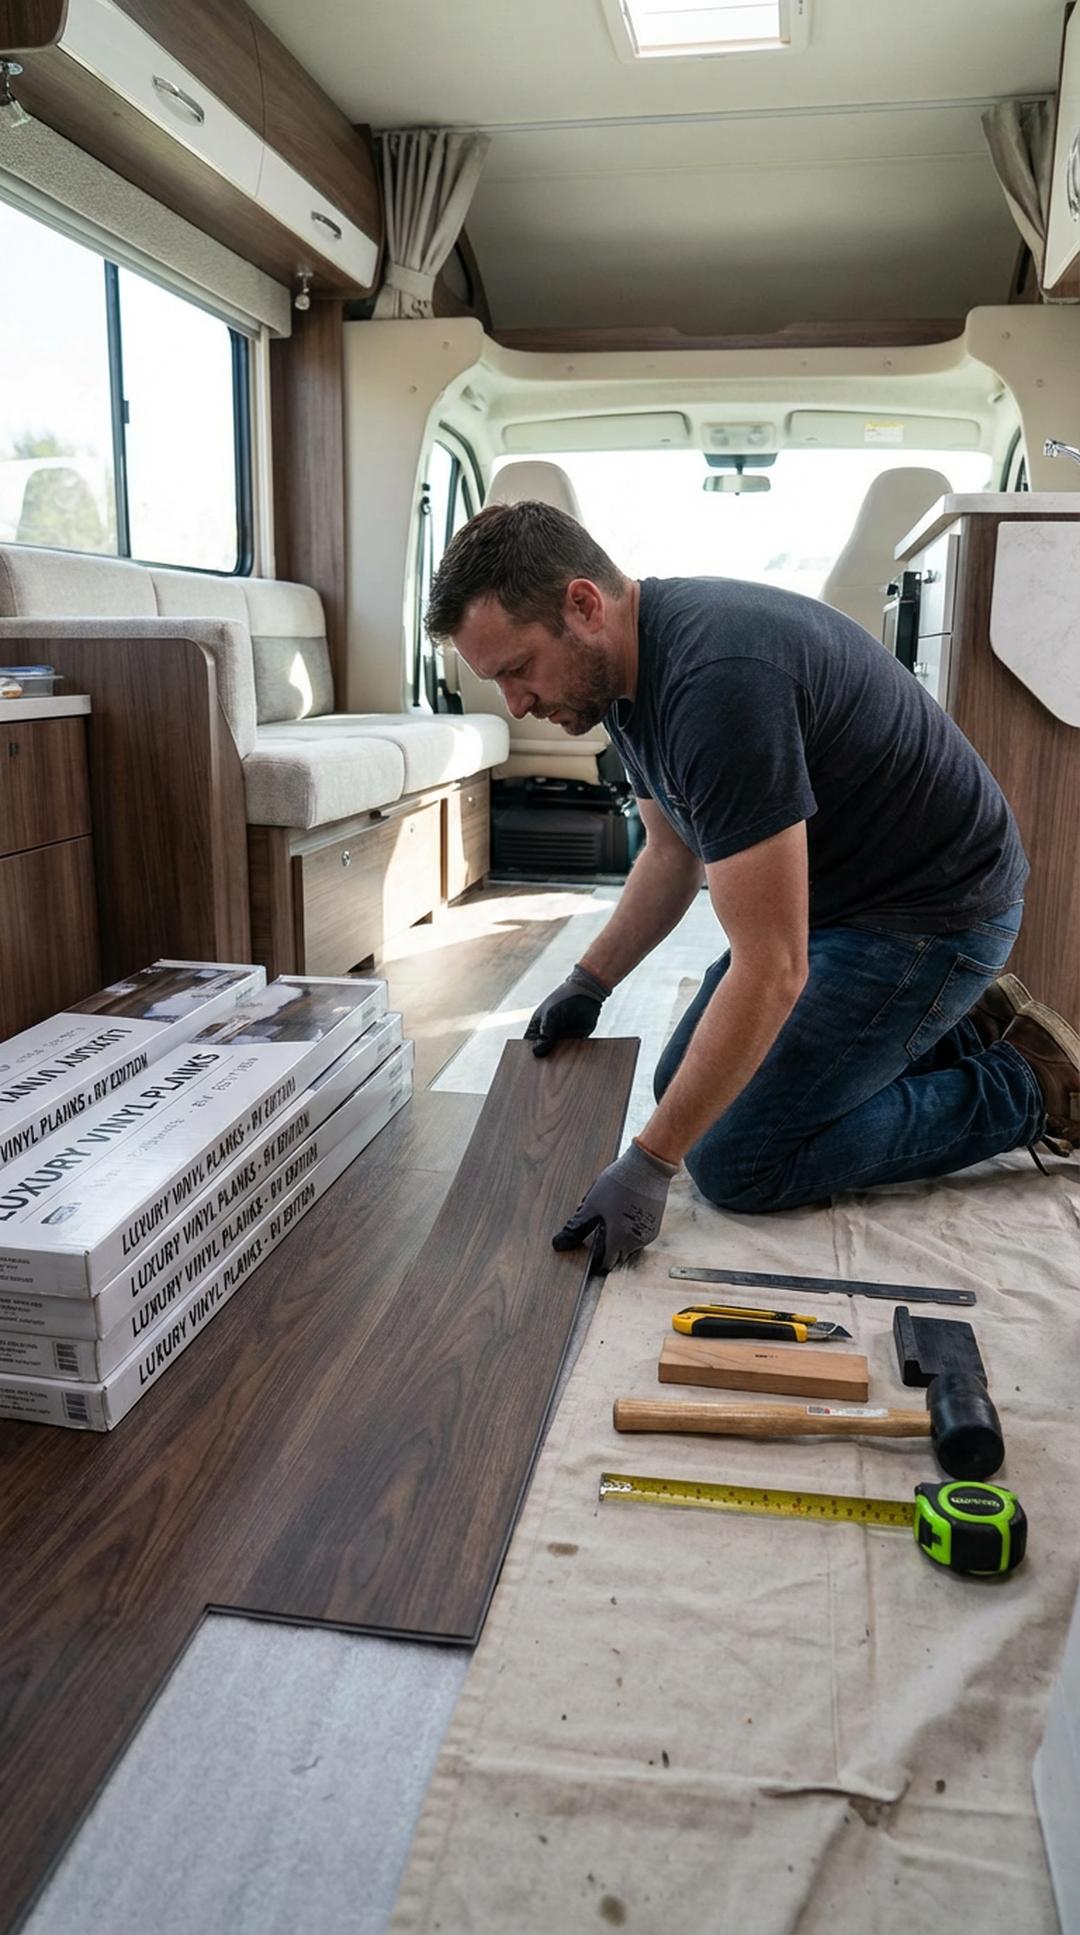
Flooring sets the foundation for your entire RV aesthetic and endures constant foot traffic, so choosing the right material is crucial. Luxury vinyl plank (LVP) flooring has become the gold standard for RV renovations because it’s durable, water-resistant, easy to install, and lightweight—all critical factors for mobile living. Before installing new flooring, remove the old flooring completely and inspect the subfloor for any soft spots, water damage, or needed repairs. Address any structural issues now, as covering them up will only lead to bigger problems down the road. Ensure the subfloor is clean, level, and dry before beginning installation. Measure your space carefully and plan your layout to minimize waste and avoid awkward cuts in highly visible areas.
When installing LVP, start from the longest, straightest wall and work your way across the room, staggering the seams in a brick-like pattern for maximum stability and visual appeal. Use spacers along the walls to maintain a small expansion gap that allows the flooring to expand and contract with temperature changes—this is especially important in RVs that experience extreme temperature fluctuations. Cut planks carefully using a sharp utility knife and straight edge, scoring multiple times until you can snap them cleanly. For areas around cabinets, toilets, or other obstacles, create cardboard templates first to ensure accurate cuts. Consider installing vinyl transition strips or aluminum edging where your flooring meets different surfaces like slides or entry steps for a polished, professional appearance.
PRO TIP: Before securing your new flooring, let it acclimate to your RV’s interior temperature for at least 48 hours. Store the unopened boxes inside your RV during this period so the planks can adjust to the humidity and temperature they’ll experience long-term. This acclimation prevents buckling, gaps, or warping after installation and ensures your beautiful new floor stays smooth and flat regardless of weather conditions or where you travel.
6. Add Custom Storage Solutions
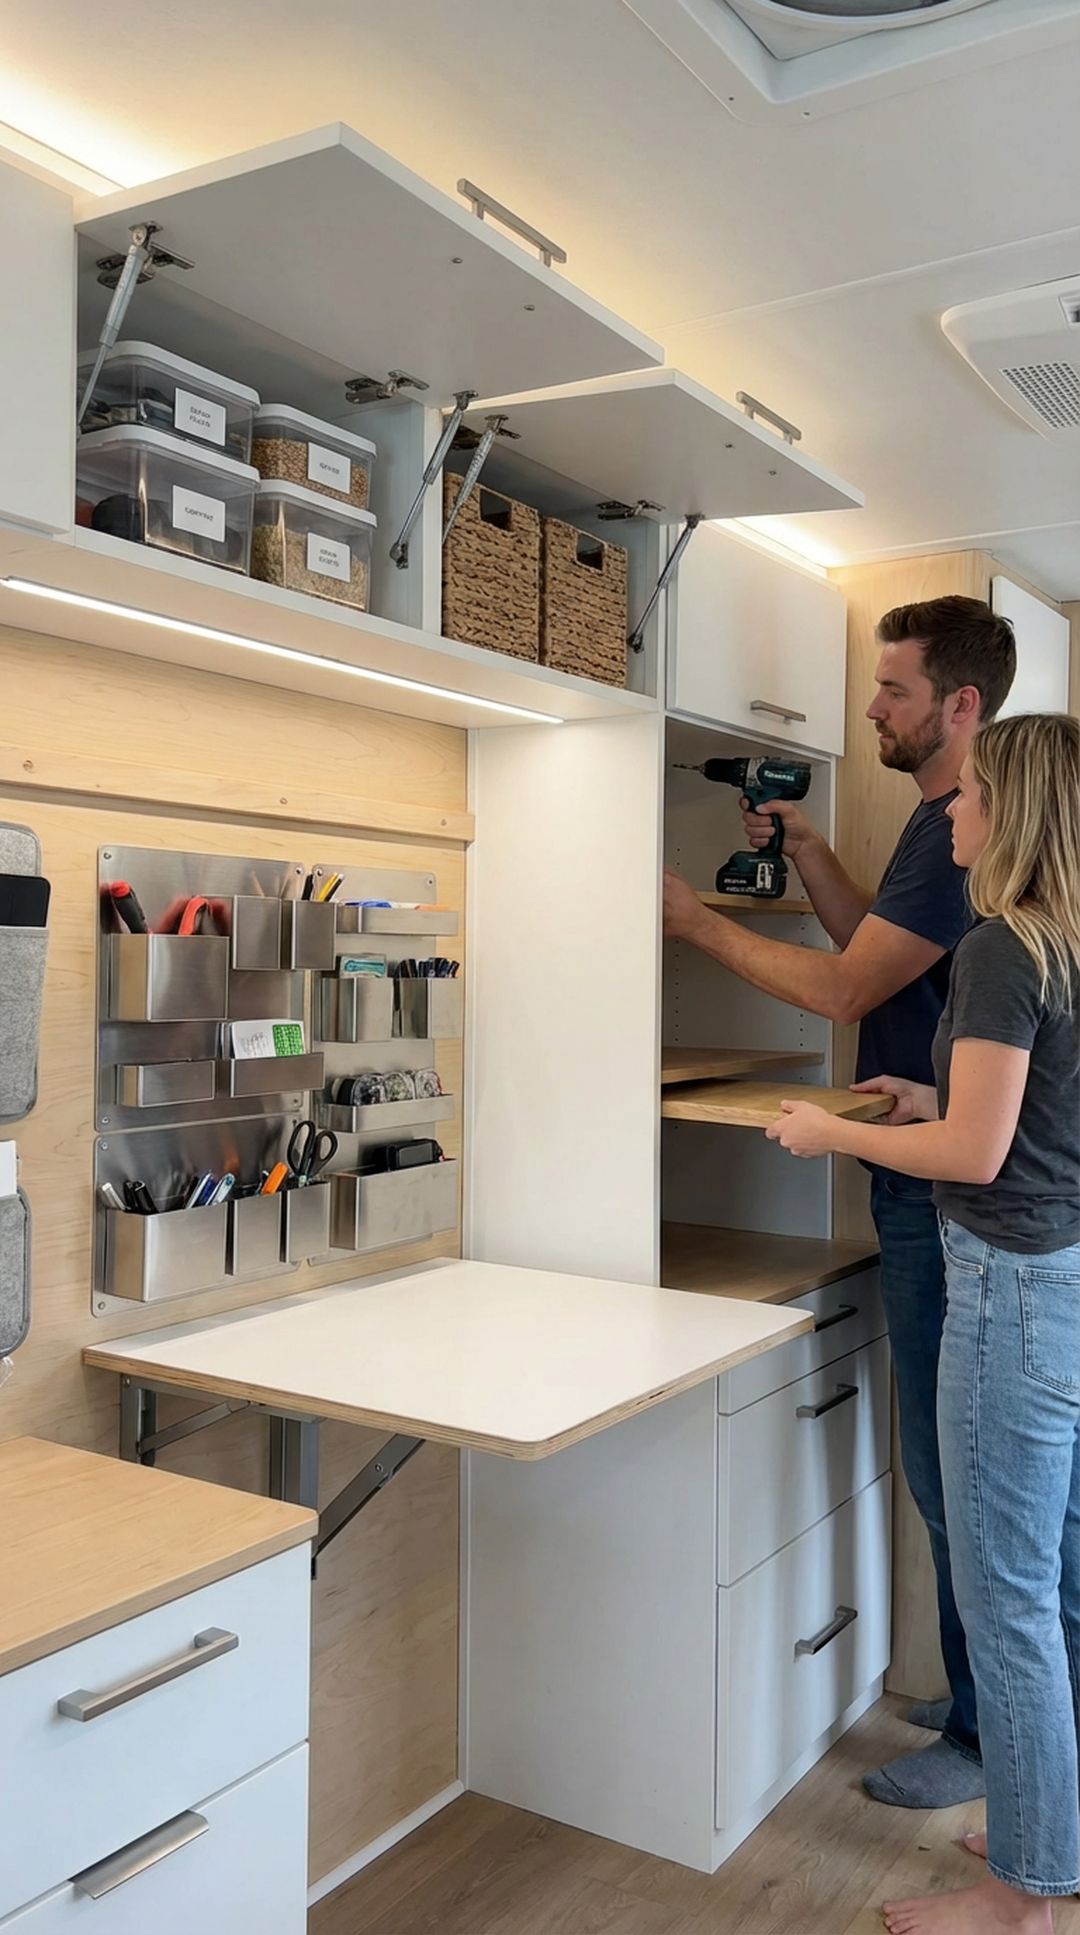
Maximizing storage is perhaps the most important functional aspect of any RV remodel, as space is always at a premium in mobile living. Think creatively about using every available inch—vertical space, under-bed areas, toe-kick drawers beneath cabinets, and overhead compartments can all provide valuable storage. Install wall-mounted organizers, magnetic strips for knives and tools, and hanging systems that keep items secure during travel. Consider custom-built cabinets that fit your specific needs better than the original factory installations, utilizing awkward corners and oddly shaped spaces that might otherwise go unused. Use lightweight materials like foam board or thin plywood to keep storage solutions from adding excessive weight while still being functional and sturdy.
Focus on creating storage that’s both accessible and secure—items need to stay put when you’re driving down bumpy roads, but you also need to reach them easily during daily use. Install positive-latch cabinet catches or magnetic closures to prevent doors from swinging open during travel, and use tension rods, bungee cords, or foam padding to keep items from shifting inside cabinets and drawers. Consider pull-out pantry shelves, lazy susans for corner cabinets, and drawer dividers to keep everything organized and prevent the frustrating avalanche effect when you open a packed cabinet. Add hooks, baskets, and over-door organizers to make use of vertical space, and create designated homes for frequently used items so everything has its place and can be found quickly.
PRO TIP: Install LED strip lighting inside cabinets, closets, and under-counter areas to make storage spaces more functional and easier to navigate. Battery-operated or low-voltage LED strips are lightweight, energy-efficient, and can be controlled with small switches or motion sensors. This simple addition transforms dark storage areas into usable space and helps you find items quickly without fumbling around or emptying entire cabinets, especially useful when camping in areas without shore power.
7. Decorate and Personalize Your Space
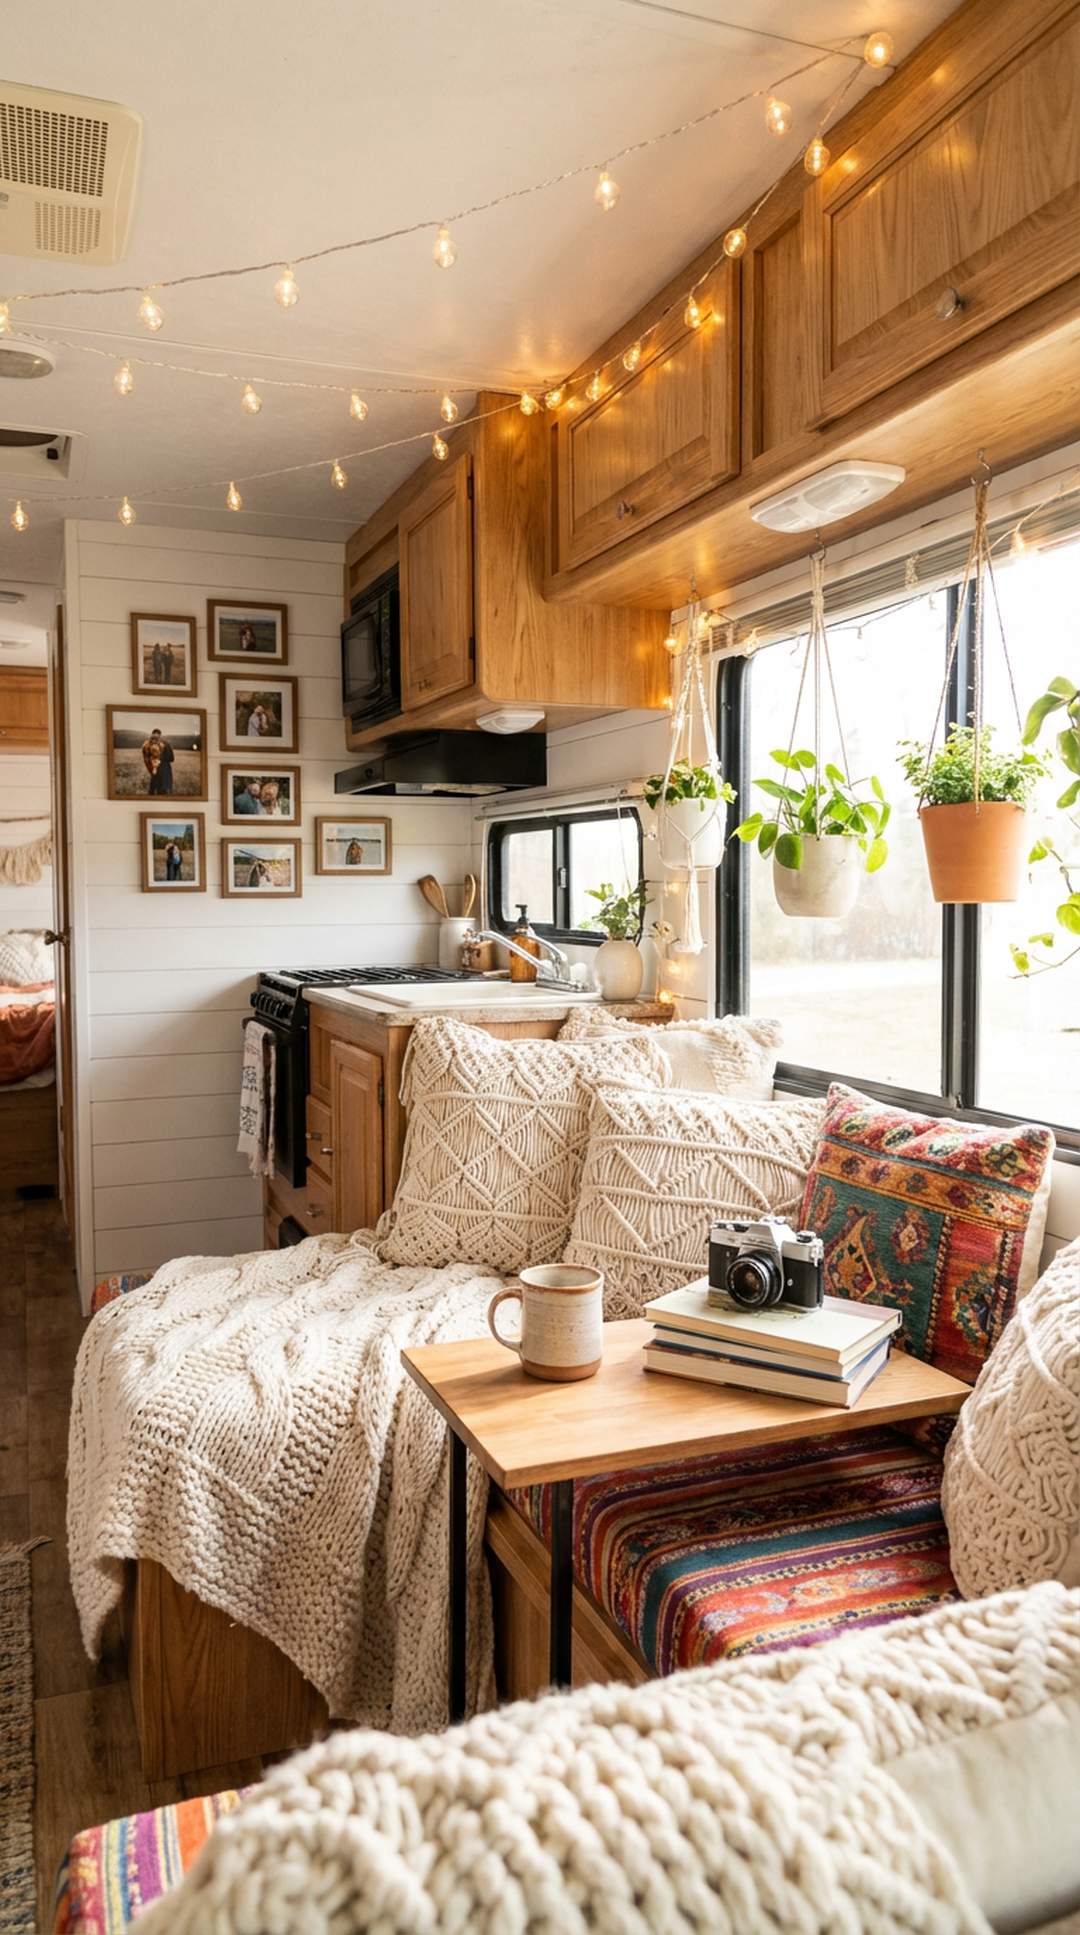
After all the hard work of demolition, painting, and installation, it’s finally time for the fun part—adding those finishing touches that make your RV feel like home. Start with textiles: new curtains, throw pillows, area rugs, and bedding can dramatically change the feel of your space without adding significant weight. Choose fabrics that are durable, easy to clean, and resistant to fading from sunlight exposure. Add personality through artwork, photographs, and decorative items, but be selective and purposeful—every item should either serve a function or bring you genuine joy. Use removable adhesive strips, museum putty, or Velcro to secure decorative items so they don’t become dangerous projectiles during travel. Incorporate plants for a fresh, lived-in feel, choosing hardy varieties like succulents or pothos that can tolerate varying light conditions and occasional neglect.
Consider the flow and functionality of your decorated space—beauty should never come at the expense of livability in an RV. Create cozy gathering areas with comfortable seating and good lighting for reading or entertaining. Add personal touches like a gallery wall of travel photos, a collection of meaningful souvenirs, or DIY projects that reflect your interests and journey. Install dimmable LED lighting and battery-operated candles to create ambiance without fire risk. Layer in different textures through baskets, wooden accents, metal fixtures, and soft textiles to add depth and interest. Remember that RV decorating is an ongoing process—as you travel and discover what works best for your lifestyle, you can easily swap out items and update your décor to keep it fresh and functional.
PRO TIP: Create a seasonal decoration box with interchangeable items that let you refresh your RV’s look without cluttering your limited space year-round. Include small, lightweight items like seasonal pillow covers, table runners, wreaths, and small decorative accents that can be easily swapped out. This approach lets you enjoy holiday decorating and seasonal changes without permanently dedicating precious storage space to items you only use a few months each year, and keeps your RV feeling fresh and updated throughout your travels.