Transforming your camper bedroom into a cozy retreat doesn’t have to be complicated or expensive. A DIY shiplap headboard is one of the most impactful upgrades you can make to elevate your RV’s sleeping space. Shiplap not only adds texture and visual interest but also creates that warm, farmhouse aesthetic that so many RVers love.
The beauty of this project is its versatility—you can customize the wood type, finish, and installation pattern to match your personal style. Whether you’re a seasoned DIYer or tackling your first camper renovation, these shiplap headboard ideas will inspire you to create a bedroom retreat you’ll love coming home to.
Best of all, most of these projects can be completed in a weekend with basic tools and materials from your local hardware store.
1. Classic White Painted Shiplap
Would you like to save this article?
The classic white painted shiplap headboard is a timeless choice that brightens up any camper bedroom. This crisp, clean look pairs beautifully with neutral bedding and creates an airy feel in compact spaces. White shiplap reflects light, making your RV bedroom feel more spacious and inviting. Using lightweight pine or poplar boards keeps the installation manageable and won’t add excessive weight to your camper.
Installation is straightforward—simply measure the wall space behind your bed, cut your boards to size, and attach them horizontally using construction adhesive and finish nails. A coat of semi-gloss white paint provides durability and easy cleaning. This design works particularly well in smaller campers where you want to maximize the sense of space while adding architectural interest.
PRO TIP: Use a nickel as a spacer between each board to create perfectly uniform gaps. This traditional spacing gives you that authentic shiplap look and allows for natural wood expansion in varying temperatures—essential for RV living.
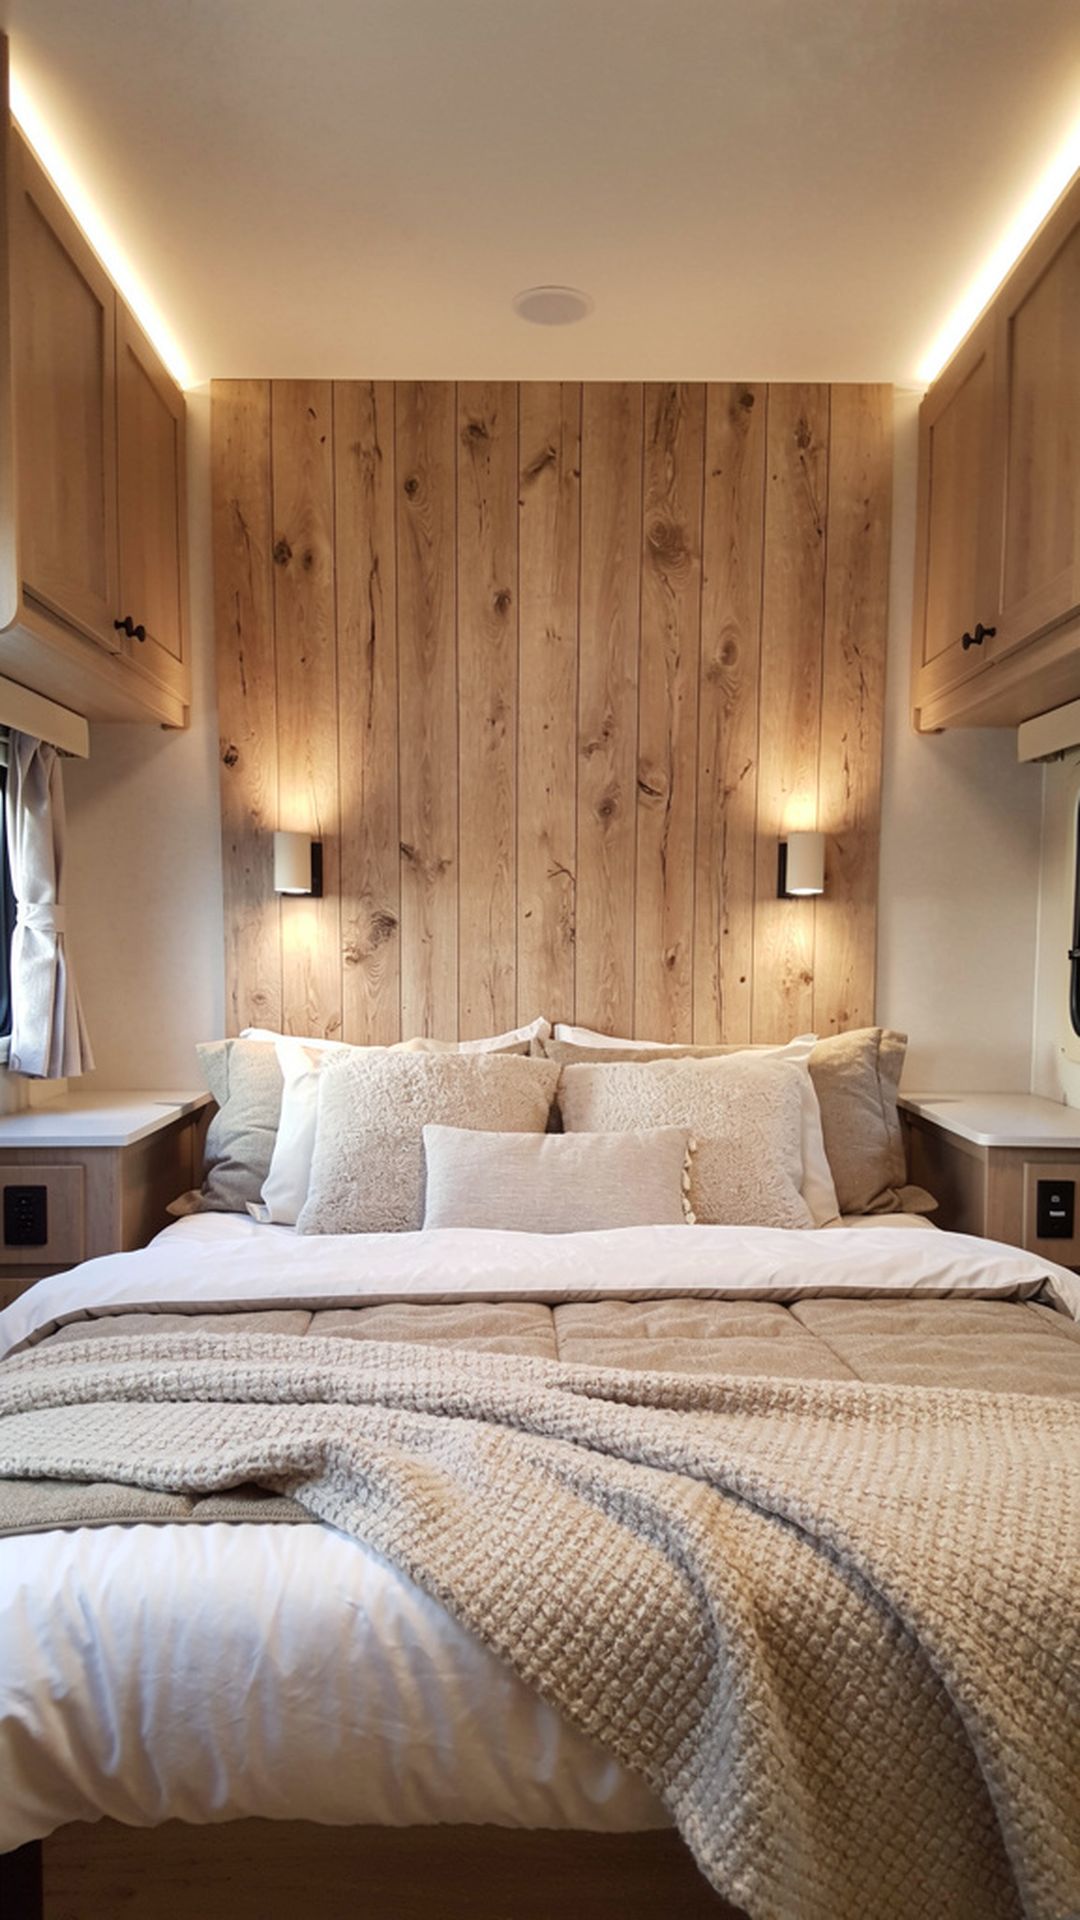
2. Natural Wood Unstained Shiplap
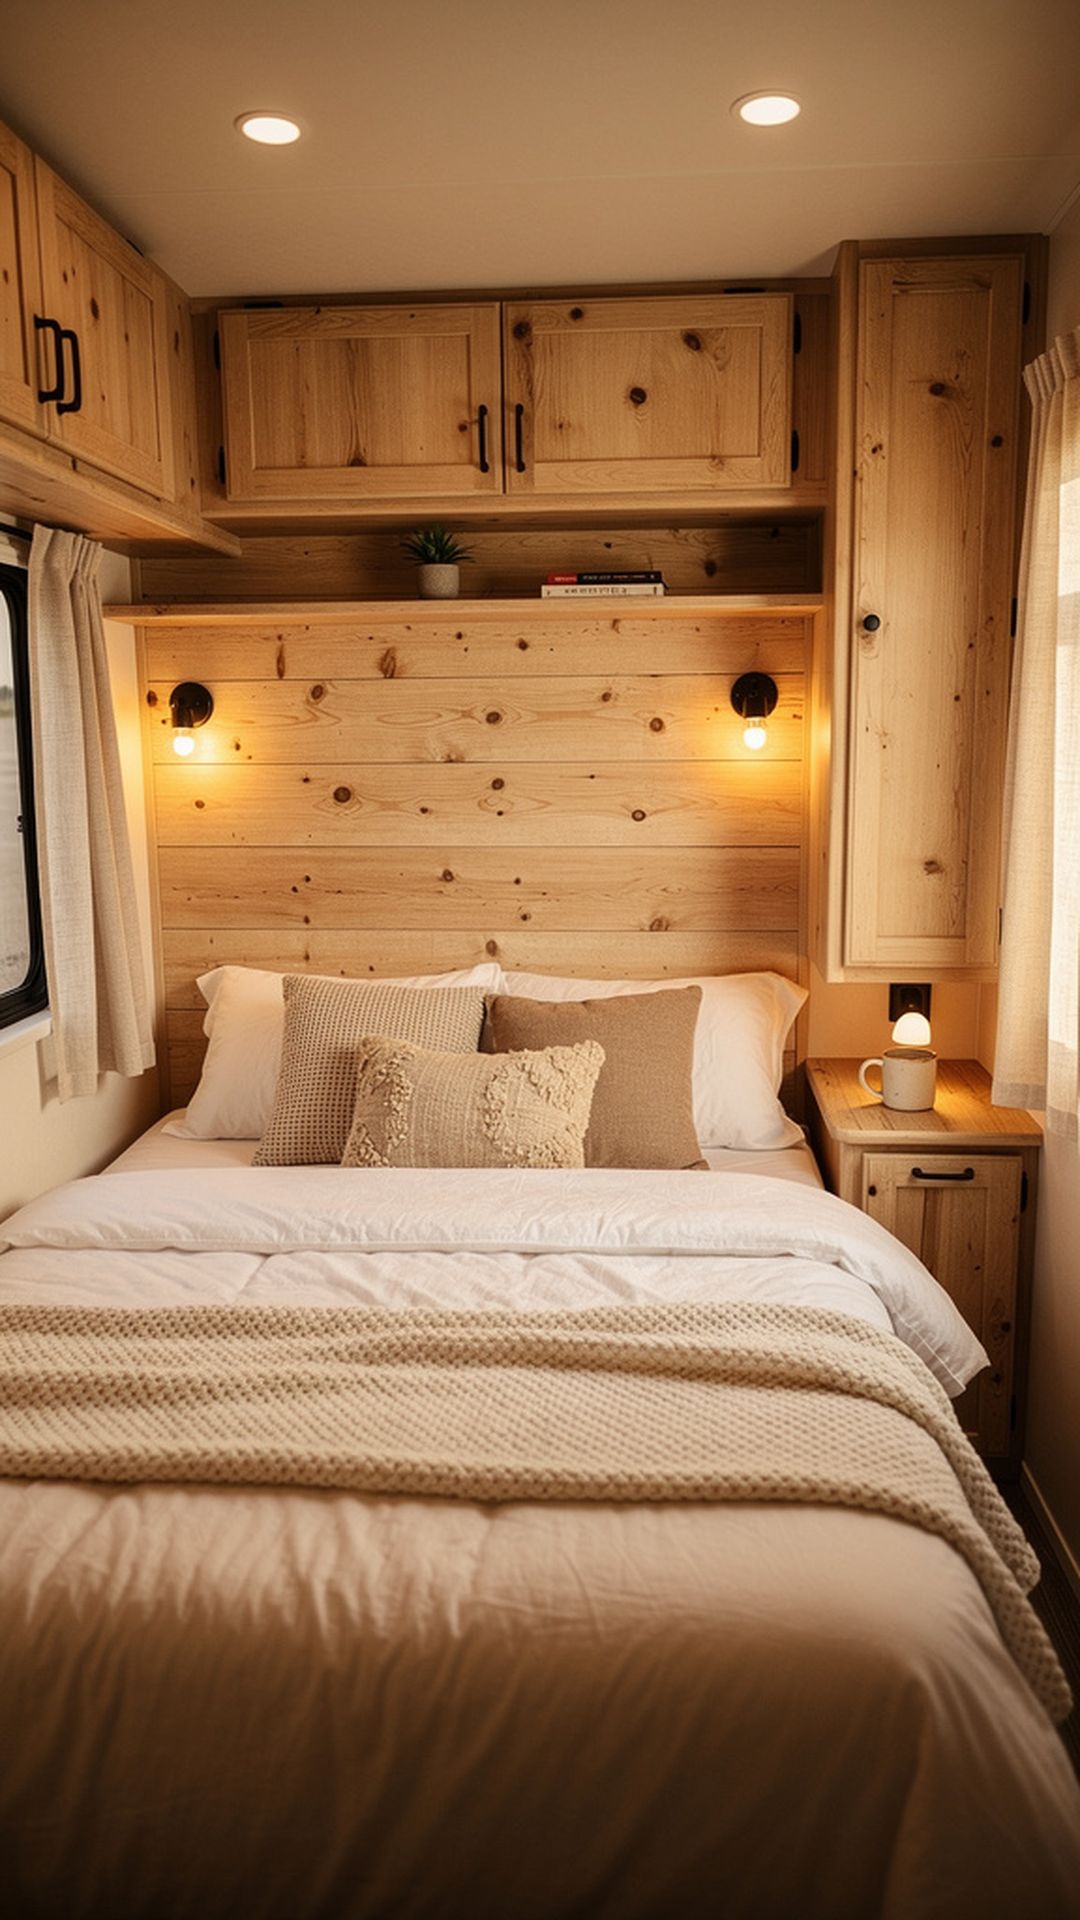
Embracing the raw beauty of natural wood creates a warm, organic vibe in your camper bedroom. Unstained shiplap showcases the natural grain patterns and warm honey tones of pine or cedar. This approach celebrates the wood’s inherent character and pairs beautifully with rustic or Scandinavian-inspired decor. The simplicity of natural wood also means one less step in your DIY process.
Choose quality boards with interesting grain patterns and minimal knots for the best visual impact. Sand the wood smooth to prevent splinters and apply a clear matte polyurethane or natural wood oil to protect against moisture. This finish enhances the wood’s natural beauty while providing a protective barrier that’s essential in the fluctuating humidity of RV living.
PRO TIP: Apply a coat of beeswax finish instead of polyurethane for a completely natural, low-sheen protective coating that smells amazing and can be easily touched up during your travels.
3. Reclaimed Weathered Barn Wood
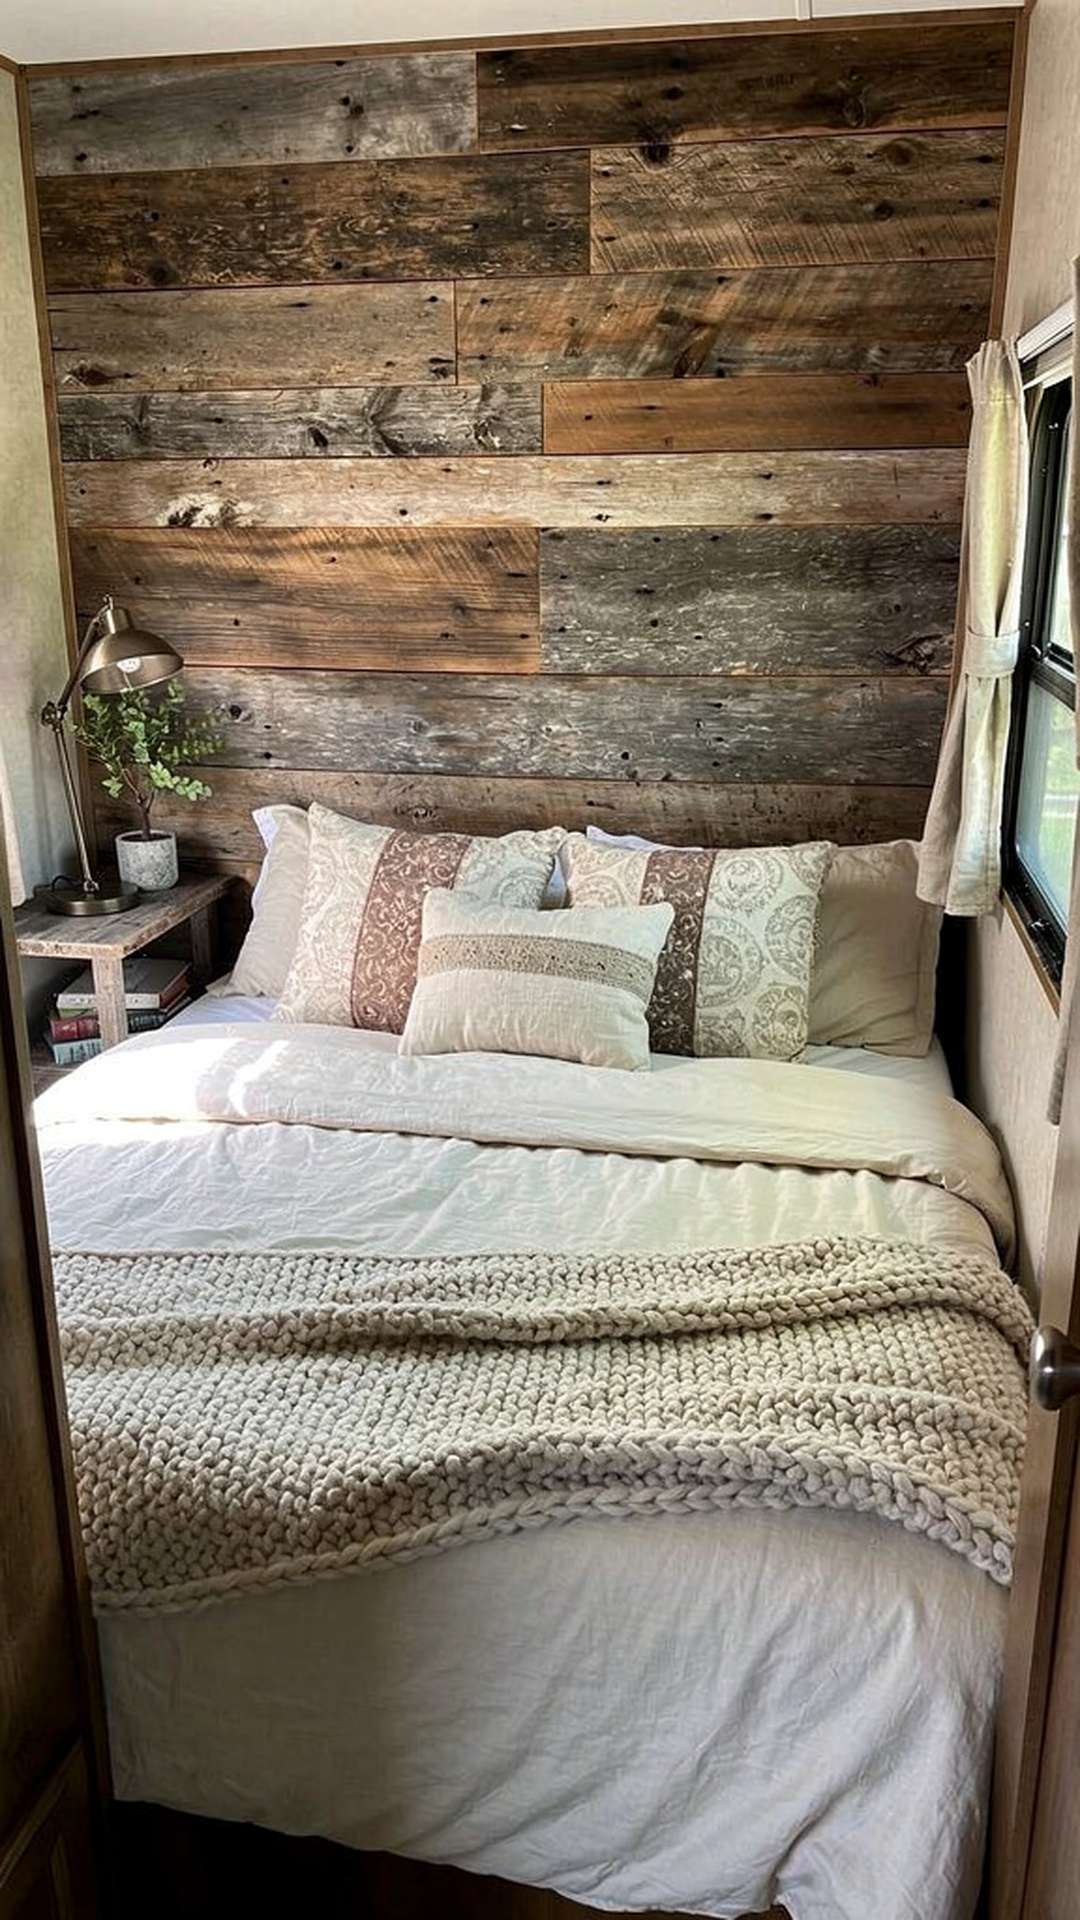
Nothing adds character quite like reclaimed barn wood with its weathered patina and authentic vintage appeal. Each board tells a story with its unique texture, nail holes, and aged coloration. This option is perfect for creating a rustic farmhouse aesthetic in your camper. Reclaimed wood also tends to be more stable than new lumber since it’s already undergone years of expansion and contraction.
Source your wood from salvage yards, old barns, or specialty reclaimed lumber suppliers. Clean the boards thoroughly and check for any loose nails or hardware before installation. You may want to apply a clear sealer to prevent dust and debris from the aged wood, but avoid heavy finishes that will hide the beautiful weathered character you’re trying to showcase.
PRO TIP: Mix boards from different sources or time periods to create varied tones and textures. This intentional mismatching adds depth and makes your headboard look like a curated collection rather than a uniform installation.
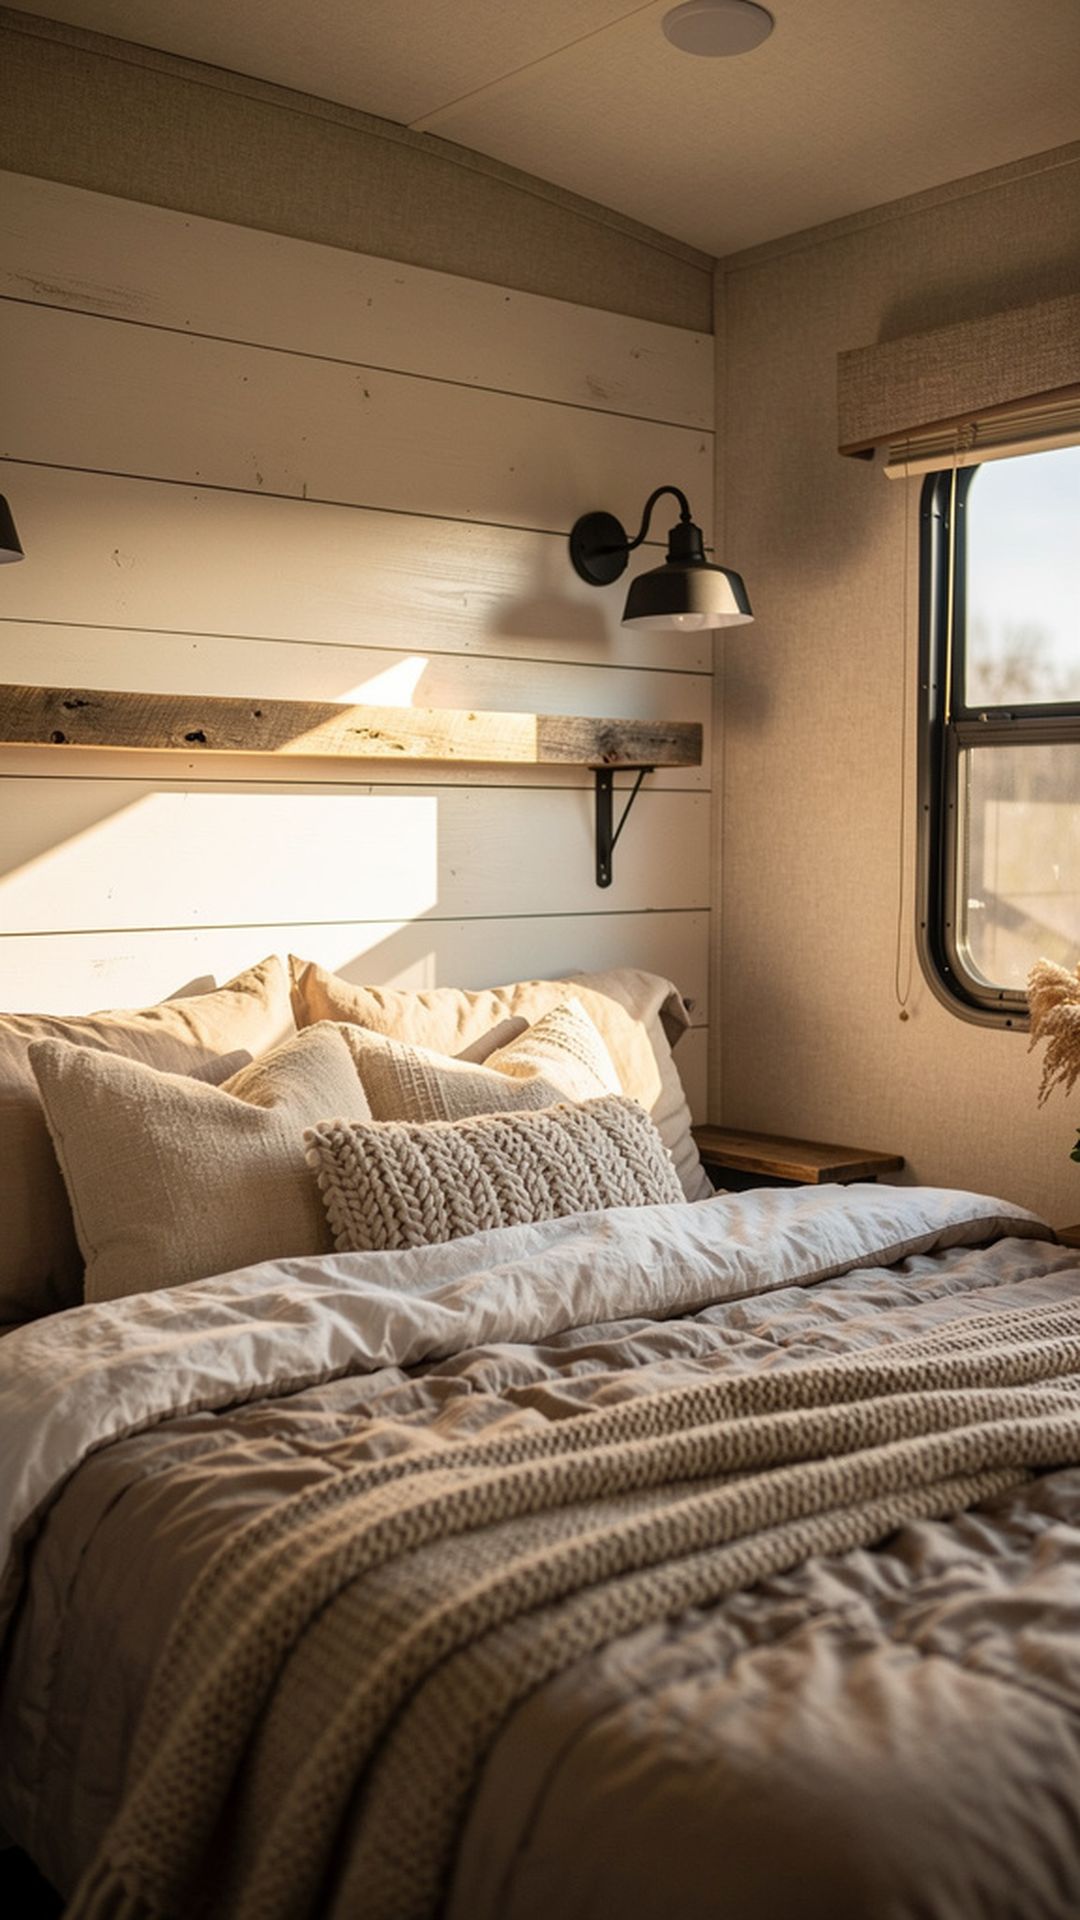
4. Gray Painted Farmhouse Style
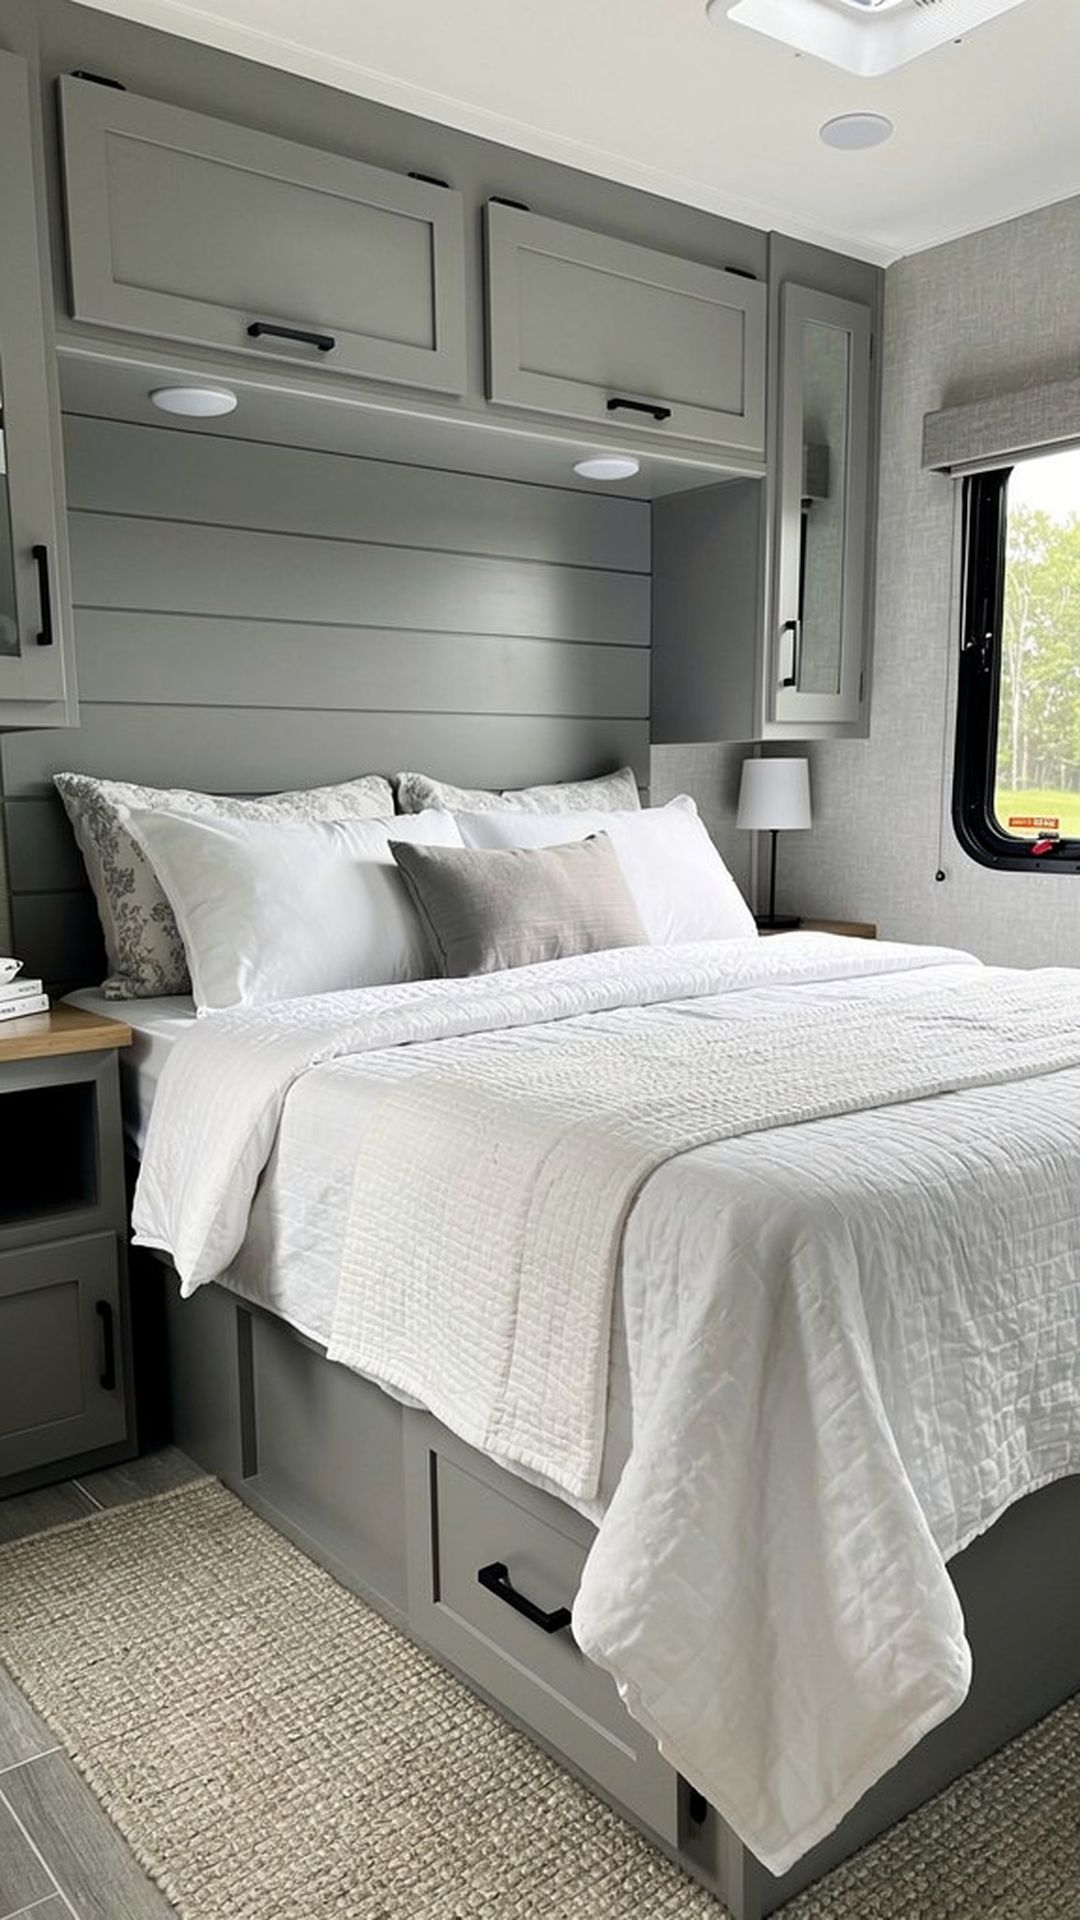
Soft gray tones bring a modern farmhouse elegance to your camper bedroom. Gray shiplap provides a sophisticated neutral backdrop that pairs effortlessly with both cool and warm accent colors. This versatile shade works beautifully with white bedding, brass fixtures, and natural wood accents. The contemporary feel of gray makes your RV feel current and stylish without overwhelming a small space.
Choose a warm gray with slight brown undertones rather than a cool blue-gray to keep the space feeling cozy. Apply two coats of quality paint in an eggshell or satin finish for durability. The subtle sheen will catch light beautifully and is easier to clean than flat paint—important for high-touch areas around your bed.
PRO TIP: Sample at least three different gray paint colors on your actual wall before committing. Grays can look dramatically different depending on your camper’s lighting, and testing ensures you get the perfect shade for your space.
5. Vertical Plank Installation
Breaking away from traditional horizontal installation, vertical shiplap planks create visual height and a unique modern twist. This orientation draws the eye upward, making low RV ceilings appear taller. Vertical planks also create a striking contemporary look that sets your headboard apart from typical shiplap installations. The vertical lines add a sense of elegance and sophistication to your sleeping space.
When installing vertically, ensure you have adequate horizontal blocking or furring strips behind the wall to provide solid attachment points. The planks will run from your mattress height to the ceiling or desired height. This installation may require slightly more prep work but delivers a stunning result that transforms the entire feel of your bedroom.
PRO TIP: Install your vertical boards at a slight angle—about 5-10 degrees off perfectly vertical—for a subtle diagonal effect that adds movement and contemporary flair while still maintaining a clean, linear appearance.
6. Herringbone Pattern Design
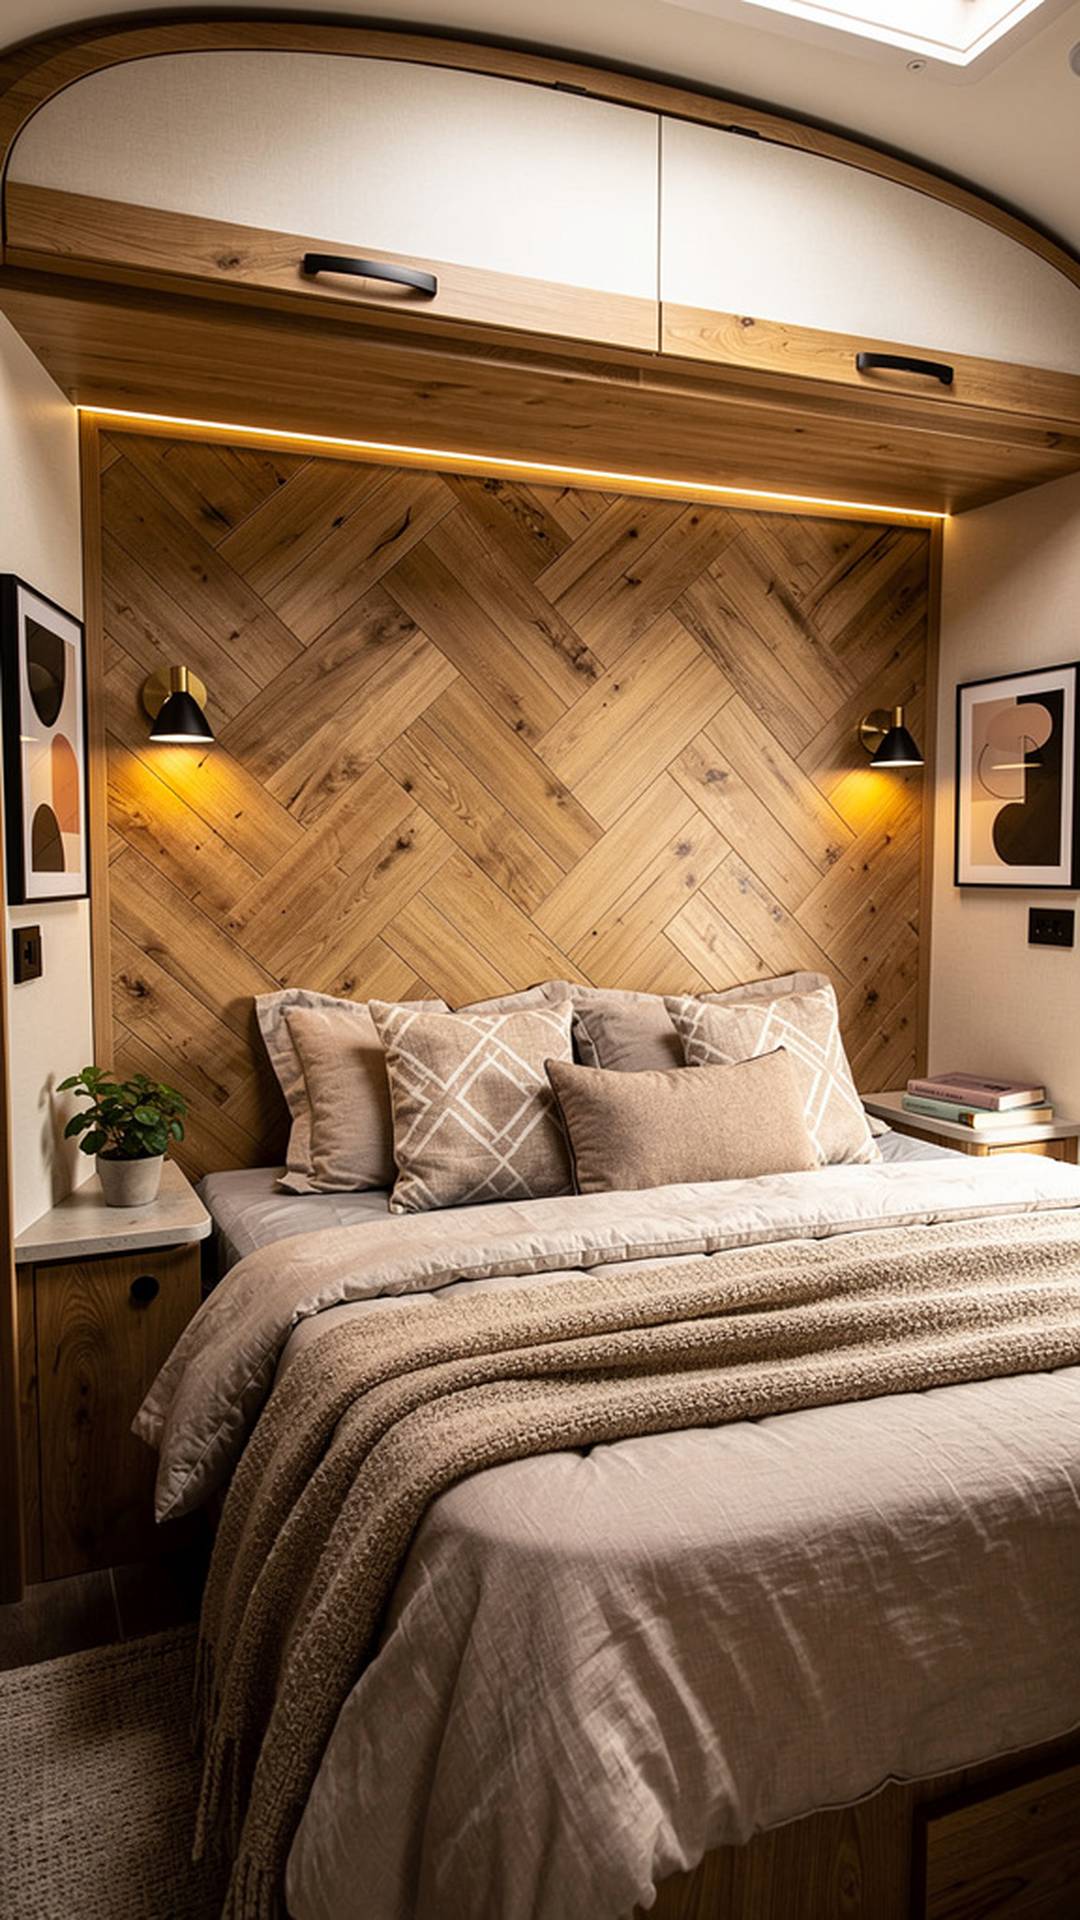
For those seeking an elevated, artistic approach, a herringbone shiplap pattern creates stunning visual interest. This sophisticated geometric design features boards installed at opposing 45-degree angles, creating a distinctive V-pattern. While more complex than straightforward horizontal installation, the herringbone pattern becomes a true statement piece that elevates your entire camper interior. The dimensional quality adds depth and luxury to your bedroom.
Plan your pattern carefully and create a center line to ensure symmetry. Cut your boards at precise 45-degree angles and work from the center outward for the most balanced appearance. This project requires more material since you’ll have more waste from angled cuts, but the dramatic result is well worth the extra effort and expense.
PRO TIP: Build your herringbone pattern on a lightweight plywood backer board in your garage or workspace, then install the entire completed panel in your camper. This approach gives you better control and makes corrections easier.
7. Two-Tone Color Block

Combining two complementary finishes creates dynamic visual interest without overwhelming your small space. A two-tone shiplap headboard might feature white painted boards on top with natural wood below, or gray paired with white for a modern contrast. This approach allows you to incorporate multiple design elements from your camper’s color scheme. The horizontal division adds intentional design sophistication to your bedroom.
Decide on your color division point—typically two-thirds up from the mattress works well visually. Install all boards first, then carefully tape off your division line for crisp paint edges. This technique gives you the best of both worlds, combining the airiness of painted wood with the warmth of natural or stained boards.
PRO TIP: Use painter’s tape and a small craft brush to hand-paint the division line between your two tones. This creates a sharper, more professional edge than roller painting up to tape, especially on the textured surface of wood planks.
8. Rich Dark Stained Wood
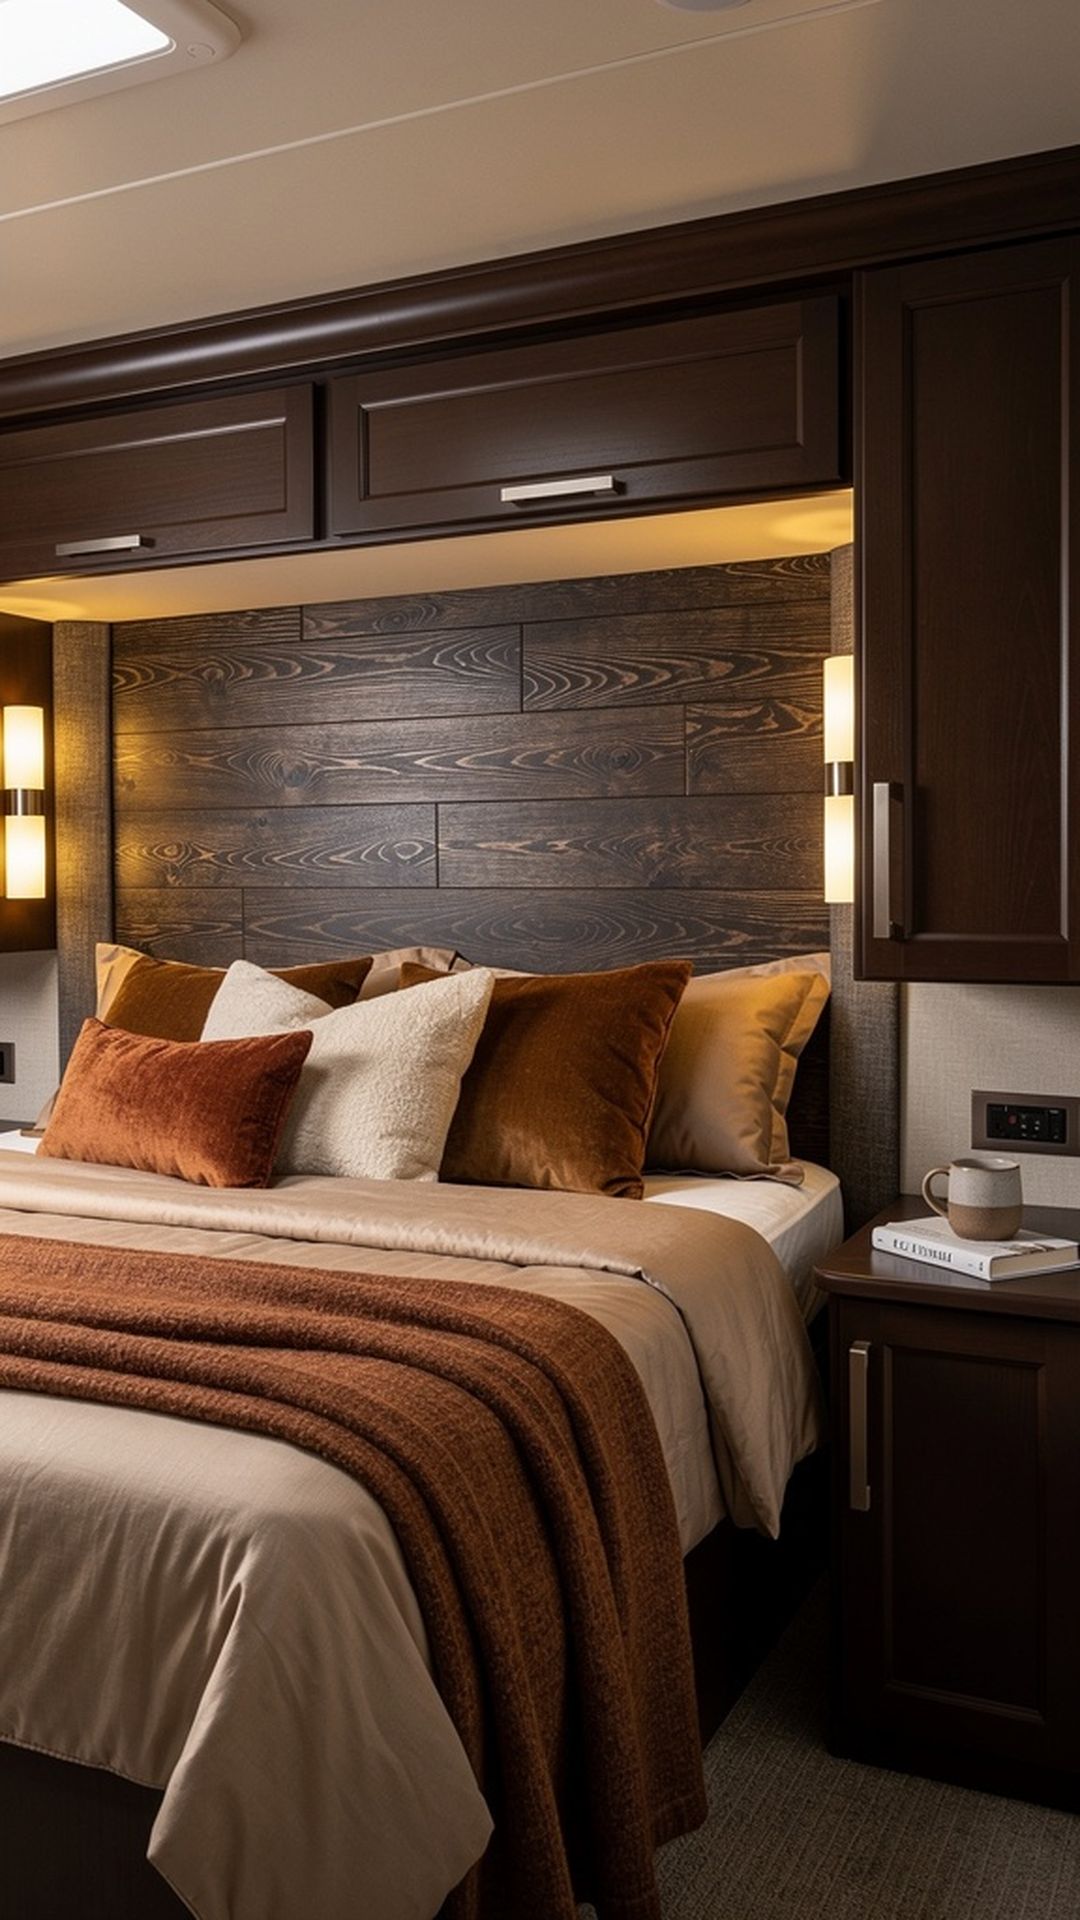
Deep, rich wood stains create a bold, sophisticated statement in your camper bedroom. Dark walnut, espresso, or chocolate brown tones add warmth and elegance while creating a cozy, cocoon-like atmosphere. This dramatic choice works particularly well when paired with lighter bedding and adequate lighting to prevent the space from feeling too dark. The depth of color adds a luxurious, high-end feel to your RV.
Select a quality wood stain and apply it evenly following the manufacturer’s directions. Dark stains can show application inconsistencies, so work in manageable sections and wipe thoroughly. Seal with a clear protective topcoat to prevent the stain from rubbing off on bedding or pillows. Consider adding sconce lighting or LED strips to brighten the sleeping area.
PRO TIP: Pre-stain wood conditioner is essential when working with softwoods like pine. It prevents blotchy absorption and ensures your dark stain applies evenly for a professional, uniform appearance across all boards.
9. Whitewashed Coastal Vibe
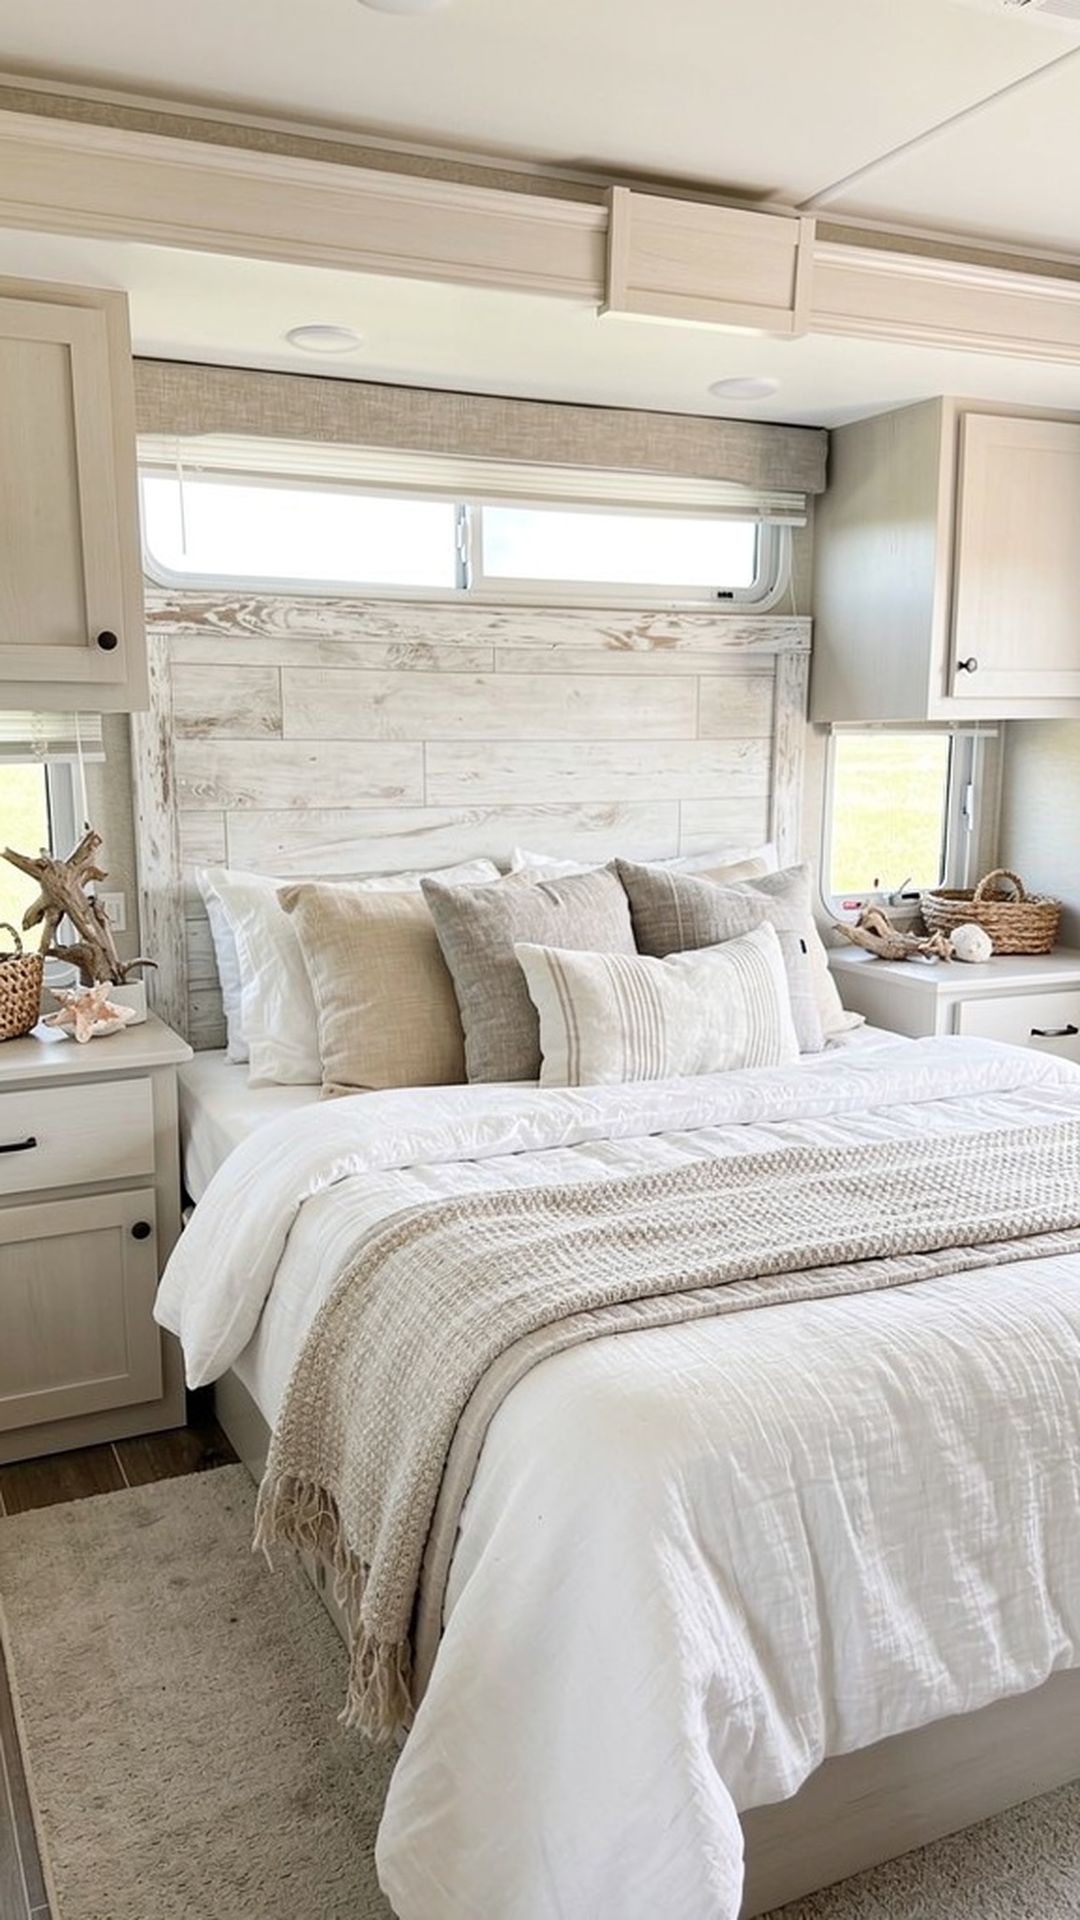
A whitewashed finish combines the charm of painted wood with the character of natural grain visible beneath. This technique creates a breezy, coastal aesthetic perfect for beach-loving RVers. The translucent white allows the wood texture to show through while lightening and brightening your space. This look pairs beautifully with blues, aquas, and sandy neutrals for a complete seaside retreat.
Create whitewash by thinning white paint with water (approximately 1:1 ratio) or use a specialized whitewash product. Apply with a brush and immediately wipe with a rag to control the opacity—more wiping reveals more wood grain. Work in sections and maintain consistency in your application technique across all boards for a cohesive appearance.
PRO TIP: Apply your whitewash mixture in the direction of the wood grain using long, continuous strokes, then wipe perpendicular to the grain. This technique pushes the thinned paint into the grain valleys while removing it from the surface for beautiful dimension.
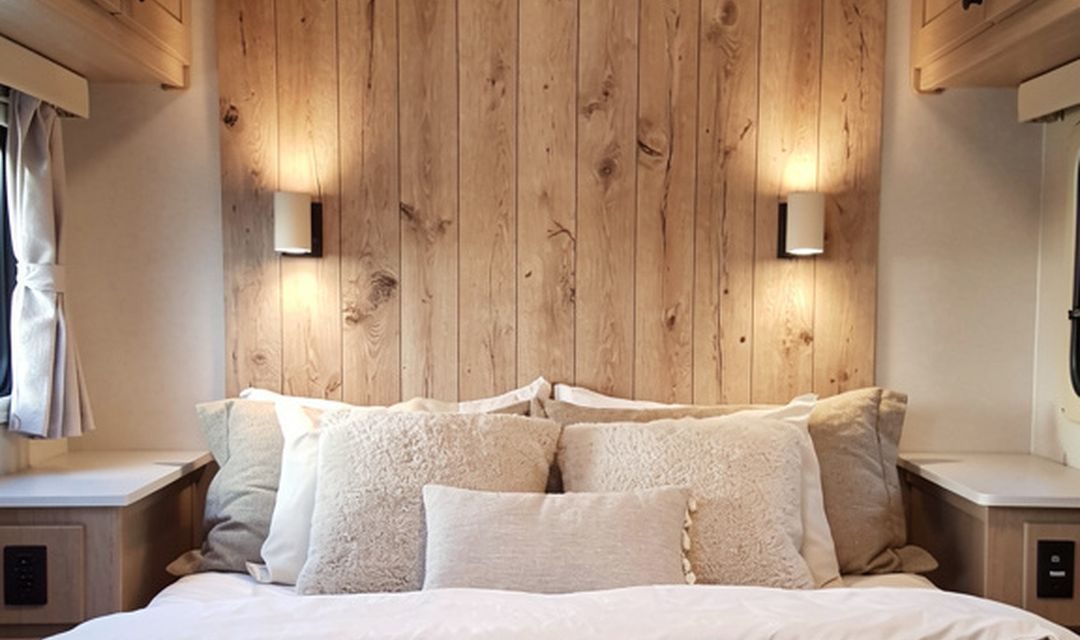
10. LED Backlit Accent Wall

Adding LED strip lighting behind your shiplap creates a modern, ambient glow that transforms your bedroom into a relaxing retreat. The soft backlight provides gentle illumination perfect for nighttime reading or creating mood lighting. This contemporary feature is especially practical in RVs where every light source matters. The LED strips are energy-efficient and won’t drain your battery system.
Install LED strip lights along the perimeter of your headboard area before attaching the shiplap boards. Mount the boards on spacers (1/2 to 3/4 inch thick) to create a gap for light to escape. Use warm white LEDs for a cozy glow or choose color-changing strips for customizable ambiance. Connect to a dimmer switch for complete control of your lighting atmosphere.
PRO TIP: Install a small channel or recessed groove in your spacers to hide the LED wiring completely. This keeps all electrical components concealed and gives you the clean, floating appearance of professional architectural lighting.


