Shiplap has become a beloved design element in RV renovations, bringing that cozy farmhouse charm to your home on wheels. While most camper owners immediately think of using shiplap on walls, there’s a whole world of creative possibilities waiting to be explored. These horizontal planks can transform unexpected surfaces throughout your RV, adding texture, visual interest, and that sought-after modern rustic aesthetic.
The beauty of shiplap lies in its versatility and relatively lightweight nature, making it perfect for RV applications where every pound counts. Whether you’re doing a full renovation or just looking to refresh a few areas, thinking beyond the walls can yield stunning results.
In this article, we’ll explore five surprising locations where shiplap can make a dramatic impact in your camper, each offering a unique opportunity to showcase this classic design element while maximizing the charm and character of your traveling home.
1. Ceiling Treatment
Would you like to save this article?
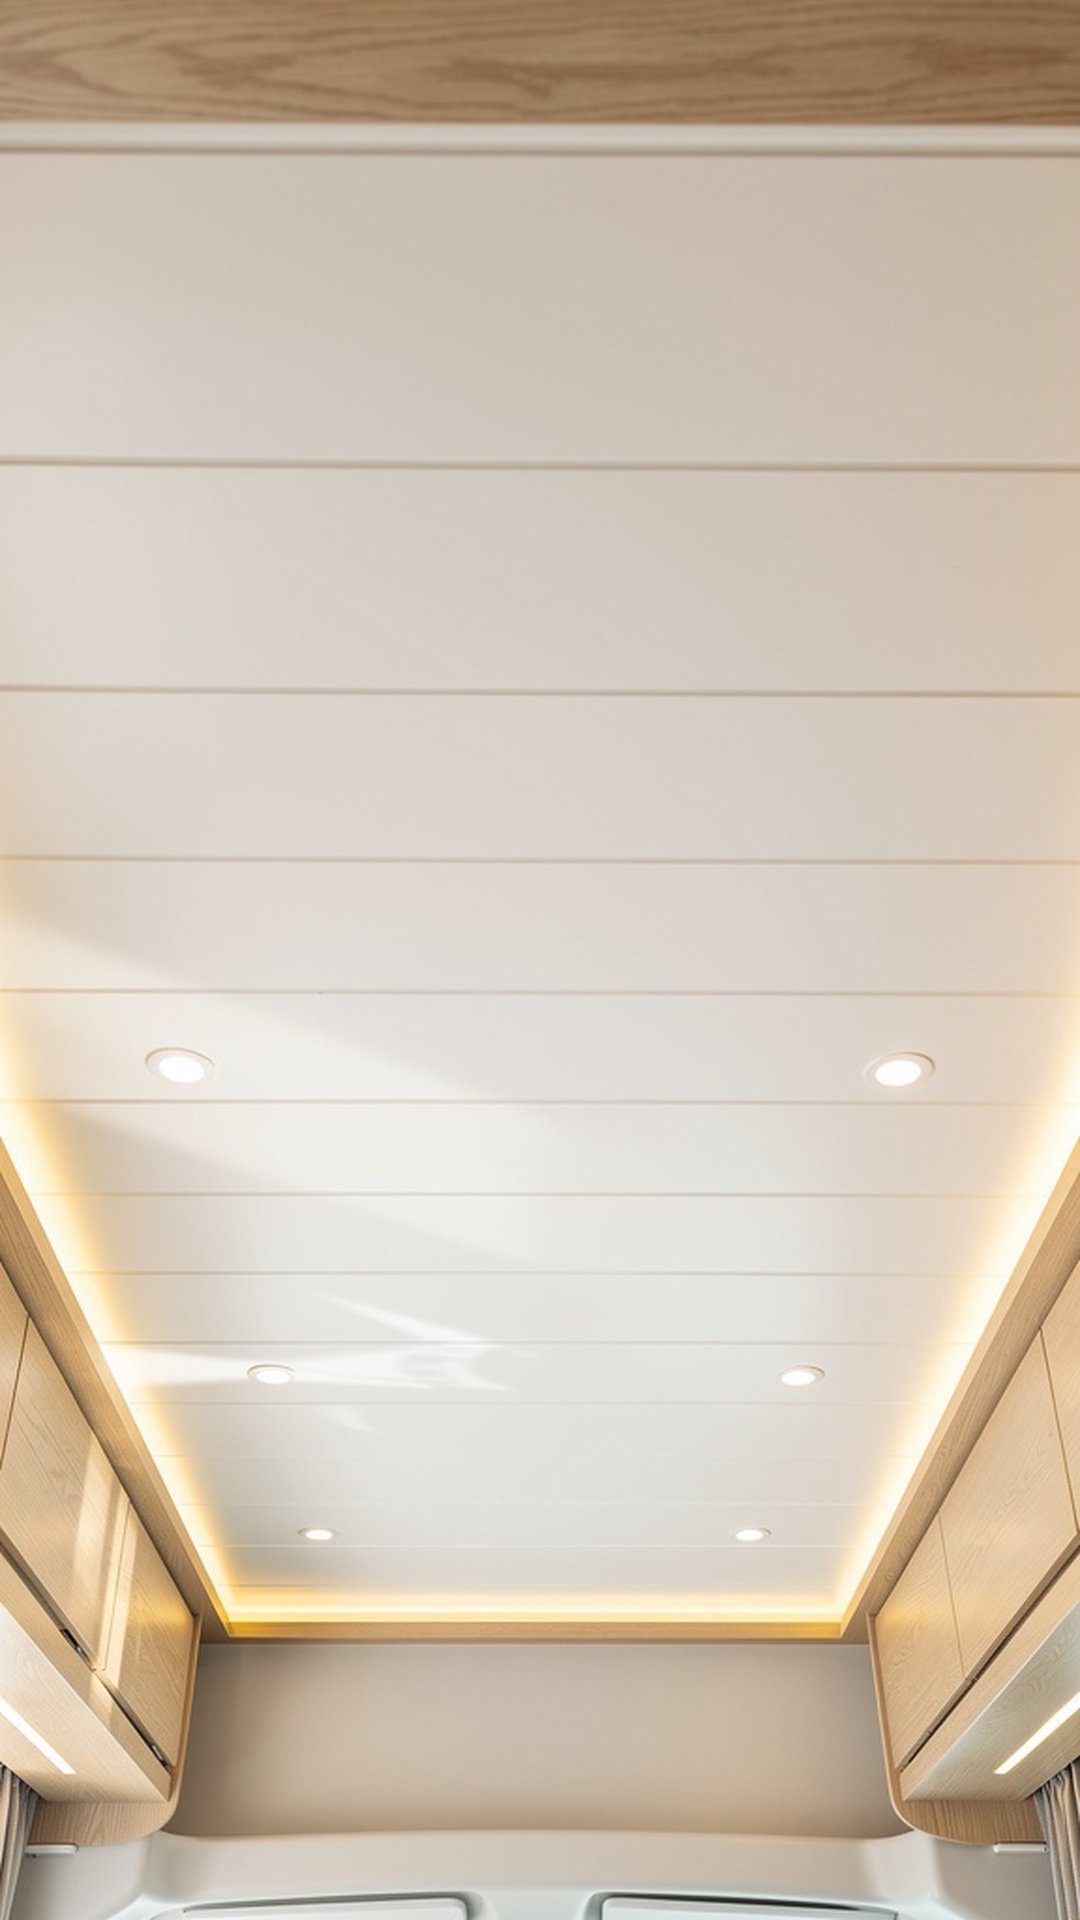
Installing shiplap on your RV ceiling creates an instant wow factor that draws the eye upward and makes your space feel more expansive. This application works beautifully in slide-outs, over dinette areas, or throughout the entire living space. The horizontal lines of shiplap planks can actually make a narrow RV feel wider, while the white or light-colored finish reflects natural light to brighten the interior. Installation requires careful attention to weight distribution, so opt for lightweight faux shiplap panels or thin real wood planks specifically designed for RV use.
Beyond aesthetics, ceiling shiplap serves practical purposes by covering outdated or damaged ceiling materials and providing a fresh surface for mounting recessed lighting or decorative fixtures. The grooves between planks can cleverly conceal LED strip lighting for ambient illumination. Consider running the planks perpendicular to the length of your RV to create the illusion of width, or parallel to emphasize the length. Proper installation with construction adhesive and minimal fasteners will ensure your ceiling treatment stays secure during travel while transforming the entire feel of your interior space.
PRO TIP: Before installation, map out where your ceiling vents, lights, and air conditioning units are located. Pre-cut the shiplap panels to fit around these fixtures on the ground rather than trying to measure and cut while working overhead. This saves time, reduces errors, and makes the installation process much more manageable, especially in the confined space of an RV.
2. Cabinet Door Fronts
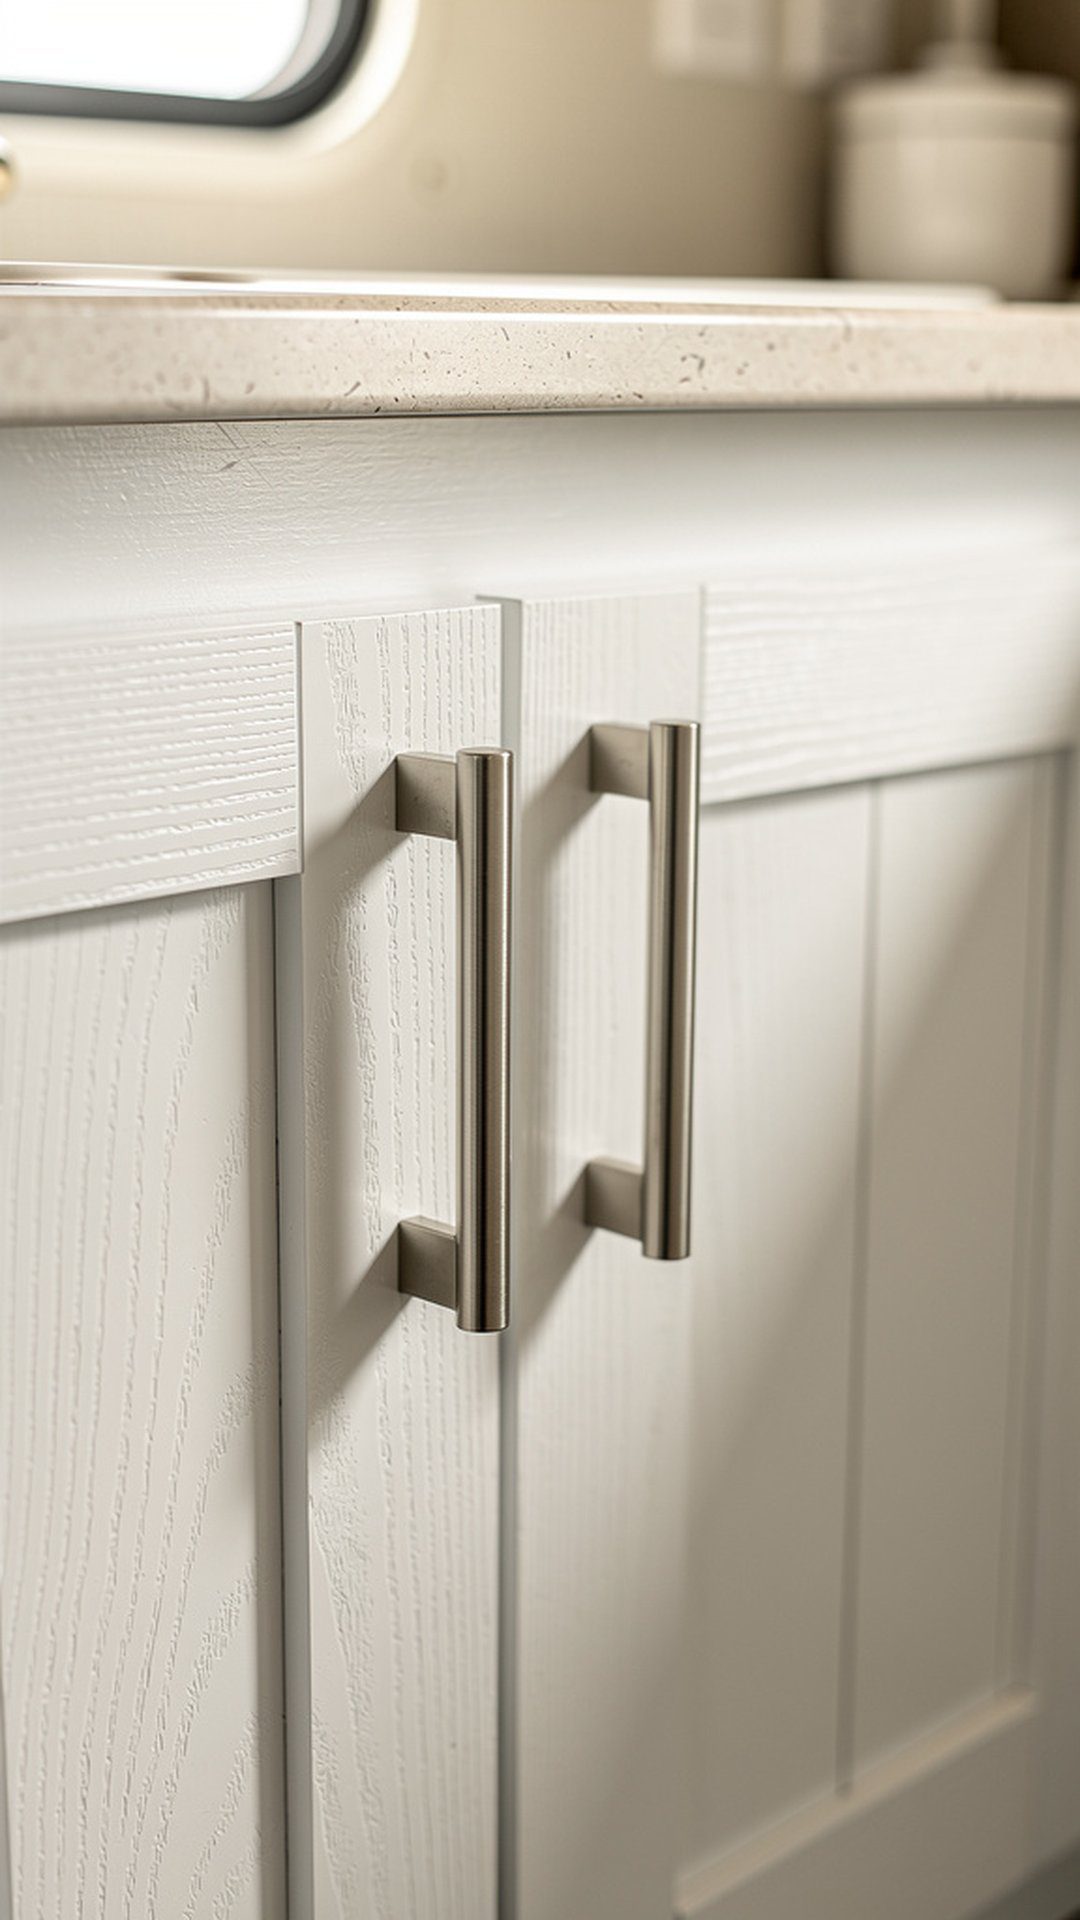
Transforming your RV cabinet doors with shiplap facing is one of the most impactful updates you can make without a complete renovation. This project breathes new life into dated or damaged cabinet fronts while adding dimensional texture throughout your kitchen and bathroom areas. You can apply thin shiplap planks directly over existing cabinet doors using strong adhesive, or replace the center panels entirely for a more authentic look. The result is a cohesive, custom appearance that elevates your entire interior design scheme without the expense of new cabinetry.
The process is relatively straightforward and cost-effective compared to cabinet replacement. Measure each door carefully, cut your shiplap planks to size, and arrange them to ensure the pattern looks balanced and professional. Paint or stain the shiplap to complement your overall color scheme—crisp white creates a bright, airy feel, while natural wood tones add warmth. Remember to account for the added thickness when reinstalling doors to ensure they still close properly and don’t interfere with adjacent cabinets or walls during travel.
PRO TIP: Use thin, lightweight faux shiplap or veneer planks (around 1/8 inch thick) rather than full-thickness wood to minimize added weight on cabinet hinges. Test the hinge strength with your prototype door before committing to all cabinets. If needed, upgrade to heavy-duty RV-specific hinges that can handle the extra material without sagging over time or during bumpy roads.
3. Sliding or Pocket Doors
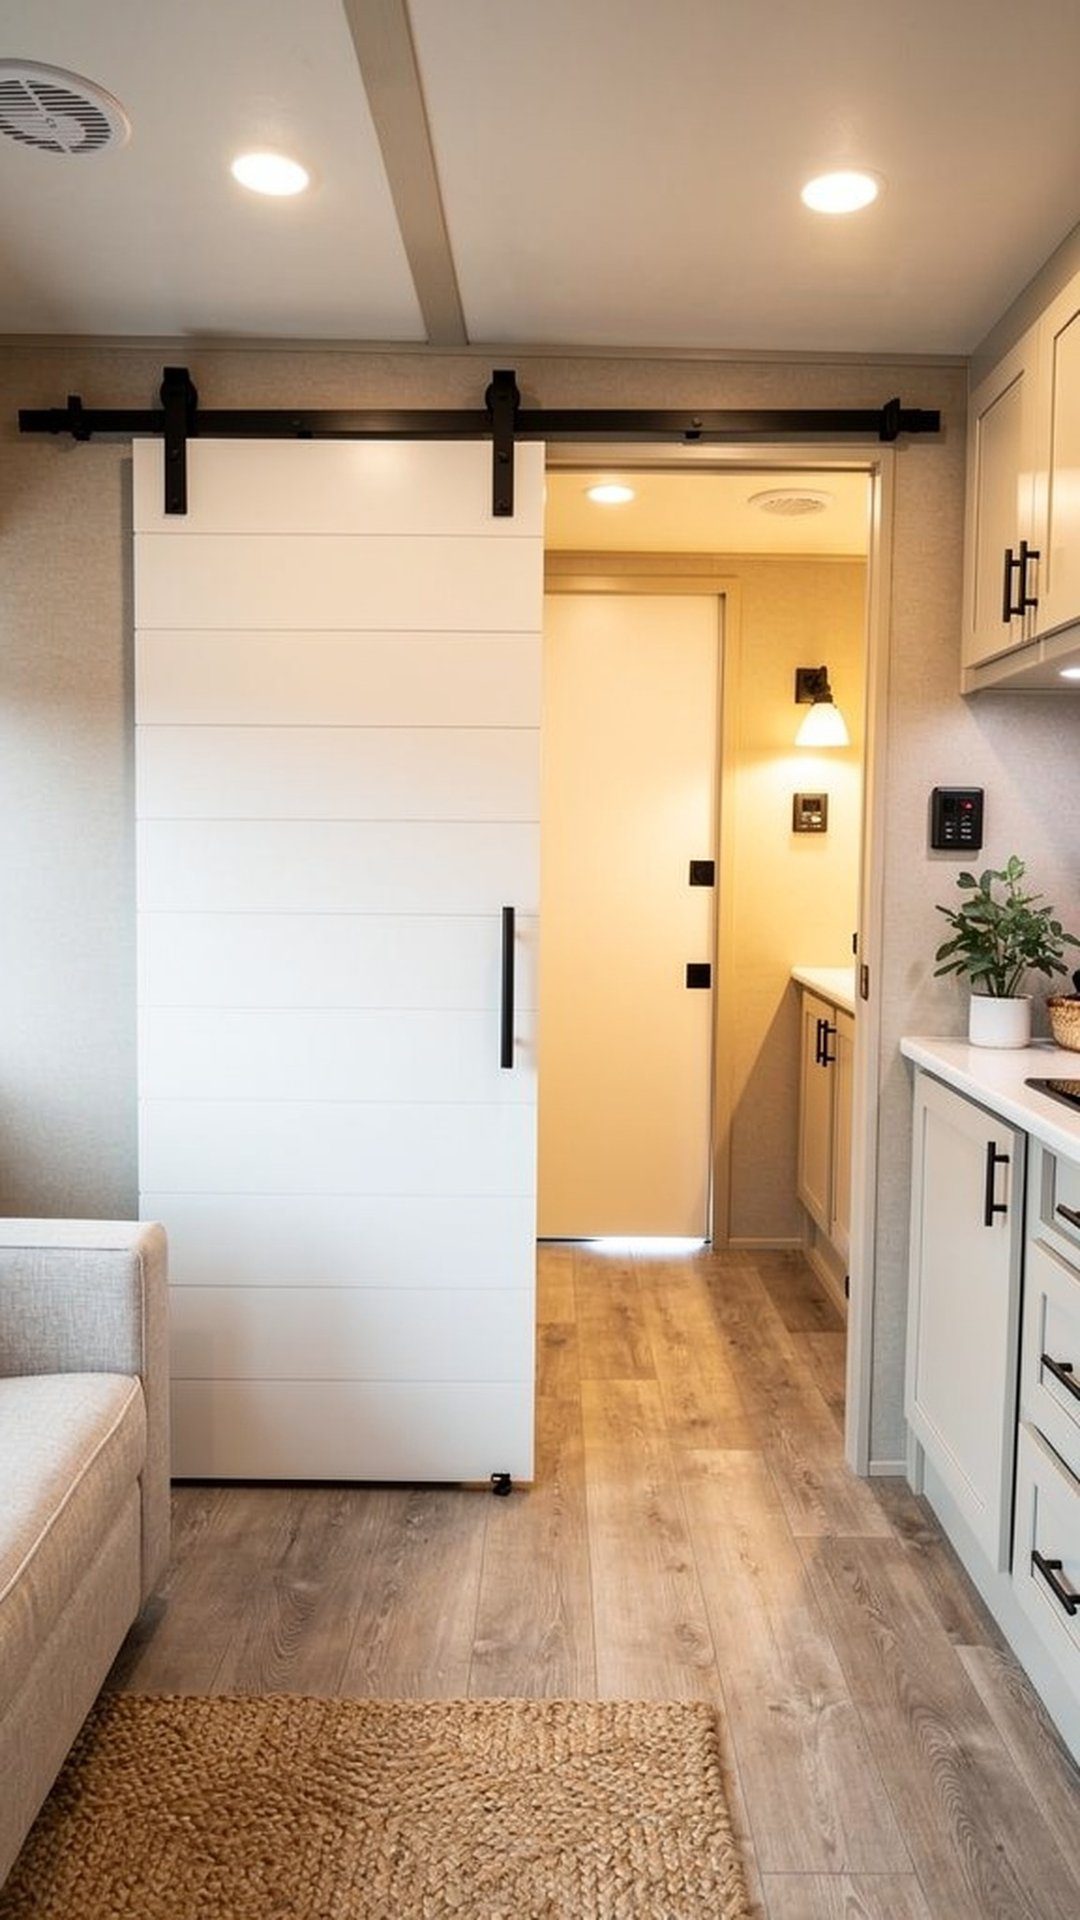
Replacing standard RV doors with custom shiplap barn-style sliders creates a stunning focal point while saving precious floor space. Barn doors have become incredibly popular in RV renovations because they add farmhouse character while being more practical than traditional swing doors in tight quarters. A shiplap-faced sliding door leading to the bathroom, bedroom, or closet becomes an architectural feature rather than just a functional necessity. The horizontal lines complement the linear nature of RV interiors and can be customized with various hardware finishes from matte black to brushed nickel.
Building a lightweight shiplap door requires a sturdy frame (typically 1×4 or 2×2 lumber) covered with your shiplap planks on one or both sides depending on visibility. Keep weight manageable by using thin planks and avoiding overly heavy hardware. The sliding track system must be securely mounted to wall studs or blocking to support the door’s weight during travel. Beyond barn doors, you can also apply shiplap to existing pocket doors or bi-fold closet doors to create design continuity throughout your camper while maintaining the original door mechanism.
PRO TIP: Install a soft-close mechanism or door stop to prevent your sliding barn door from slamming during travel. RV movement and vibration can cause unsecured doors to slide open or bang repeatedly. A simple magnetic catch, barrel bolt, or specialized RV door holder will keep your beautiful shiplap door exactly where you want it, protecting both the door and your sanity on bumpy roads.
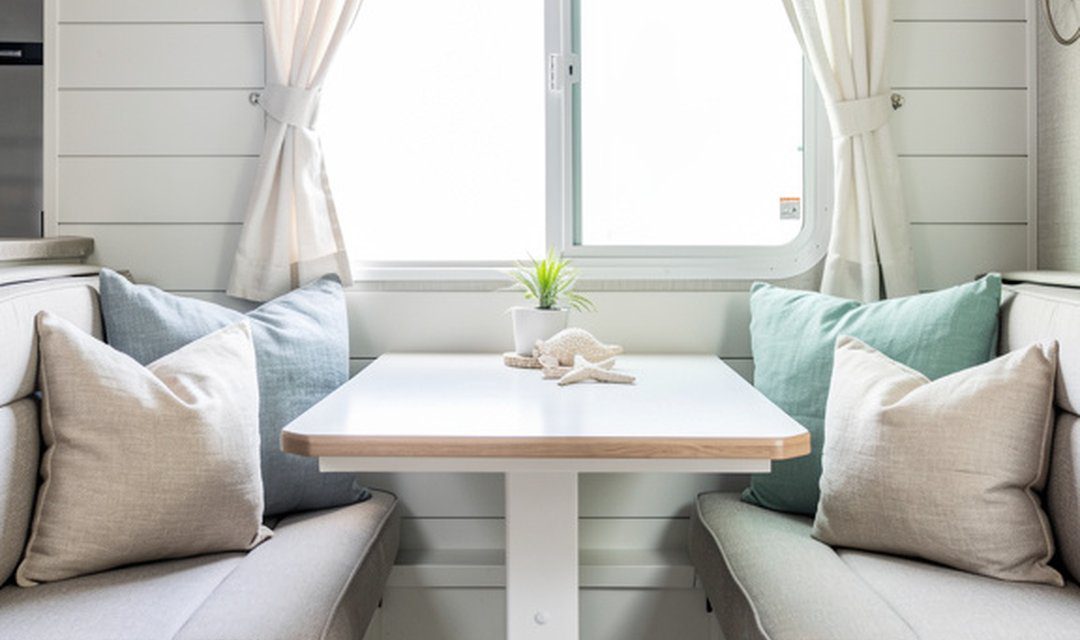
4. Bench Seat Backsplash
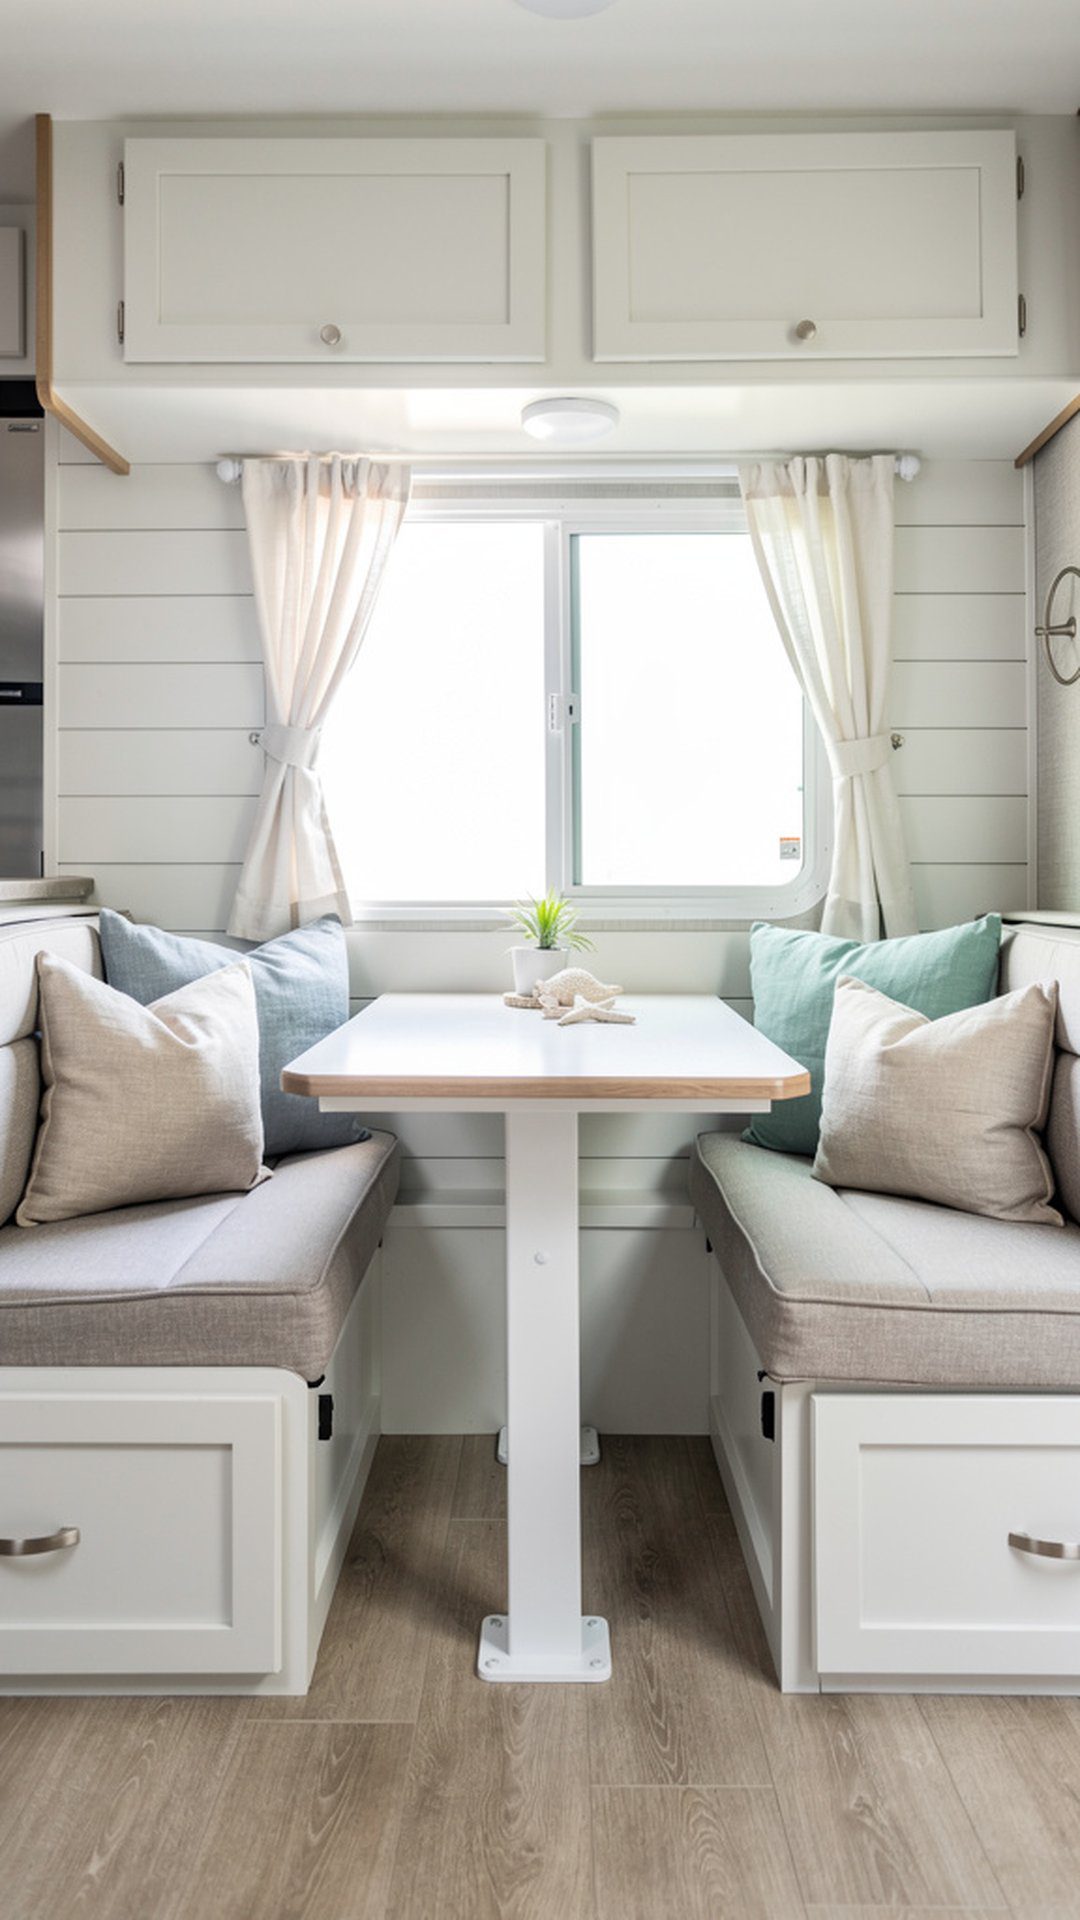
The wall area behind your dinette or lounge bench seating is prime real estate for a shiplap feature wall that adds character without overwhelming your space. This vertical or horizontal installation creates a defined zone that frames your seating area and draws attention to your gathering space. The shiplap protects the wall from the wear and tear that naturally occurs behind seating—scuff marks, dents, and scratches from cushions and occupants shifting position. Additionally, this treatment provides an excellent backdrop for decorative elements like floating shelves, artwork, or functional additions like reading lights and USB charging ports.
When installing shiplap behind bench seating, consider the height carefully. Running it from the top of the seat backs to the ceiling creates a dramatic panel, while taking it only partway up can define the space more subtly. You can continue the shiplap across the entire wall or just the section directly behind the bench for a more targeted accent. Paint it in a contrasting color to make the seating area pop, or keep it tonal with your overall scheme for a sophisticated, cohesive look that feels intentional and professionally designed.
PRO TIP: Add a clear polyurethane or washable paint finish to your bench backsplash shiplap, especially in high-traffic dinette areas. This protective coating allows you to easily wipe down fingerprints, food splatters, and dirt without damaging the wood or paint. Choose a satin or semi-gloss finish rather than flat for better cleanability while maintaining a pleasant, not-too-shiny appearance that works in the cozy RV environment.
5. Island or Counter Side Panels
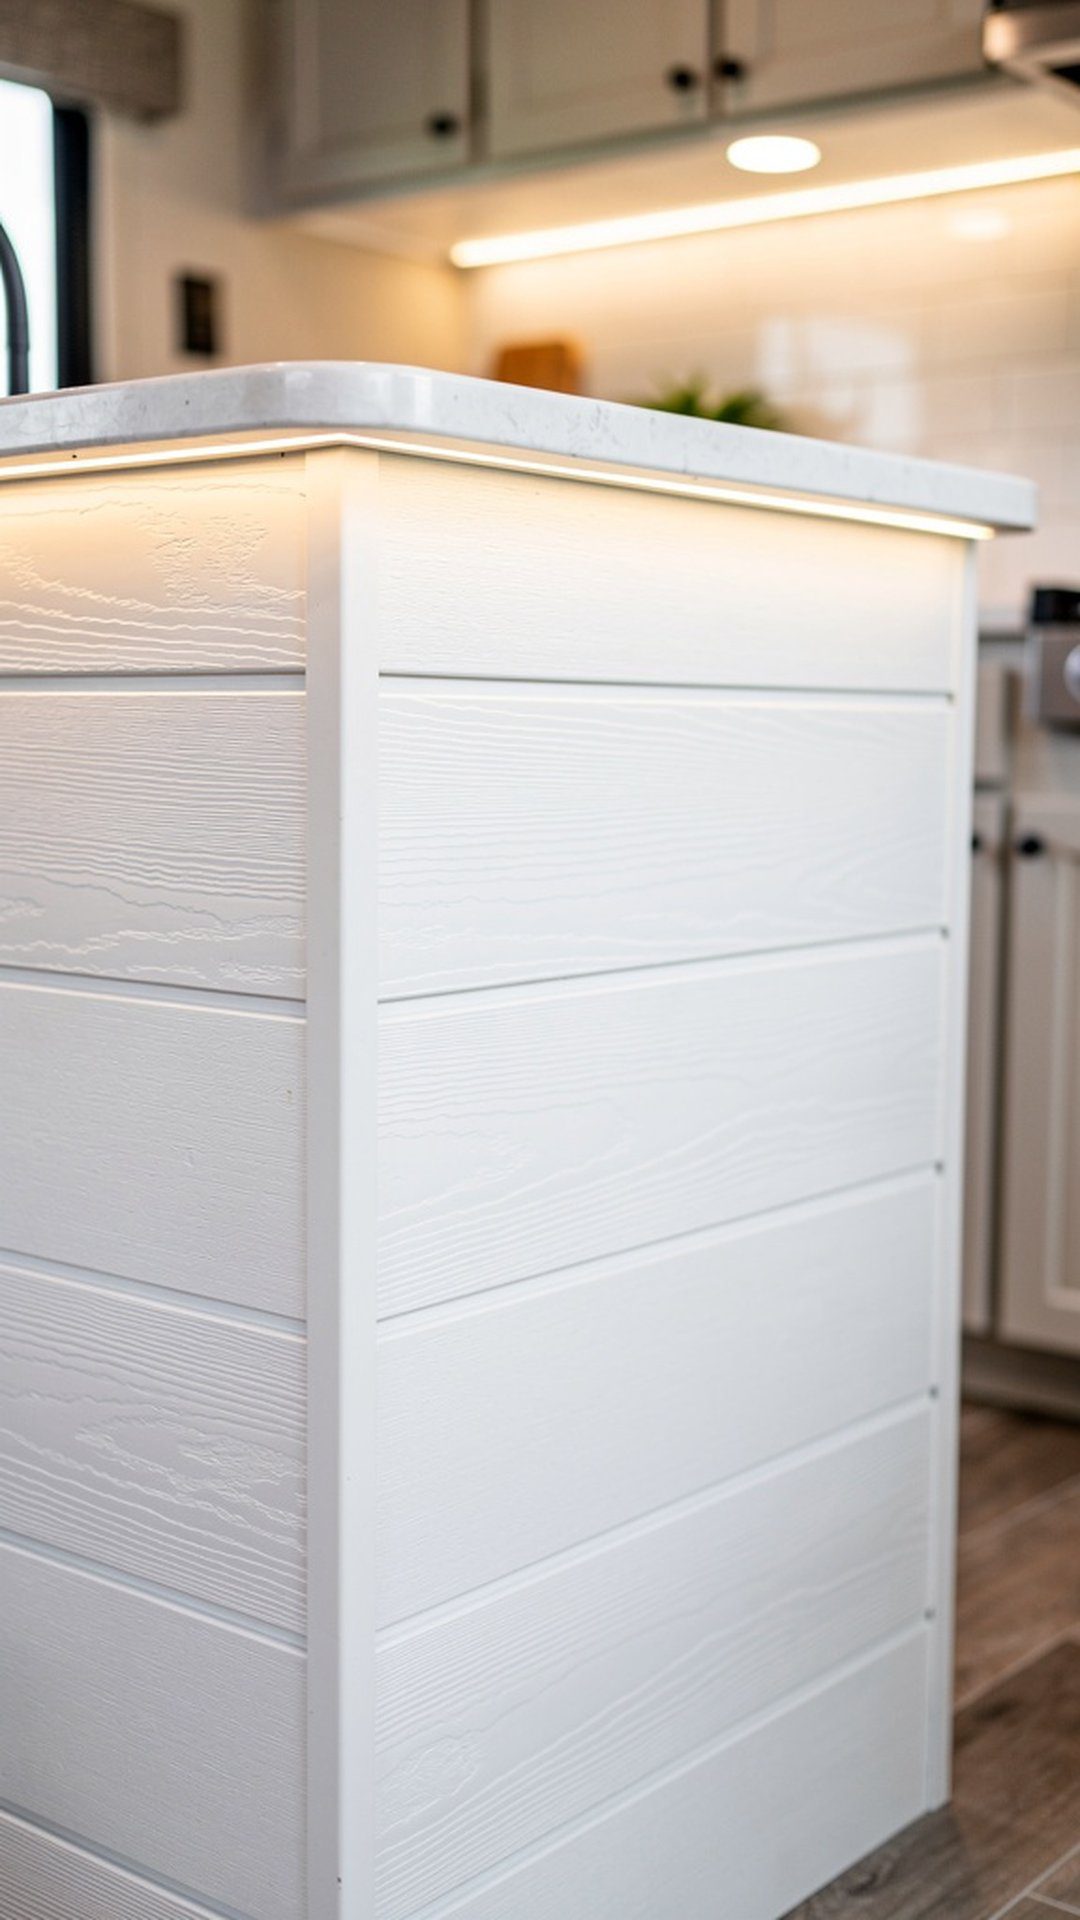
If your RV features a kitchen island or peninsula, the exposed side panels are perfect candidates for shiplap treatment. These vertical surfaces often display unattractive laminate, plain painted surfaces, or visible fasteners that detract from your kitchen’s appearance. Covering them with shiplap creates a furniture-quality look that transforms your island from purely functional to a design centerpiece. The vertical application of horizontal shiplap planks adds visual interest at eye level and creates a custom, built-in appearance that looks far more expensive than it actually is.
This application also extends to other exposed counter ends, cabinet sides, and even the toe-kick areas beneath base cabinets for those wanting comprehensive design continuity. The installation process is straightforward since these surfaces are typically flat and accessible. Use construction adhesive and finish nails to secure the planks, ensuring they’re perfectly aligned for a professional result. Seal the bottom edge properly to protect against water damage in kitchen areas, and consider how the shiplap will meet other surfaces like flooring or backsplashes for clean, intentional transitions that showcase careful craftsmanship.
PRO TIP: Measure and mark the location of any plumbing, electrical outlets, or access panels behind your island or counter panels before installing shiplap. Create removable access panels within your shiplap design by carefully cutting sections that can be taken off without disrupting the overall pattern. This foresight will save you from having to tear apart your beautiful work when you need to access utilities for repairs or modifications down the road.


