

Waking up to a dead house battery is the most common way an RV trip gets off to a bad start. The upgrade that fixes it most often is a 200Ah LiFePO4 house battery paired with a way to recharge it, such as solar, an alternator charger, or a lithium-ready shore charger.
Add a battery monitor and you will see the problem coming hours before the lights flicker. Most dead mornings trace back to the same few causes: a battery that is too small, one that quietly lost capacity, a charger that never finished the job, or a furnace fan and fridge that sipped power all night.
The seven upgrades below fix those causes one at a time. You can stack them over a few seasons, starting with the one that matches how you camp.
Quick picks:
- Best first upgrade: 200Ah LiFePO4 battery
- Best for plugged-in campers: Blue Smart IP22 charger
- Best for boondockers: 400W solar array
- Best for travel days: Orion XS DC-DC charger
1) A 200Ah LiFePO4 House Battery With Low-Temperature Charging Protection
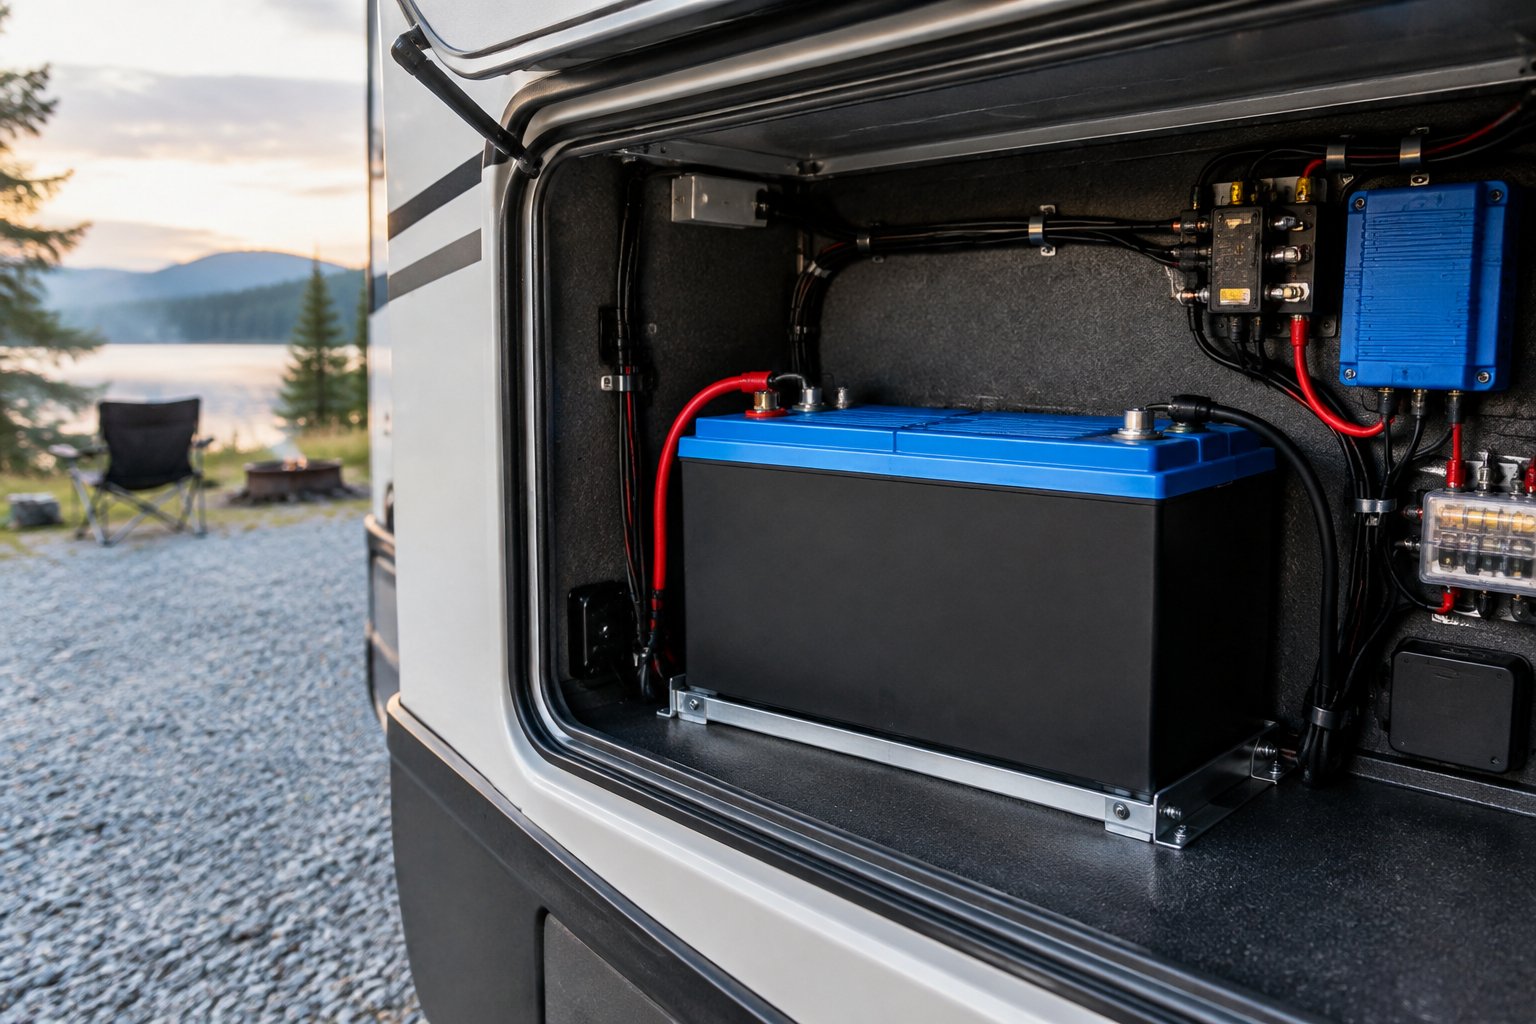
A 200Ah lithium iron phosphate battery gives you far more usable overnight power than a typical lead-acid bank, and low-temperature charging protection keeps it safe on cold nights. Lithium is lighter, lasts longer, and holds steadier voltage as it drains, so your fridge and lights keep running right up to the end.
The cold-weather feature matters because charging a lithium battery below 32°F can cause lithium plating, which permanently cuts capacity. A good battery management system (BMS) blocks charging when it gets too cold.
Some models go further with built-in self-heating that warms the cells before charging starts. Cold also shrinks what you can pull out of the battery. Between 32°F and 14°F you will see noticeable capacity loss, so winter campers should look for heated or insulated designs. Store a parked battery between 50°F and 77°F at a 40% to 60% charge.
Look for a third-party listing too. The RV industry’s low-voltage standard requires listed lithium batteries to include protection for high and low voltage and temperature, current limiting, and cell balancing.
2) A Victron Blue Smart IP22 Shore-Power Charger With a Lithium Profile
A smart charger with a true lithium mode means every plugged-in night ends with a full battery. Many stock RV converters charge at settings made for lead-acid, which can leave a lithium bank short of full.
The Blue Smart IP22 comes in 12V 15A, 20A, and 30A versions, and it has built-in Bluetooth so you can change settings from your phone with the VictronConnect app. It offers Normal, High, and Li-Ion charge modes. In Li-Ion mode, it uses a 14.2V absorption voltage for 12V systems.
It also works as a stable power supply, and Victron backs it with a standard 5-year warranty. Pick the 30A model if you want faster top-ups between campground stays.
3) A 400W Rooftop Solar Array With a Victron SmartSolar MPPT 100/30
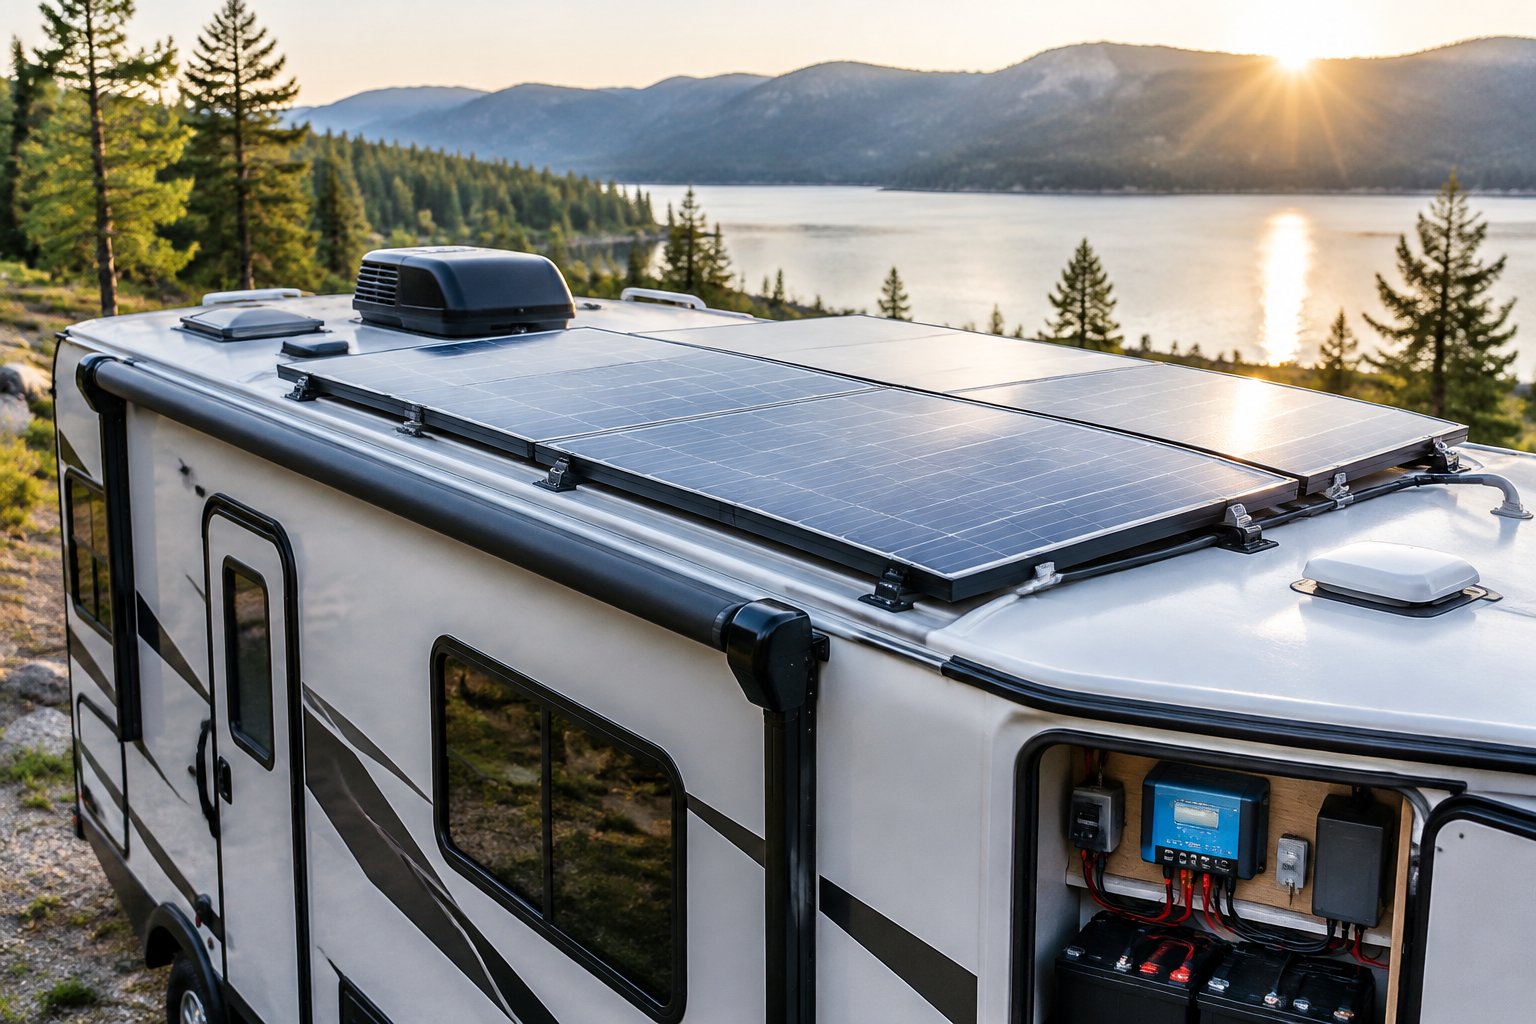
Four hundred watts of rooftop solar refills your battery every sunny day, which is the surest way to stop dead mornings when you camp without hookups. The SmartSolar MPPT 100/30 is sized well for it: on a 12V battery it accepts up to 440W of panels and delivers up to 30A.
An MPPT controller squeezes more power from your panels than cheaper PWM types, with a peak efficiency of 98%. It handles up to 100V of panel voltage, so you have flexibility in how you wire the array. It also connects by Bluetooth, so you can watch daily harvest on your phone.
Keep your panel string within the controller’s voltage and current limits. If you plan to add panels later, the larger 100/50 model supports 700W on a 12V system.
4) A Victron Orion XS 12/12-50A DC-DC Alternator Charger
A DC-DC charger turns every drive day into a charging day, and it protects your alternator while it does it. Lithium batteries accept a lot of current, and a direct connection to the alternator can overload it.
The Orion XS 12/12-50A lets you set the charge current in steps as small as 0.1A, up to 50A. It also works with modern smart alternators, which often put out too little voltage. It detects when the engine is running and only draws power then, so it will not drain your starter battery.
It switches off automatically at low temperatures to protect lithium cells. The unit is rated IP65, so it is dust-tight and protected against heavy rain, and it weighs about 0.73 pounds. Leave a few inches of airflow around it, since limited cooling reduces charge current sooner.
5) A Victron SmartShunt 500A Battery Monitor
A battery monitor shows your real state of charge, so you stop guessing from voltage. Lithium voltage stays flat across most of its range, which makes a plain voltmeter a poor fuel gauge.
The SmartShunt reports state of charge, time remaining, voltage, current, and amp-hours to your phone through VictronConnect. You also get a 30-day battery history and alerts. Victron lists its accuracy at 99.6%.
Wire it correctly or the numbers will be off. The battery negative goes to the shunt’s battery side with nothing else attached, and every load and charger negative goes on the system side.
With lithium, set charge efficiency to 99% and the Peukert exponent to 1.05. Standard models are rated IP21, so mount it somewhere dry.
6) Load-Sized Battery Cables With Proper Fusing and Covered Busbars
Undersized cables and loose connections waste power as heat and cause mystery shutdowns. Sizing your wires to the load fixes voltage drop, and proper fuses protect your RV from fire.
Cables heat up as current flows, and a long or thin cable loses more. Enclosed conduit traps that heat, so use thicker cable or open-top routing if runs are enclosed. Fuse every positive cable close to the battery, and cover your busbars so a dropped wrench cannot short them.
Good connections matter just as much:
- Crimp lugs with the right tool.
- Tighten bolts to the manufacturer’s torque spec.
- Leave a little slack so vibration will not stress terminals.
- Use strain relief on heavy cables.
7) A Victron Smart BatteryProtect 65A for Nonessential DC Loads
A low-voltage disconnect shuts off nonessential loads before your battery drains too far. It handles up to 65A continuous and uses almost no power itself, about 1.4mA with Bluetooth on.
By default, it disconnects loads at 10.5V and reconnects at 12V, and you can change those levels through VictronConnect. It waits 90 seconds before disconnecting, so a short voltage dip from a motor start will not trip it. It uses MOSFET switches rather than relays, so there are no sparks.
Install it on circuits like extra lighting, USB outlets, or a stereo. Do not wire an inverter’s DC input through it, since reverse current can damage the unit. Mount it within about 20 inches of the battery, but not directly above it.
How to Choose the Right Upgrade for Your RV
Start with the upgrade that fixes your actual cause: a small or worn battery points to lithium, while a battery that never fills points to charging. Use the three questions below to find yours.
Why Is Your Battery Running Low Overnight?
Work out whether the battery runs out of energy or never gets filled in the first place. Check your voltage at bedtime and again at dawn. If it starts full and still dies, your bank is too small or too worn. If it starts half-empty, your charging is the weak link.
Cold nights can mimic both problems, since cold lowers usable capacity. A battery monitor settles the question fast.
How Much Energy Do Your Overnight Loads Actually Use?
Add up your nightly draw in amp-hours. Furnace fans, fridge compressors, water pumps, and phone chargers all count, and more frequent furnace use raises battery draw noticeably in cold weather.
A SmartShunt shows real numbers, so you can match battery size to what you truly use. Plan for a bank that covers one night plus a cushion.
Which Upgrade Fits Your Camping Style and Budget?
Match the upgrade to where you sleep most nights:
- Campground hookups: the IP22 charger and cable cleanup.
- Boondocking: battery, solar, and monitor.
- Frequent travel days: the Orion XS charger.
- Tight budget: a monitor and low-voltage disconnect first.
What to Check Before Installation
Confirm compatibility, space, and weight before you buy, then decide how much to do yourself. A few minutes of planning prevents most install headaches.
Are Your Existing Components Compatible With the Planned System?
Check that your charger, solar controller, and alternator charger all support your battery’s chemistry and voltage. Match panel voltage to the controller’s 100V limit. If your alternator is old, confirm its rating is at least twice your battery’s amp-hour capacity, or use a DC-DC charger to limit current.
Also check your RV’s converter and any built-in inverter. Never wire an inverter’s DC input through a Smart BatteryProtect.
Will Everything Fit Within Your Space and Weight Limits?
Measure the battery bay and leave breathing room. The IP22-style chargers and DC-DC units need about 4 inches of free space around them for cooling, and chargers should mount near the battery but never directly above it.
Lithium weighs much less than lead-acid, which helps your cargo capacity. Rooftop panels add weight up high, so check your RV’s roof and axle limits.
When Should an RV Electrical Technician Handle the Work?
Hire a pro for anything involving shore-power wiring, large fused runs, or a system you are unsure about. The RV industry advises that electrical work comply with the National Electrical Code and local rules, and that improper installation can cause fire or shock.
Battery swaps, a SmartShunt, and bolt-on monitoring are friendly DIY jobs. Use insulated tools and a torque wrench for any battery terminal work.