If you’ve ever heard a strange noise coming from your RV and thought, “I’ll check it out later,” you’re not alone. Mark from Determination Unbound ignored a concerning wheel noise for 2,000 miles before it got so bad that his tire locked up and left black skid marks at an RV park.
Talk about a wake-up call! His marathon maintenance session covers everything from brake replacements to roof cleaning, and it’s packed with lessons that every RV owner needs to know. Whether you’re a weekend warrior or a full-time RVer, these maintenance mistakes could turn a small problem into a catastrophic failure. Let’s dive into the top maintenance items you shouldn’t ignore if you want to keep your rig rolling safely down the road.
Would you like to save this article?
1. Ignoring Mystery Noises Until They Become Disasters
Mark heard a grinding noise from his wheel but kept driving for another 2,000 miles. The diagnosis? A completely destroyed brake assembly with missing adjuster parts and a broken keeper spring.
The damage was so severe that the entire drum and brake backing plate needed replacement. When you ignore wheel noises, you’re gambling with your safety and potentially turning a $200 repair into a $1,000+ emergency.
Here’s the kicker: most RVers do the exact same thing. You post on Facebook groups hoping someone will tell you it’s just a rock stuck in the wheel. But when your tire starts leaving skid marks because the brake locked up? That’s your RV screaming for help.
What to do instead: As soon as you hear grinding, squealing, or clicking from your wheels, pull over safely and investigate. If you can’t identify the problem, schedule a service appointment immediately. RV wheel bearings and brakes don’t heal themselves.
2. Putting Off Wheel Bearing Service Way Too Long
Most RV manufacturers recommend repacking wheel bearings every 12,000 miles or annually, whichever comes first. Mark’s rig had traveled over 12,000 miles in a single season without bearing service.
When he finally opened up the wheels, he found old, contaminated grease and worn components. Wheel bearing failure is one of the leading causes of RV roadside emergencies, according to RV safety experts.
You might think wheel bearing maintenance sounds complicated and expensive. But here’s the reality: A bearing packer costs about $15, grease runs $10, and the job takes 2-3 hours if you’re learning as you go. Compare that to a catastrophic bearing failure that leaves you stranded on the highway with a seized wheel. Suddenly, that DIY maintenance doesn’t sound so bad, does it?
What to do instead: Mark used a simple bearing packer tool and Lucas Red N Tacky grease. He cleaned out old grease, inspected for wear, repacked the bearings, and adjusted them to proper torque specifications. The process involves removing the wheel, cleaning the hub, repacking bearings, replacing seals if needed, and reassembling with proper adjustment.
3. Skipping Regular Brake Inspections
RV brakes work harder than most people realize. Mark discovered his brake assembly was completely destroyed with missing adjusters and damaged backing plates.
According to RV Safety & Education Foundation, brake-related issues account for approximately 30% of RV accidents. Trailer brakes need inspection every 12,000 miles or whenever you notice uneven braking, pulling, or unusual noises.
Thinking your brakes are “probably fine” because they worked yesterday is like playing Russian roulette with a 5,000-pound rig. Your family is riding behind those wheels. One failed brake can cause your trailer to fishtail, especially on steep descents or during emergency stops. The scariest part? Brake failure often happens gradually, so you might not notice until it’s too late.
What to do instead: Mark replaced his brake assemblies with Dexter Never Adjust brake kits, which feature automatic adjustment. He also opted for pre-greased hubs to save time. Regular brake inspections should check pad thickness, drum condition, magnet wear, and adjuster function.
4. Letting Damaged Seals Flap in the Wind
Those rubber seals around your RV doors, windows, and compartments aren’t just cosmetic. Mark found multiple damaged seals from repeated generator removal and normal wear.
Damaged seals allow water infiltration, which causes wood rot, mold, and electrical problems. The RV Industry Association estimates that water damage accounts for over $1 billion in RV insurance claims annually.
You’ve probably seen those flapping seals on your RV and thought, “I’ll fix that next month.” But every time it rains, every time you drive through morning dew, water is slowly infiltrating your walls. By the time you see visible damage, the rot has already spread through your framing. Water damage repair can easily cost $5,000-$15,000, while replacement seals cost $20-$50.
What to do instead: Mark replaced damaged bulb seals, wiper seals, and bay door weather stripping. Most seals use adhesive backing or fit into tracks. He also added screws to prevent seals from sliding out of position. Regular seal inspection should happen quarterly.
5. Not Addressing Small Fiberglass Damage Immediately
A tiny crack in Mark’s fiberglass was spreading and threatening to become a major structural issue.
Fiberglass damage may seem minor, but cracks spread from vibration, temperature changes, and water infiltration. According to RV repair professionals, small repairs that cost $50 in materials can balloon to $500+ if left untreated.
That little crack looks harmless, right? Wrong. Every mile you drive, that crack propagates a little further. Every freeze-thaw cycle expands it a bit more. Before you know it, you’ve got a hole the size of a dinner plate and water damage behind the wall. But you’ll probably keep driving because “it’s not that bad yet.” Spoiler alert: it will be.
What to do instead: Mark drilled a small hole at the crack’s end to stop propagation, then used a marine fiberglass repair kit with color-matched gel coat. The process involves cleaning the area, mixing epoxy resin, applying in thin layers, and wet sanding once cured. Don’t expect perfection on your first try—Mark’s repair needed multiple attempts.
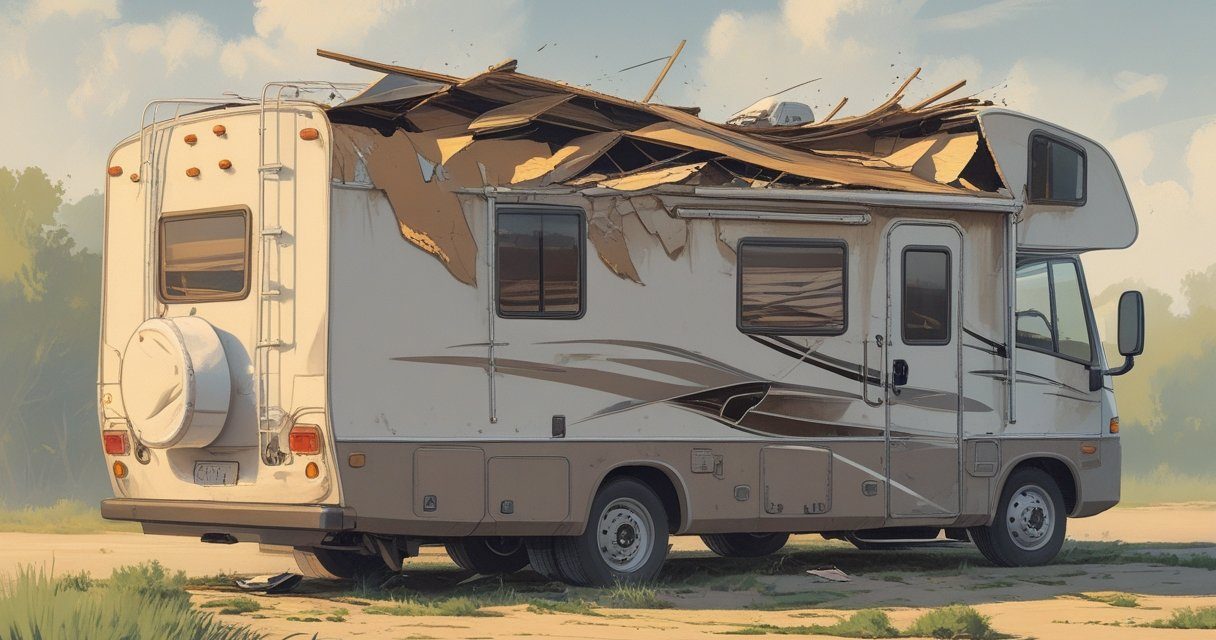
6. Forgetting About Roof Maintenance
Mark tested Liquified RV roof cleaner and was shocked at how much dirt came off with minimal effort.
RV roofs should be cleaned and inspected every 3-6 months. Accumulated dirt holds moisture against the roof membrane, accelerating deterioration. Most RV roofs last 10-20 years with proper care but can fail in 5-8 years without maintenance.
Here’s what happens when you skip roof cleaning: Algae and dirt form an insulating blanket that traps moisture. That moisture slowly degrades your roof membrane. Then one day, you notice a water stain on your ceiling. Congratulations—you now need a $3,000-$8,000 roof replacement. All because climbing a ladder seemed like too much work.
What to do instead: Use RV-specific roof cleaners (never household products). Mark sprayed the cleaner, let it sit briefly, scrubbed with a soft-bristle brush, and wiped clean. While on the roof, inspect for cracks, loose seams, and damaged seals. Many RVers never climb on their roofs until water damage appears.
7. Using the Wrong Tools and Making Simple Jobs Harder
Mark struggled with stuck lug nuts, discovering firsthand why RVers recommend replacing two-piece lug nuts with one-piece versions.
Using improper tools damages components and creates safety hazards. The RV community consistently recommends investing in quality tools like breaker bars, torque wrenches, and proper-sized sockets.
You’re probably thinking you can save money by using whatever tools you already have. Then you strip a lug nut at a rest stop 200 miles from anywhere. Or you overtighten a brake adjustment because you didn’t use a torque wrench, and now your brake is dragging. Cheap tools and improvisation work great—until they catastrophically don’t.
What to do instead: Mark invested in proper equipment including a 20-ton jack, heavy-duty jack stands, a 1/2-inch breaker bar, a DeWalt compact impact wrench, and various specialized tools. He also discovered that two-piece lug nuts commonly seize and should be replaced with one-piece versions.
Key Maintenance Tools and Parts
| Tool/Part Category | Examples Used | Approximate Cost |
|---|---|---|
| Jacks & Safety | 20-ton jack, 3-ton jack stands | $150-$250 |
| Power Tools | 1/2″ impact wrench, grease gun | $200-$400 |
| Brake Components | Dexter brake kits, pre-greased hubs | $150-$300 per axle |
| Lubrication | Lucas Red N Tacky grease, bearing packer | $30-$50 |
| Seals & Sealants | Bulb seals, Lexel sealant | $20-$60 |
| Cleaning Products | Liquified RV roof cleaner, wash/wax | $30-$50 |
The Bottom Line
Mark’s maintenance marathon wasn’t glamorous, but it was absolutely necessary after 12,000 miles of travel. He went from ignoring problems to tackling everything from catastrophic brake failure to basic seal replacement.
The biggest lesson? Preventive maintenance saves money, prevents breakdowns, and keeps your family safe. Yes, it takes time. Yes, you’ll make mistakes (Mark’s fiberglass repair wasn’t perfect). But every maintenance task you complete is one less potential disaster waiting to happen.
Your RV is probably sitting outside right now with a few small problems. Maybe a seal is starting to peel. Maybe your brakes haven’t been checked in 15,000 miles. Maybe there’s a weird noise you’ve been ignoring. What are you going to do about it?
Don’t wait until your tire locks up and leaves skid marks. Don’t wait until water damage appears. Start with one maintenance item this weekend. Inspect your seals. Check your wheel bearings. Clean your roof. Your future self will thank you when you’re cruising down the highway instead of sitting on the shoulder waiting for a tow truck.
SOURCES
- https://www.youtube.com/watch?v=-r_h2q7zzJ8 (Determination Unbound – Stop Ignoring These RV Repairs Before It Gets Worse)
- RV Safety & Education Foundation – RV Safety Statistics and Best Practices
- RV Industry Association – Annual Water Damage Claims Data
- Dexter Axle – RV Brake and Bearing Maintenance Guidelines
- General RV maintenance best practices from industry professionals


