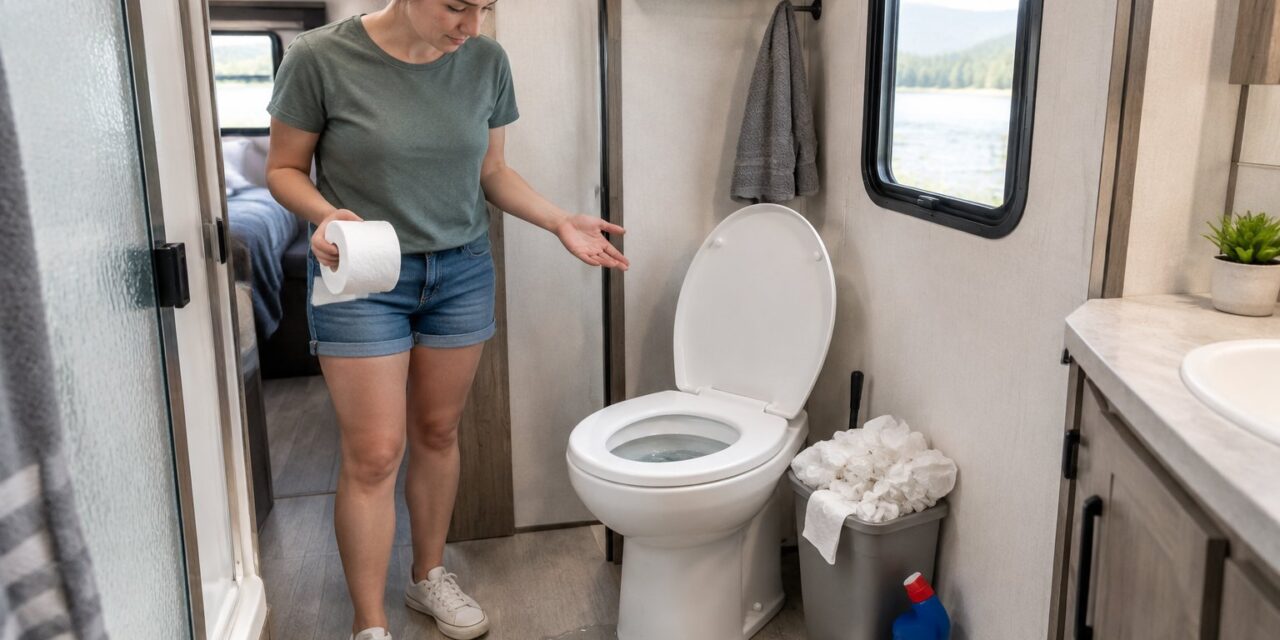
Every RV owner has a toilet story. Maybe it was a pyramid of solids under the bowl, a smell that crept in at the worst moment, or a trip to the dealer for a part that did not fit. The eight mistakes below cover nearly all of them, and each one is easy to avoid once you know how an RV toilet really works.
The big difference from home is water. A home toilet uses about 1.6 gallons per flush and sends waste to a sewer. An RV toilet uses a small splash and sends waste to a holding tank that is not a mini septic system. Most of these mistakes come from treating one like the other.
1) Flushing Solid Waste Without Enough Water
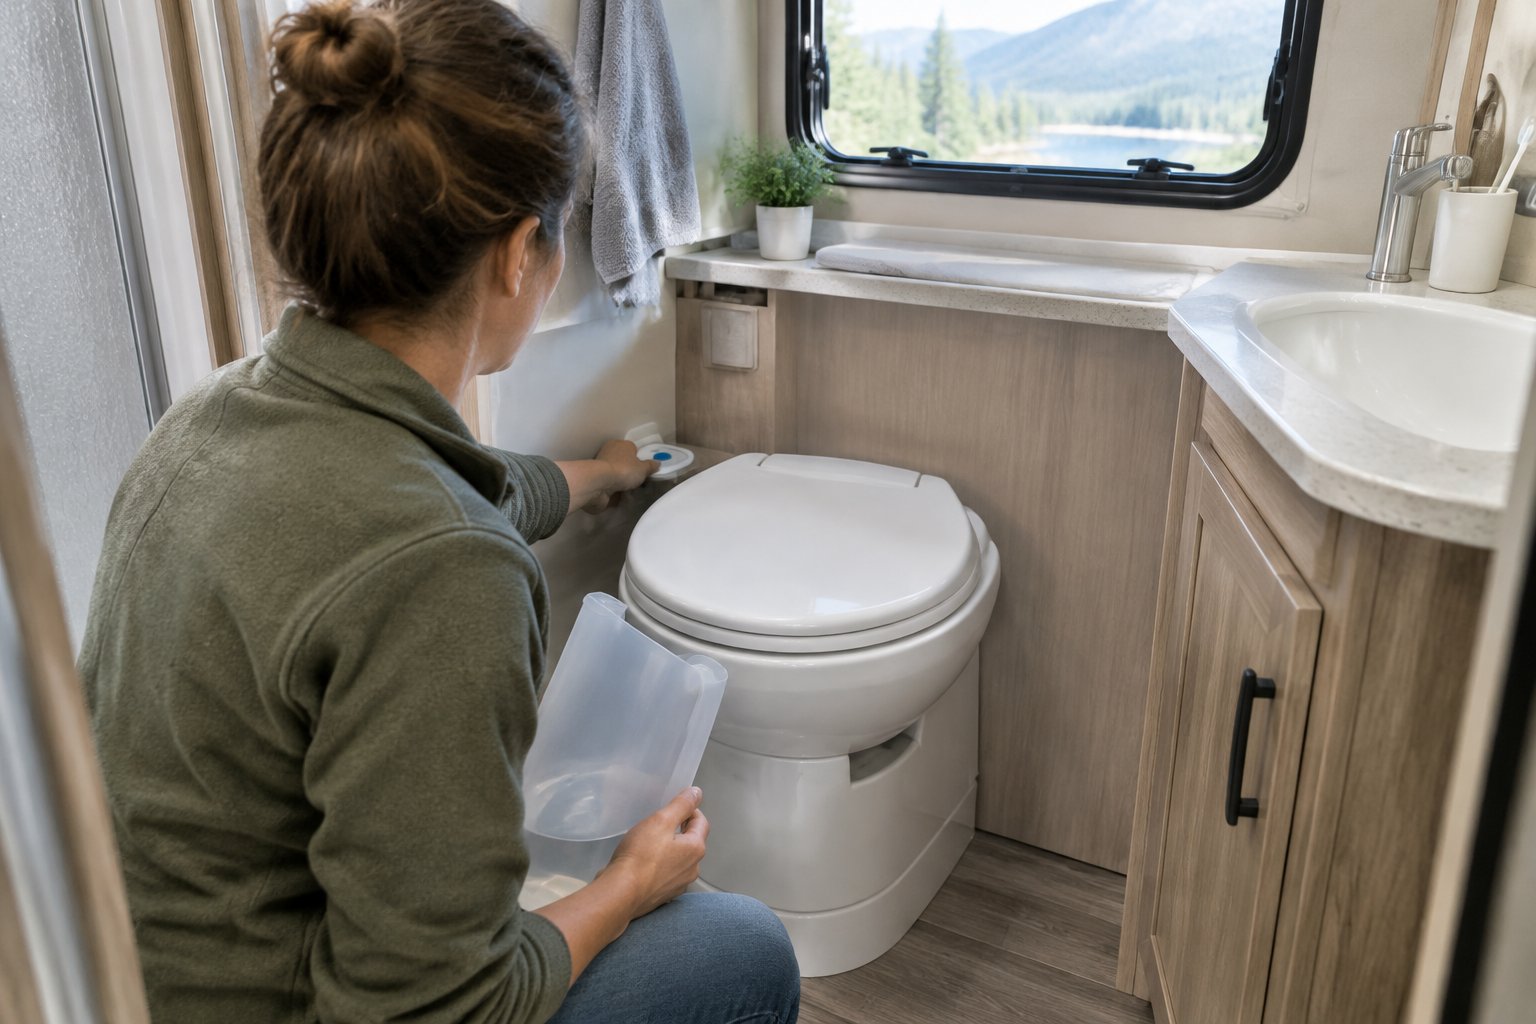
Solids need plenty of water to travel, and skimping is how a mound forms under the toilet. When waste collects directly below the bowl without enough liquid, it piles up and hardens over time.
Dometic’s manuals recommend adding water to the bowl before flushing solids and toilet paper. On a pedal toilet, press the pedal halfway. Water flows in while the flush ball stays closed.
Keep about an inch of water in the bowl at all times. That water also forms an airtight seal that keeps tank odors out of your living space.
When you flush solids, hold the pedal until the bowl rinses clean. Do not hold it much longer than that, since extra flushing fills your tank faster. Adding a little water to the tank after every dump also helps keep a liquid base for waste to float in.
2) Leaving the Black Tank Valve Open at Full-Hookup Campsites
Keep the black tank valve closed until you are ready to dump, even when you have a sewer hookup. An open valve lets liquids drain right away while solids stay behind and stack into a “pyramid plug” under the toilet.
Thetford says plainly to never leave the black tank dump valve open during use. The pyramid becomes a source of odors and can plug the toilet and the whole tank when you try to clear it.
A common rule is to wait until the tank is about two-thirds full. That gives you enough weight and liquid to push everything out in one strong rush.
Your gray tank is different. You can leave the gray valve open at a sewer hookup. Just plan on an occasional deep clean to remove grease and buildup.
3) Flushing Wipes, Paper Towels, and Excess Toilet Paper
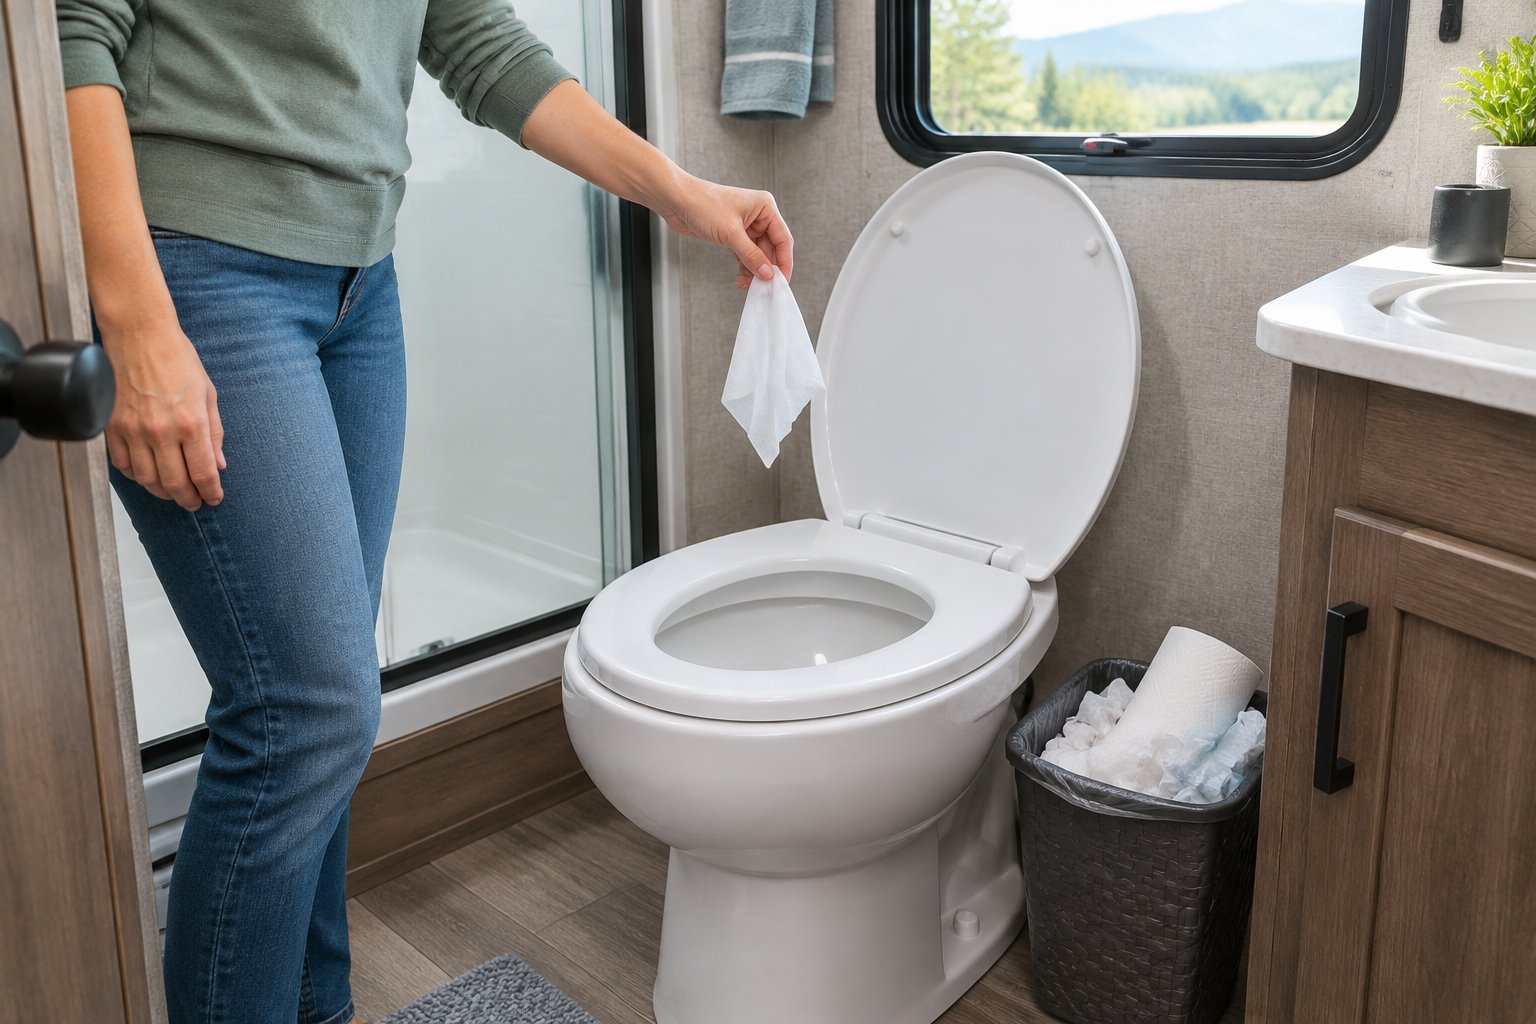
Only human waste and quick-dissolving toilet paper belong in an RV toilet. Dometic and Thetford both list wet wipes, paper towels, paper cups, cotton swabs, diapers, feminine hygiene products, food, and hair as items that cause clogs or damage.
“Flushable” wipes are the sneaky one. The label may say flushable, but they do not break down in a small RV system.
Use RV-safe toilet paper and go easy on the amount. You can test any brand at home: drop a few sheets in a jar of water and shake it. If the paper falls apart fast, it is a good fit.
Keep a small lidded trash can next to the toilet. Having a place for wipes makes it easy for every guest to do the right thing.
4) Trusting Black Tank Sensors Instead of Tracking Actual Use
Tank sensors drift out of accuracy, so treat them as a rough hint and track your own use. Residue and tissue coating the probes can complete the circuit and make an empty tank read full. A common complaint is a gauge stuck at two-thirds.
Thetford notes that its Level Gauge Cleaner works on sensors that fail from tissue and sludge buildup. Not every sensor problem is fixable that way, though.
Keep a simple count instead. Note how many days you have been in camp and how many people are using the toilet. After a few trips you will know roughly how long your tank lasts.
If your toilet drops straight into the tank, you can also hold the pedal down and peek into the bowl with a flashlight. Be careful not to drop anything in.
5) Ignoring a Bowl Seal That No Longer Holds Water
A bowl that will not hold water has a worn or dirty seal, and fixing it early keeps odors out of your living space. That bit of standing water is your barrier against holding tank smells.
Thetford’s troubleshooting steps are simple. First, check the blade or ball seal track for debris and clear it out. Next, check how well the seal compresses. If it is worn, replace it.
Thetford also says its seal conditioner often corrects leaks, and its silicone-based seal lubricant keeps seals moving smoothly. Skip petroleum-based products, which can damage the seal.
For cassette-style toilets, Thetford recommends replacing the lip seal every four to six years, depending on use. Treating that seal at least twice a year helps it last.
6) Using Household Drain Openers or Abrasive Toilet Cleaners
Household chemicals shorten the life of your toilet seals, so reach for RV-safe products instead. Dometic warns against chlorine, laundry bleach, and drain-opening products because they damage seals in toilets and plumbing valves.
Thetford adds that acids in many household bowl cleaners dull and pit the bowl surface. Even products marked “non-abrasive” can scratch an RV bowl enough to invite stains.
Thetford’s manual recommends a non-abrasive RV cleaner with a soft cloth, sponge, or soft-bristle brush. It lists scouring powders, acids, and concentrated cleaners as products to avoid, and notes that using them can void your warranty.
Mild organic acids such as citric acid are fine. When in doubt, check the label for RV or marine use.
7) Expecting Tank Treatment to Fix Clogs and Every Sewer Smell
Treatments help break down waste and paper, but water and good habits do the heavy lifting. Thetford describes them as blends of enzymes and beneficial bacteria that speed up breakdown, cut odors, and help prevent clogging.
They work slowly. One guide notes that tank additives can take up to 48 hours to fully work in a standard tank. Pouring in a second product tomorrow will not speed things up, and stacking chemicals can undo the enzymes.
For a stubborn clog, start with water. Fill the tank through the toilet, add an enzyme treatment, let it sit, dump, and repeat. Do not drive around hoping the road will shake it loose, and do not poke at the outlet with a rod, since the valve parts are plastic.
If odors persist, check the roof vent for a blockage such as a nest or debris. A tank has to breathe. A worn seal can also let smells escape.
8) Buying a Replacement Toilet Without Checking Clearance, Flange Fit, and Water Connections
Measure before you buy, because RV toilets vary in height, depth, and hookup style. Dometic’s 300 series alone ranges from about 15 to 22 inches in some dimensions, and low-profile models sit several inches shorter than standard ones.
Check three things. First, clearance: look at the space to the wall and the distance from the back of the bowl to the water connection. Thetford lists minimum distances in its Aqua-Magic manual, so compare them to your space.
Second, the flange. Thetford says flange height should sit about 7/16 inch above the floor, and its spacers can help adjust it. Always fit a new flange seal.
Third, water. Thetford calls for a 3/8-inch inside-diameter supply line with good flow, and a flow of at least 2.5 gallons per minute for a strong flush. Dometic notes that its gravity-flush models replace an existing toilet. For a brand-new installation, talk to a pro.
When to Stop DIY Repairs and Call an RV Technician
Call a technician when the problem sits below the bowl, inside the valve, or in the floor. Plenty of fixes are fine for you to handle, such as a seal lubricant, a water valve, or a soak-and-dump cycle. Forcing a stuck valve or digging into the tank is where small jobs turn expensive.
What Should You Do if Wastewater Backs Up Into the Toilet?
Stop flushing and stop adding water. Back-flow into the toilet or into the shower and sink drains points to a blocked tank or outlet. If a soak, enzyme treatment, and dump do not clear it, a shop has pressure tools to do the job safely.
Wear gloves and keep your face away from the open outlet. Sewer gas is heavier than air and can build up in low spaces.
Which Leaks or Floor Problems Need Professional Inspection?
Tighten the water line at the valve and the flange nuts first, since those fix many leaks. Thetford also points to a bad vacuum breaker as the likely cause of a leak behind the toilet.
A leak that continues after those steps, a cracked tank or valve body, or a soft or stained floor needs a pro. Moisture under the toilet can damage the structure that anchors it.
When Does a Recurring Blockage Need More Than Another Rinse?
Call for help if several soak-and-dump rounds change nothing, if nothing drains with the valve open, or if the gate valve will not open or close. Forcing a gate valve breaks its seal, and replacing it is shop work.
A sensor that keeps misreading after a cleaning is also worth a quick visit.