Winter camping brings unique challenges for RV owners. One of the most pressing concerns is protecting the plumbing system from cold damage.
Many campers find themselves caught off guard by sudden temperature drops. They wonder if their water lines are at risk.
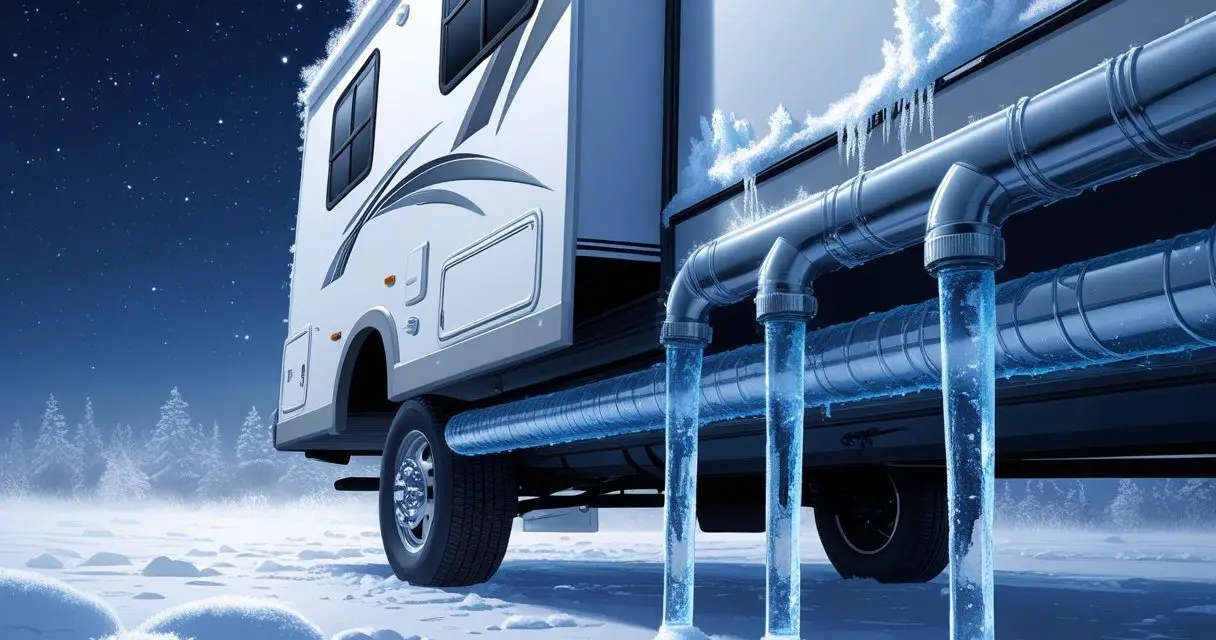
Yes, RV pipes can freeze in one night if temperatures drop well below freezing, especially when they reach the teens or single digits. The risk depends on several factors including how well the RV is insulated, whether heating systems are running, and how exposed the plumbing is to cold air.
While it typically takes about 24 hours of consistent freezing temperatures to cause problems, rapid temperature drops can freeze pipes much faster.
Understanding the conditions that lead to frozen pipes helps RV owners take the right steps to protect their investment. Simple preparation can prevent thousands of dollars in repair costs and keep water flowing during cold weather adventures.
Key Takeaways
- RV pipes can freeze overnight when temperatures drop into the teens or below, especially in poorly insulated rigs
- Proper insulation, heating, and winterization techniques can prevent costly pipe damage during cold weather camping
- Taking preventive measures before temperatures drop saves money and keeps water systems working throughout winter trips
Can RV Pipes Freeze in One Night?
Yes, RV pipes can freeze in a single night when temperatures drop well below freezing. The speed of freezing depends on several factors including temperature, insulation, and wind exposure.
How Quickly RV Pipes Freeze in Cold Weather
RV pipes typically need 24 hours of consistent temperatures below 32°F to freeze completely. However, this timeframe changes dramatically in extreme cold.
When temperatures drop into the teens or single digits, frozen pipes can occur in just a few hours. The coldest part of the night usually happens just before dawn, which poses the greatest risk.
Temperature Timeline for Pipe Freeze:
- Above 32°F: No freeze risk
- 20-32°F: 12-24 hours to freeze
- 10-20°F: 6-12 hours to freeze
- Below 10°F: 2-6 hours to freeze
Most RV owners experience problems when overnight lows stay below 20°F for more than 6 hours. The water in pipes turns to ice and expands, potentially causing cracks or bursts.
Factors Influencing Overnight Freezing
Several key factors determine how quickly an RV’s pipes will freeze during cold nights.
Insulation plays the biggest role in preventing frozen rv pipes. RVs with good underbelly insulation can withstand much colder temperatures than those without protection.
Heat sources inside the RV help maintain warmer temperatures around internal plumbing. Running a furnace or space heater keeps the interior warm and protects pipes.
Wind exposure speeds up the freezing process significantly. Wind chill makes temperatures feel much colder and removes heat from exposed areas faster.
Pipe location matters greatly. Pipes in heated areas freeze slower than those in unheated compartments or external connections.
The RV’s construction affects freeze resistance. Four-season RVs handle cold weather better than standard recreational vehicles.
Risk Areas in RV Plumbing During Cold Spells
Certain parts of an RV’s plumbing system freeze faster than others during overnight cold snaps.
External water connections pose the highest risk. Garden hoses and city water hookups freeze first because they have no protection from cold weather.
Underbelly plumbing in the RV freezes quickly without proper skirting or insulation. These areas get direct exposure to wind and cold air.
Water tanks in unheated compartments can freeze overnight in extreme cold. Fresh water, gray water, and black water tanks all face this risk.
Pipes near exterior walls freeze faster than those in interior locations. These pipes lose heat through the RV’s walls and windows.
Water heater connections often freeze because they sit in unheated compartments. The water lines leading to and from the heater are vulnerable spots.
Owners should focus protection efforts on these high-risk areas first.
What Temperatures Cause RV Pipes to Freeze?
RV pipes start freezing at 32 degrees Fahrenheit, but the time it takes depends on how long temperatures stay below freezing and other factors like wind and exposure.
Most RV pipes need 24 hours of consistent freezing temperatures to freeze completely, though severe conditions can speed this process.
Critical Temperature Thresholds for Freezing
The freezing point for RV pipes begins at 32 degrees Fahrenheit. Water inside the pipes starts turning to ice at this temperature.
Most RV pipes and tanks need 24 hours of consistent temperatures at or below 32°F to freeze completely. A few hours below freezing typically won’t cause major problems for most RVs.
However, temperatures in the teens create much faster freezing. When temperatures drop to the teens, RV pipes can freeze in just a few hours instead of a full day.
The coldest part of the night usually happens just before dawn. This period only lasts 2-3 hours in most cases.
Short cold snaps like this rarely cause pipe freeze in well-protected RVs.
Sustained cold matters more than brief temperature drops. Pipes need extended exposure to freezing temperatures before ice forms throughout the system.
Effect of Wind Chill and Exposure
Wind chill makes RV pipes freeze much faster than still air at the same temperature. Cold wind under the RV removes heat from exposed pipes and tanks.
Exposed underbellies create the biggest risk for frozen pipes. RVs without proper skirting or insulation lose heat quickly in windy conditions.
Water lines running along the exterior walls freeze first. These pipes get direct exposure to cold air and wind.
Interior pipes stay warmer longer because they benefit from the heated cabin space.
Elevation also affects freezing speed. Higher altitudes have colder temperatures and more wind exposure.
Mountain camping increases the risk of pipe freeze even at milder temperatures.
Travel trailer owners face higher risks than motorhome owners. Travel trailers often have less insulation and more exposed plumbing underneath.
Case Scenarios: Mild vs. Severe Cold
Mild cold scenarios involve temperatures between 25-32°F for short periods. One night at 28°F typically won’t freeze well-insulated RV pipes.
Interior heat and basic insulation provide enough protection.
RV owners can usually handle overnight lows in the upper 20s without major concerns. Opening cabinet doors and running interior heat prevents most freezing issues.
Severe cold scenarios include temperatures below 20°F for extended periods. These conditions freeze RV pipes much faster, sometimes within 6-12 hours.
Temperatures at -20°F require serious cold weather preparations. Even well-insulated RVs struggle in these conditions without additional heating methods.
Multi-day cold spells pose the greatest threat. When daytime temperatures stay below freezing for several days straight, standard RV insulation often fails to prevent frozen pipes.
Potential Damage from Frozen RV Pipes
Frozen RV pipes can cause serious structural damage to your water system, ranging from cracked fittings to extensive water damage throughout your vehicle.
The expansion of ice inside pipes creates pressure that often leads to costly repairs and hidden issues that may not appear until warmer weather returns.
Pipe and Fitting Failures
When water freezes inside RV pipes, it expands by about 9 percent. This expansion creates tremendous pressure against pipe walls and connections.
The most vulnerable parts are the fittings and joints where pipes connect. These connection points often crack or come loose under pressure.
RV plumbing systems use mostly plastic components. Plastic fittings handle some expansion but fail more easily than metal systems found in homes.
Common failure points include:
- Water pump connections
- Elbow joints and T-fittings
- Valve connections
- Tank outlet fittings
Frozen rv pipes can also cause the pipes themselves to split lengthwise. This type of damage often happens in sections with the least insulation or heat protection.
Temperature swings make the problem worse. Pipes that freeze and thaw repeatedly suffer more damage than those that stay frozen.
Water Leaks and Hidden Issues
Damaged pipes from freezing create water leaks that range from small drips to major floods. Many leaks start small and grow worse over time.
Hidden damage often occurs in hard-to-reach areas:
- Inside walls and cabinets
- Under the RV floor
- Behind water heaters
- In basement storage areas
Water from burst pipes can damage flooring, furniture, and electrical systems. Moisture trapped in walls leads to mold growth and wood rot.
Some leaks only appear when the system is under pressure. A small crack might not leak when empty but spray water once you turn on the pump.
Insurance companies report that frozen pipe damage in RVs averages $3,000 to $5,000 in repairs. Severe cases with extensive water damage can cost much more.
Early detection helps limit damage. Check all visible pipes and fittings after any freezing weather, even if everything seems to work normally.
How to Prevent RV Pipes from Freezing Overnight
Proper insulation, heat sources, and protective barriers work together to prevent frozen rv pipes during cold nights. These methods create multiple layers of protection that keep water flowing even when temperatures drop below freezing.
Insulation Techniques for RV Pipes
Pipe insulation creates the first line of defense against freezing temperatures. Foam pipe sleeves slip easily over exposed water lines and provide continuous protection.
Foam pipe insulation costs $1-3 per foot and works well for straight runs of pipe. The foam has a slit that opens to wrap around pipes without disconnecting fittings.
Would you like to save this article?
Fiberglass insulation works better for irregular spaces around pipe clusters. Stuff loose fiberglass around pipes in cabinets and basement areas where foam sleeves won’t fit.
Reflective bubble wrap adds an extra barrier when wrapped over foam insulation. The reflective surface bounces heat back toward the pipes.
Focus insulation efforts on these critical areas:
- Pipes running along exterior walls
- Water lines in unheated basement compartments
- Connections under kitchen and bathroom sinks
- Fresh water tank and pump connections
Leave cabinet doors open after insulating to let warm interior air reach the pipes. This simple step can raise temperatures in enclosed spaces by 10-15 degrees.
Using Heat Tape and Heated Water Hoses
Heat tape provides active warming for the most vulnerable pipe sections. Electric heat tape wraps around pipes and plugs into standard outlets to maintain above-freezing temperatures.
Self-regulating heat tape adjusts its output based on temperature. It uses more power when colder and less when warmer. This type costs $3-5 per foot but prevents overheating.
Constant wattage heat tape runs at the same power level continuously. It costs less at $1-2 per foot but needs a thermostat to avoid overheating pipes.
Install heat tape on these priority locations:
- Exterior water connections
- Pipes in unheated compartments
- Gray and black tank drain valves
- Water pump and filter housing
A heated water hose prevents the supply line from freezing. These hoses have built-in heating elements that keep water flowing from the campground spigot to the RV.
Heated water hoses cost $80-150 but avoid frozen rv pipes at the connection point. They draw 40-80 watts of power continuously when plugged in.
Utilizing RV Skirting and Space Heaters
RV skirting blocks cold wind from flowing under the RV and around exposed pipes. Wind chill can drop the effective temperature by 10-20 degrees below the actual air temperature.
Foam board skirting provides rigid insulation around the RV’s perimeter. Cut 2-inch foam boards to fit between the ground and RV floor. Secure with stakes or weighted brackets.
Fabric skirting installs faster but offers less insulation value. Heavy-duty vinyl or canvas skirting attaches to the RV and stakes to the ground.
Hay bale skirting works as a budget option for long-term stays. Stack bales around the RV perimeter, leaving gaps for access panels.
A space heater in the basement compartment keeps pipes warm in the most vulnerable area. Choose a small ceramic heater with automatic shutoff features for safety.
Electric space heaters work best for this application. Look for models with:
- Tip-over protection
- Overheat shutoff
- Low 400-600 watt power draw
- Compact size for tight spaces
Position the space heater away from stored items and ensure proper ventilation. Check local fire codes before using space heaters in RV compartments.
Preparing for Winter Camping in an RV
Proper winter camping preparation involves creating a comprehensive checklist. Establish systems to monitor both weather conditions and interior temperatures.
These steps help protect RV pipes and tanks from freezing damage during cold weather adventures.
Winter Camping Preparation Checklist
Insulation and Protection
RV owners should inspect all exposed pipes and add insulation where needed. Heat tape works well for water lines and connections.
Many campers forget to insulate the spigot and connection points, which can freeze and block water flow.
Tank and Pipe Protection
Install tank heaters for both the fresh water tank and holding tanks. These 12-volt heating pads prevent freezing in extremely cold conditions.
Check that all water lines inside cabinets have adequate insulation.
Essential Winter Gear
Pack portable heaters for emergency use near frozen pipes. Bring extra propane tanks since heating uses more fuel in winter.
A hair dryer can help thaw pipes in emergencies.
Underbelly Preparations
Add skirting around the RV to block cold wind from reaching pipes underneath. Plastic sheeting or blankets work as temporary solutions.
Make sure not to cover exhaust vents when adding wind barriers.
Monitoring Weather and Interior Temperature
Temperature Tracking
RV owners should check weather forecasts daily when winter camping. Temperatures below 32°F for 24 hours straight can freeze unprotected pipes.
Wind chill makes freezing happen faster.
Interior Climate Control
Keep the RV heated even when sleeping elsewhere. Open cabinet doors where water lines run to let warm air circulate.
This simple step prevents pipes behind cabinets from freezing.
Early Warning Signs
Monitor both daytime and nighttime temperatures. The coldest hours happen just before sunrise.
If temperatures will stay in the teens for several hours, take extra precautions with heating and insulation.
Emergency Response
Know how to shut off water and drain lines quickly if freezing becomes likely. Keep the water pump off until all pipes thaw completely to avoid damage.
Winterizing Your RV for Cold Weather
Proper winterization protects your RV’s plumbing system from freeze damage by removing water and adding antifreeze to key components. This process requires specific attention to holding tanks, fresh water systems, and the unique needs of different RV types.
Winterize Your RV When Parked or in Storage
RV owners should begin winterization when temperatures consistently drop below 32°F. The process starts with draining all water from the system.
Turn off the water heater and let it cool completely. Open all faucets, including hot and cold taps in the kitchen, bathroom, and shower.
Flush the toilet several times to empty the bowl.
Drain the holding tanks completely:
- Fresh water tank
- Gray water tank
- Black water tank
Remove the drain plug from the water heater to empty it fully. Open the low-point drains typically found under the RV near the front and rear.
Use compressed air to blow out remaining water from the lines. Start at the city water connection and work through each faucet.
This step removes water that gravity draining cannot reach.
Close all drains and faucets once the system is empty. The RV is now ready for antifreeze treatment.
The Role of RV Antifreeze in Protecting Pipes
RV antifreeze prevents remaining water in the system from freezing and expanding. Only use non-toxic propylene glycol antifreeze designed specifically for RV plumbing systems.
Never use automotive antifreeze, which contains ethylene glycol and is poisonous. RV antifreeze is safe for potable water systems and pink in color for easy identification.
Antifreeze application methods:
- Pour directly into drains and toilet
- Use the water pump to circulate through lines
- Add to holding tanks for complete protection
Pour one cup of RV antifreeze into each drain, including the shower, bathroom sink, and kitchen sink. Add two cups to the toilet bowl and flush once to coat the black tank connections.
For the fresh water system, connect the water pump to the antifreeze container. Turn on the pump and open each faucet until pink antifreeze flows out.
This ensures all water lines contain protective fluid.
Add antifreeze to the fresh water tank if it cannot be completely drained. Use one gallon per 10 gallons of tank capacity for adequate protection.
Special Considerations for Travel Trailers
Travel trailers require extra attention during winterization due to their construction and plumbing layout. These units often have more exposed pipes and less insulation than motorhomes.
Key areas needing special care:
- Exterior shower connections
- Outdoor kitchen plumbing
- Slide-out water lines
Remove and store the battery in a warm location if equipped with one. Cold temperatures reduce battery life and performance significantly.
Check the trailer’s underbelly for any torn or damaged insulation. Cold air entering through these openings can freeze pipes even with proper antifreeze treatment.
Travel trailers with outdoor showers need extra antifreeze in these lines. The exterior location makes them more susceptible to freezing than interior plumbing.
Disconnect and drain the city water hose completely. Store it in a heated area to prevent damage from any trapped water.
Replace worn hose connections that might leak during spring startup.
Consider using heat tape on vulnerable exterior plumbing if the travel trailer will be used during winter months. This provides additional protection beyond standard winterization procedures.

