Would you like to save this article?
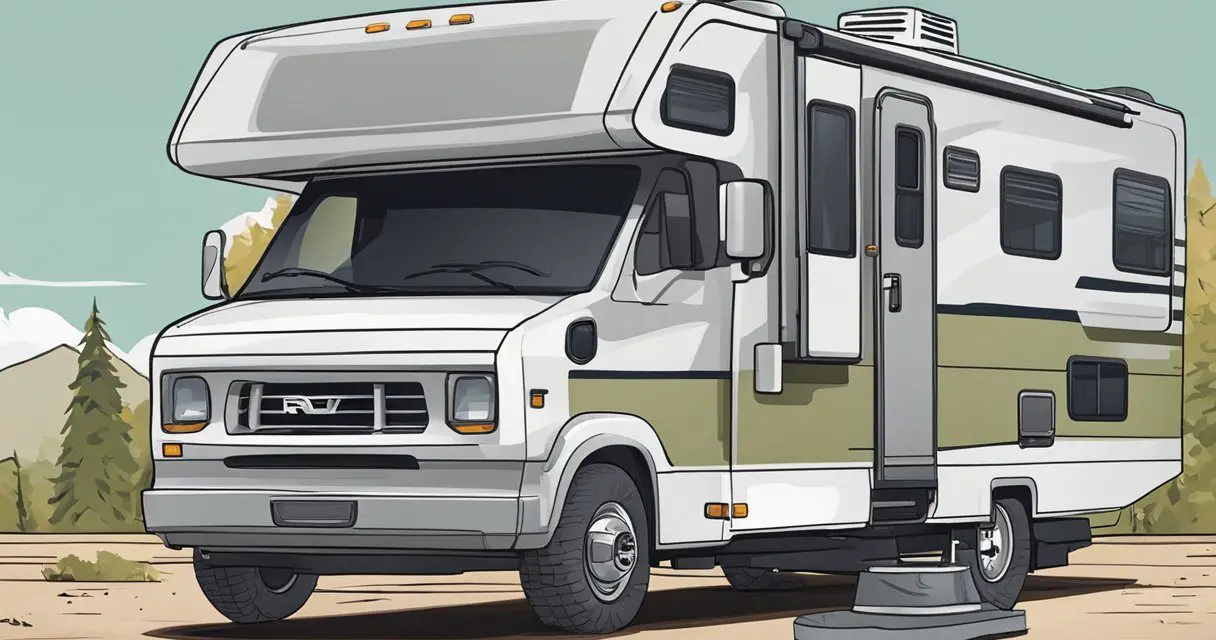
Leveling your RV can often feel like a daunting task, especially when you’re eager to start your camping adventure. Many RVers spend an inordinate amount of time fiddling with levelers, only to find that they still can’t get their rig perfectly level.
But what if we told you there’s a better way to do it? We’ve found a great video from a YouTube channel that breaks down the best methods for manually leveling your RV, based on nine years of experience.
Below, we’ve highlighted the key points from the video to help you save time and stress. Make sure to watch the entire video at the bottom of the article for a more comprehensive guide.
1. Pre-Leveling Checks
Before you even think about leveling, there are a few preliminary steps to take. According to the video, “You’ve pulled into your site and done everything you should be doing before leveling things like checking the site for any hazards, confirming the water runs, the power pedestal works, and checking all your clearances.” These steps are crucial for ensuring a safe and smooth leveling process.
Think of these pre-leveling checks as the RV equivalent of a pilot’s pre-flight checklist. Skip them, and you might as well be flying blind!
2. Leveling Sideways
“The process of leveling the roll of the RV is the more involved process of the two and it needs to be done first before you disconnect your tow vehicle,” the video explains. This step often involves using leveling blocks or ramps to lift the lower side of the trailer. The video recommends products like the Camco Fasten Stackable Leveling Blocks and the Cartech Leveling Ramps for this purpose.
Using leveling blocks is like playing a giant game of Jenga, except you hope nothing falls over!
3. Using Electronic Levelers
Using an electronic leveler can make the process much easier and more accurate. “I found a much easier way to check my level. This is the Beach Lane electronic leveling indicator and it will tell you both the pitch and the roll levels of your RV using an app on your phone,” the video states. This tool can save you a lot of guesswork and time.
It’s like having a GPS for your RV’s balance—no more eyeballing it and hoping for the best!
4. Chocking the Trailer
Once you’ve leveled your RV sideways, the next step is to chock the trailer. “First, apply your e-brake, hop out and place your standard rubber chocks on the non-lifted side,” the video advises. This is an essential safety step to prevent your RV from rolling away.
Forget to chock your trailer, and you might find your RV has decided to go on an adventure of its own!
5. Leveling Front to Back
Leveling the pitch of the RV is the next step. “Leveling the pitch is simply done by raising or lowering the tongue jack until the front of the RV is level with the back of the RV,” the video explains. This is usually the easier part of the leveling process.
Think of it as giving your RV a nose job—raise or lower until it looks just right!
6. X Chocks for Extra Stability
For added stability, the video recommends using X chocks. “The main purpose of an X chock is to add a little bit of stability while you’re walking around inside the RV,” the video says. These can be particularly useful on loose gravel or uneven surfaces.
X chocks are like the seatbelts for your RV—better safe than sorry!
7. Tips and Tricks
The video offers several tips for making the leveling process even smoother. For example, “If you decide to go with curved leveling ramps, go with a company that offers rubber anti-slip mats with the levelers,” the video suggests. This can prevent the ramps from sliding out on slippery or loose ground.
Think of these tips as life hacks for your RV—because who doesn’t love a good hack?
Conclusion
Leveling your RV doesn’t have to be a time-consuming chore. By following these steps and using the right tools, you can make the process quick and painless. For a more detailed walkthrough, be sure to watch the full video from Long Long Honeymoon at the bottom of this article. Happy camping!


