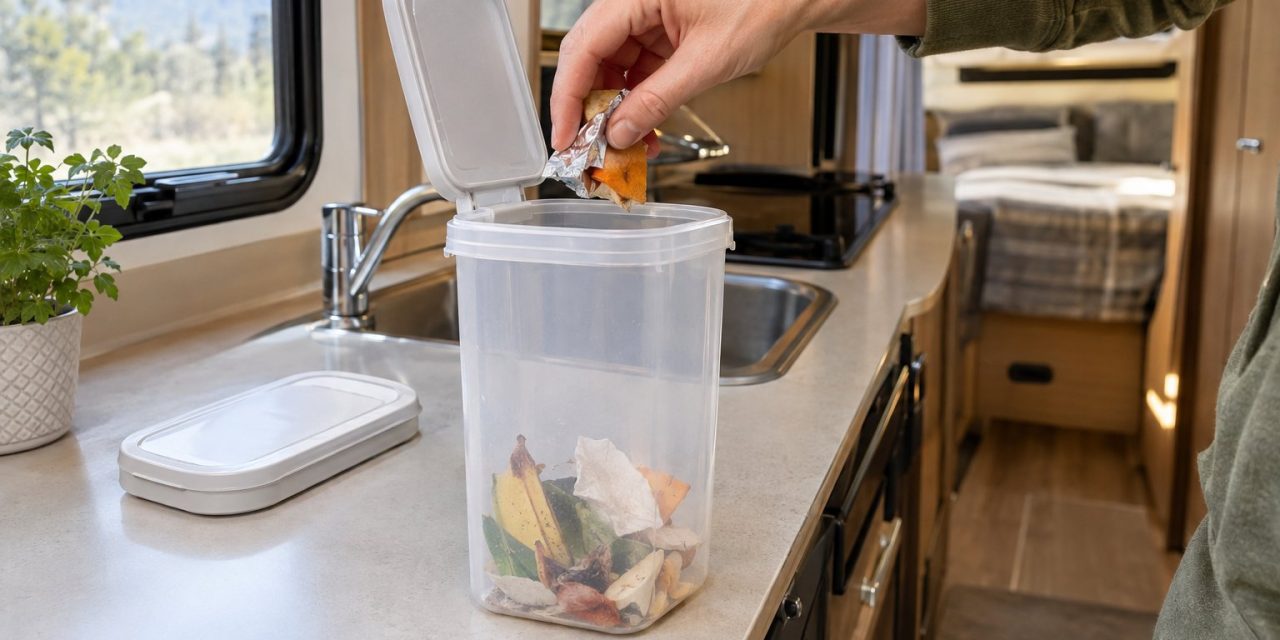
A small kitchen trash can turns into a smelly problem fast in an RV. Warm cabin air, close quarters, and limited counter space make odors spread quicker than they would in a house.
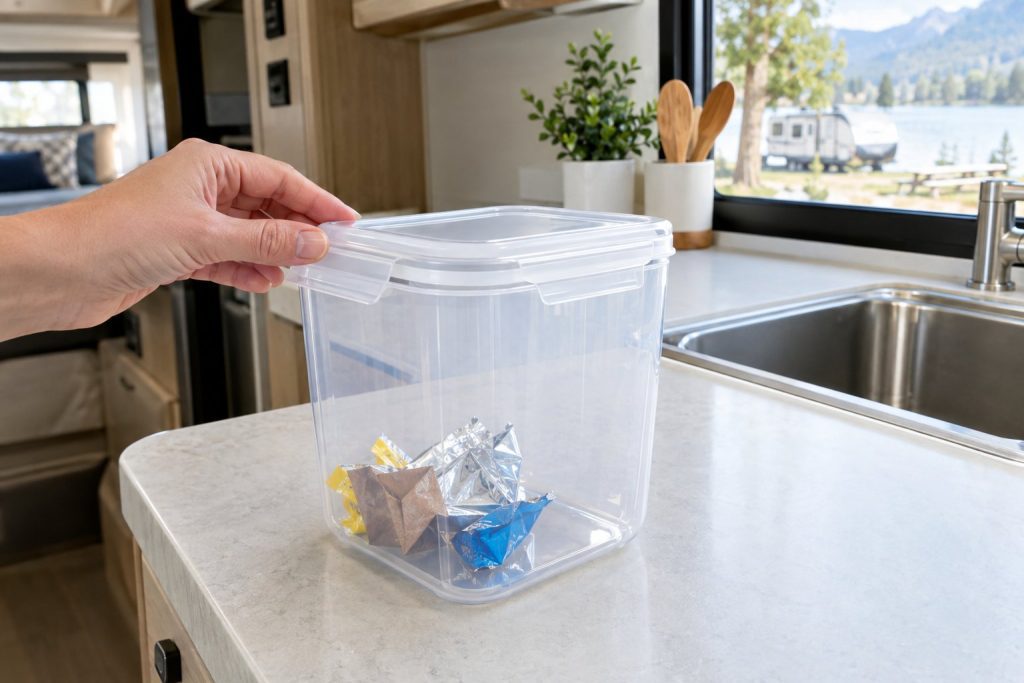
The cereal container trash hack, using an empty plastic cereal keeper with a snap-on lid as your RV trash bin, works because it seals in smells that a paper bag or open bin can’t hold back.
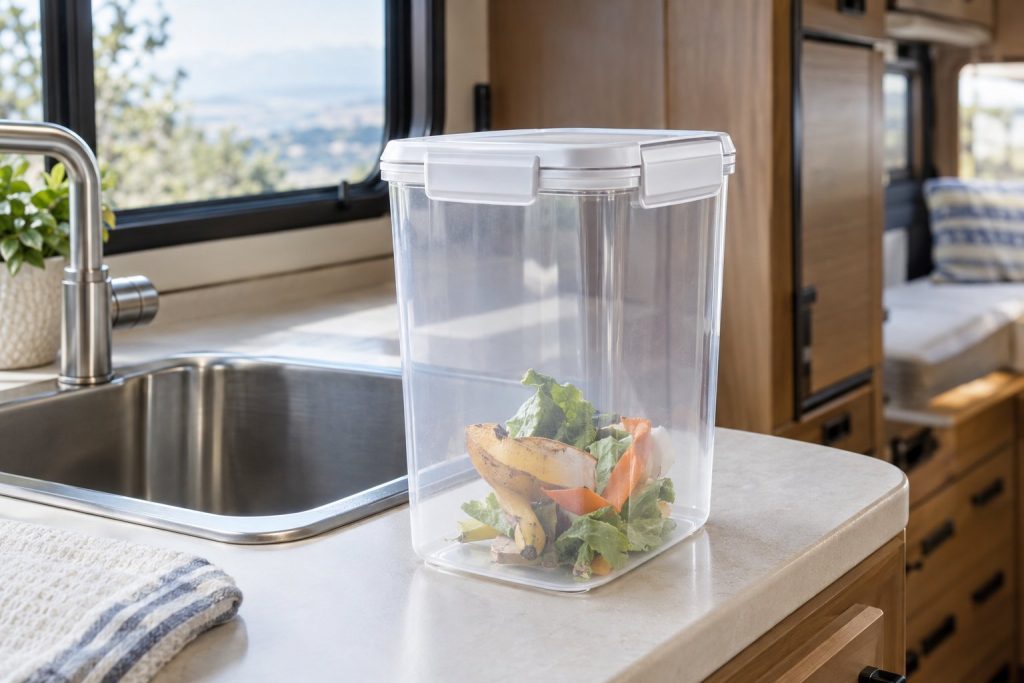
This isn’t a complicated project. You probably already have the container sitting in your pantry, and setting it up takes less than five minutes. The bigger win comes from knowing what to toss inside, how often to clean it, and what to do if your RV still smells even after switching over.
What Is the Cereal Container Trash Hack?
The hack repurposes a plastic cereal storage container, the kind with a flip-top or screw-on lid, as a compact trash can for your RV kitchen. Instead of using an open bin or a bag hanging off a cabinet knob, you drop food scraps and wrappers into a sealed container that closes tight after each use.
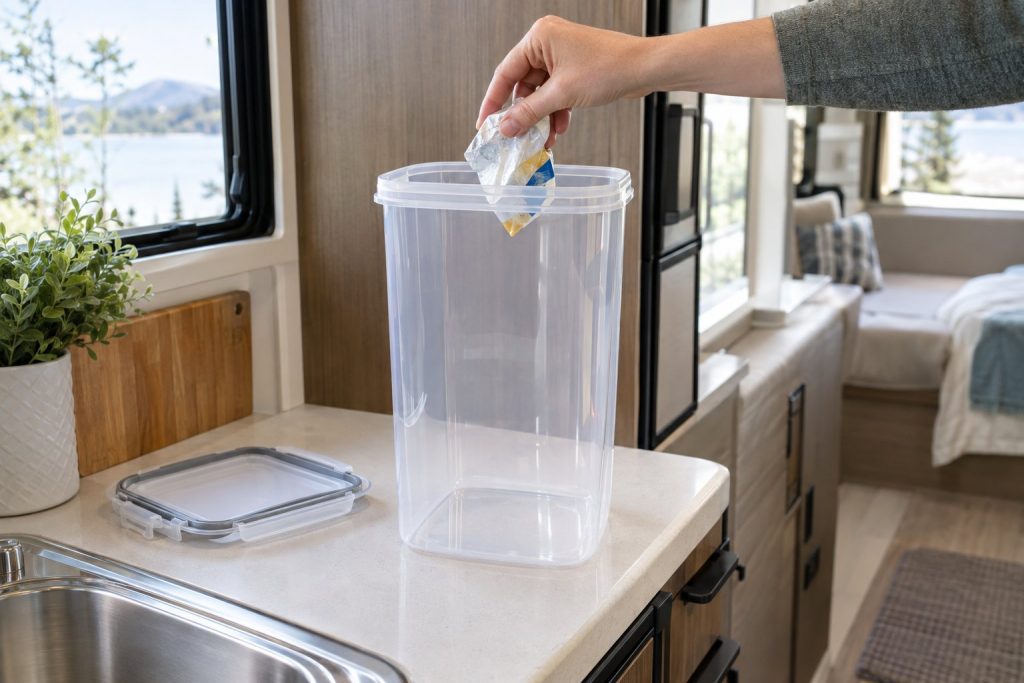
Why Use a Plastic Cereal Container Instead of a Cardboard Box?
Plastic holds up where cardboard fails. A cardboard cereal box soaks up moisture from food scraps, gets soft, and can tear apart when you carry it to the dump station. It also gives mice something to chew through, since rodents are known to gnaw holes straight into cereal boxes in search of food.
A plastic container wipes clean, resists moisture, and doesn’t fall apart after a few uses. It also stands up to bumps and turns while you’re driving down the road.
How Does a Lid Help Contain Trash Odors?
A lid blocks air from moving freely over the trash, which slows down how fast odors spread through your rig. RVs have small, enclosed spaces, so smells from an open bin travel through the whole cabin within minutes. A snapped-shut lid keeps that smell trapped until you’re ready to empty it outside.
How Do You Set It Up in an RV?
Setting up the container takes a few minutes and no tools. Pick the right size for your counter or cabinet, add a liner, and place it somewhere it won’t tip while you’re driving or walking around.
Choose a Container That Fits Your Space
Measure your counter or under-sink cabinet before picking a container size. A container around one to two gallons works well for most RV kitchens without eating up counter space you need for prep work.
Look for one with a wide opening so you can toss scraps in without missing. A square or rectangular shape uses corner space better than a round one.
Add a Liner and Find a Stable Spot
Line the container with a small plastic bag so you can pull out the whole bag at once instead of scrubbing the container every time. Grocery bags or small kitchen bags both work fine for this size container.
Set the container in a spot where it won’t slide during travel, like a corner cabinet or a spot with a non-slip mat underneath. Keep it away from the stove so grease splatter doesn’t end up inside.
What Should Go in the Container?
Dry trash and small wrappers belong in the container, while wet food scraps need to come out faster. Sorting your trash this way keeps smells down and stretches the time between emptying it.
Which Everyday Trash Is a Good Fit?
Paper towels, wrappers, napkins, and dry packaging all work well in this container. These items don’t carry moisture, so they won’t start smelling for a day or two even in warm weather.
Plastic wrap, empty cans (rinsed first), and junk mail also fit here without causing trouble. Keep the lid closed between each use so the container isn’t sitting open while you cook.
Which Food Scraps Need Faster Disposal?
Meat scraps, dairy, and produce peels turn smelly within hours, especially in a warm RV. These items should go straight to an outside trash bin or dump station instead of sitting in your countertop container overnight.
If you’re boondocking without quick access to an outside bin, wrap wet scraps in a small bag first before adding them to the container. This keeps juices from pooling at the bottom.
How Do You Keep the Container from Smelling?
Regular washing and a quick dry-out after each cleaning keep the container smelling neutral. Skipping this step is the main reason a cereal container trash can starts to stink after a week or two of use.
Empty and Wash It Regularly
Empty the container every one to two days, even if it isn’t full. Rinse it with warm water and a bit of dish soap, then scrub the inside and lid with a sponge.
Pay attention to the corners near the hinge or seal, since food residue collects there first. A capful of white vinegar in warm water works well for a deeper clean once a week.
Dry the Lid and Check the Seal
Dry the container fully before putting the liner back in. Trapped moisture under a closed lid creates the exact damp, warm environment that breeds odor-causing bacteria.
Check the rubber seal or gasket on the lid for cracks or grime buildup. A dirty seal holds onto smells even after you’ve washed the rest of the container.
What If the RV Still Smells?
A lingering smell after switching to this trash system usually points to a problem outside the kitchen. Odors in an RV often come from tanks, drains, or hidden damp spots rather than the trash can itself.
Check Drains, Tanks, and Damp Areas
Sink and shower drains dry out fast in an RV and let sewer gas drift back into the cabin. Pour a cup of water down unused drains every few days to keep the trap filled.
Check your gray and black tanks too. A tank that’s low on water or overdue for a rinse can send odor through the vents even when your kitchen trash is spotless.
Look for Spills and Signs of Pests
Old spills under appliances or inside cabinets can sour over time and cause smells that seem to come from nowhere. Pull out drawers and check corners you don’t usually see.
Watch for chewed cardboard, droppings, or gnaw marks near food storage, since these are signs mice have gotten into your rig. Pests can leave odors behind that no amount of trash can cleaning will fix.
A Small Trash Can That Works Best When Kept Clean
The cereal container hack gives your RV kitchen a sealed, sturdy trash solution that costs nothing extra if you already have the container on hand. It holds up better than cardboard, blocks odors with its lid, and takes just minutes to set up.
Empty it often, wash it well, sort wet scraps from dry trash, and dry the lid fully before closing it back up. Paired with regular checks on your drains and tanks, this small habit keeps your whole rig smelling the way it should.