The first freeze mistake that bursts pipes is leaving your RV’s water hookup connected and unprotected because the afternoon felt mild. A sunny 50-degree day lulls you into thinking the hose, the spigot fittings, and that little pressure regulator will be fine overnight. Then the temperature slides below freezing before dawn, and the most exposed parts of your water system sit full of still water with no heat at all.
Before any night that could dip below freezing, disconnect and drain your city water hose, switch to your freshwater tank, and keep heat reaching the lines inside your RV; if you can’t keep that heat going, winterize. Pulling the hose is a smart move, and it’s only part of the job, because water still sits in your lines, pump, low points, and water heater.
You’ll be able to judge which parts of your rig freeze first, decide when heat is enough and when draining is the safer call, and handle a frozen line calmly if one surprises you.
Why Is Leaving Your RV Water Hookup Unprotected Risky?
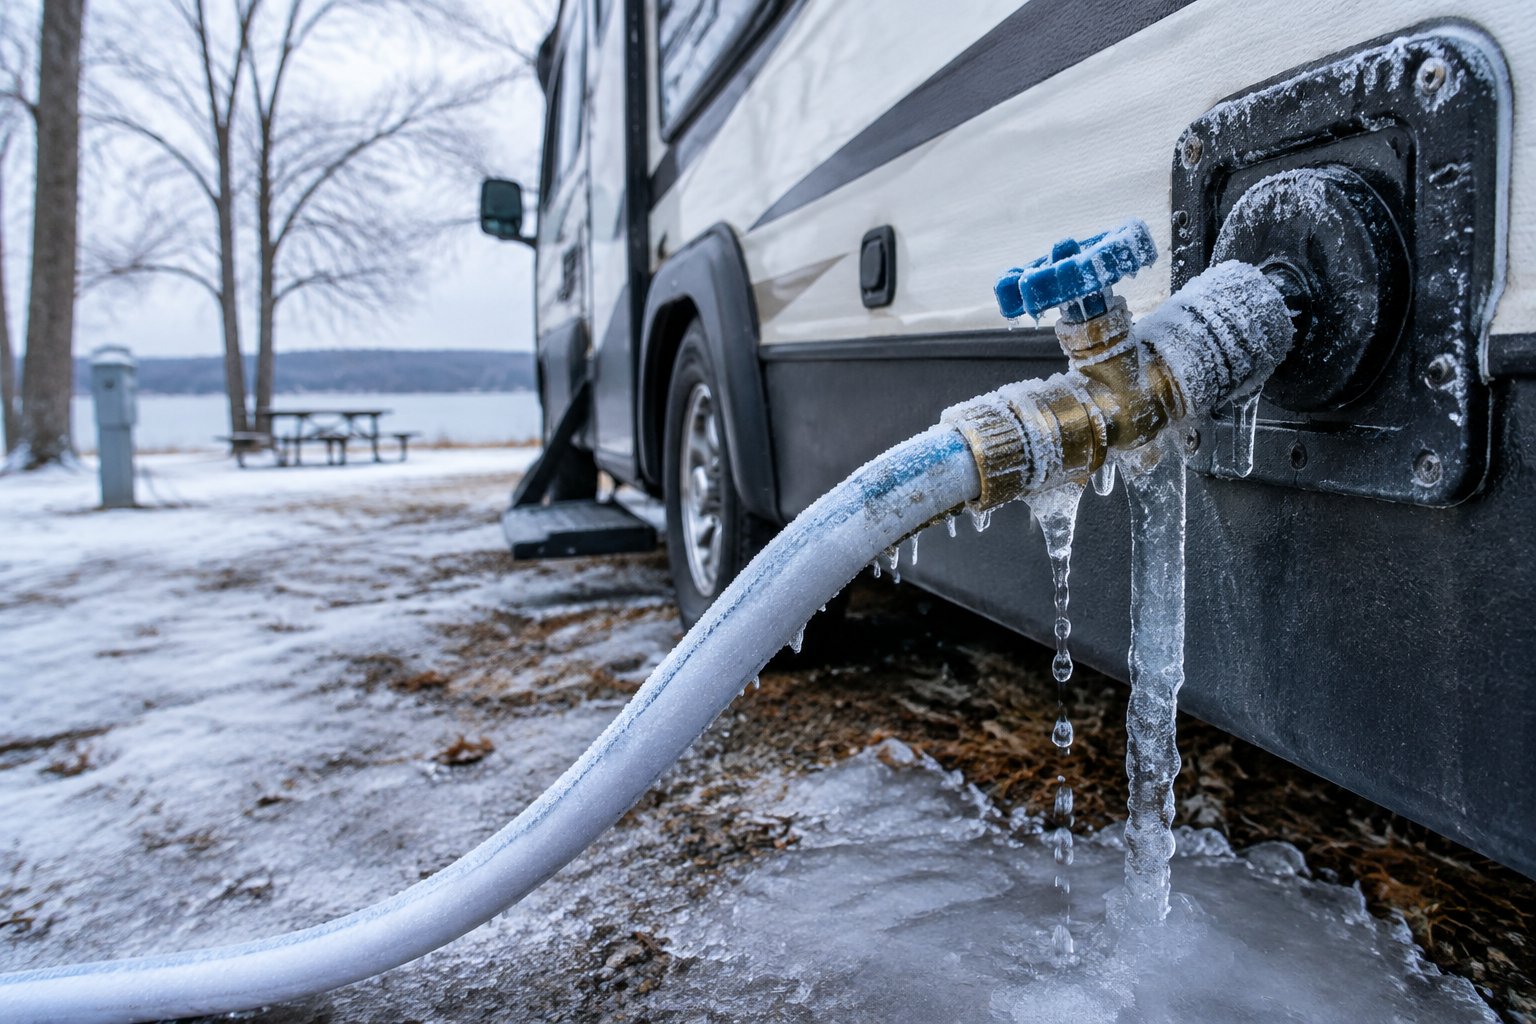
An unprotected hookup is the coldest, most exposed plumbing you own, and it fills with water that sits motionless all night. Daytime warmth gives you a false read on overnight risk, and even a drained hose leaves plenty of water elsewhere in the rig.
A Warm Afternoon Does Not Protect Against an Overnight Freeze
Clear skies are the classic trap. A bright fall afternoon feels comfortable, yet those same cloudless conditions let heat radiate away fast after sunset, and the coldest stretch usually lands right before sunrise.
Your hose has almost no mass and no insulation. It sits on cold ground, catches every breeze, and holds water that isn’t moving while you sleep. The spigot connection, any inline filter, and the pressure regulator are made of plastic or brass that cools quickly.
Here’s a habit worth building: check the overnight low, not the daytime high, every evening from fall onward. If the forecast low gets anywhere near freezing, treat the hookup as at risk and make your plan before dinner, while you still have daylight to work with.
Disconnecting and Draining the Hose Is Only the First Step
Unhooking the hose, draining it, and coiling it in a bay protects the hose itself. It also removes the most exposed fittings from the cold. That’s a genuine win.
What it doesn’t touch is the water already inside your RV. You still have water in:
- The supply lines running through floors, cabinets, and the underbelly
- The water pump and its strainer
- Low-point drain lines and valves
- The water heater tank and its fittings
- Faucets, the toilet valve, and the outside shower
Once you’re off city water, your freshwater tank and pump take over. That keeps you supplied, and it means everything downstream still needs warmth or needs to be drained.
Which RV Plumbing Parts Freeze First?
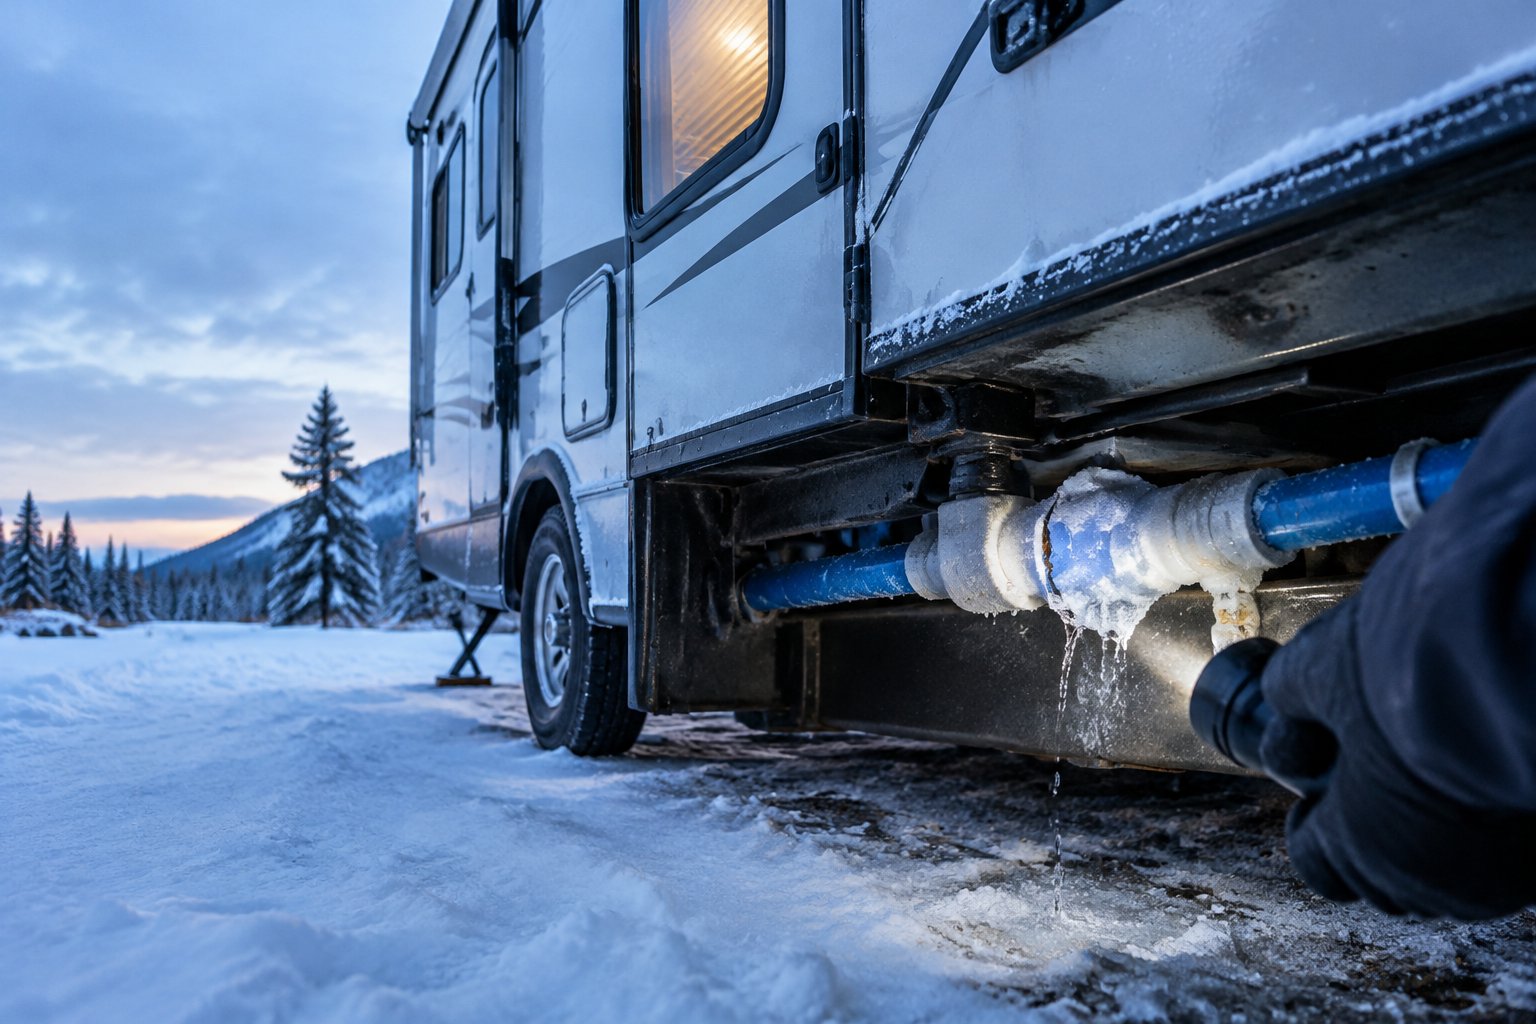
Small, exposed, low-volume parts freeze first: hoses, filters, regulators, and outside showers, followed by lines in unheated bays and underbellies. Larger holding tanks take longer because of their volume, and the real damage often hides until the ice melts.
Exposed Hoses, Filters, Regulators, and Outside Showers
Anything hanging outside the rig loses heat on every side. Your hose, a canister filter, the regulator screwed onto the spigot, and the post itself all freeze before the lines inside your walls.
Outside shower boxes deserve special attention. They sit in a thin exterior compartment, and the valve body and hose often hold water after use. Water expands as it freezes, and the Red Cross notes that no matter the strength of a container, expanding water can cause pipes to break. A cracked shower valve is a common springtime discovery.
Quick fixes when a cold night sneaks up:
- Remove filters and regulators and bring them inside
- Open the outside shower valves briefly to release trapped water, then close them
- Store the drained hose in a heated bay or inside the coach
Water Lines in Unheated Compartments and Underbellies
Inside the rig, the weak spots are wherever your plumbing runs near an outside wall or below the heated floor. Think of the wet bay where the city water inlet and pump live, lines behind kitchen cabinets on an exterior wall, and runs through a slide-out floor.
Enclosed and heated underbellies help a lot, but they vary from model to model. Some rigs duct furnace air into the belly; others simply enclose it. Check your owner’s manual or ask the manufacturer what your specific coach heats, because “four-season” labels describe a design goal and don’t guarantee every line stays above freezing.
Low-point drains are a favorite freeze spot. They’re designed to sit at the bottom of the system, which puts them in the coldest air under the coach.
How Ice Blockages Build Pressure and Hide Leaks Until Thawing
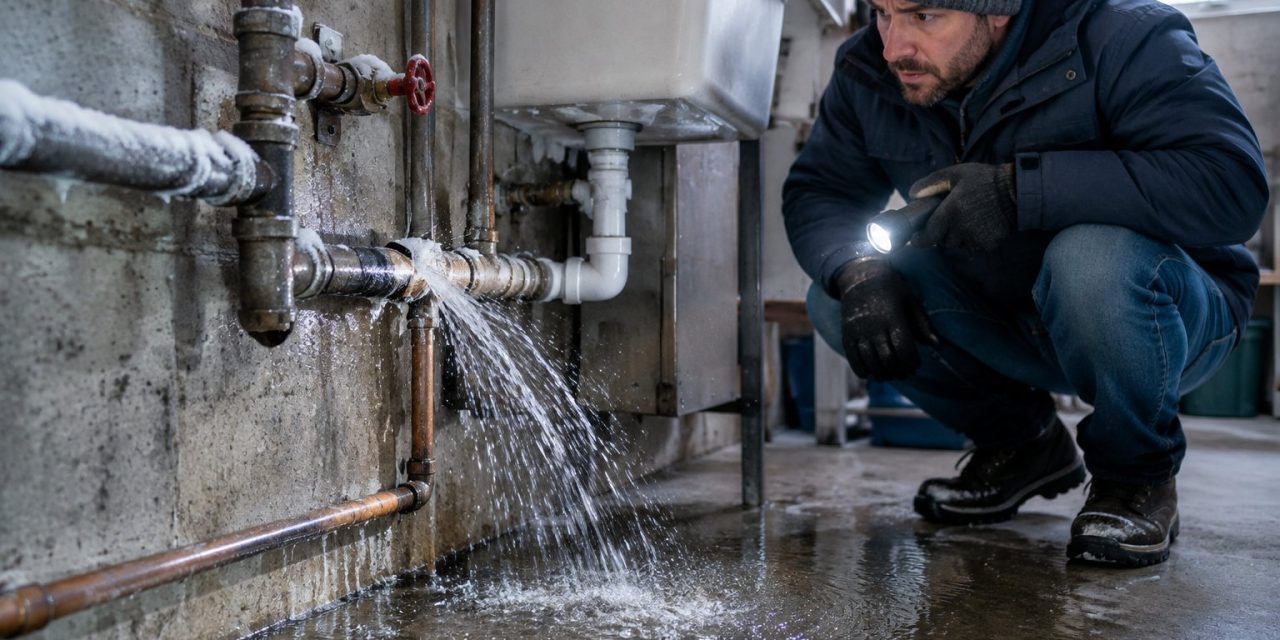
Ice forming in a line acts like a plug. As more water freezes, it pushes against water trapped between that plug and a closed faucet or valve, and pressure climbs in the section that hasn’t frozen yet. That’s why a split often appears somewhere other than where the ice sat.
You may spot warning signs before anything breaks. When water freezes, the pressure can make a pipe bulge noticeably, and a faucet that gives a trickle or nothing at all tells you something upstream is blocked.
Keep two outcomes separate in your mind:
| Situation | What’s happening | What you’ll notice |
|---|---|---|
| Rupture | Pressure split a line, fitting, or valve | Often silent while frozen |
| Leak found during thawing | Ice was sealing the crack | Water appears as the line warms |
Ice can hold a cracked fitting together, so a line that looks fine while frozen may start dripping only once it thaws. When it does, the pipe bursts, water escapes, and serious damage results if nobody is watching.
How Can You Protect Your Water System While Camping?
You protect your water system by switching to the freshwater tank on freezing nights, using heated hoses and insulation for the parts they cover, and keeping steady heat in plumbing compartments. Each tool protects a specific area, so you’ll layer them.
When to Disconnect City Water and Use the Freshwater Tank
For short cold snaps, the simplest move is to fill your freshwater tank during the warm part of the day, disconnect the hose, drain it, and run on your pump overnight. Your tank sits inside or under the coach where it’s better protected, and its larger volume takes longer to freeze than a skinny hose.
A routine that works well:
- Check the forecast low each afternoon.
- Fill the fresh tank while it’s still above freezing.
- Disconnect, drain, and stow the hose and regulator.
- Turn on the water pump and confirm faucets run normally.
- Reconnect in the morning once temperatures climb, if you prefer city water.
Watch your tank levels so you don’t run the pump dry, and keep your gray and black tanks from filling to the brim in cold weather.
What Heated Hoses and Insulation Can and Cannot Protect
A heated drinking water hose keeps the hose itself from freezing when it has power. It does nothing for your spigot riser unless the campground insulates that too, and it does nothing for the lines inside your RV. If the pedestal loses power or a GFCI trips overnight, the heated hose becomes an ordinary hose.
Foam pipe insulation and heat tape help on accessible exposed runs. Wrap the spigot, the hose connection, and the regulator, and use heat tape rated for the job, installed as its maker directs. Skirting cuts wind under the rig and slows heat loss.
Insulation slows freezing and doesn’t add heat. Given a long, hard cold spell, an insulated line with no heat source will still freeze.
Why Plumbing Compartments Need Reliable Heat
Your lines stay liquid only if warm air reaches them. Many RVs rely on the furnace to push heat into the underbelly or wet bay, so a space heater warming the living area can leave the plumbing cold. Ask your manufacturer whether your furnace ducts into the belly.
Practical steps:
- Run the furnace at a steady setting through the night
- Open cabinet doors under sinks so cabin air reaches pipes on exterior walls
- Use tank heater pads if your rig has them, powered as designed
- Keep enough propane and battery capacity so the furnace never quits at 3 a.m.
A small indoor-outdoor thermometer with a probe in the wet bay tells you how cold that compartment really gets. That single number guides your decisions better than any rule of thumb.
When Should You Winterize Instead of Relying on Heat?
Winterize whenever you can’t guarantee steady heat to every part of your plumbing. Storage, travel days, and the risk of losing power all change the math, and the actual procedure should follow your RV’s manual.
How Storage, Travel, and Power Loss Change Your Plan
Heat-based protection only works while someone keeps the heat running. Once you park the rig for the season, nothing is warming those lines, so storage calls for winterizing.
Travel days are trickier. Driving through freezing weather with water in the system means your furnace may be off and wind is blasting the underbelly. Many owners drain or winterize before a long cold drive and refill at a warmer destination.
Power and fuel are the quiet risks. A campground outage, an empty propane cylinder, or a dead battery that stops the furnace fan leaves your plumbing unprotected. If you can’t monitor the rig or recover heat quickly, draining is the safer choice.
Follow Your RV’s Drainage and Water Heater Bypass Procedure
Every coach plumbs things a little differently, so your owner’s manual is the authority. The general sequence usually covers:
- Turn off and cool the water heater, and shut off its power and gas.
- Open low-point drains and drain the fresh tank.
- Drain the water heater tank as the manual describes.
- Set the water heater bypass valves so antifreeze doesn’t fill the tank.
- Open faucets to let lines empty.
Never drain a water heater that’s hot or under pressure. If your rig has extras like an ice maker, washer, or outdoor kitchen, they’ll have their own steps in the manual.
Use RV-Rated Antifreeze or Regulated Air as Your Manual Directs
Use only pink, non-toxic RV antifreeze labeled for potable water systems. Never use automotive antifreeze; it’s toxic and doesn’t belong anywhere near your drinking water.
Your manual will tell you whether to pump antifreeze through the lines, blow them out with compressed air, or both. If you use air, follow the manufacturer’s pressure limit and use a regulator on the compressor, since excess pressure can damage fittings. Some owners blow out lines with air and then add antifreeze to traps and fixtures for extra margin.
Pour a little antifreeze into each sink and shower drain to protect the P-traps, and keep the jug label handy for the temperature rating.
What Should You Do If Your RV Pipes Freeze?
Stop the water first, then warm the lines slowly, then hunt for leaks before you restore pressure. Moving in that order keeps a small problem from turning into soaked floors.
Stop the Water Supply and Switch Off the Pump
The moment a faucet runs dry or sputters, shut off the source. If you’re on city water, close the spigot and disconnect the hose. If you’re on the tank, turn off the water pump switch.
Shutting off the supply limits damage if a frozen line has already cracked, because a burst may not show itself until it thaws, and shutting off the water supply keeps fresh water from pouring out once it does. Open one faucet nearest the suspected freeze so melting water has somewhere to go.
Thaw Accessible Lines Gently Without Open Flames
Warm things up gradually. Good options:
- Raise the furnace temperature and open cabinet and bay doors
- Aim a hair dryer at accessible lines, keeping it moving
- Wrap exposed sections with towels soaked in warm water
- Set a small electric space heater a safe distance away in an open compartment
Never use a torch, heat gun on high, or any open flame. RV plumbing is mostly plastic (PEX and plastic fittings), it melts, and the rig is full of flammable materials. Stay with any heater while it runs.
Check for Leaks Before Restoring Pressure and Call for Help When Needed
Once water flows again at the open faucet, inspect before turning everything back on. Look and feel along the wet bay, under sinks, around the water heater, at low-point drains, and at the outside shower.
Then restore pressure slowly by turning on the pump or easing open the spigot. Watch for drips, listen for the pump cycling when no faucet is open, and check again an hour later. A pump that keeps kicking on means water is escaping somewhere.
Call an RV technician if you find water in the underbelly you can’t reach, a damaged water heater, or a leak inside a wall. Those repairs are hard to do right in a campsite.
Protect Your RV Plumbing Before the Temperature Drops
Your best protection comes from planning around the overnight low and never trusting a mild afternoon. Disconnecting and draining the hose handles the most exposed piece, and the water still inside your rig needs either reliable heat or a proper winterization.
Keep this evening checklist handy whenever freezing temperatures are possible:
- Check the forecast low
- Fill the fresh tank, then disconnect, drain, and stow the hose, filter, and regulator
- Confirm the furnace, propane, and battery can carry you through the night
- Open cabinets near exterior walls
- Know where your pump switch and low-point drains are
If storage, a cold travel day, or shaky power means you can’t keep heat on every line, follow your manual’s draining and bypass steps and use RV-rated antifreeze or regulated air as it directs. Before the next cold front, walk through your wet bay with the manual open so you know each valve by feel.